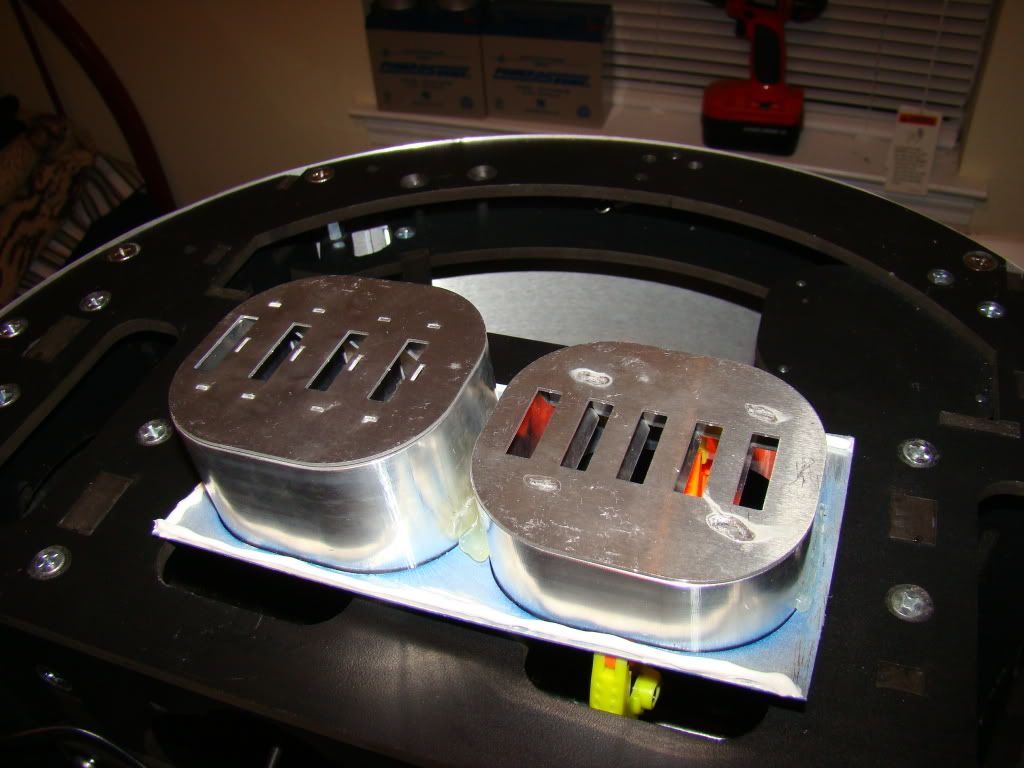
Here's a couple of shots of them installed:
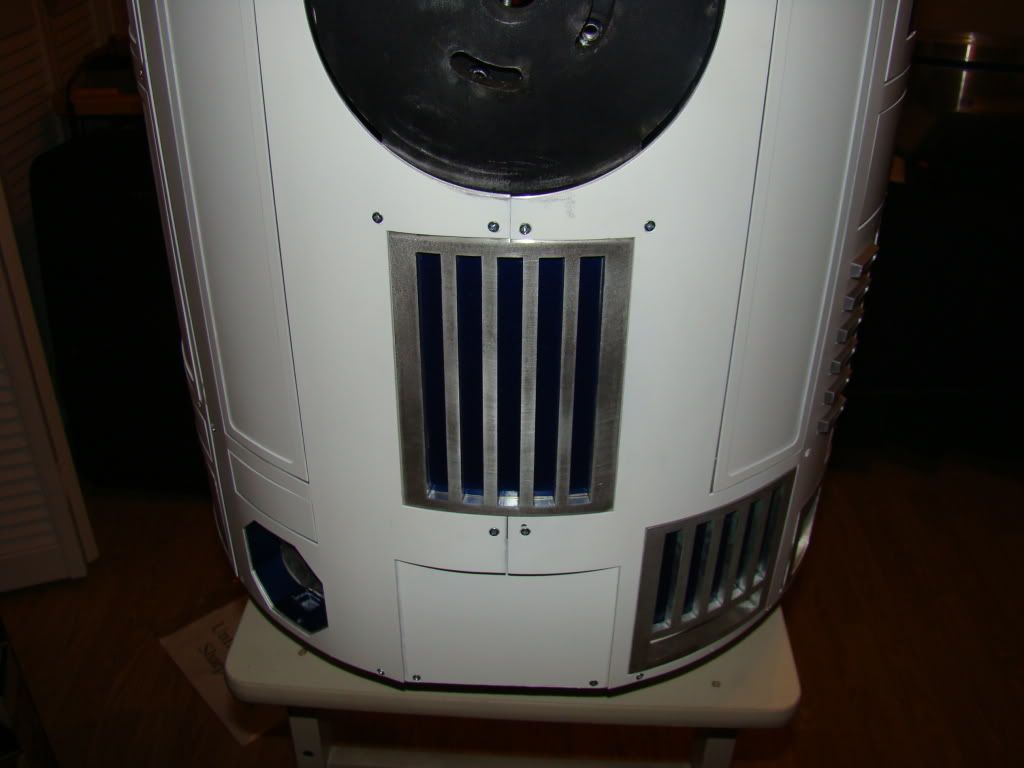
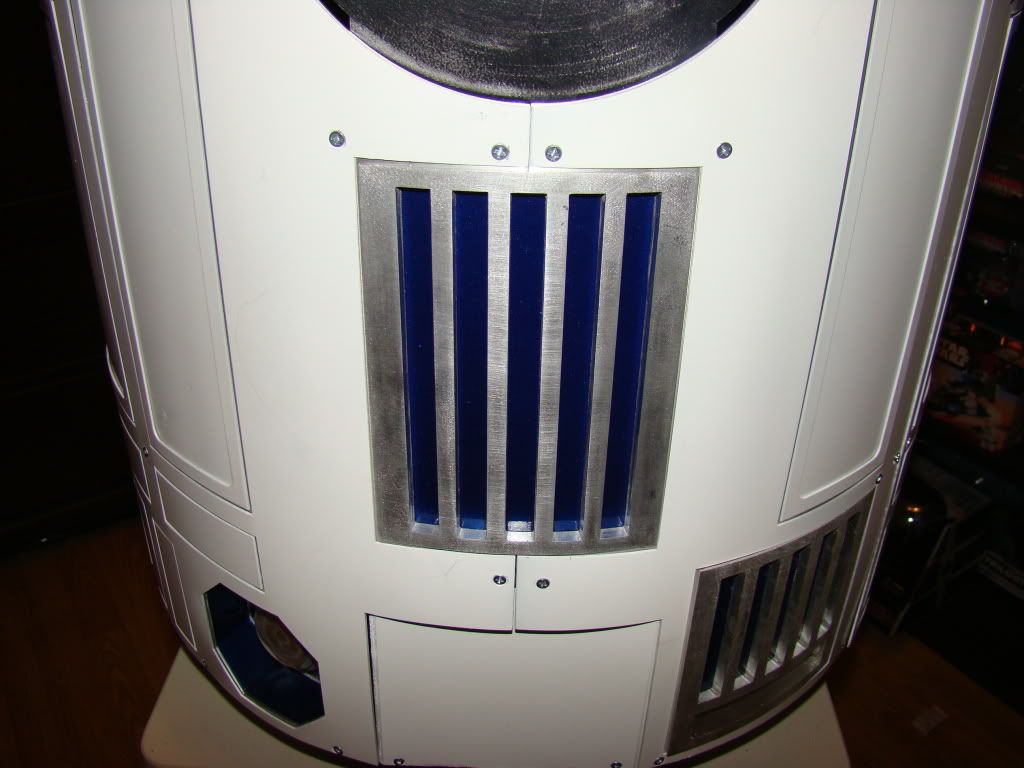
I thought I'd posted one of these pictures, but here's how I managed it:
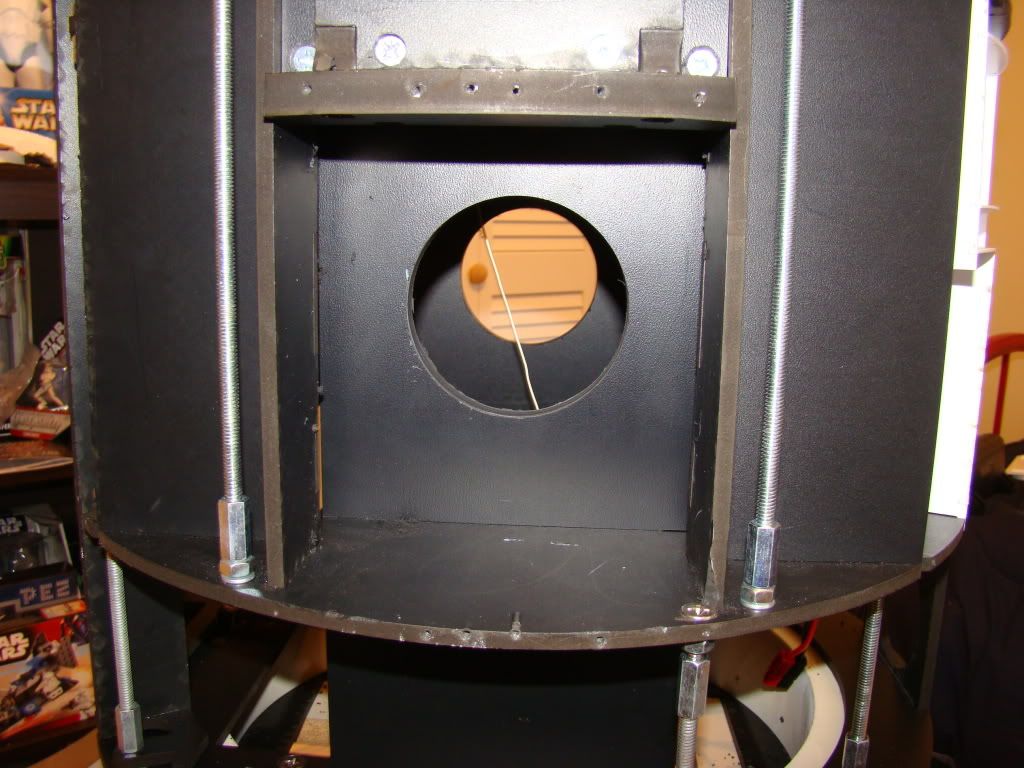
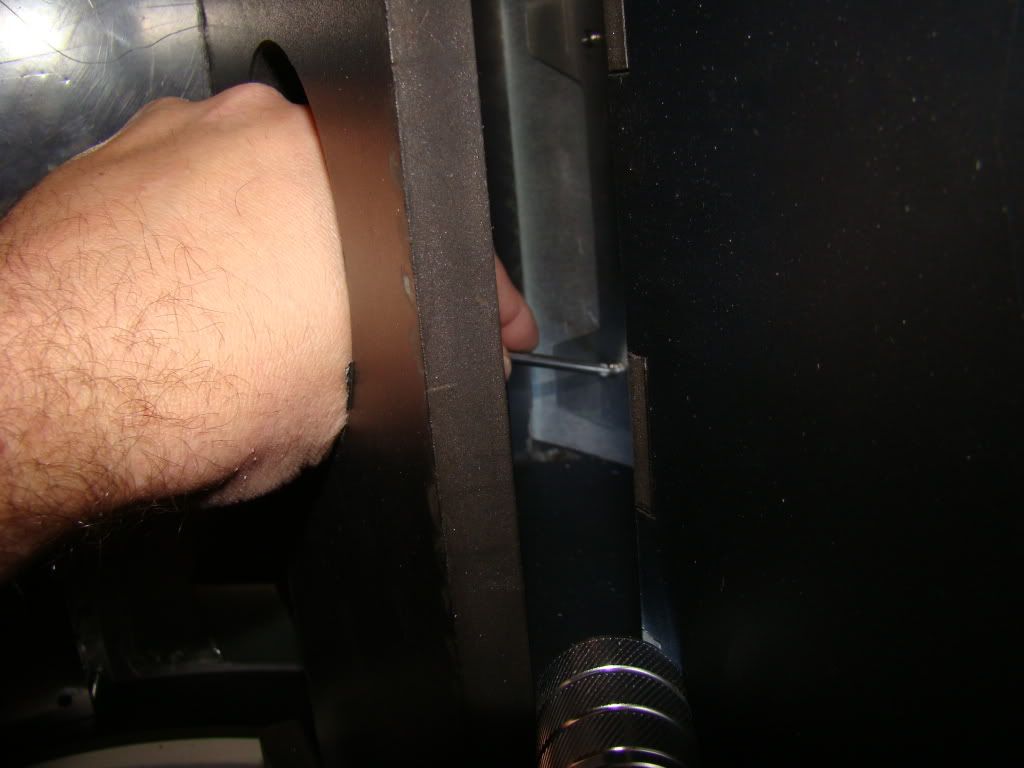
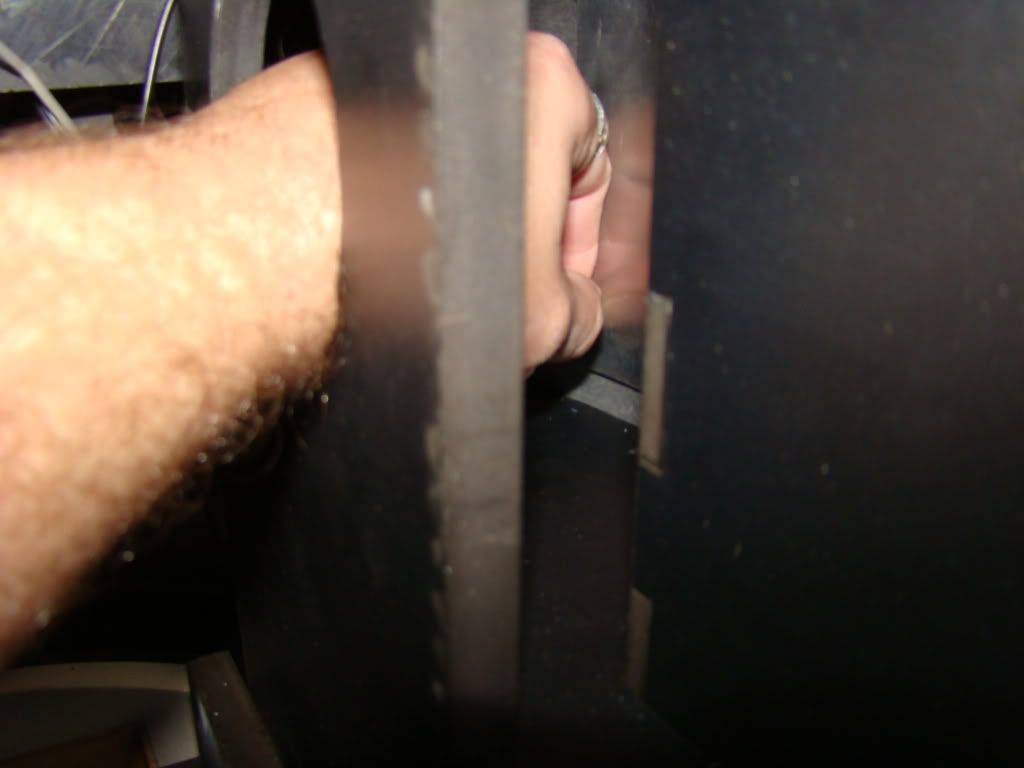
Yep, I picked up a giant hole-saw and made myself a couple of giant holes to reach through. That still didn't make it a piece of cake or anything. It was so tight in there that of the 6 pictures I tried to take, only 2 were even remotely able to capture what I was trying to show...
Next up, as the title says, had to revisit the center vents, since they popped loose a couple of hours after I removed that elaborate system that held them in place. Turns out there was hot glue too close to the edge, so the glue was holding the surround out, and it had a lot of pressure behind it, so it let go.
Here's attempt #2, with the hot glue cut back:
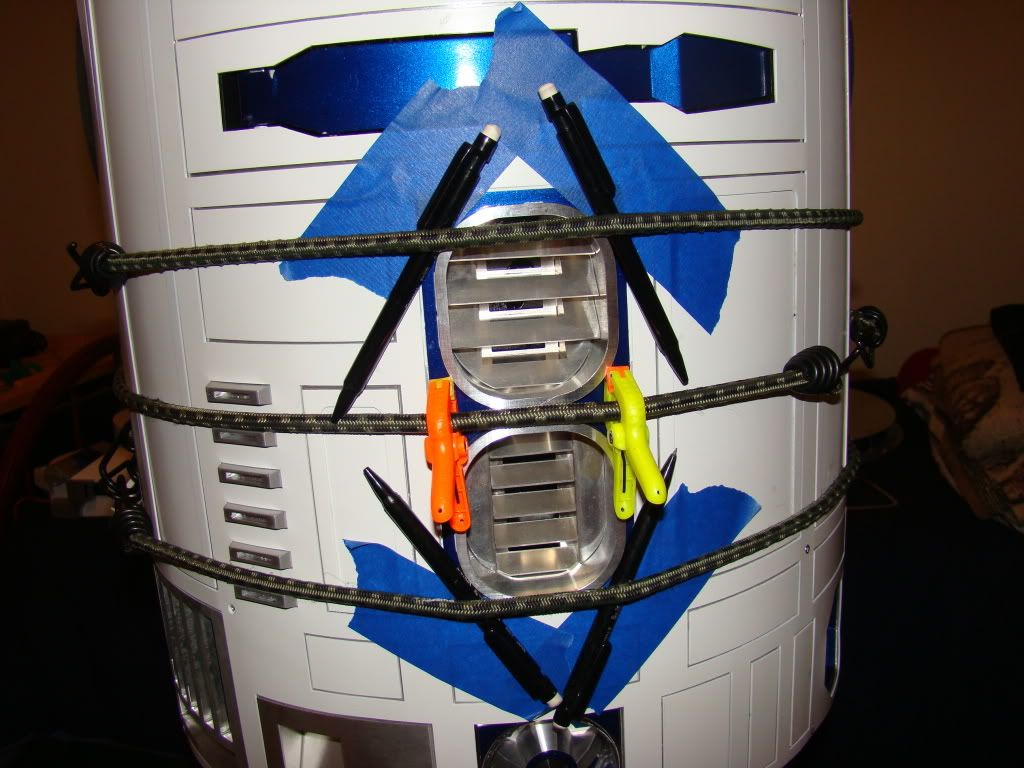
Oh, and here's another thing...you gotta be careful what you use to hold things in place when you apply that much pressure:
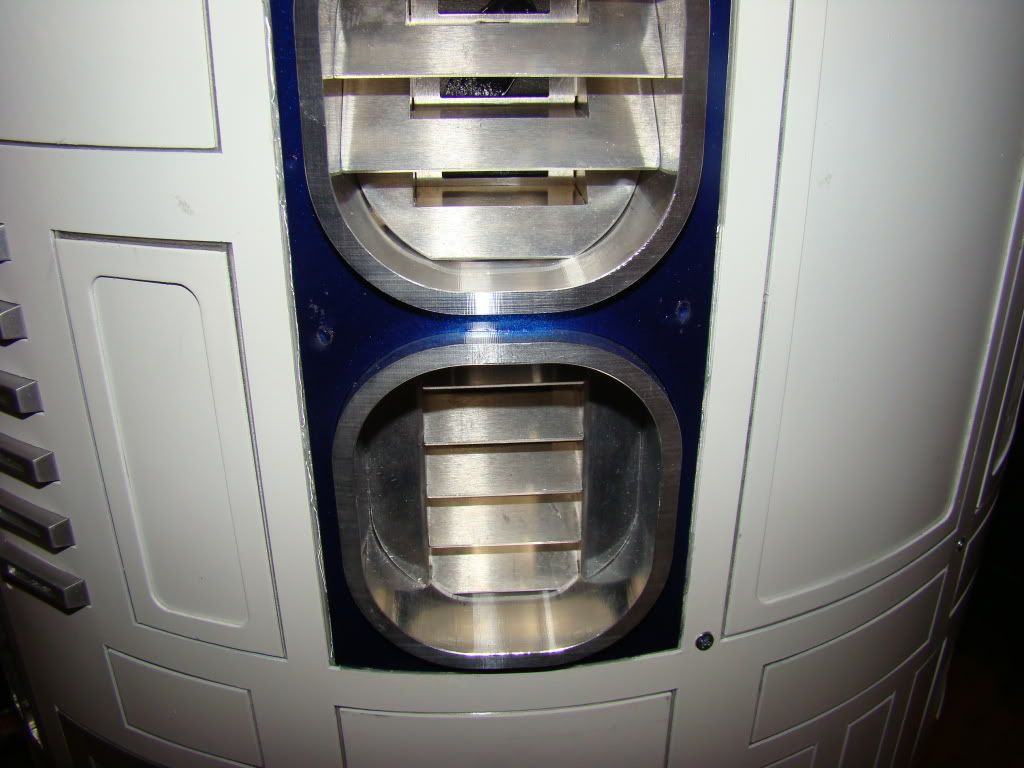
Those little clamps pressed or worried a hole in my paint! And the pencils left slight depressions in the paint too. You'd almost think it wasn't cured after a week.
I also built my slip ring today, with some parts from RS. That's a place the doesn't sell very many radios, and really isn't built in a shack...odd. Anyway,
I picked up a 2-pk (didn't sell them single) of "mono-Shielded 1/4" Phone plug", 1 "Panel Mount Mono 1/4" Phone Jack" open circuit type, solder type terminals. And I don't even have a home phone... Also got some 18ga zip wire, but that will come up later this week :)
I soldered about a foot of wire to both pieces, and put PowerPoles on the other ends, for easy connection.
I opened the little hole in the center of the top frame plate up to be 3/8" and bolted the phone jack in place, nothing to it...
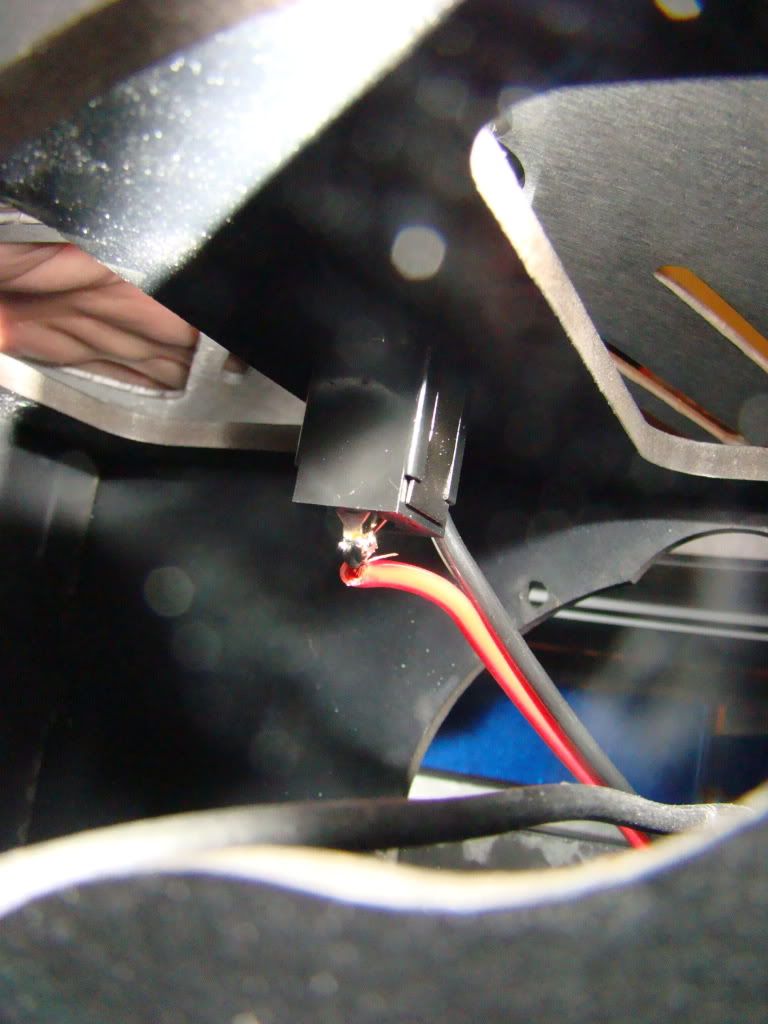
Getting a picture of it was another matter entirely. The camera is sideways just to fit...
Next up I had to figure out something to hold the plug in place, yet would also be adjustable. What I came up with is probably overly complicated, but I did have fun, and now have yet another entry into the "What did you make for your droid with A&A scrap pieces" file.
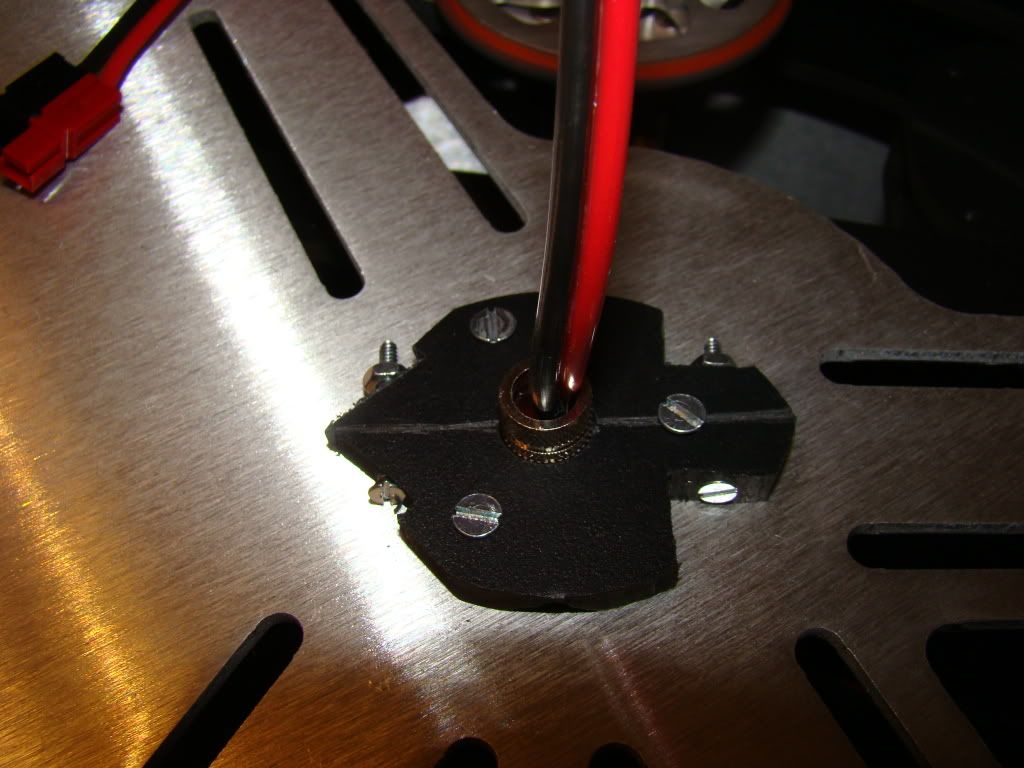
I drilled the center hole, then sawed the piece in half, removing just enough to make the two pieces...oh never mind. You're smart enough to see what it does...aren't you? I'll save myself a couple of paragraphs there.
Just remember not to close that or tighten any screws until the plug is all the way inserted.
Body work is done! Next up SHOULD be dome work...
No comments:
Post a Comment