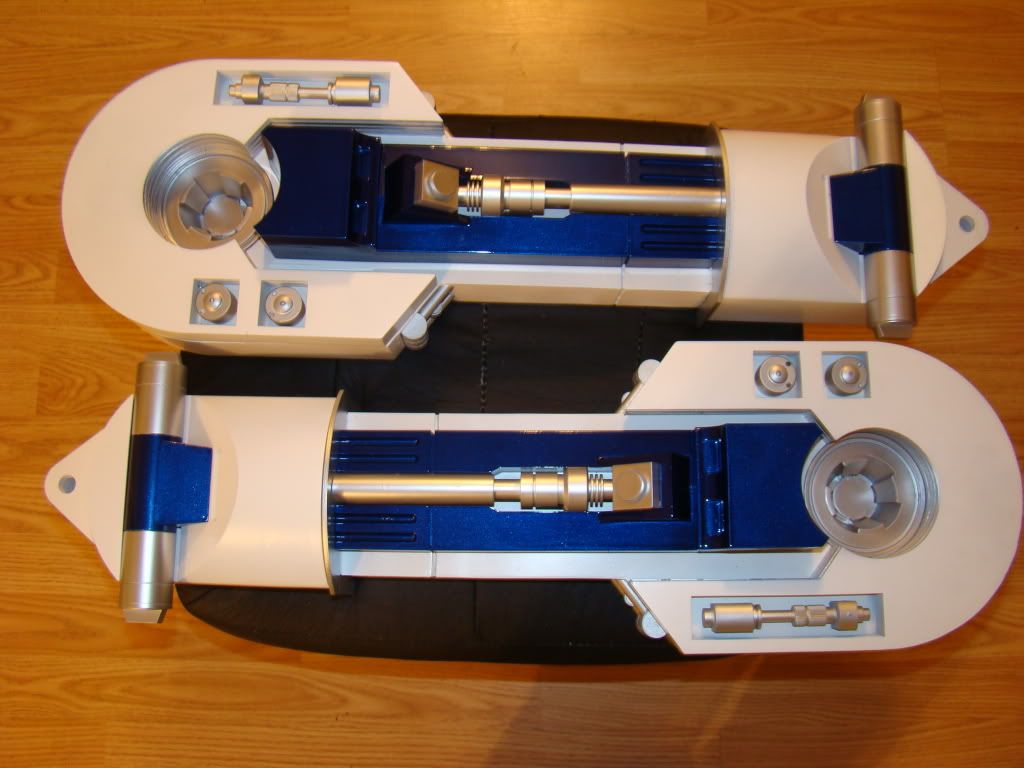
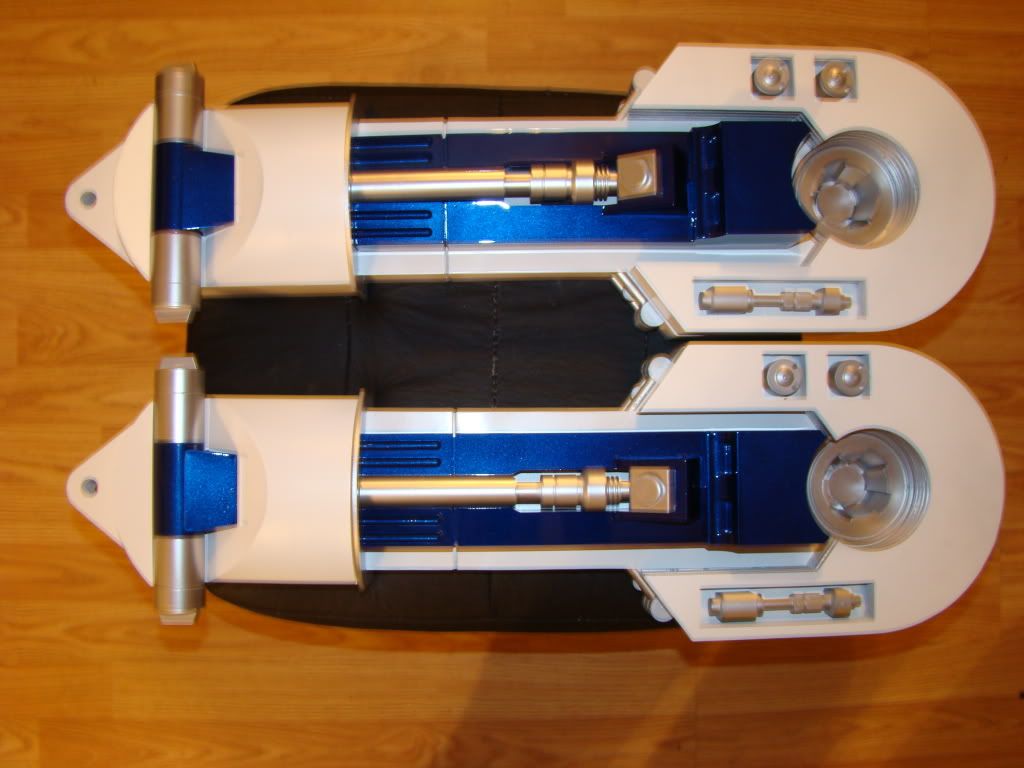
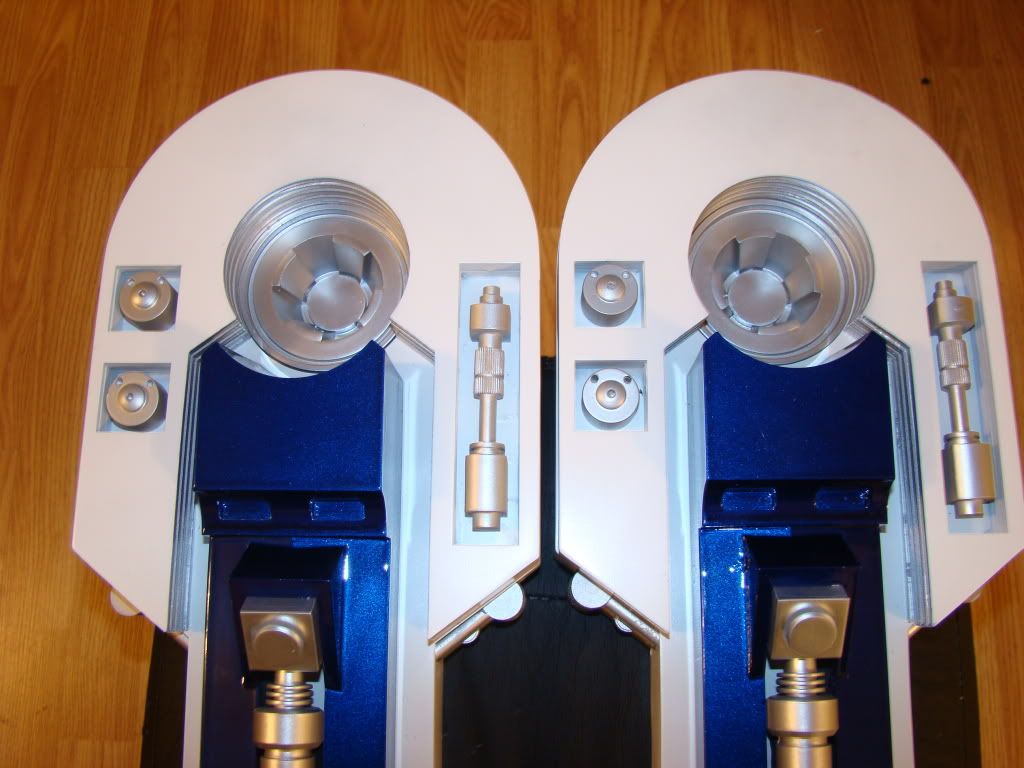
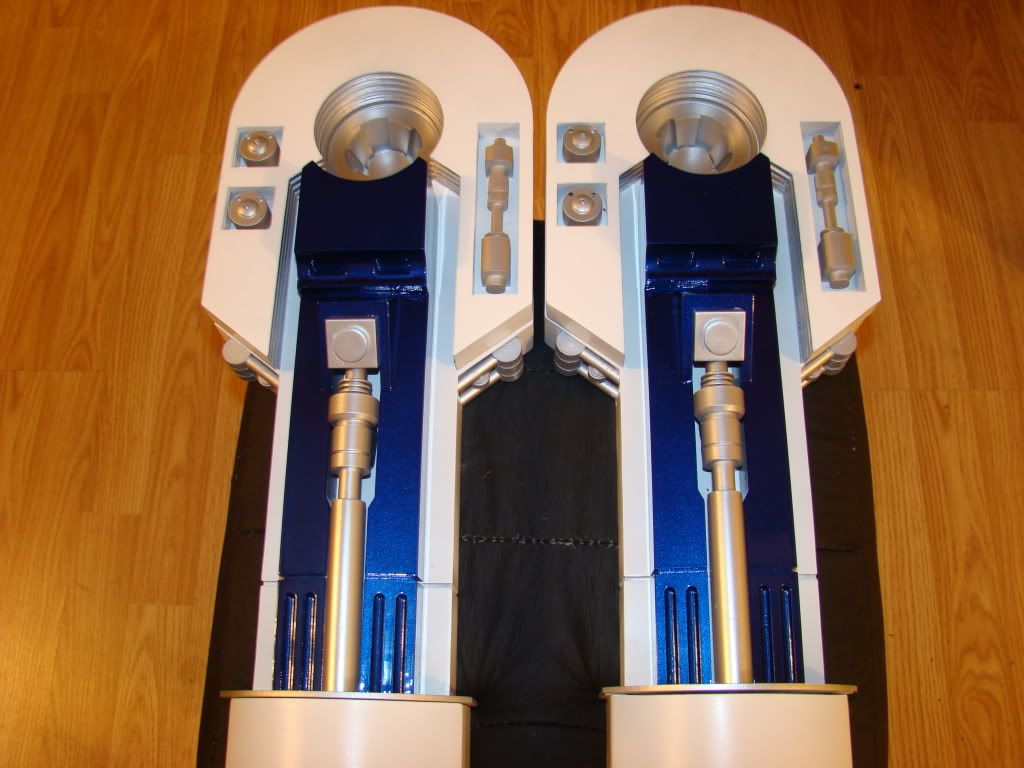
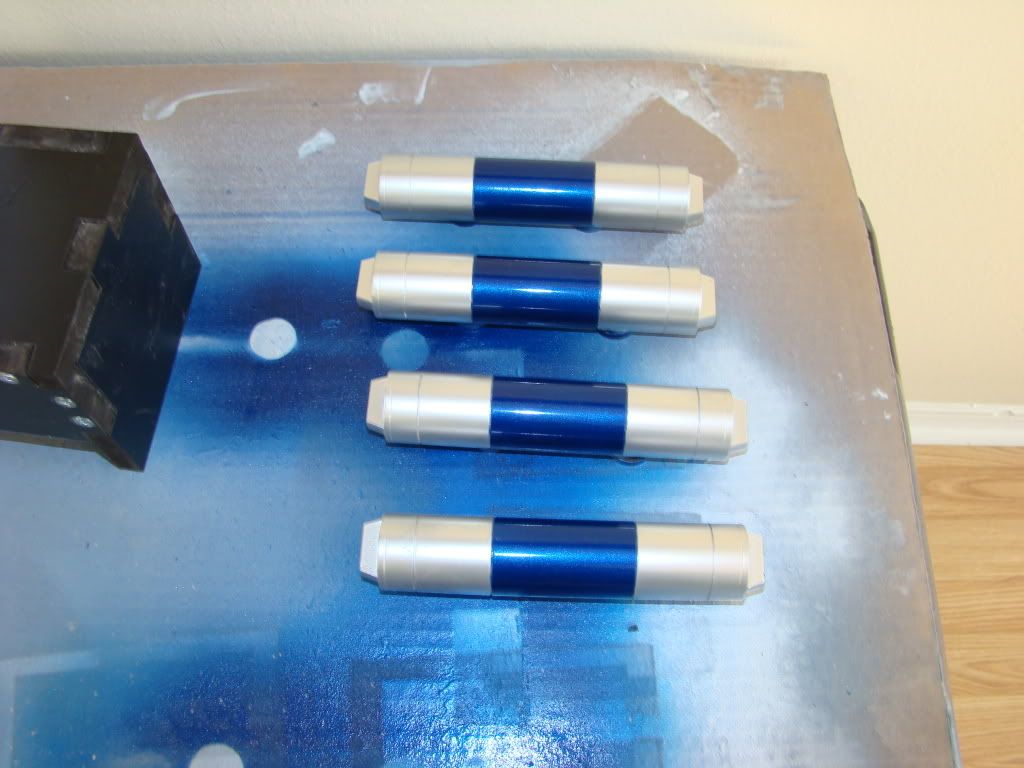
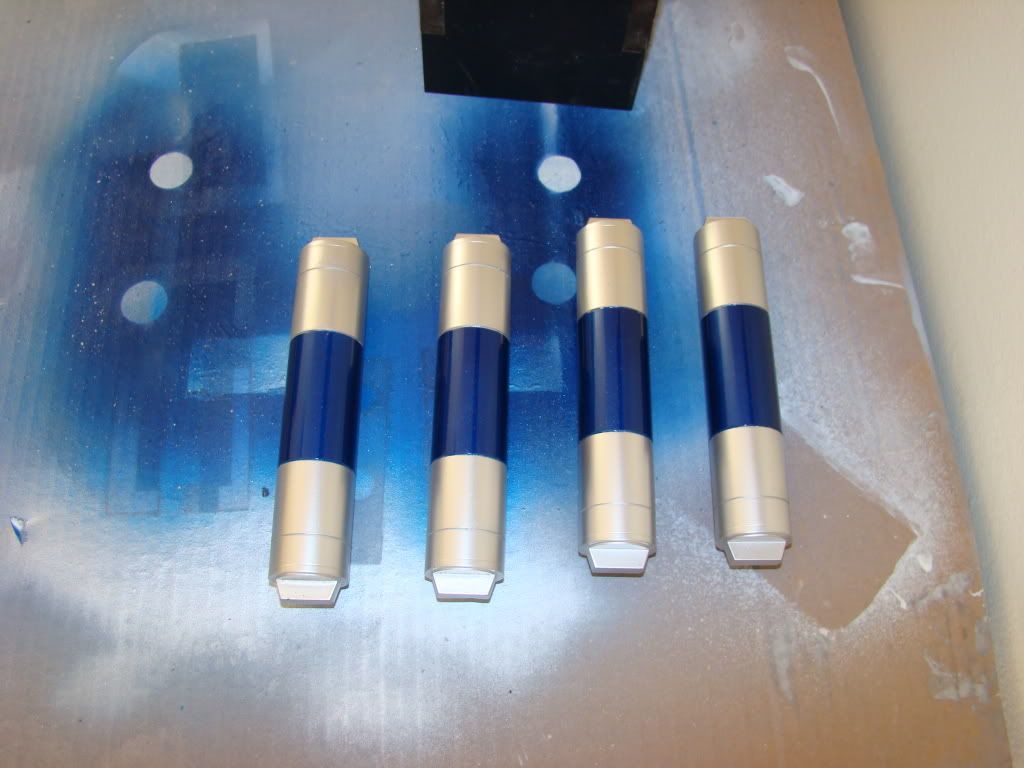
Tuesday, March 24, 2009

Mounting the ankle cylinders and related stuff

So, you may know (or not, now you do) that the A&A ankles have keyholes built into them, 3 sets, one for the wedges, 1 for the cylinders, and 1 for the holders. Problem is, they didn't work for me. It's possible had I somehow figured out a way NOT to mount Keith's Beefy Ankles before I started painting that I might have been able to start with the holder, then the cylinder, then the wedge, then the ankle. We all know I didn't...

So I had to puzzle out a way to securely mount all the pieces into one AND mount them to the ankle securely.

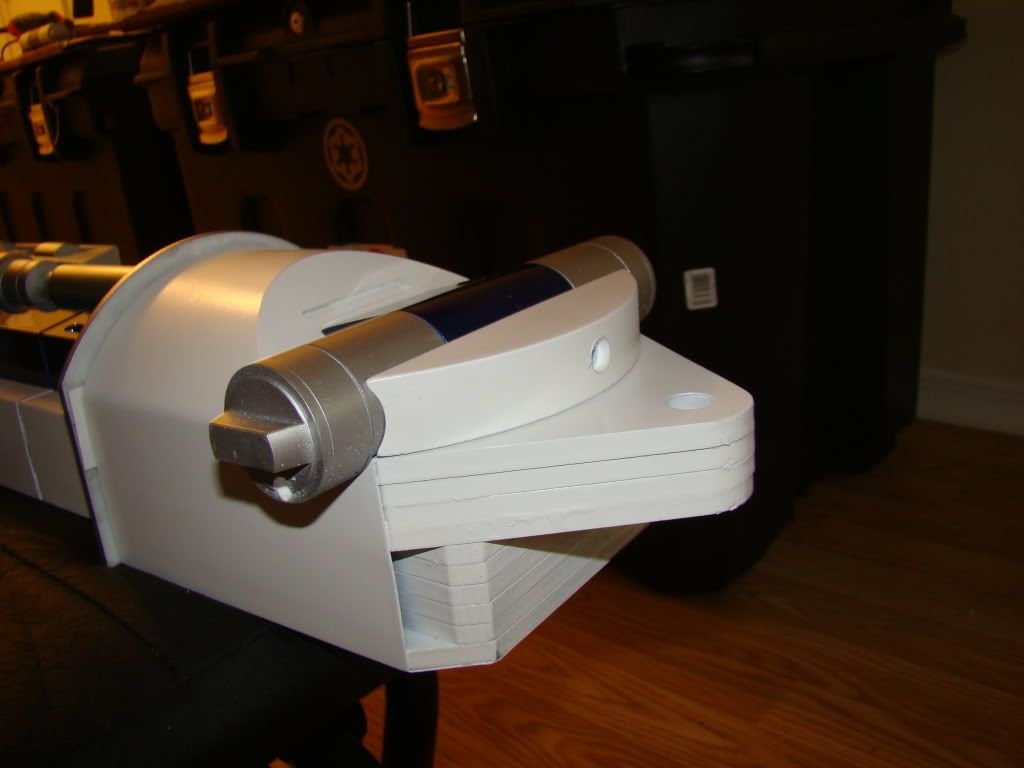
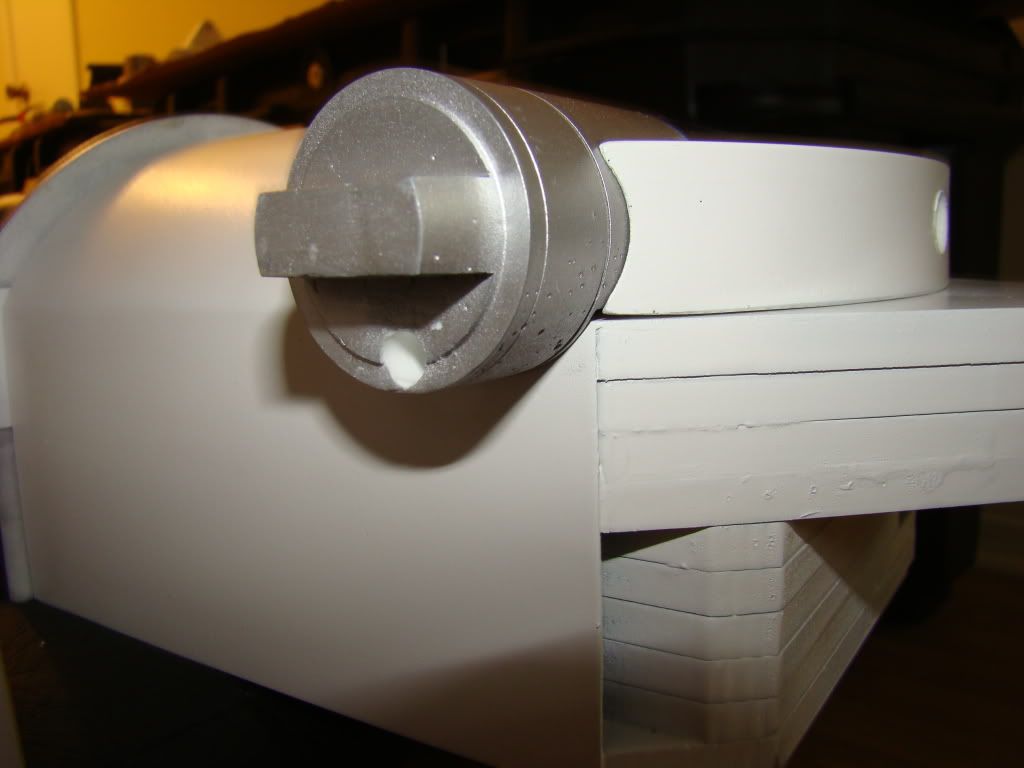
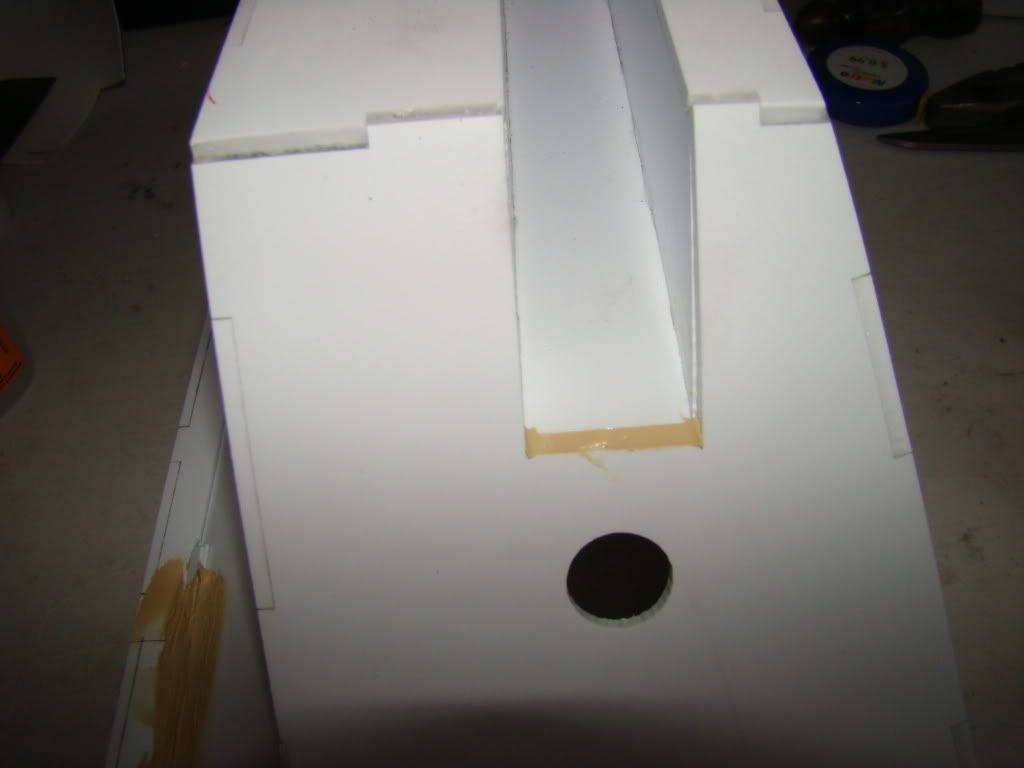
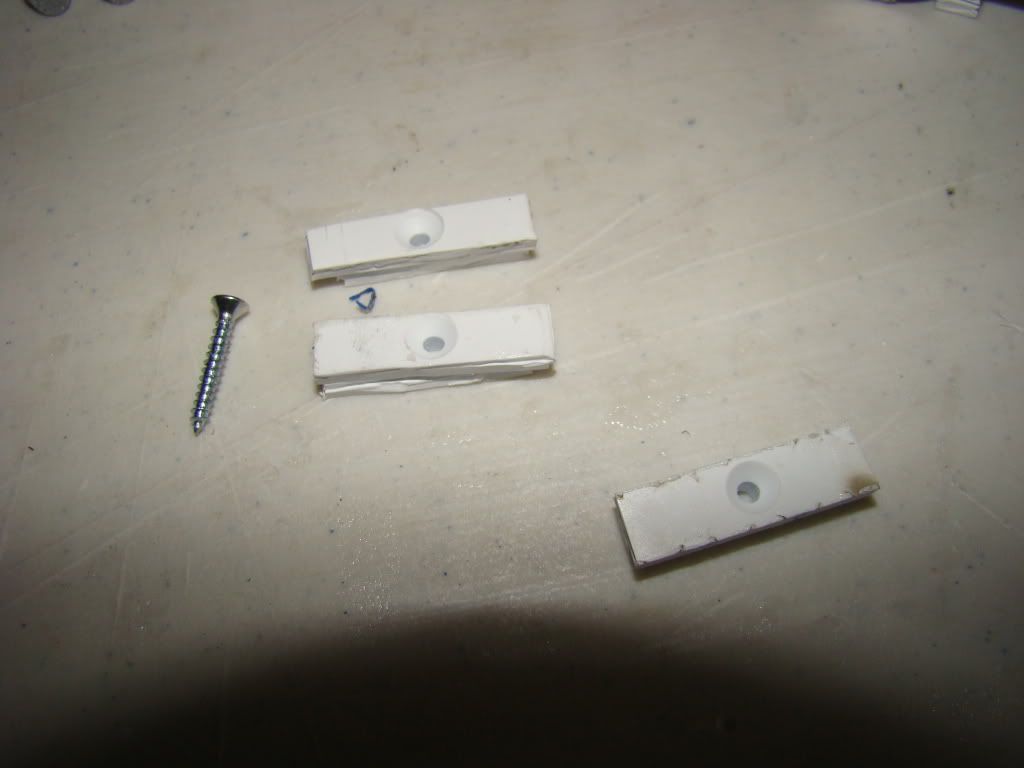
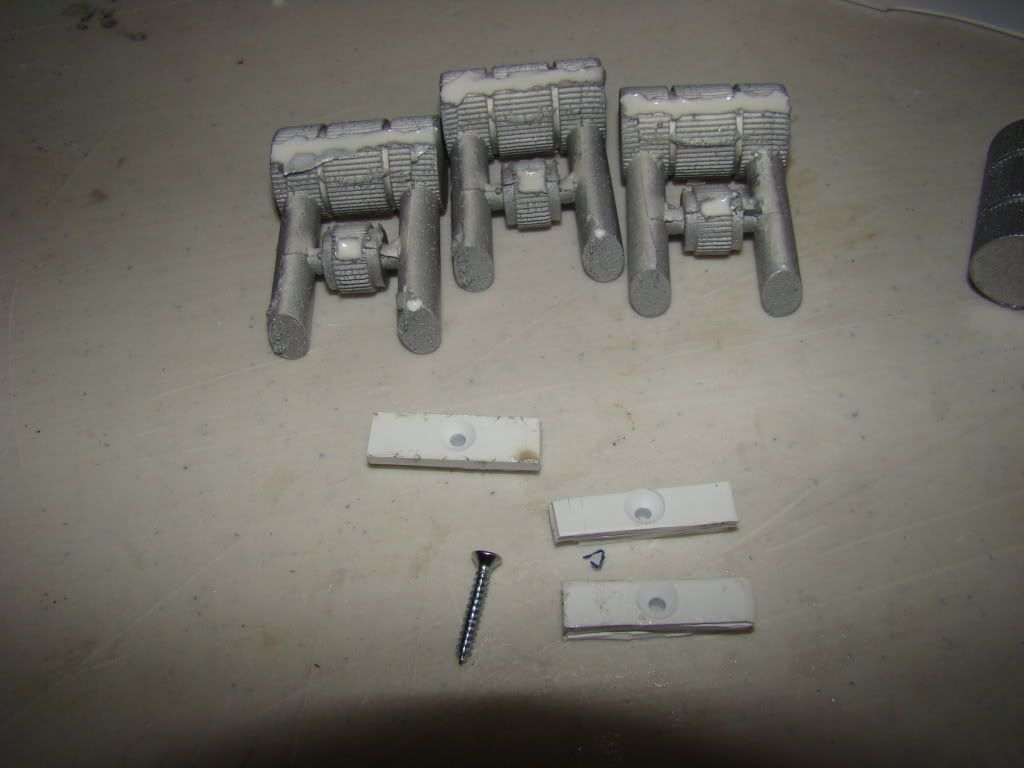
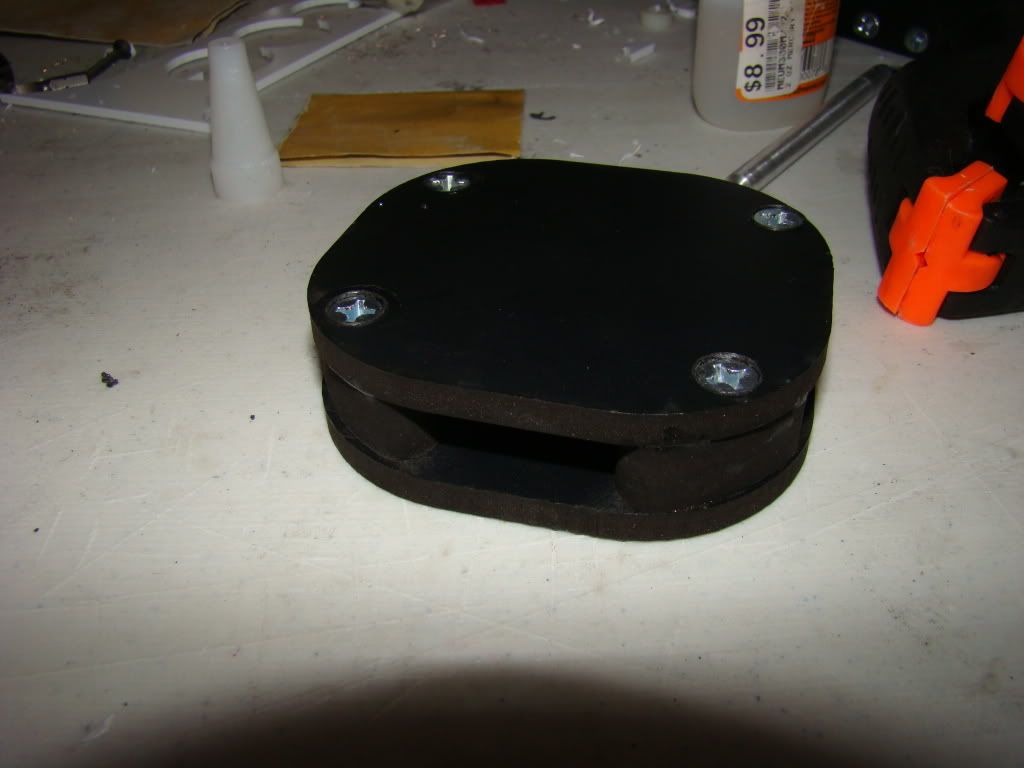
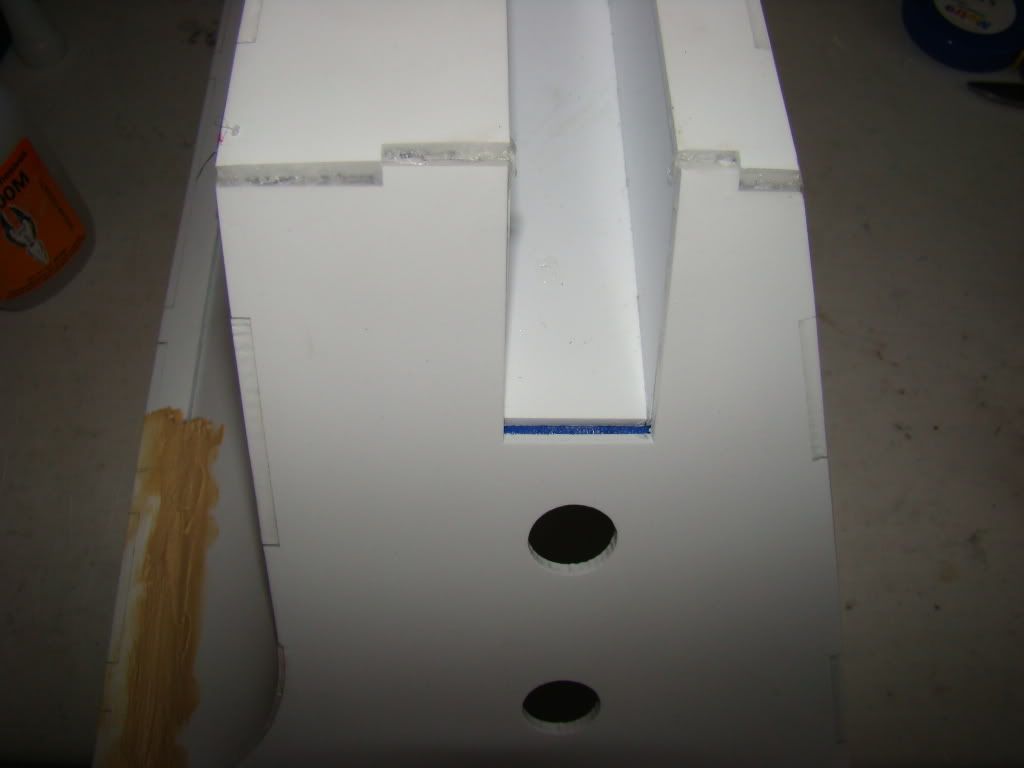
I started by countersinking some pockets through the wedge into the cylinder:
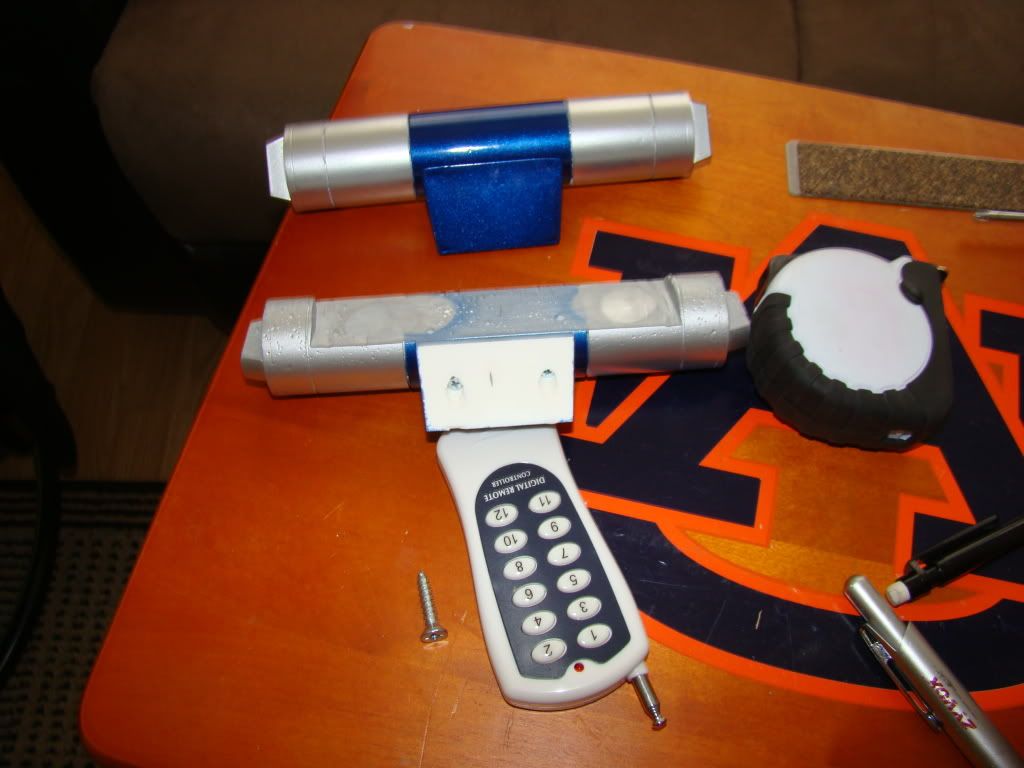
Photobucket

Photobucket

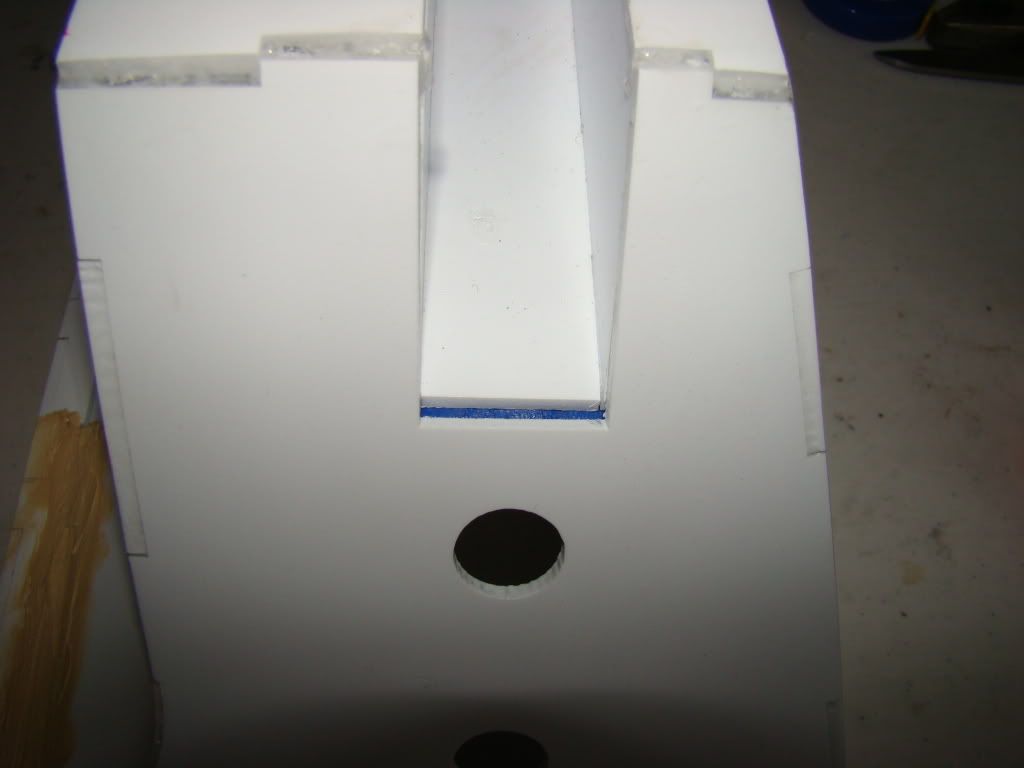
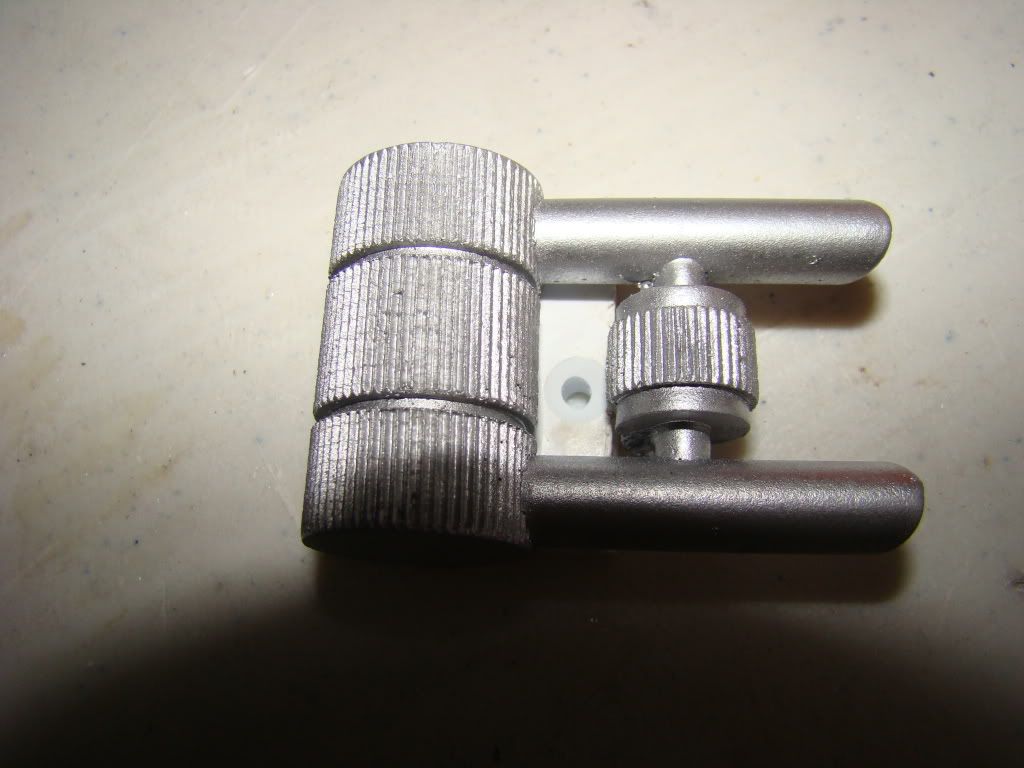
Next up I countersunk another pocket straight through the bottom of the cylinder, where it SHOULD be unseen:
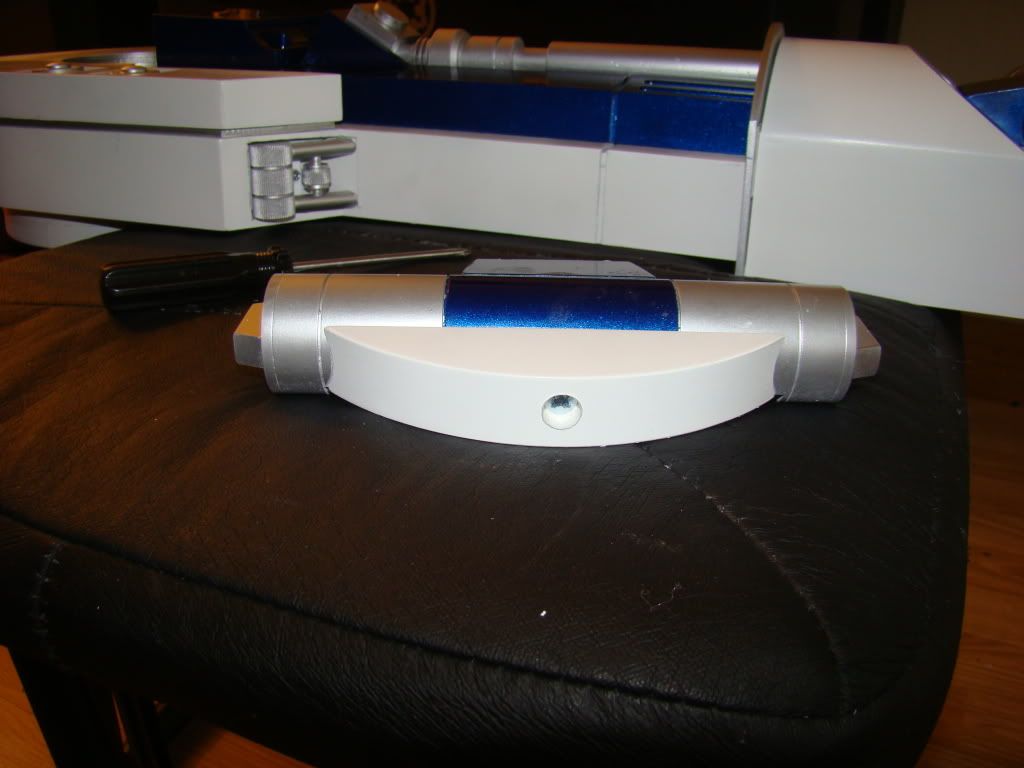
Photobucket

And the holder isn't off center. I was holding the camera crooked so it just looks that way...or it was at a funny angle...or something like that...


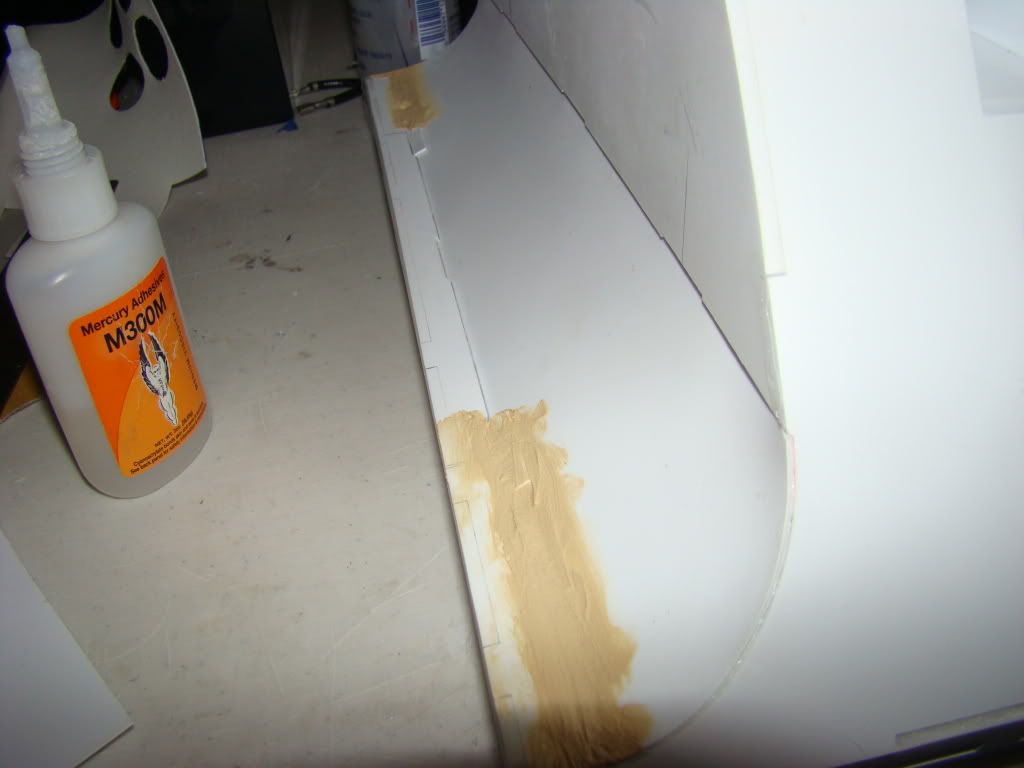
Lastly, I used the backside of the cylinder, where it overlaps the ankle as the mount point. This involved a lot of very tedious, tiny, careful drilling with the drillpress turned sideways to the base to allow for more height. It's probably dangerous to turn the whole thing sideways to the base, so don't say I didn't tell you if something bad happens...

Anyway, here's how small the holes are, and how close to the edge of the ankle:
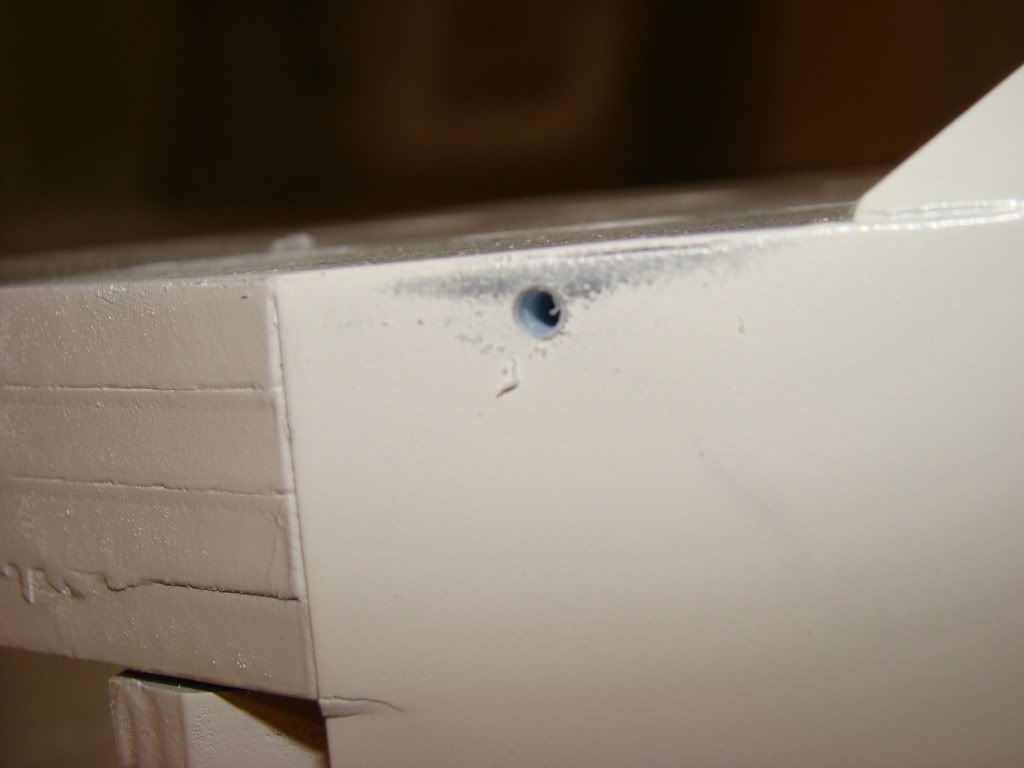
Photobucket

Photobucket

Photobucket

Photobucket

Those pics are pretty close up, I dont' believe any of the holes will be visible, unless you are looking for them :) What's that rule, 50 feet?

anyway, gotta figure out what I got on my fingers from the drill press that made ugly black marks on my beautiful shiny blue:
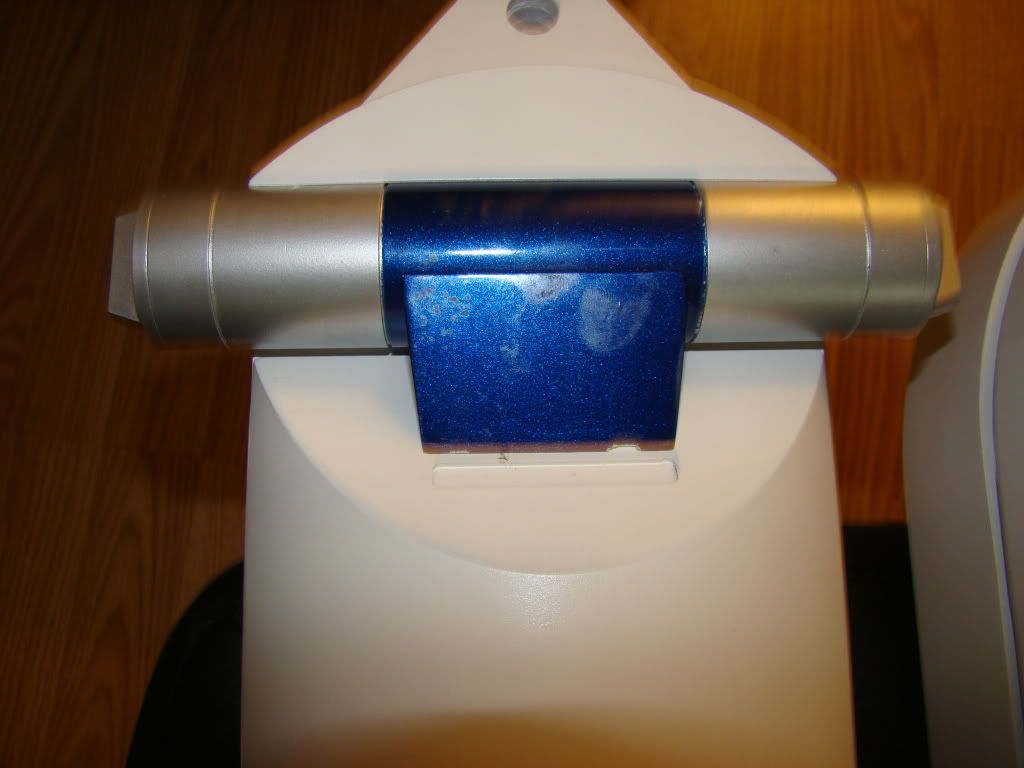
Photobucket


Here's the list of things I've got coming for the body:
WaterSet center vents - paid and received
Sherrell skins - paid
Womo side vents - paid
Dave Shaw power couplers - on the list.

Wish list:
Womo's pocket vents
Womo's coin returns
Dave Shaw's coin slots
Dave Shaw's octo-ports.

I've already got resin arms from Keith, that should leave only the LDP to decide, resin or Alu.

I'll worry about the dome when it gets here...next week or the week after :D
Sunday, March 22, 2009

Legs are close!

Did some fill work on the outer feet finally. Right now I'm using wood putty, will probably put a coat of CA over the top to seal it or something...
Photobucket

Photobucket

Photobucket

Photobucket

Also got my under-shoulder details figured out for now.
Photobucket

Photobucket

Photobucket

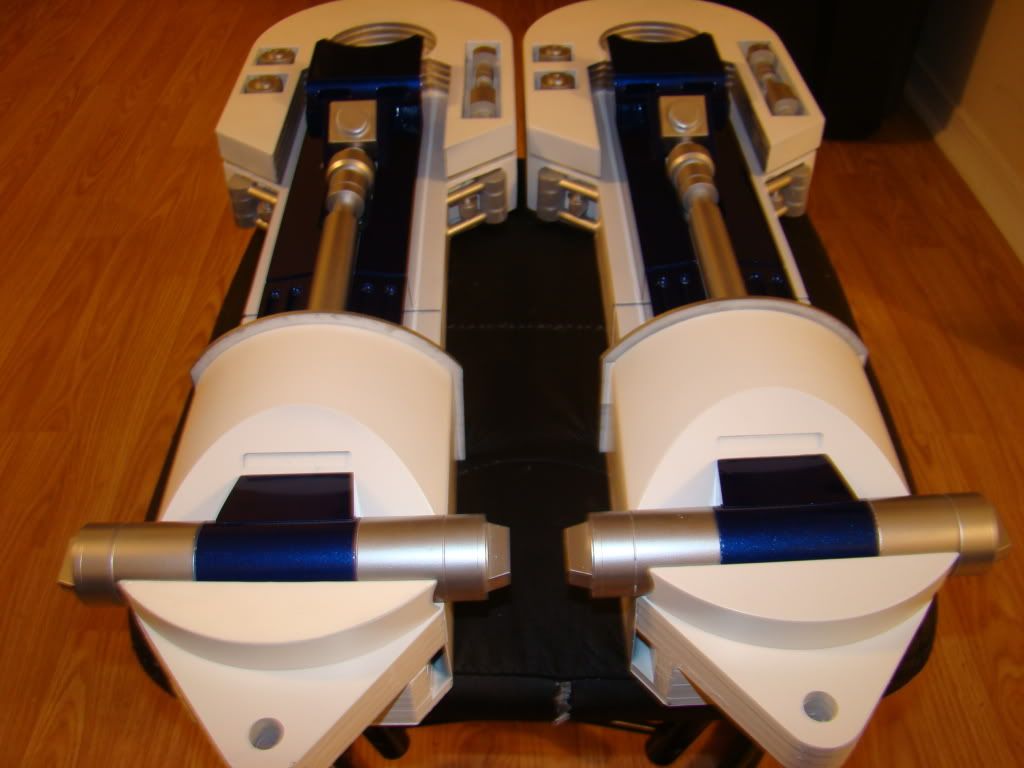
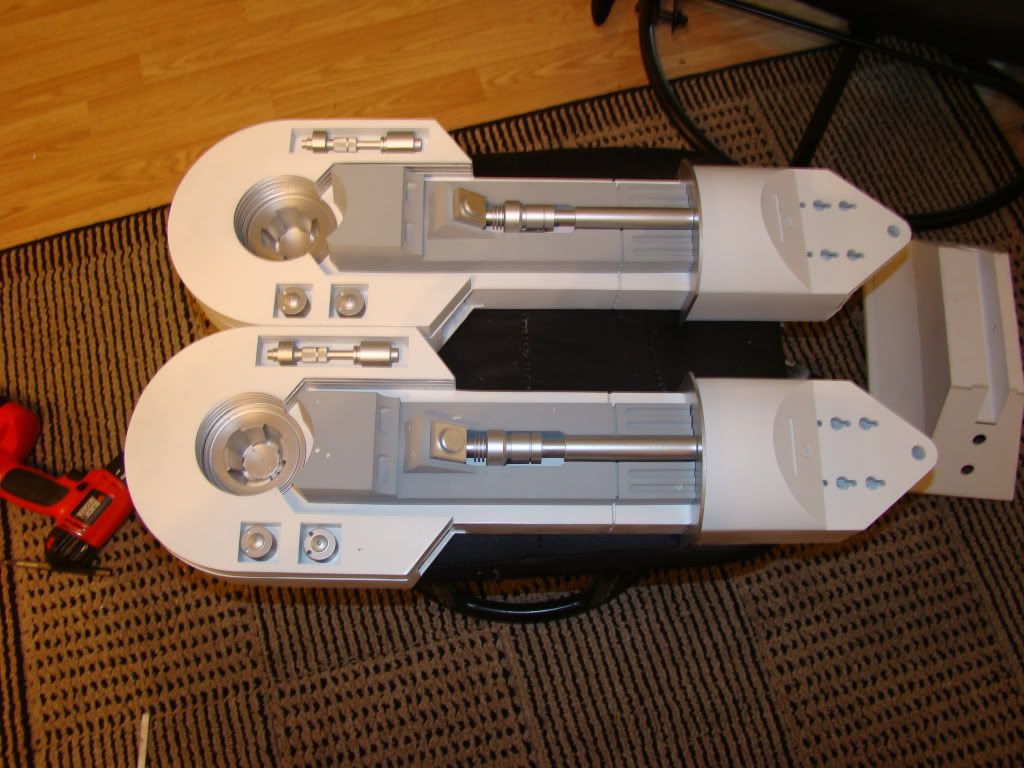
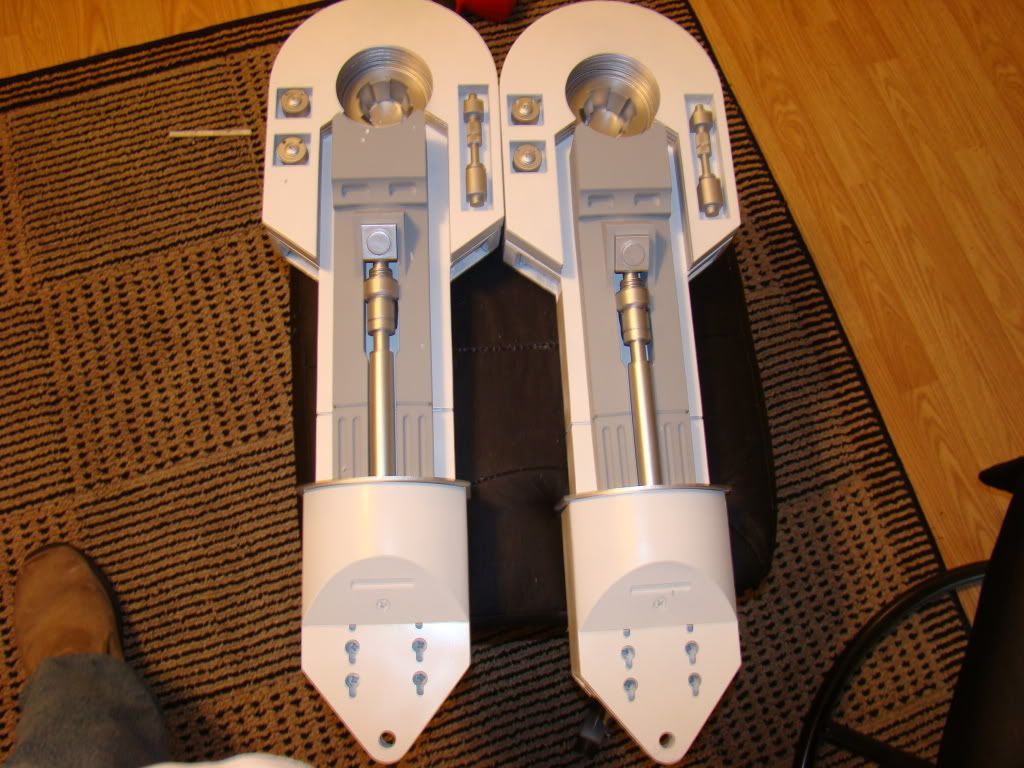
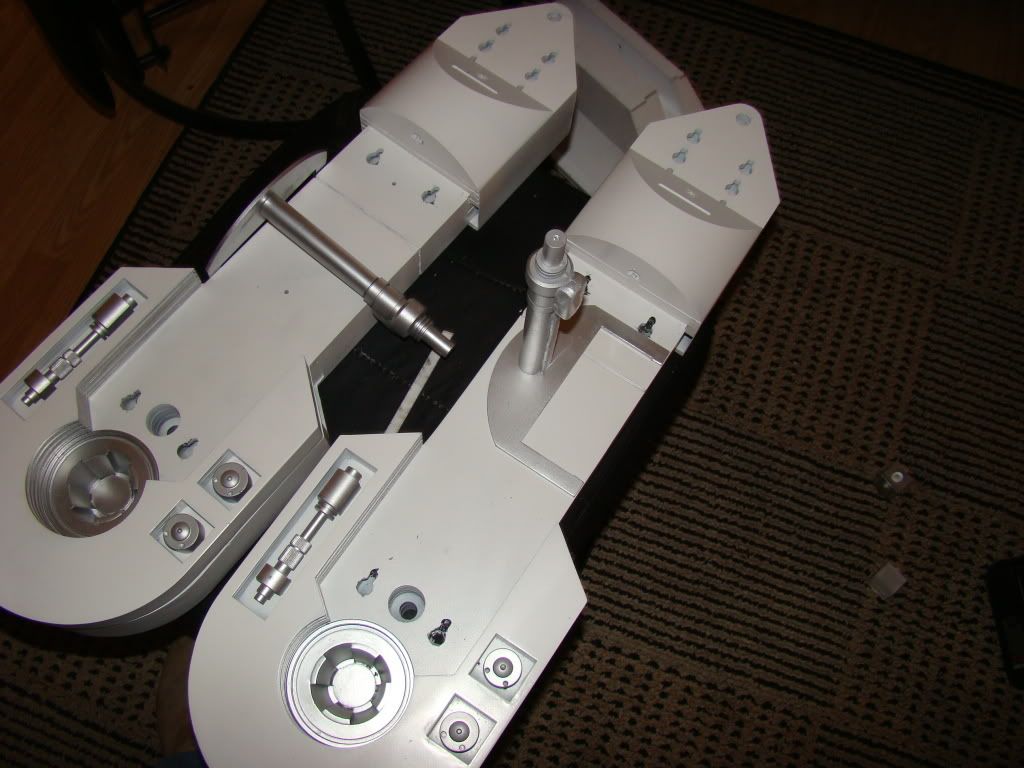
And the legs are mostly put together, the cylinders and related pieces aren't actually attached yet, just sitting there.

Photobucket

Photobucket

Photobucket

Photobucket

Photobucket

That's all for today!

Friday, March 20, 2009

The same blue, and more blue, and some primer too

More paint today...
Photobucket
Don't know why I hadn't gotten around to those, and I'm not looking forward to masking the blue when i get to that part.

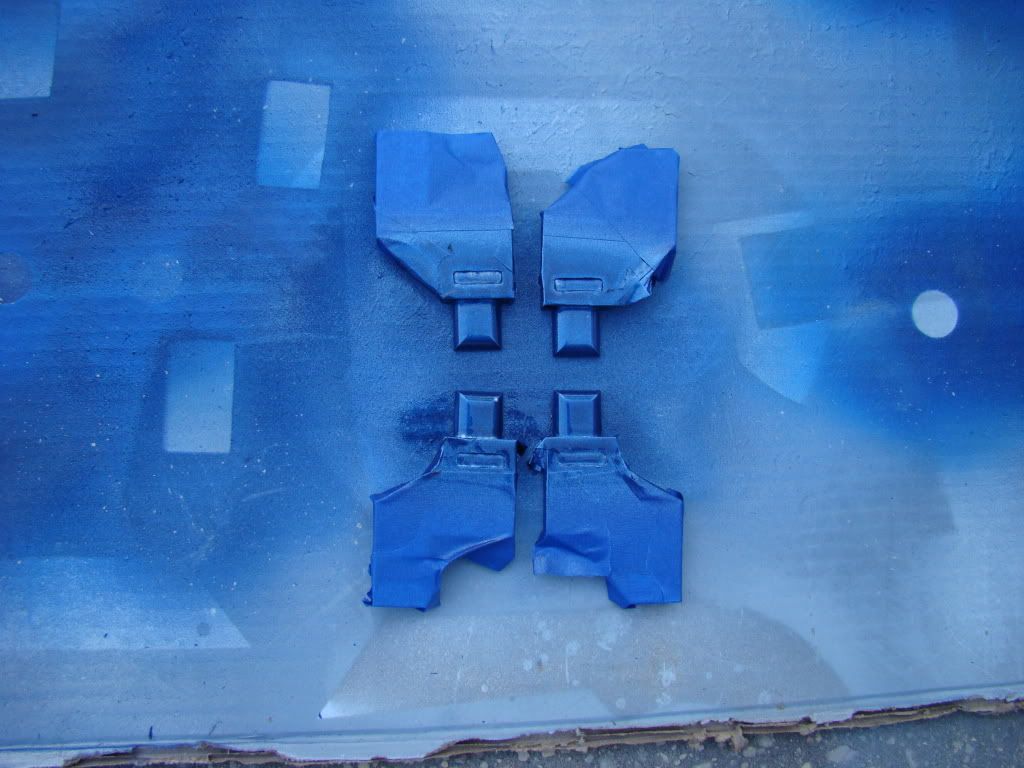
Masked the ankle details and painted them:
Photobucket

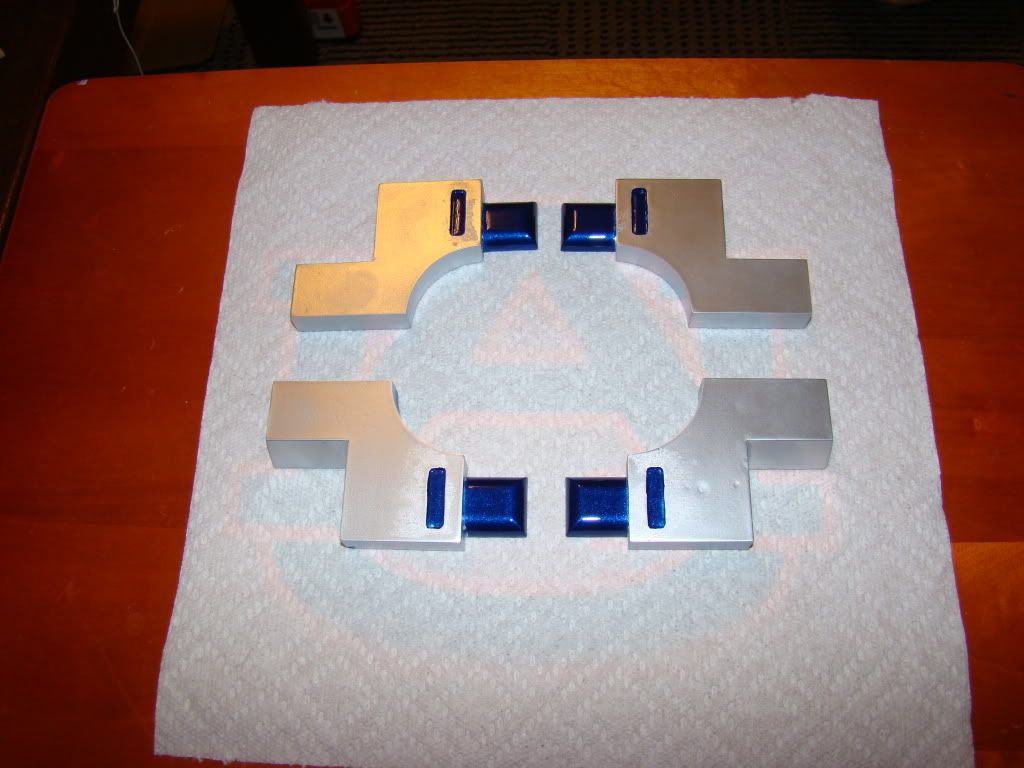
And removed the tape once the paint got tacky, per MikeSenna's suggestion.
Photobucket

They were much more difficult to do than the cylinders, so naturally they didn't come out as good. They will need a little cleaning up before I figure out how to attach them.

Also removed the tape from the ankle cylinders, after running an Exacto around the edges of the tape, so it wouldn't peel:
Photobucket

And a better picture:
Photobucket
Purty, Ain't they?


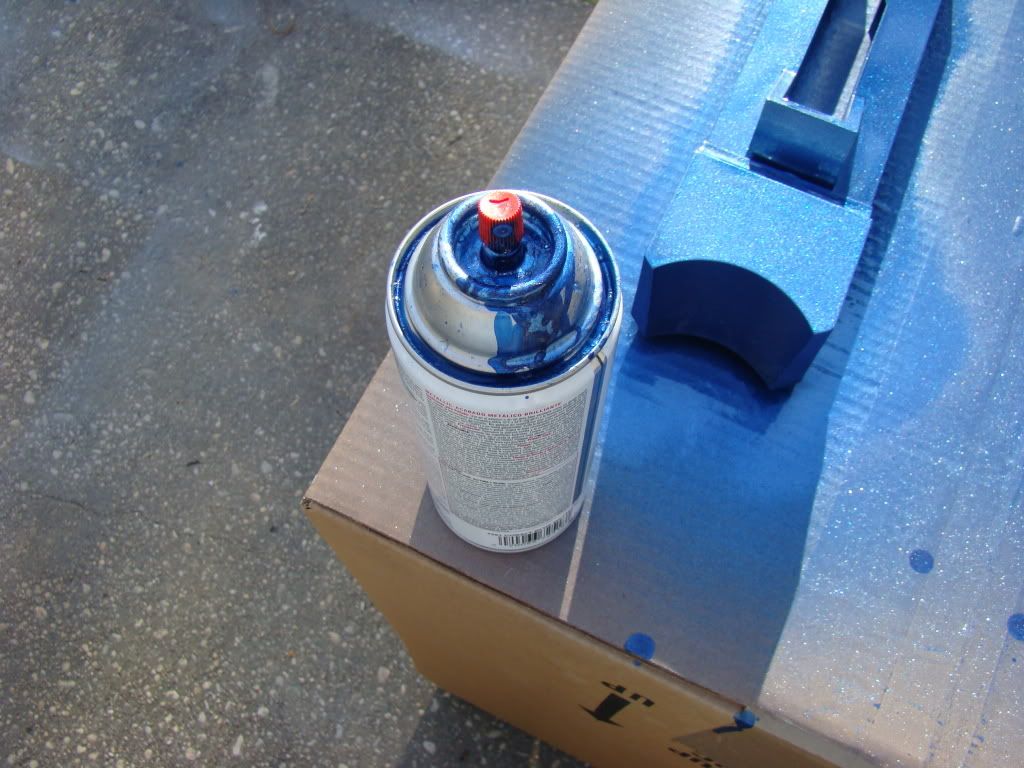
While painting blue, something weird started happening...
Photobucket
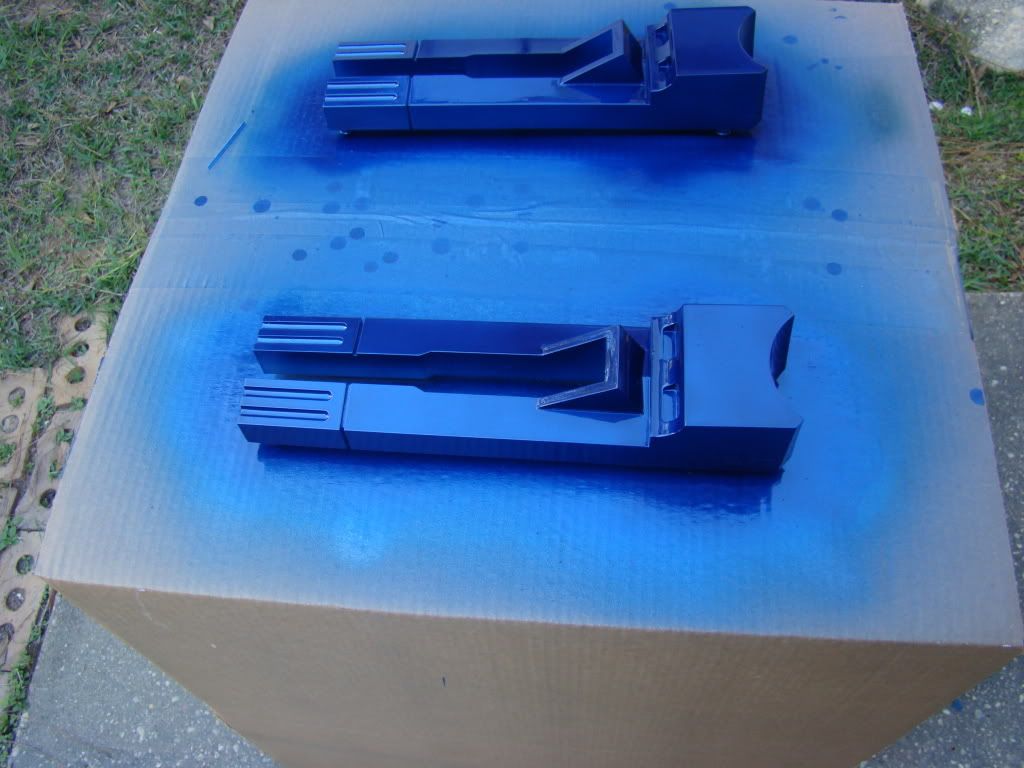
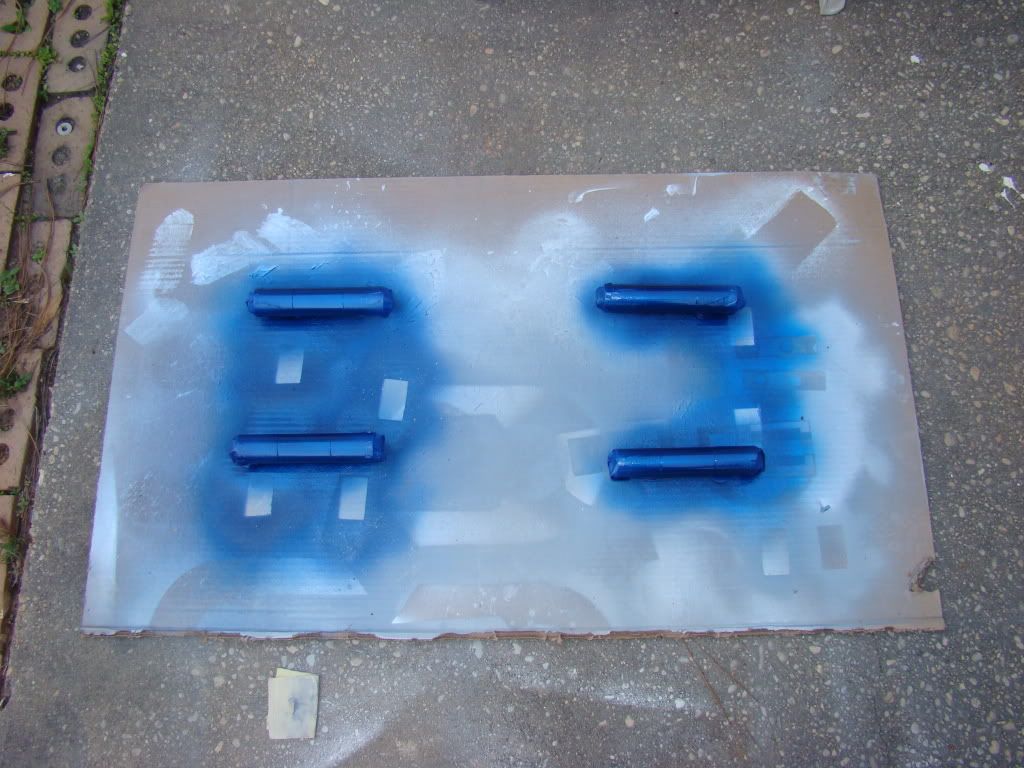
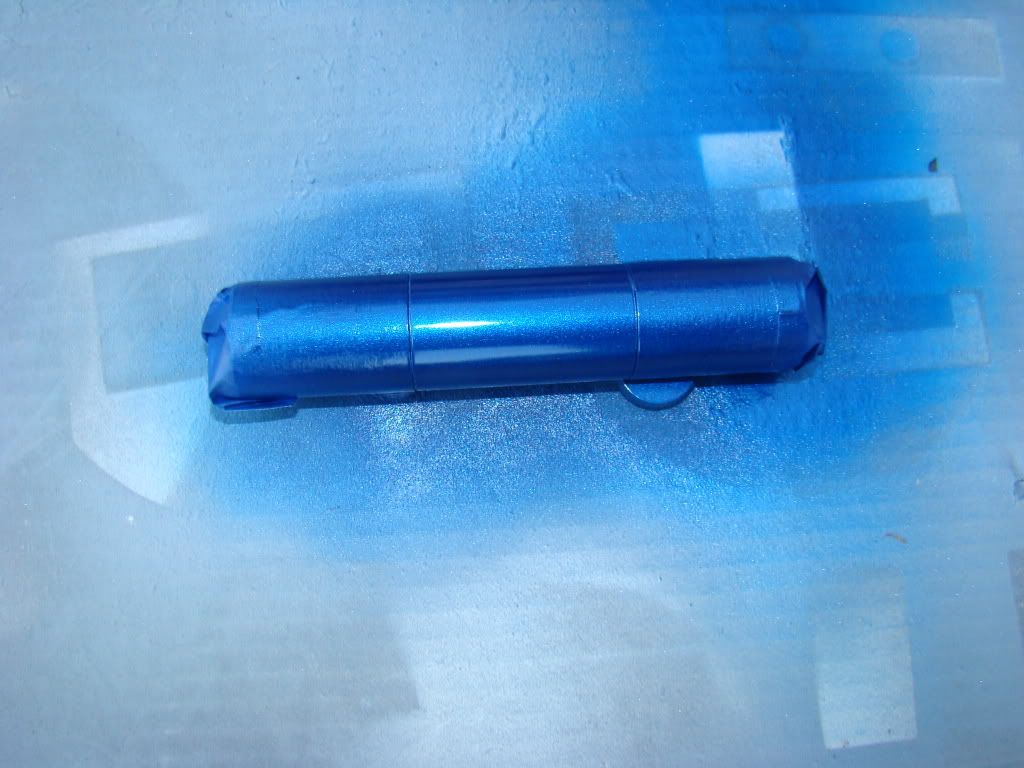
Not sure why it started making a mess, but it didn't hinder me, you can see the drips in some of the next pictures, which are the whole reason for today's post.

All this other stuff is just extra...


Here's the REAL stuff!
Photobucket

Photobucket

Photobucket

Even raw cardboard looks good with krider blue on it....

I guess in a few days once that paint cures I'll have pics of the completely assembled leg...I can't wait until its' cured enough to handle.

I'm supposed to go to "CoastCon" in Biloxi/Gulfport, at the Coast Coliseum, but it's an expensive ticket for a little bitty gaming con. There's no SW guests this year. The only bright side would be meeting some troopers I don't know from Bast Alpha Garrison.
I'll decide in the morning whether to go to the con or stay home and work on Artoo...

Thursday, March 19, 2009

Let's try again, or "Paint and Tragedy"

Ok, since I let the last post go all day, I'll just start fresh.

There's good stuff and bad stuff in this post...let's start with the good stuff.

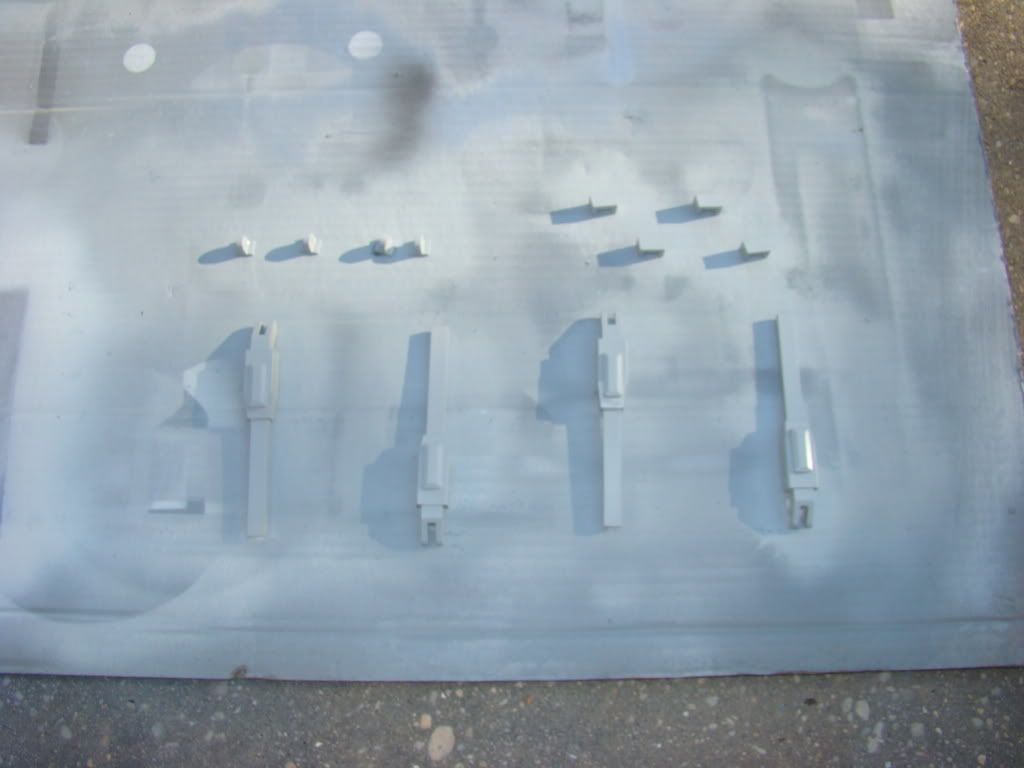
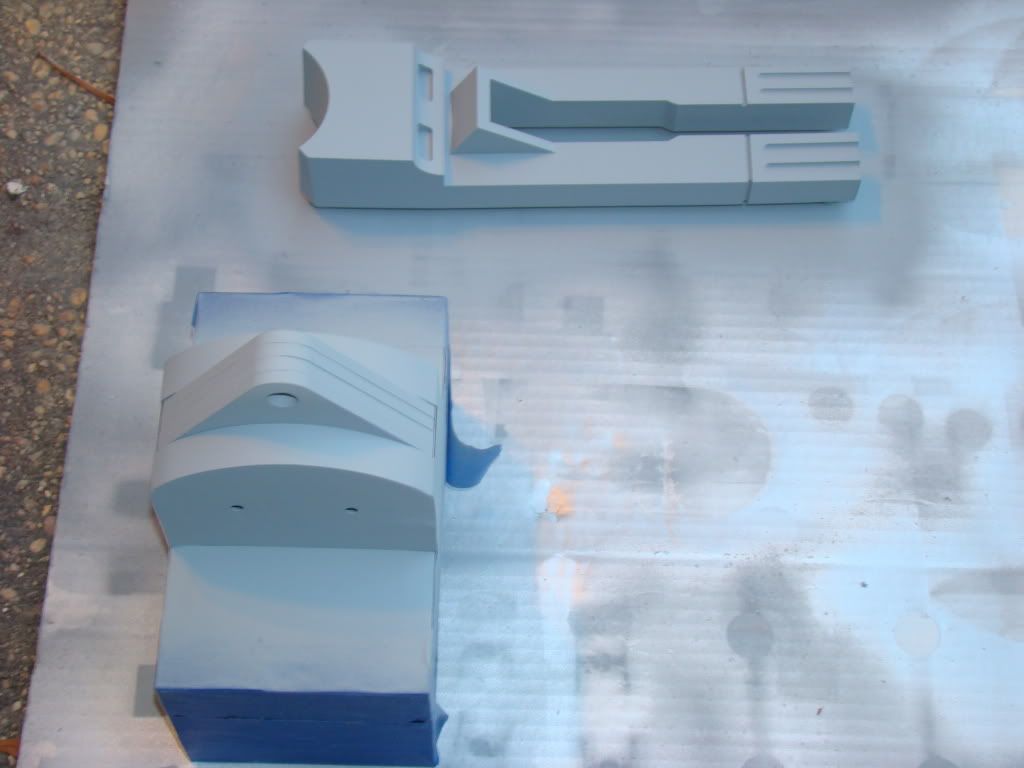
How about some primer on the center ankle? Not really sure how it kept getting forgotten...
Photobucket

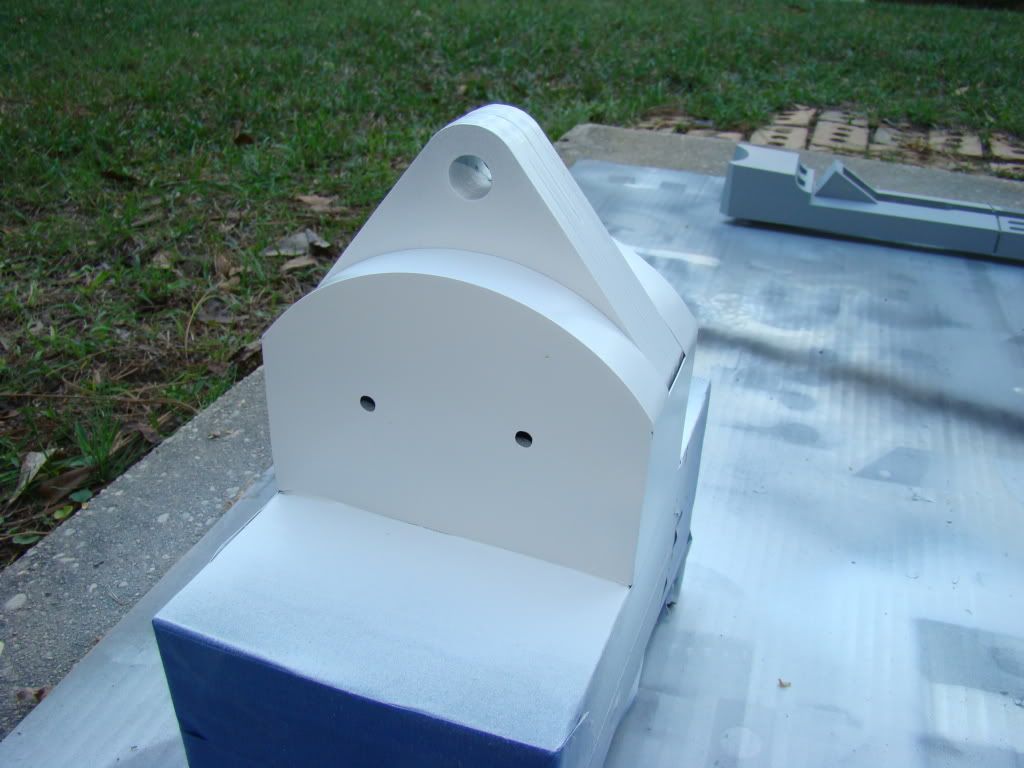
And how about some white on the center ankle?
Photobucket

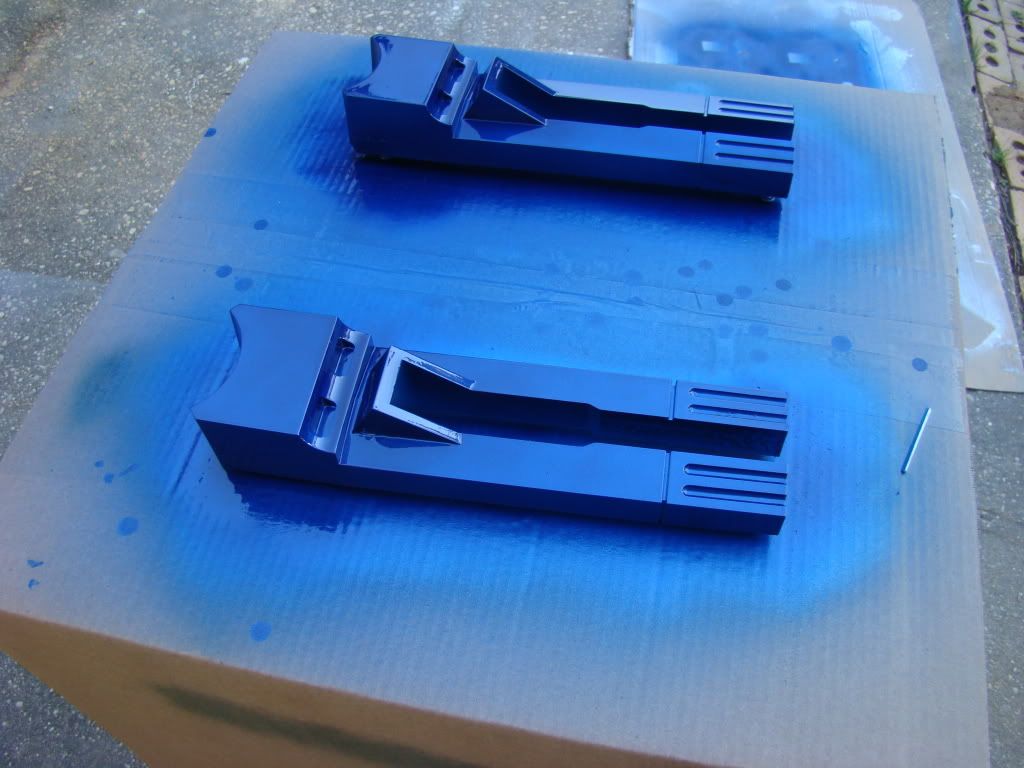
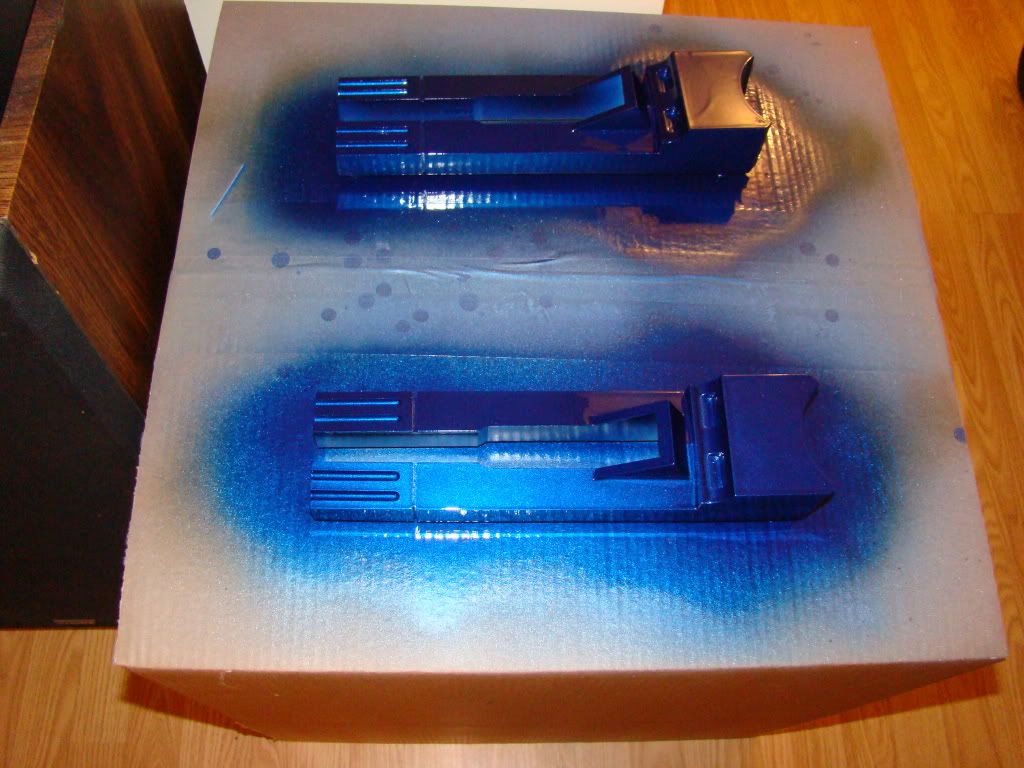
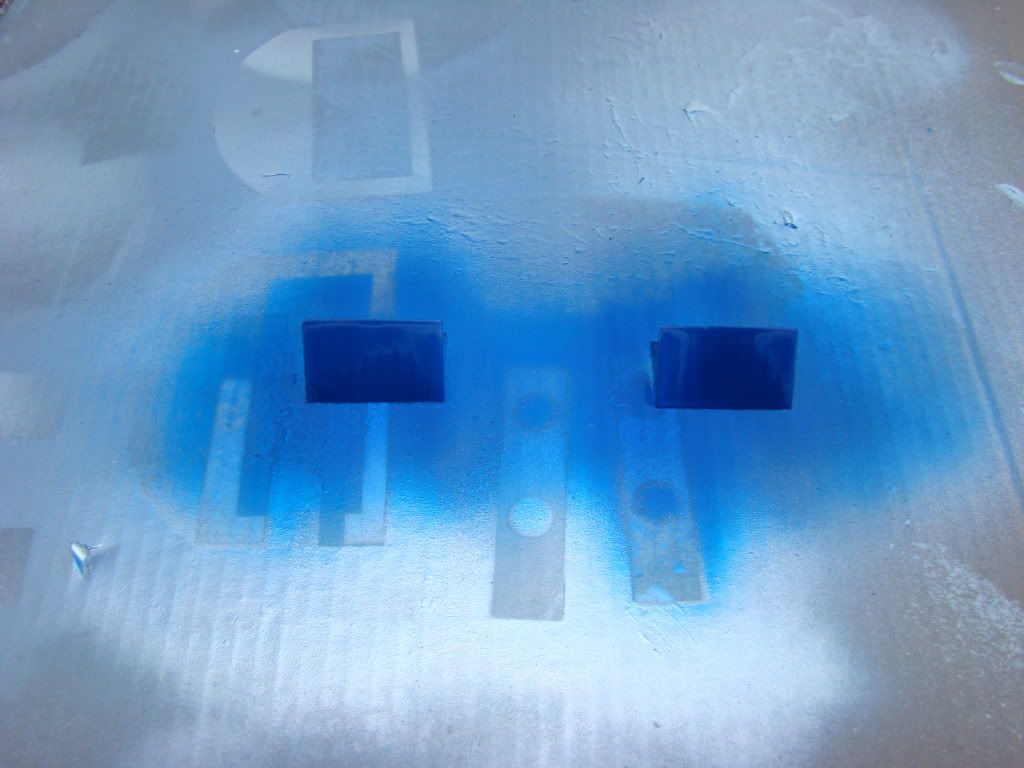
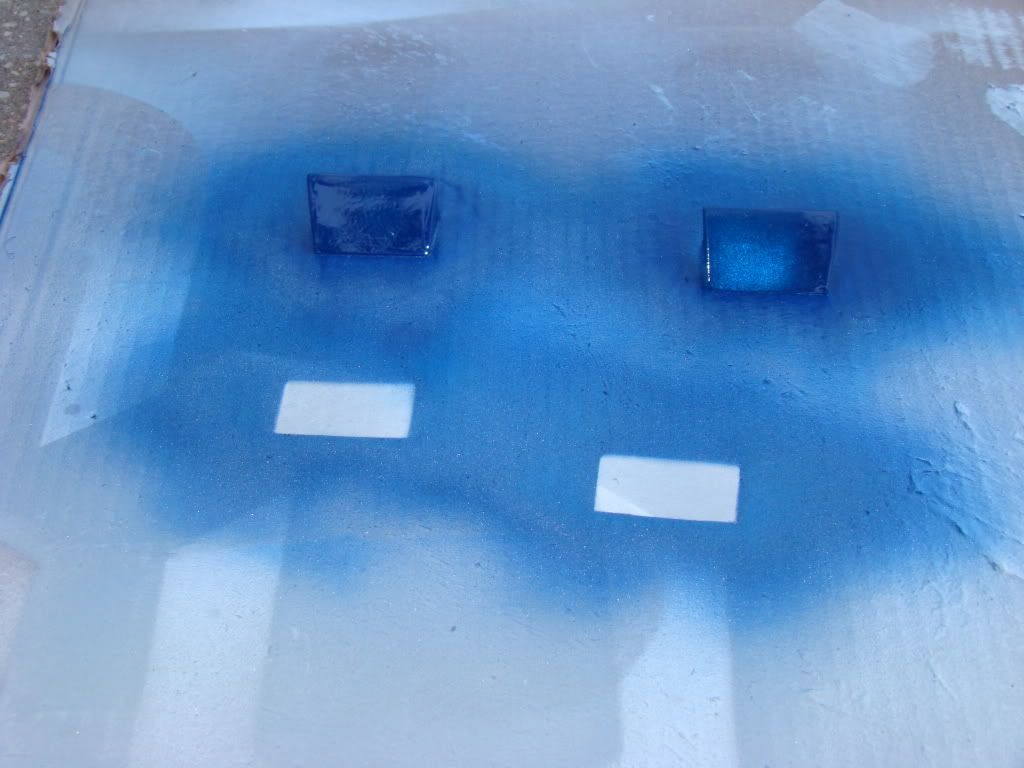
and now, ladies and gentlemen...oh who am I kidding...fellas, I present to you, my first attempt at Krider Blue!
Photobucket

Photobucket

Ok, I know these are some pretty crappy pictures. the flat surfaces don't photograph well at all when the paint is wet.

These pictures on the other hand, are worth $1 MEELION DOLLARS!
Photobucket

Photobucket

I don't remember if that's after the last coat of metallic blue, or after the first coat of anodized blue. I'm leaning towards the anodized, but does it REALLY matter?

That 2nd picture is so pretty I can't help but wonder, if the metallic blue looks that good, how AWESOME must the metallic purple be? Shame I won't know, since purple isn't available locally, or now like the blue is.

That's painters tape on the ends of the cylinders, as I'm sure you knew. Maybe tomorrow I'll get brave and untape them. Going to have to run an exacto along the edge of the tape so the paint doesn't come off with it...that would be a nightmare i think.

Anyway, now on to the tragedy :/

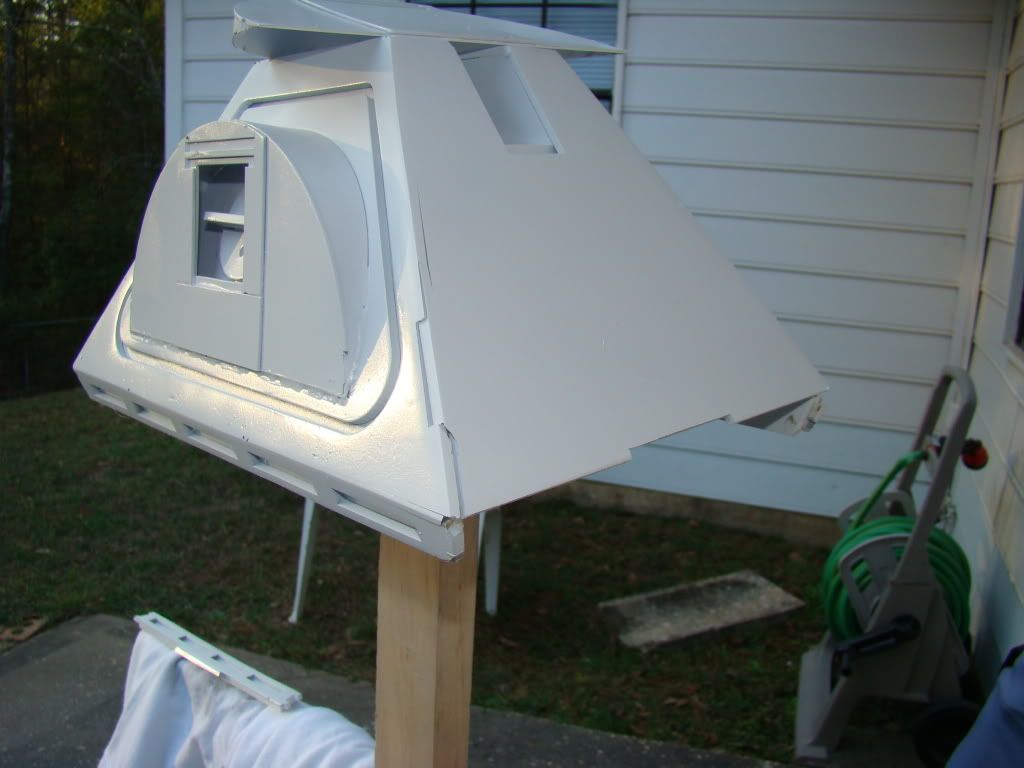
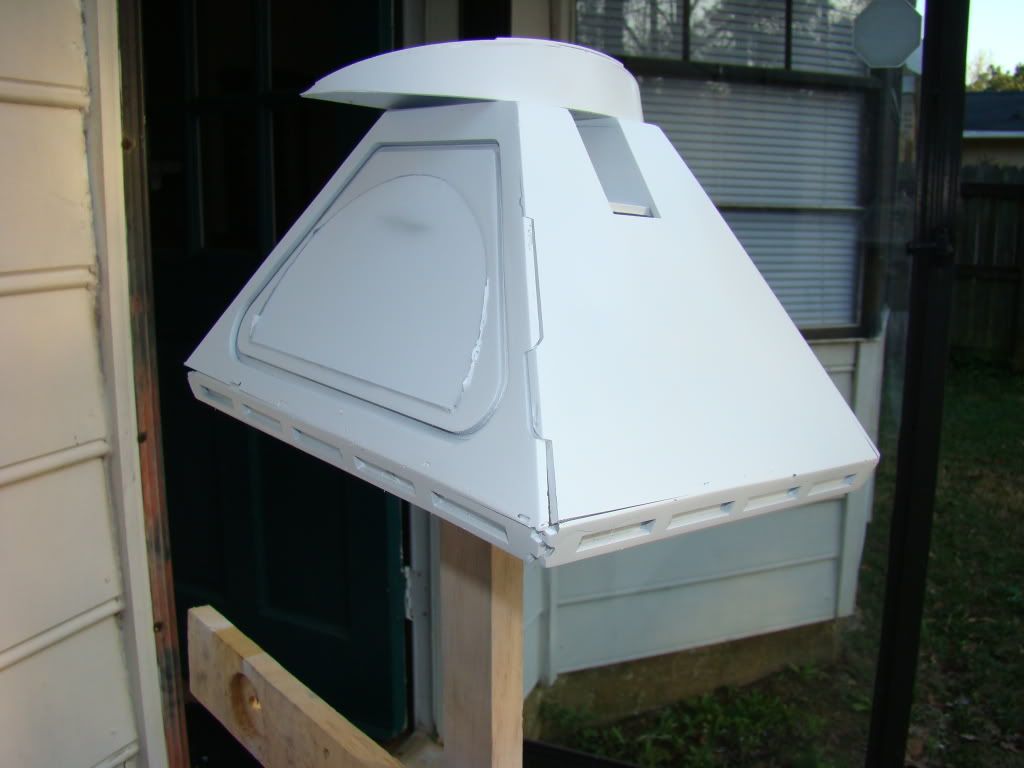
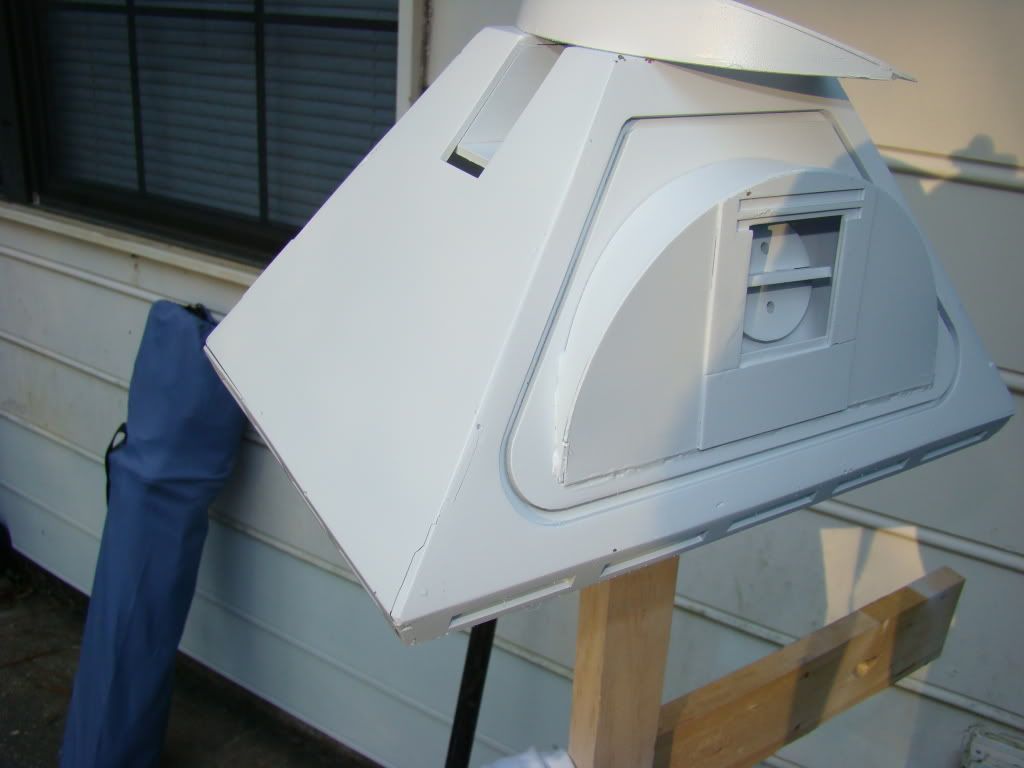
In addition to painting the cylinders yesterday, I was also painting the center footshell white, since it was remembered about the same time as the center ankle. They kinda go together, and since everything else about it was getting done, figured why not.

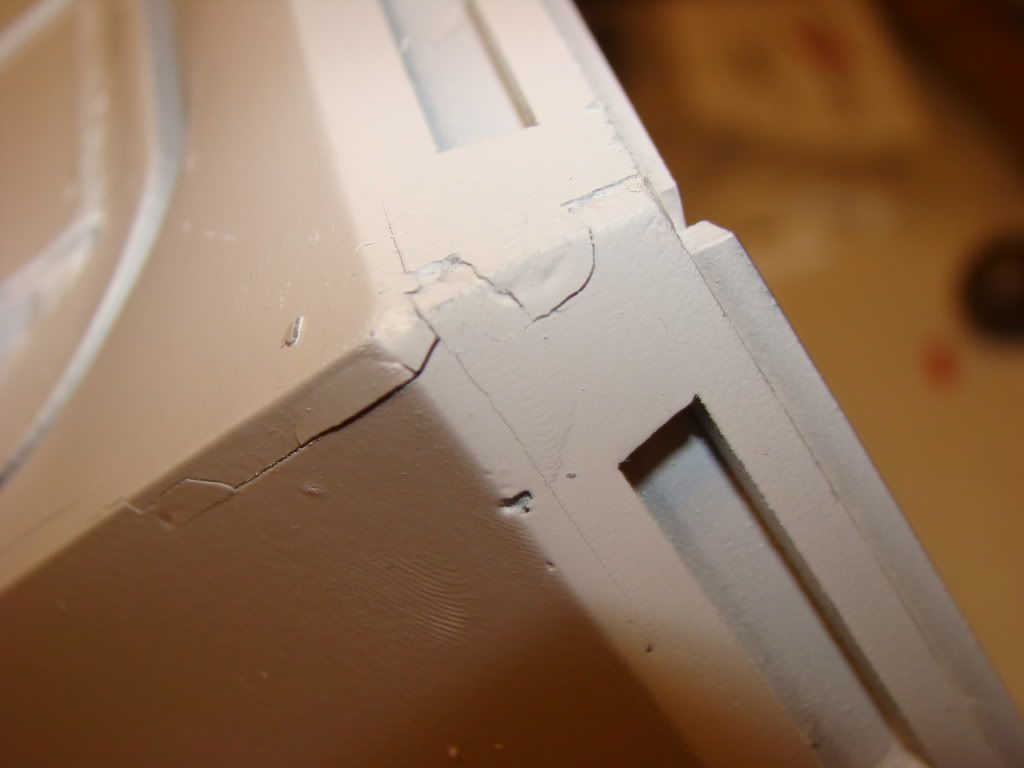
So anyway, you've probably seen my helmet painting stand. It's the cheap little wooden stand that I had my horseshoes on when painting. I had the footshell on top of the stand, just like I'd done when I primered it, so that I could spray up at the skirt and get it covered. I was all excited about how pretty the blue was turning out on the cylinders, and forgot where the helmet stand was, and backed into it. That was the real problem...here's the results of that forgetfulness...

Photobucket

Photobucket

Photobucket

Photobucket

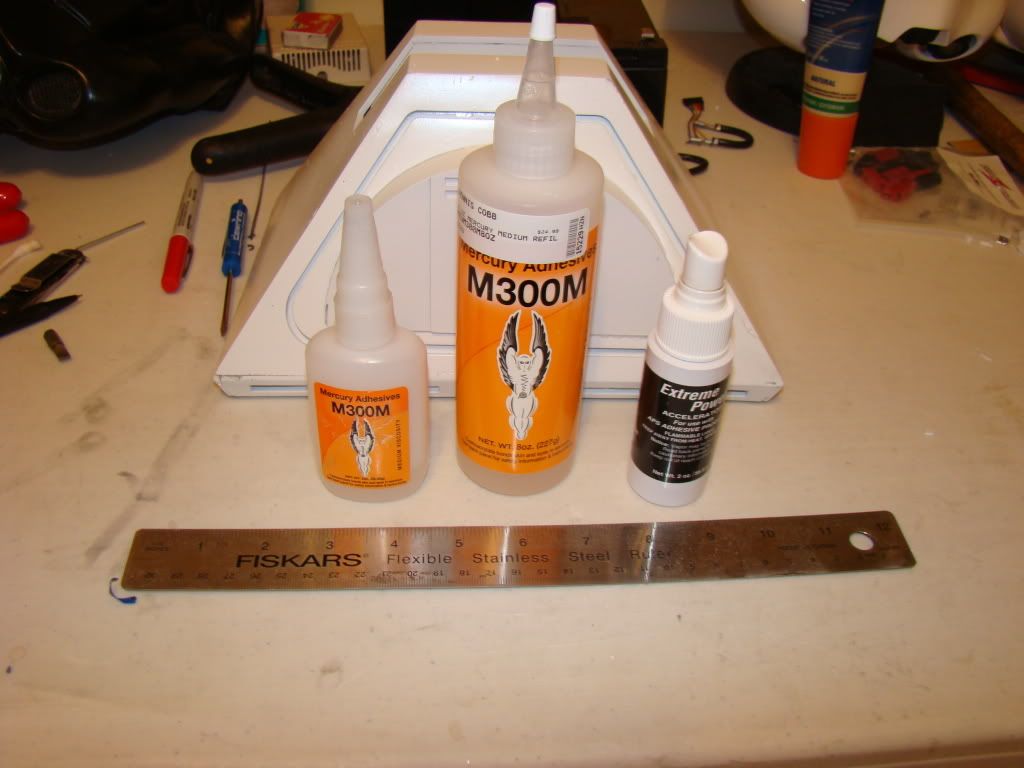
Not very pretty...but the structural damage is already repaired. There's more CA glue puddled in the backsides of those seams now than there was in my small bottle when it was full. If that doesn't make sense, I use a 2oz bottle to work with, and refill it from an 8 oz bottle.
Photobucket

That's all for now. I feel bad for taking a nap today and not getting anything done...and Saturday is "Coast Con" over in MS, which I agreed to go to before I realized there was only going to be one or two people I know there. Dunno if I'm taking armor or not...probably ought to take my TK and field test it, since it's been almost a year since I put it on.

Next time!

Wednesday, March 18, 2009

GRRRRRR

Ok...just deleted 20 minutes worth of typing and pics...I'll edit this one at a later date

Where to begin?

Wow....lots of pictures, must mean interesting stuff!

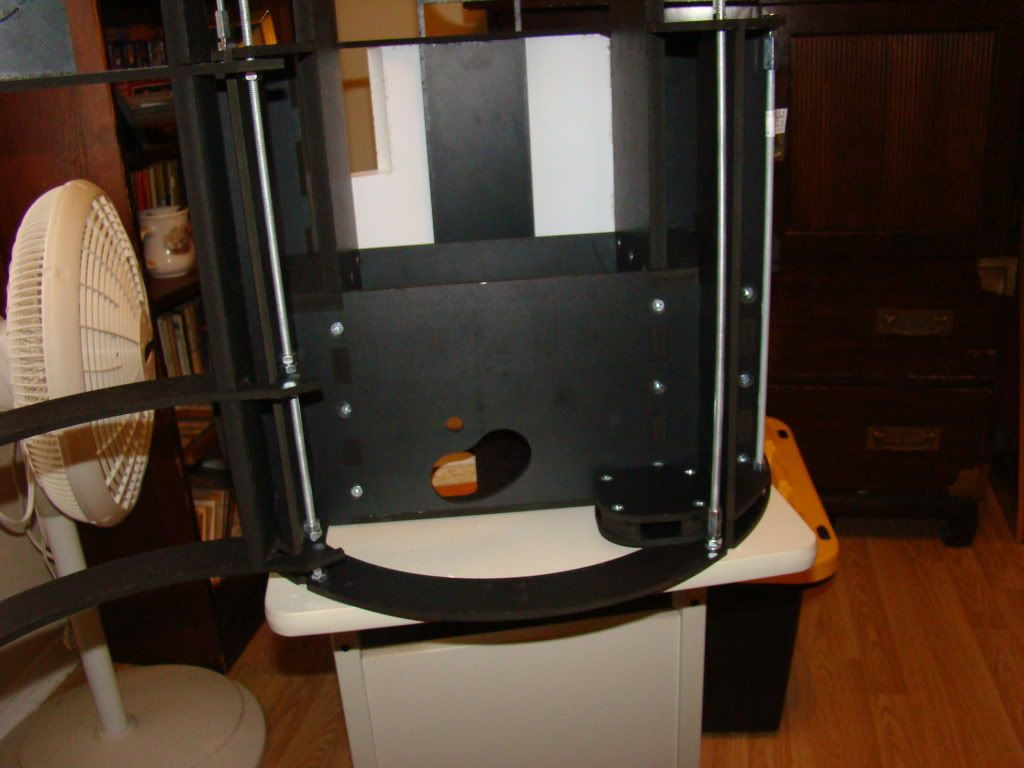
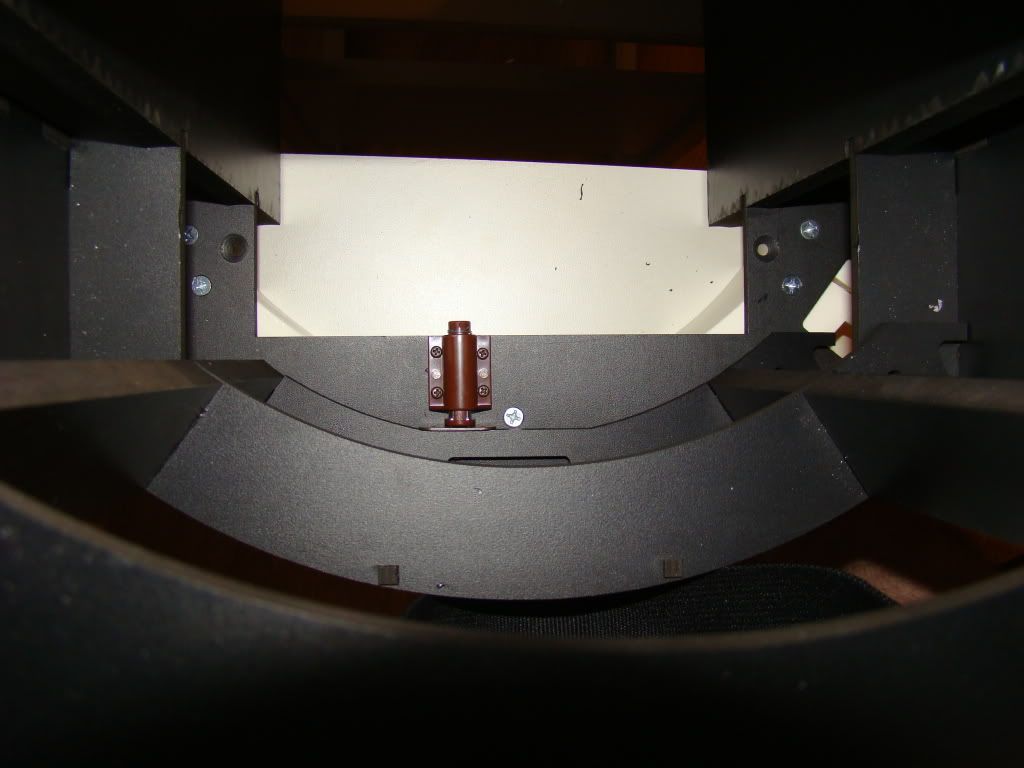
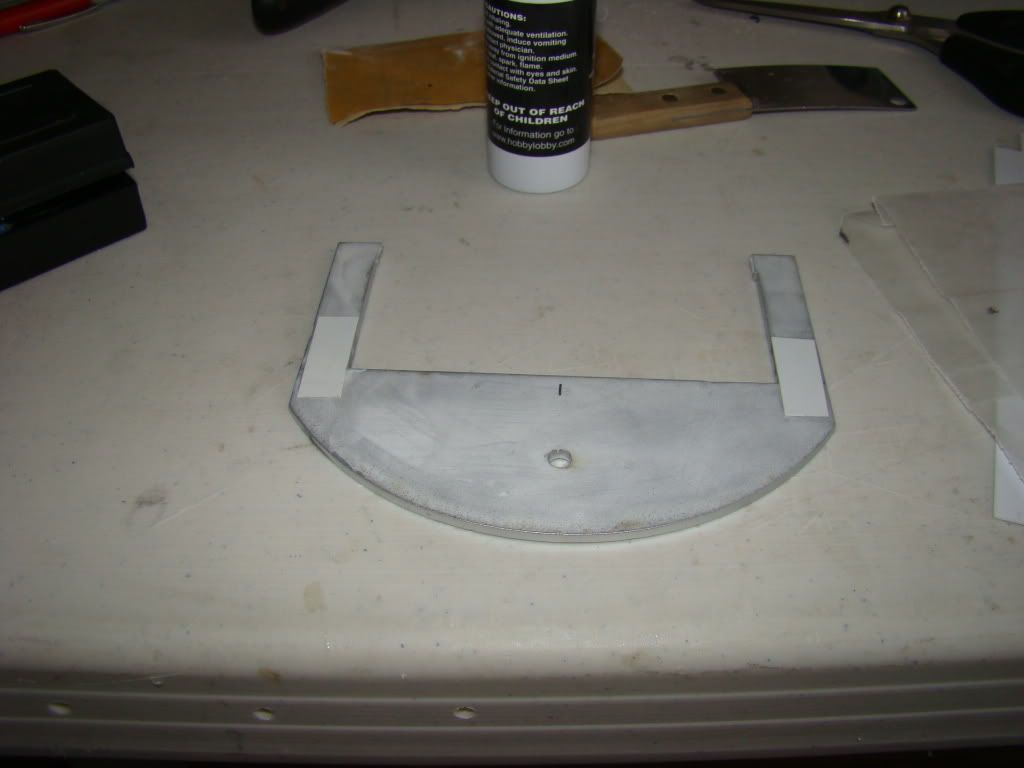
First, finally got my door closer setup done. I'd seen R7Dude say something about making stuff from the leftover shapes from the A&A kit so I got creative, and made myself a couple of widgets:

this one is the spacer so that the closer will be level with the door, and not the bottom of the top frame ring, which is about 1" higher.
Photobucket

This pic shows where it is located in the frame, which is upside down.


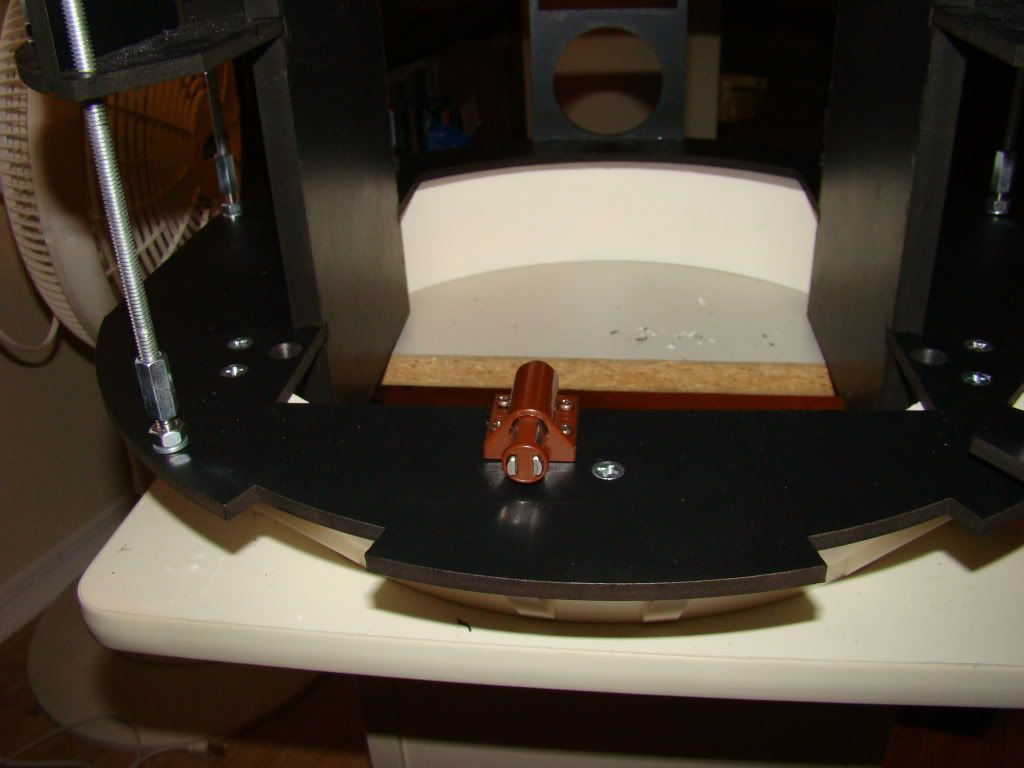
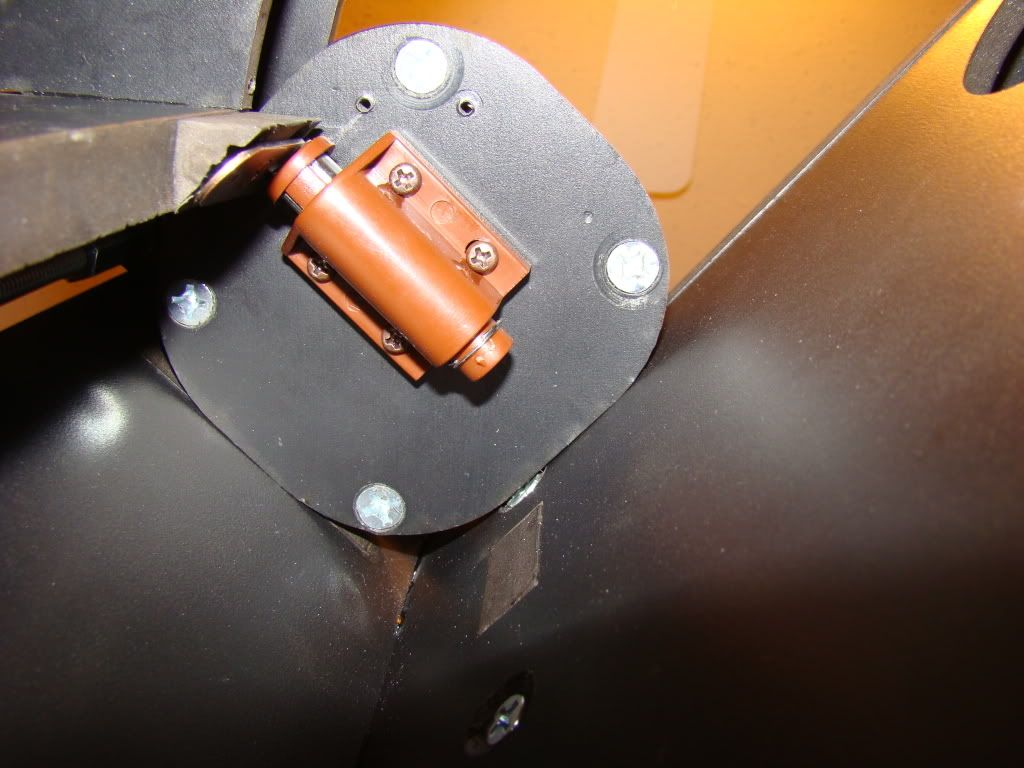
Here's the type of closer I chose to use, it's just like the ones on an entertainment center's doors. Bottom one:


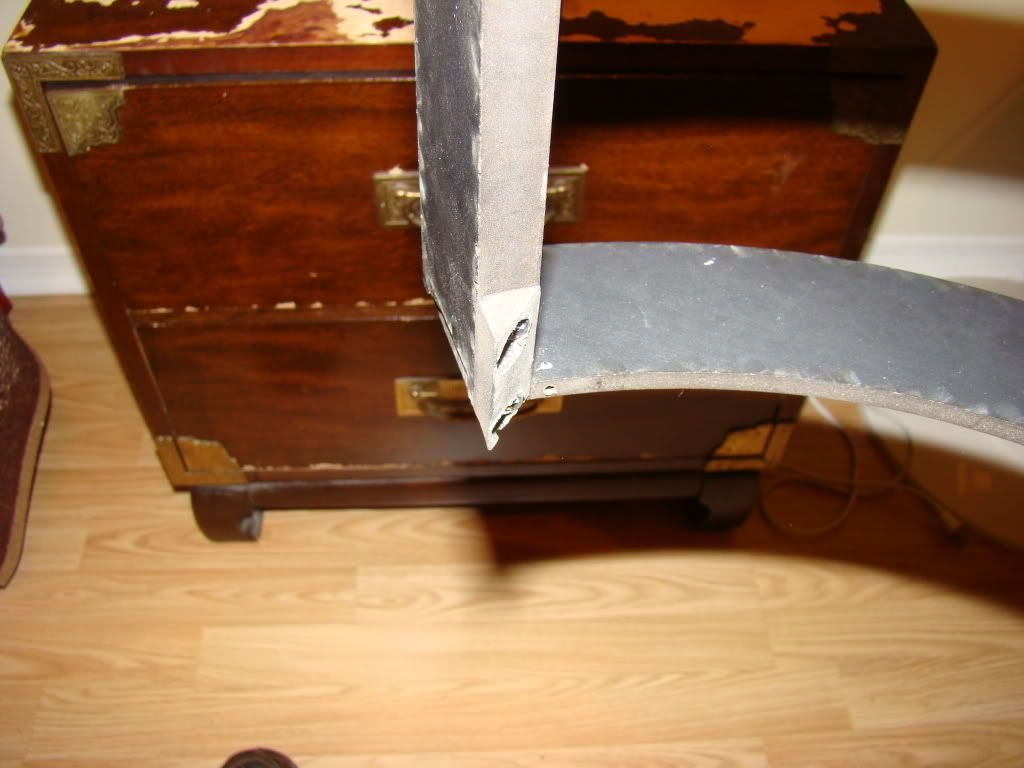
The second widget, which I whittled out of another piece of scrap. Much harder than it sounds, but still easier than getting the belt sander out of the closet, trying to hold on to a little piece like that, then cleaning up that nasty black dust:


and a shot from below of the top closure:


Next up, some of you may have seen my post looking for alu ankle bracelets. I decided it wouldn't hurt to reglue them a 4th time, this time with a scab across the break on the bottom:


and a top shot...CA messes up paint, especially silver...


Next up, I added the screws to the booster covers, so that they can be mounted on the legs. Had a little trouble with one not wanting to slide down far enough, so I just deepened the keyholes a little, and it worked out pretty well:

**Notice the hole I drilled all the way through the booster cover that's lower in the picture...the little white spot in the lower groove...it's already filled with wood filler (thank god for that stuff) and primed again**

another angle:


And the bottom half of the leg actuators is now mounted to the ankle bracelets:


And I think I'll stop here, since the rest deserves it's own post :)