Sunday, October 24, 2010

Repairs Finished

Well, got R2 put back together.

The damaged area is still visible, but it looks more like weathering than having been in a car wreck...

Photobucket

the paint that's missing on the panel came off on the tape that held it in place whilst it was being siliconed back on:

Photobucket

Sure wish I'd have thought about that, but I'll live with it.

For the footshell I went a step further this time, and used the good old "poor man's fiberglass". Or maybe it's actually "Lazy man's fiberglass"...I forget what I called it previously.
Basically it's more CA glue, but this time with the addition of some T-shirt material for strength:

Photobucket

Here's the finished product:

Photobucket

I'm not happy about having had to move the middle screw (right where the damage was) from the inner skin to the outer skin, but the dent in the frame in that exact spot meant the skins would be separated otherwise.

All in all, we're going to score this one as a win!

Thursday, October 21, 2010

Damage repaired

Well, repairs are underway at least, if not complete.

Here's how I did it:

Photobucket

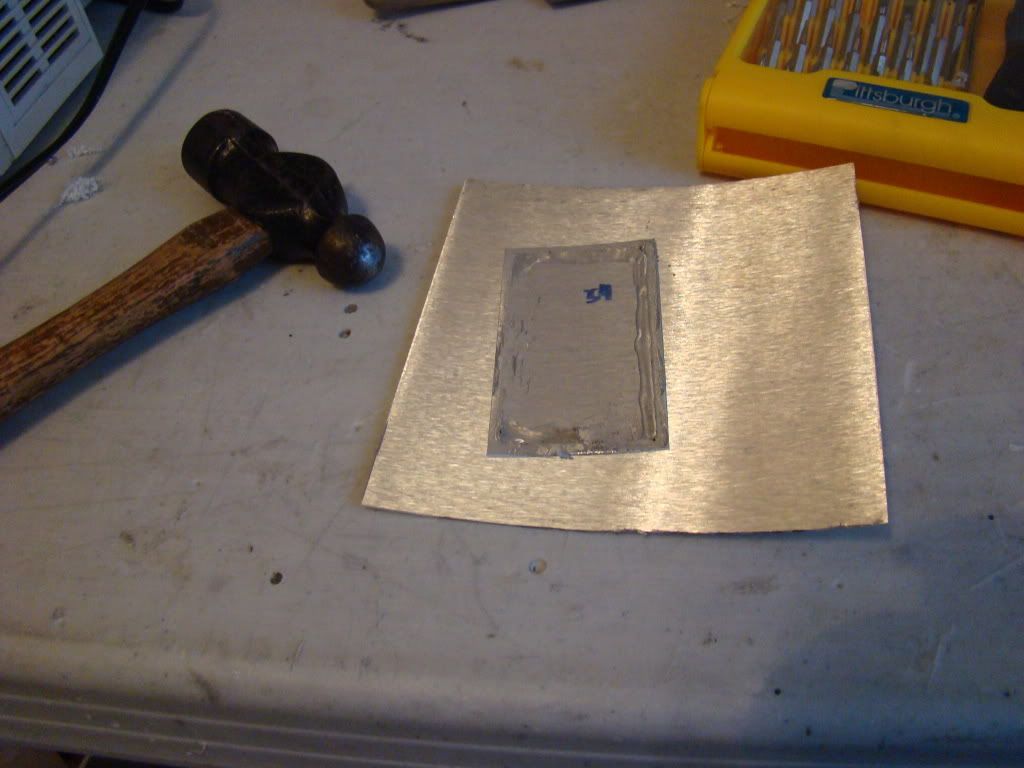
Used a piece of the leftover skin panels and a ball peen hammer to "tap" the bent pieces back into shape.


The inner skin after repair:

Photobucket

Photobucket

Note the good old metal brake, from the motor mount creation process. Made a fairly nice anvil. Also the vinyl, to "protect" the paint... and the unused panel from the skins to make sure the curve was right.

Those things are worth their weight as straight edges and forms, so don't throw them away. Ever. Put 'em in a box and hide it. You might need 'em.

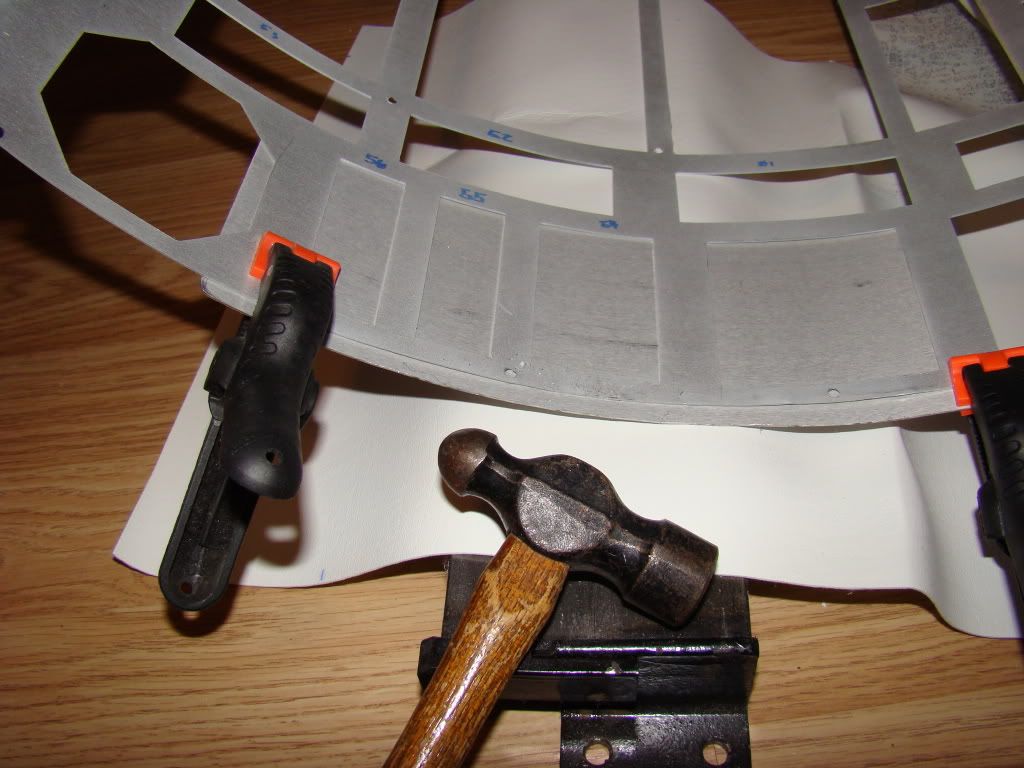
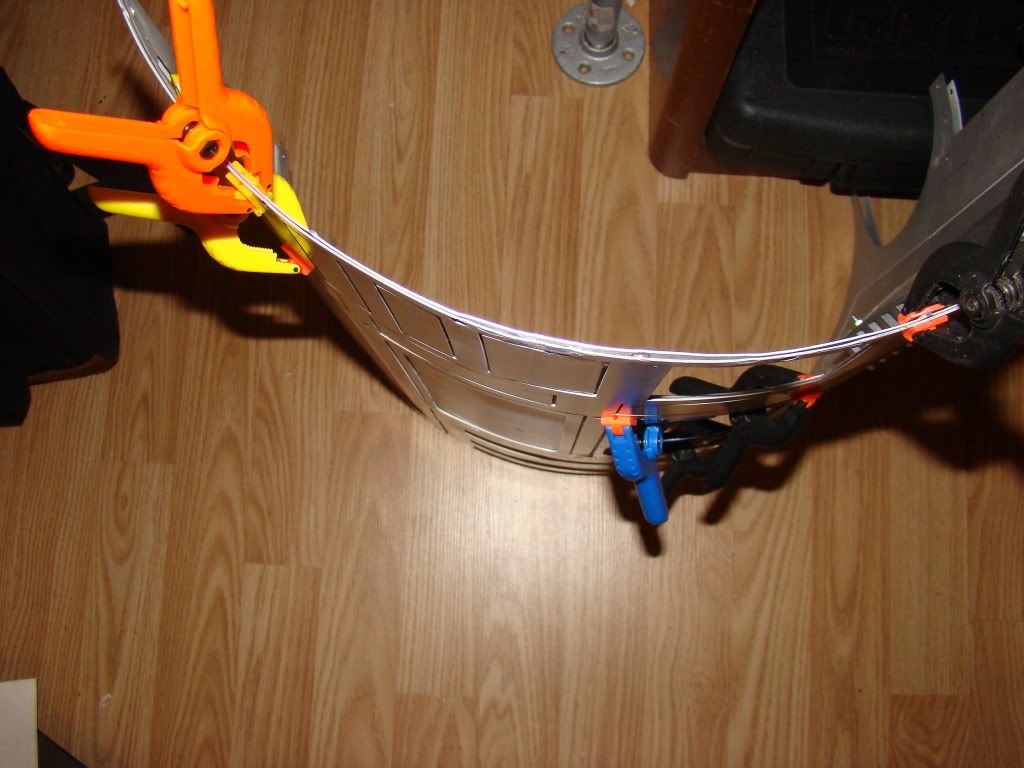
As you can see from the "overhead" veiw in the next pic, it's not perfect:

Photobucket

Some reason I started taking fewer pics during this process, so there's not really a pic of the inner skin by itself after repairs, although you can see it in some later pics that aren't about the bent part.

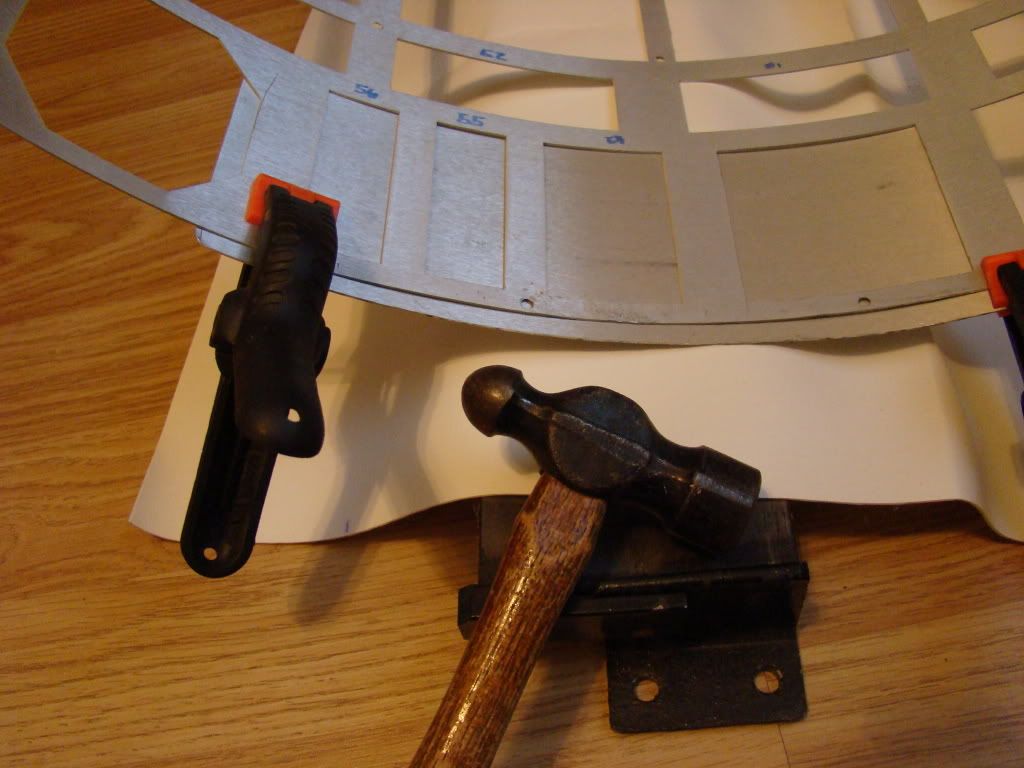
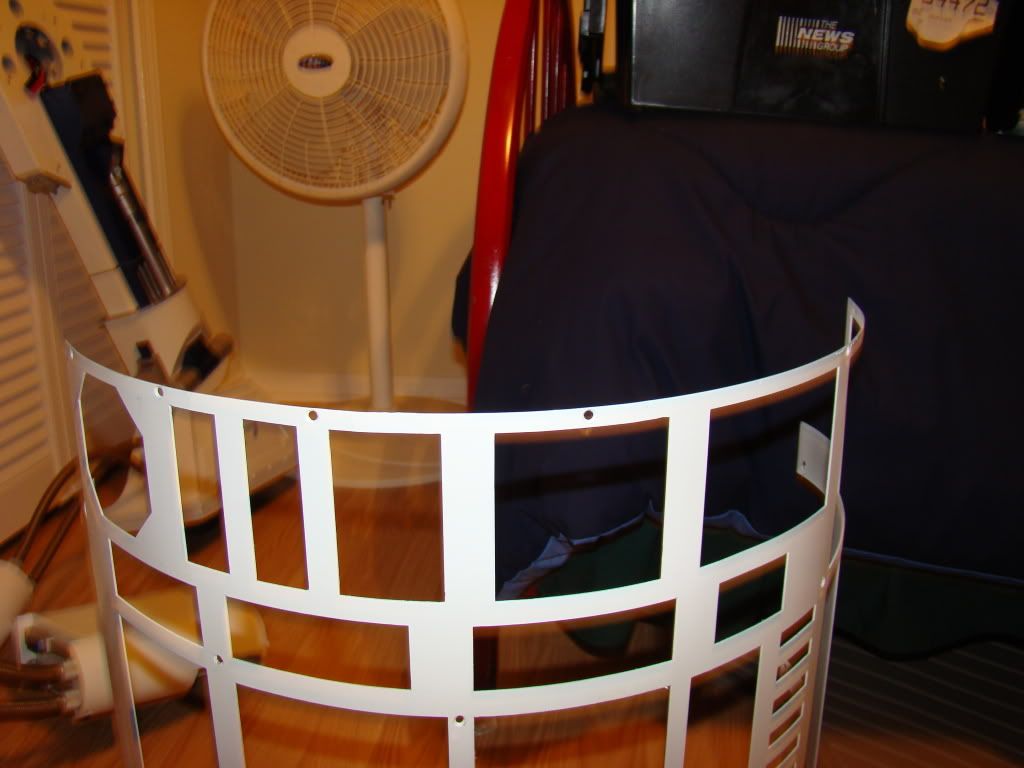
Here's pics of the skins layered together, the way they fit on the frame:

Photobucket

Photobucket

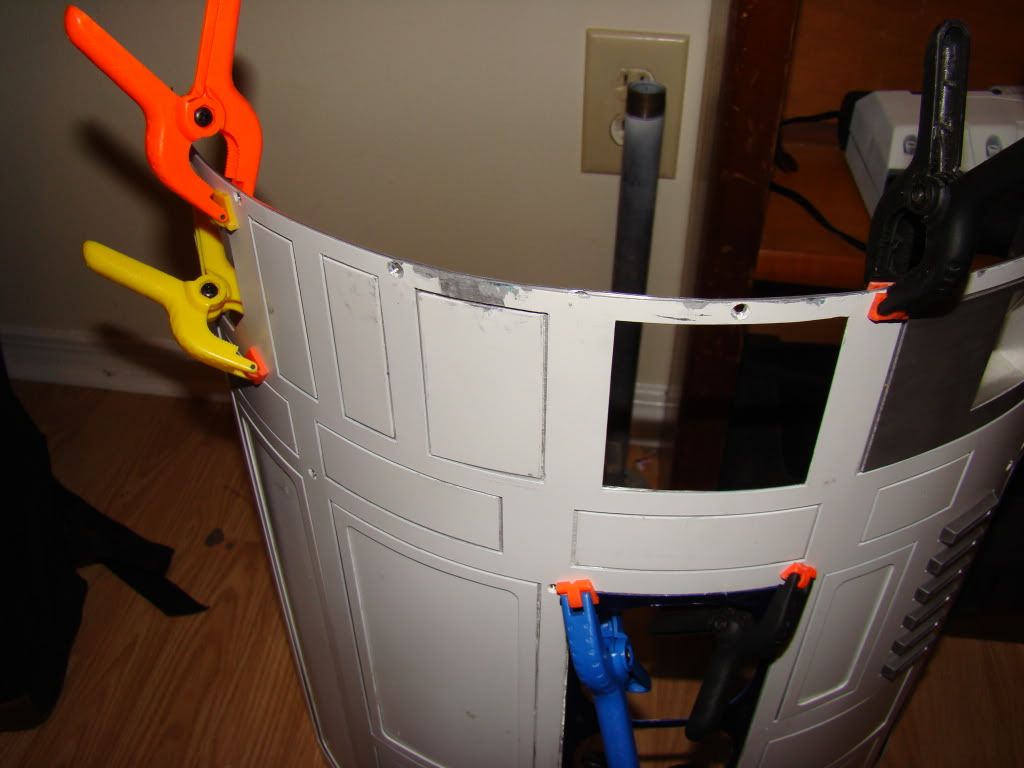
Again, not "factory spec", but pretty darn close. The panel that I pulled out to straighten just kinda stayed there for the pics, it's not glued in place yet. That'll happen once the skins are back in place.

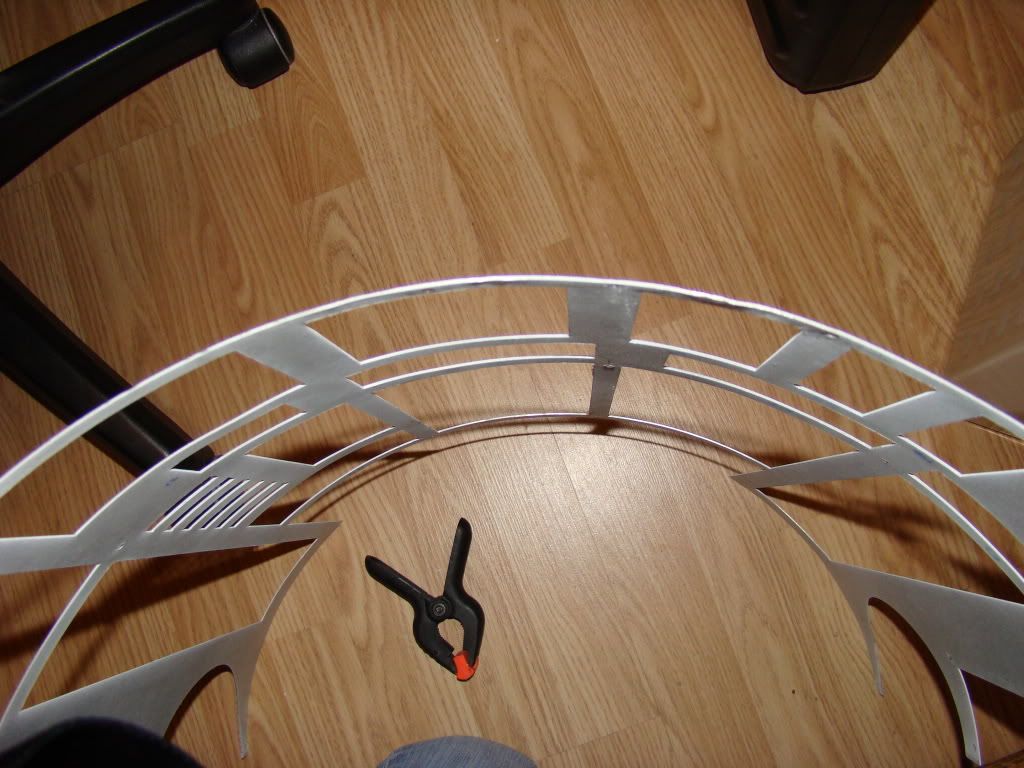
And, I mentioned these buggers in the previous post:

Photobucket

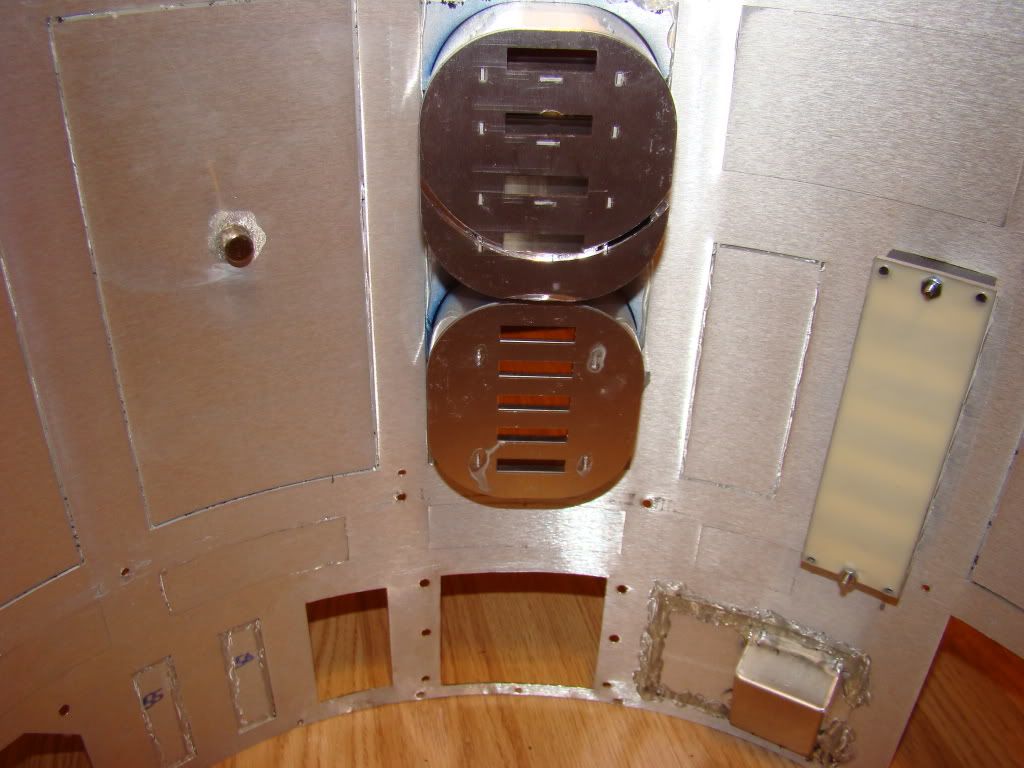
Note the pretty holesaw damage on the top vent...that's from the holes I drilled for the speakers last year. I probably mentioned that at some point or another, but there's proof.

You'll also notice the fun little addition there a panel over...that's right, I remember to glue the magnet in place for the restraining bolt. I probably won't use it much, since it could walk away so easliy, but I can if I want to now...

Back to the vents. Rather than build a frame to go around the vents, I decided to rely on old faithful PolySeamSeal yet again:

Photobucket

Photobucket

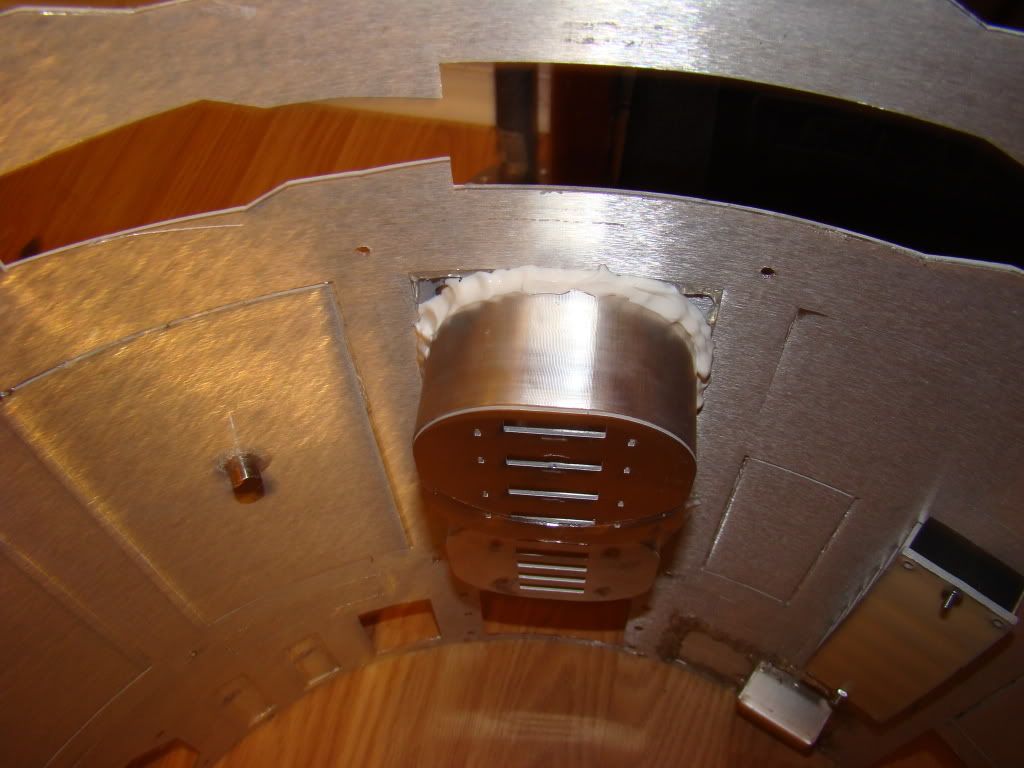
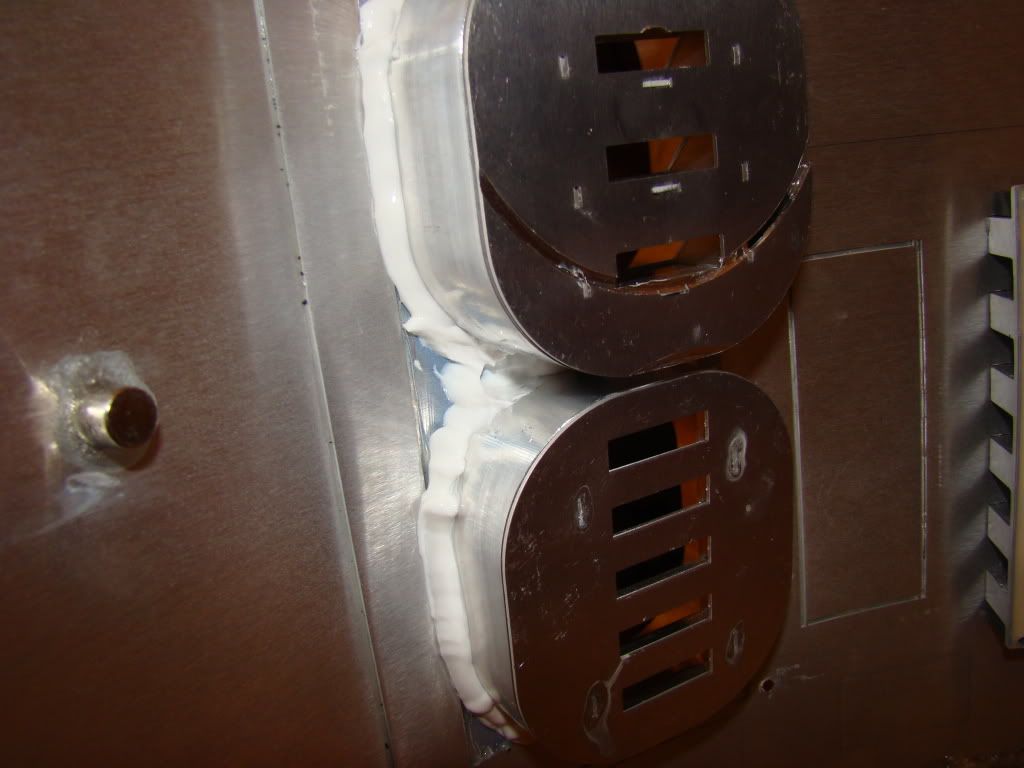
PolySeamSeal brand silicone has held the skin panels and the coins returns on admirably, so it's getting a chance to hold the vents in place now.

Lastly, I took the outer skin outside and gave it a little touchup:

Photobucket

Looks brand new in that light doesn't it?

Ok, so that's all for now. Gotta wait at least until tomorrow to let all the silicone cure some before thinking about reassembling R2. And spending some time sitting and staring, making sure there's nothing else I wanna do before putting it all back.
And spending time wishing WoMo's most excellent side vents were easier to deal with when mounting them back again...

Next time :)

Damage Report

So, if you've been following, you know about the RMH thing in the previous post. That's what I'm working on. Title sounds a little "Trekkie" doesn't it?

On a side note, my photobucket is just about full. I've had a second one for a while, but now R2 pics will have to go into it...

Anyway...I think I'll show the damage in detail in this post, then how I fixed it and what it looks like after repairs in the next post. Just to break it up some and keep it from having 50 pics

So, here's what we started with:
Photobucket

Here's R2 up on the stand, coming apart:

Photobucket

Photobucket

Here's some closeups after removing the panel, to show how the skins were separated:

Photobucket

Photobucket

Here's the outer skin pre-repair:

Photobucket

And what it looked like up against a "straight edge"...actually one of the leftover panels from the skins that has the correct curvature to it:

Photobucket

For some reason I only took one pic of the inner skin's damage:

Photobucket

And here's a couple of shots attempting (poorly) to show the damage to the frame:

Photobucket

Photobucket

Oh, and there's this problem too:

Photobucket

The center vents were hot glued in place, and all the traveling R2 has done lately has involved some waiting in the car. Heat in the car's not good for hot glue FYI...

So that's what we're working with...

See the next post for how I fixed it and what it's looking like now.

Post R2LA report

Well, had a good time out at R2LA. Big thanks go out to Mike Senna for letting so many people come over to his house and hang out all day long. Only problem is...I didn't take any pics :(
Highlights included CuriousMarc's 2-3-2 that works, and the chicken races. Good food all weekend, Lamppost pizza, Panda Express, Red Robin...did I just hear a "yum" in the background?

Rather than post links to other people's videos and pictures without permission, I'll post a link to Astromech.net, where they posted links...that's kosher, right?
CLICK HERE...
Check out page 6, towards the bottom.

Saturday, October 9, 2010

10-9-10, RMH Fire Truck Pull, Pensacola

So, against my better judgement, I took R2 over to Pensacola for the Ronald McDonald House Fire Truck Pull.

Right from the start, R2 was having problems just in the parking lot, running into the littlest bits of gravel, trying to tip over, grinding to a halt, and that was all within the first 10'. I took it slow and managed to stay fairly stationary for most of the rest of the troop. Can you tell I'm 501st by the way I call it a troop and not an "event" or an "appearance"? Lol...anyway, here's some pics.

The required group pic, with the fire truck in the background:

Photobucket

Trying to keep R2 in the shade...lemme tell you, his dome gets HOT in the sunshine:
Photobucket

Finally more shade:
Photobucket

Random team getting ready to pull:
Photobucket

An arrest is made:
Photobucket

And, finally, the things I've come to expect, the "damage shots"...
Photobucket

Photobucket

Imagine that...the center foot is busted AGAIN...man I can't wait to get my JAG steel feet...
And as for the body dent, no one is really sure what happened. R2 went runaway downhill about a dozen feet and slammed into the gate next to where I was standing. I can't say for sure, but I most likely bumped the stick while trying to take a picture. That or a strong breeze got him started. He hit hard enough that it stood him up and changed the angle of his legs, actually damaging his styrene battery boxes. I tried taking pics of that damage, but you can't see it. Good thing I'm on the list for Ethan's ALU battery boxes too...

Oh well, that's part of it I guess. I could keep him pristine by keeping him in the house, but what's the fun in that?

The rest of the pics are here:
CLICK ME!