Sunday, May 31, 2009

Vents and vents

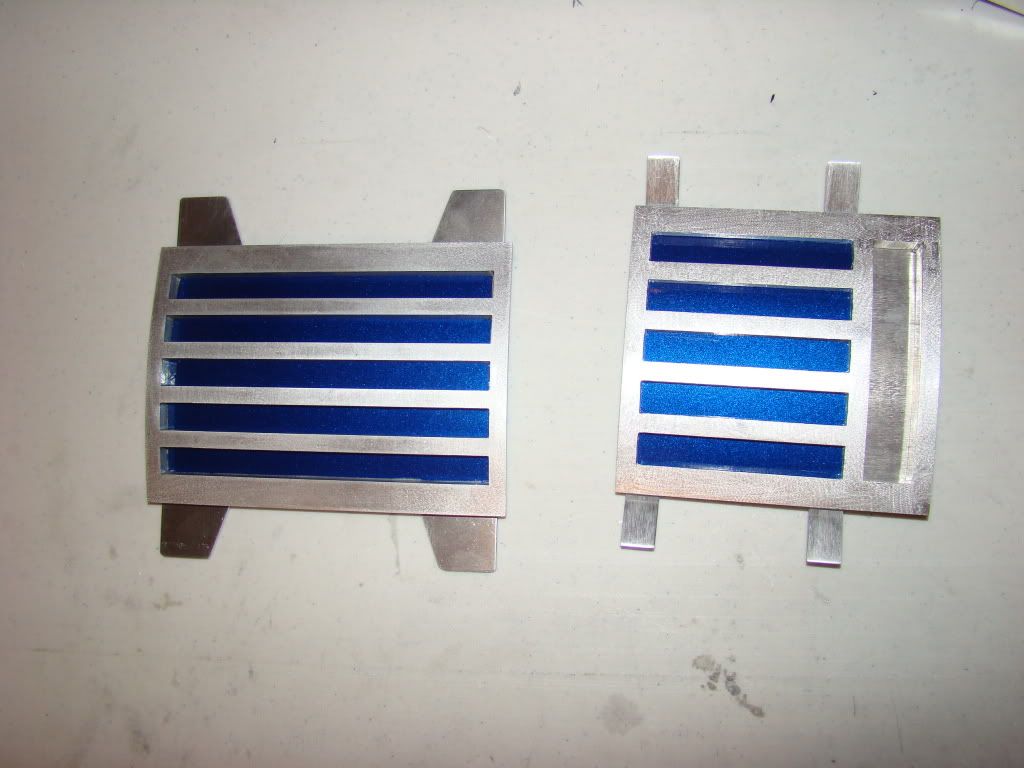
Ok, camera battery is charged again, got pics of the vents uploaded.

Here's the one picture I took before the battery died, of the prep work.
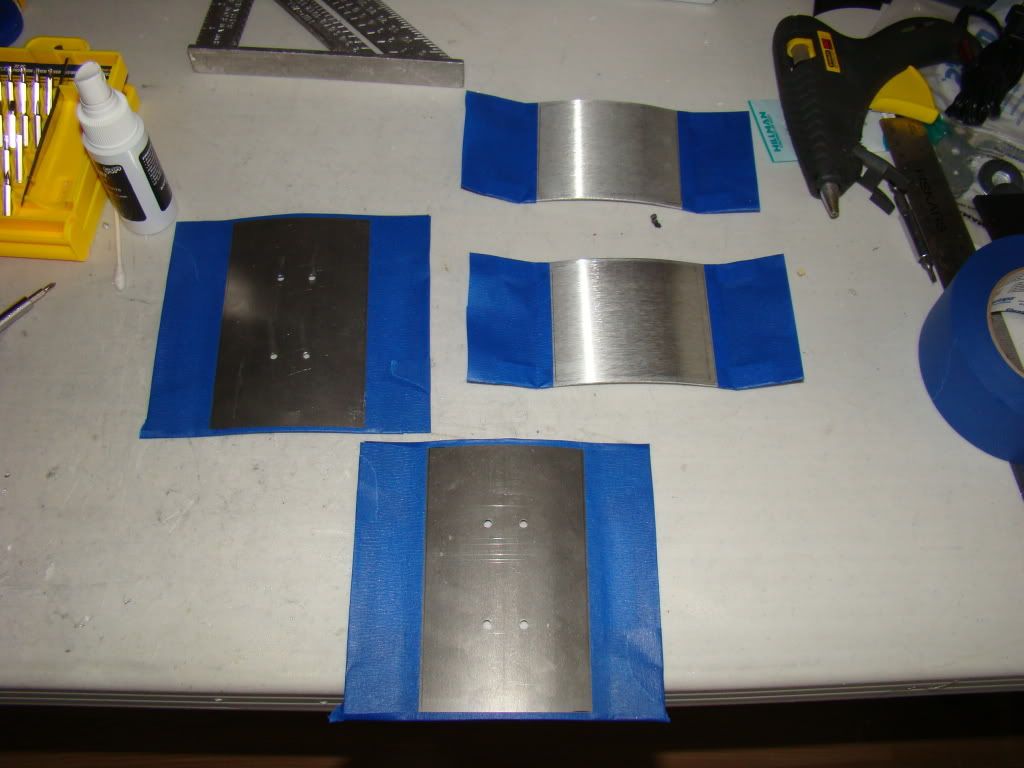
Photobucket

In hindsight, I wouldn't have taped off the horizontal edges, just the vertical ones. Krider method paint is so thick, taking the tape off, even as soon as the paint is tacky is an adventure. It wants to peel up like it's interior latex paint. As long as you don't mess with it, it'll lay back down.

Still, I think they came out very pretty, for detail parts that only builders will notice.
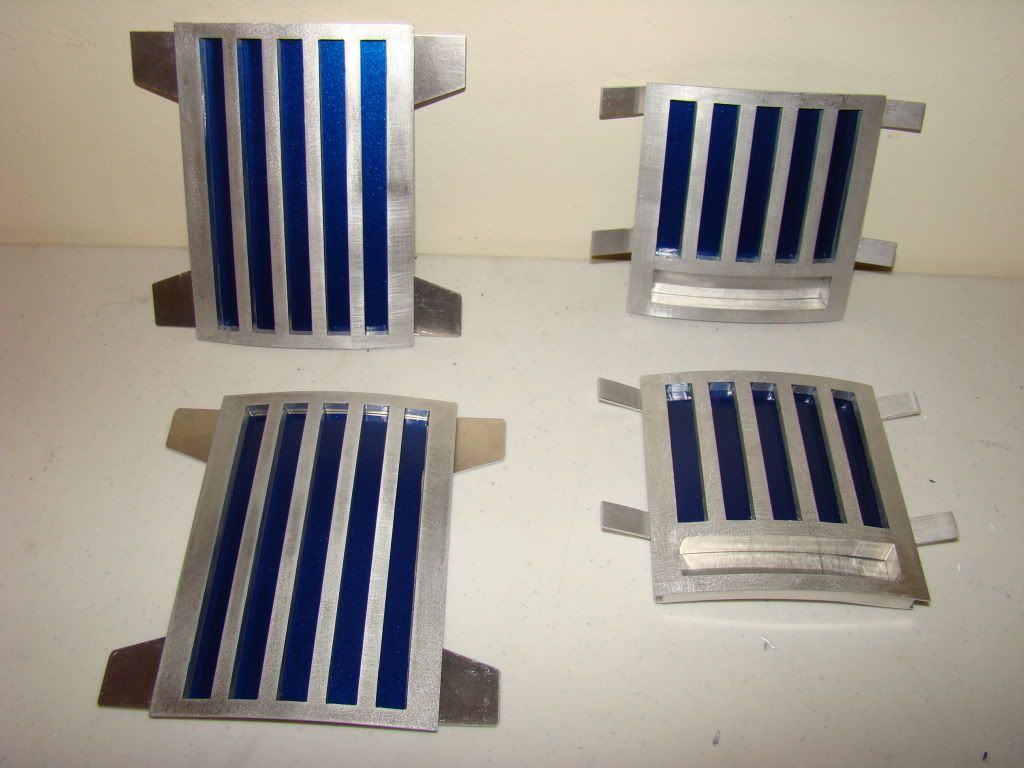
Photobucket

Photobucket


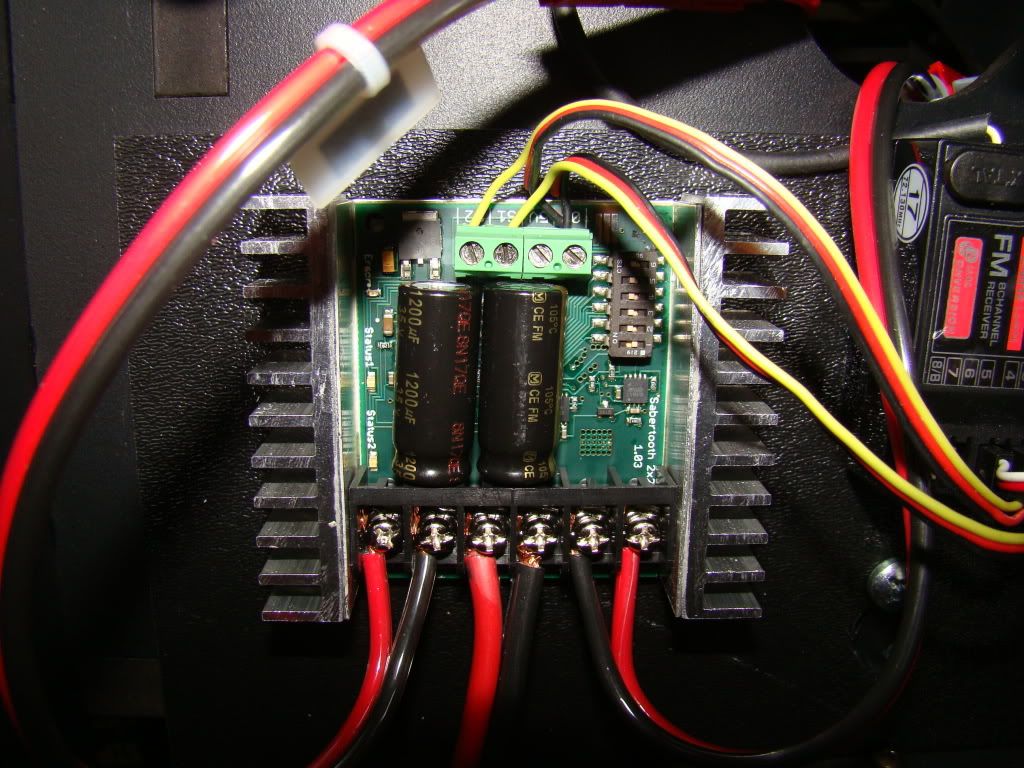
Friday at work my SaberTooth 2x25 came in. I put it in line yesterday, but had to make some small changes from the way it was wired when I had the Scorpion XL in place.

The Scorpion had RC leads soldered on, where the Sabertooth didn't come with any. I snipped the ones off of the Scorpion and peeled them back to use.
Photobucket


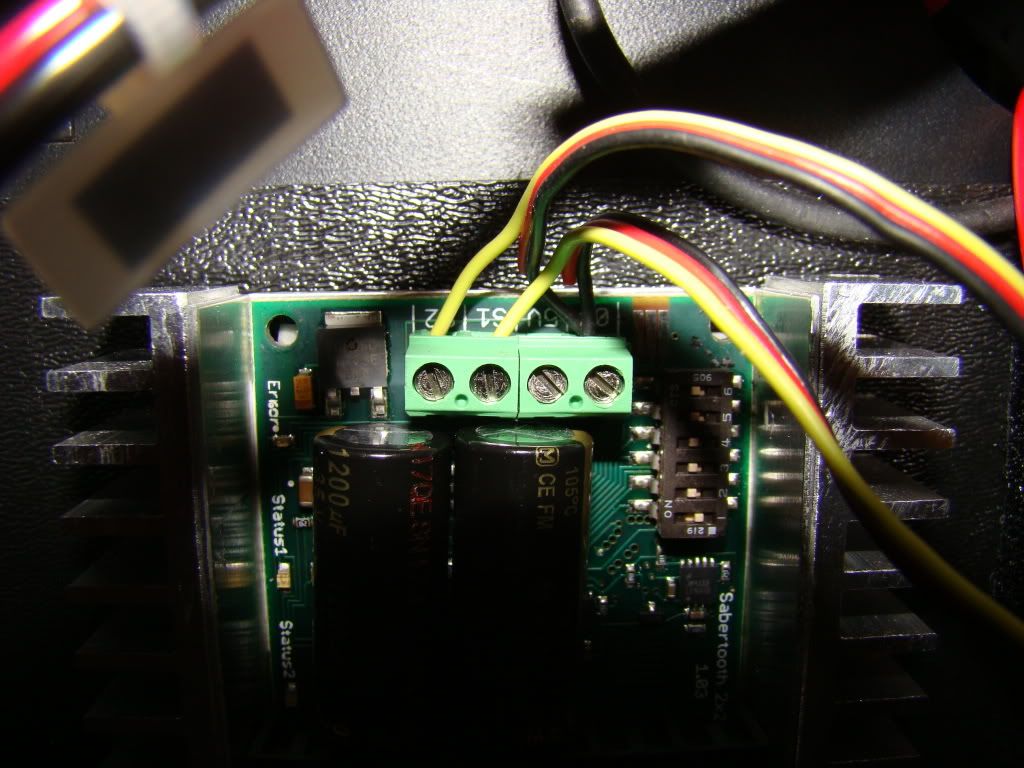
Here's a closeup of the leads and how I connected them. The black wires are connected as a common, and the signals go to S1 and S2.
Photobucket

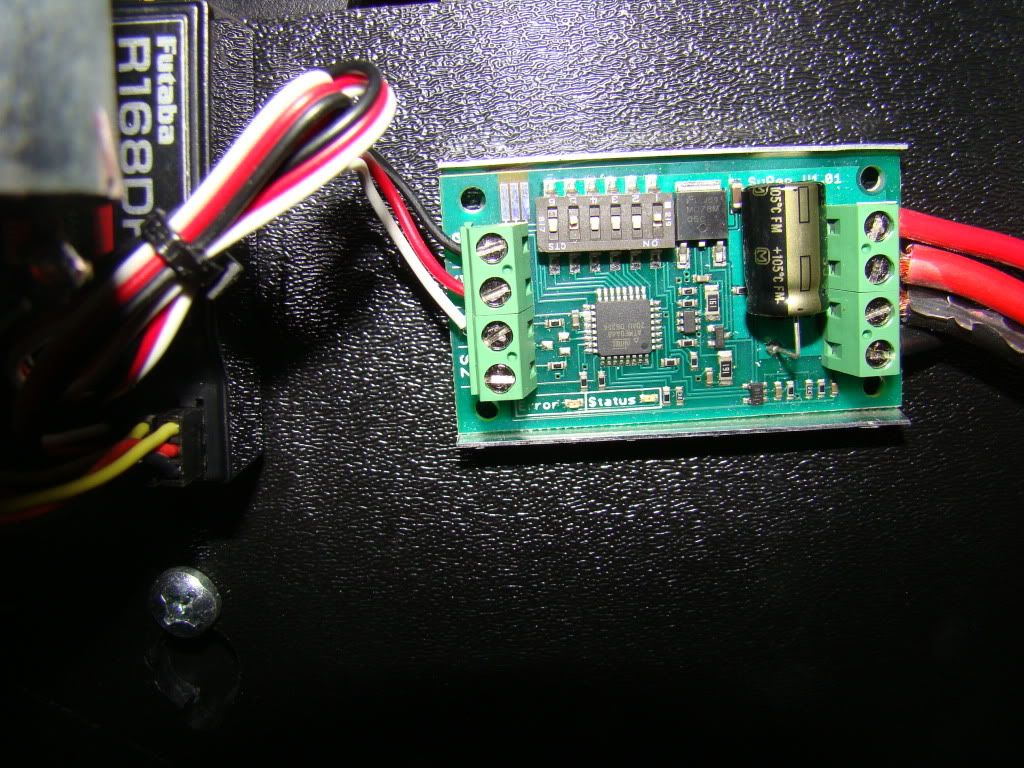
I also clipped out the red wires, which are the BEC, and connected the BEC from the Syren 10, which is my dome controller.
Photobucket

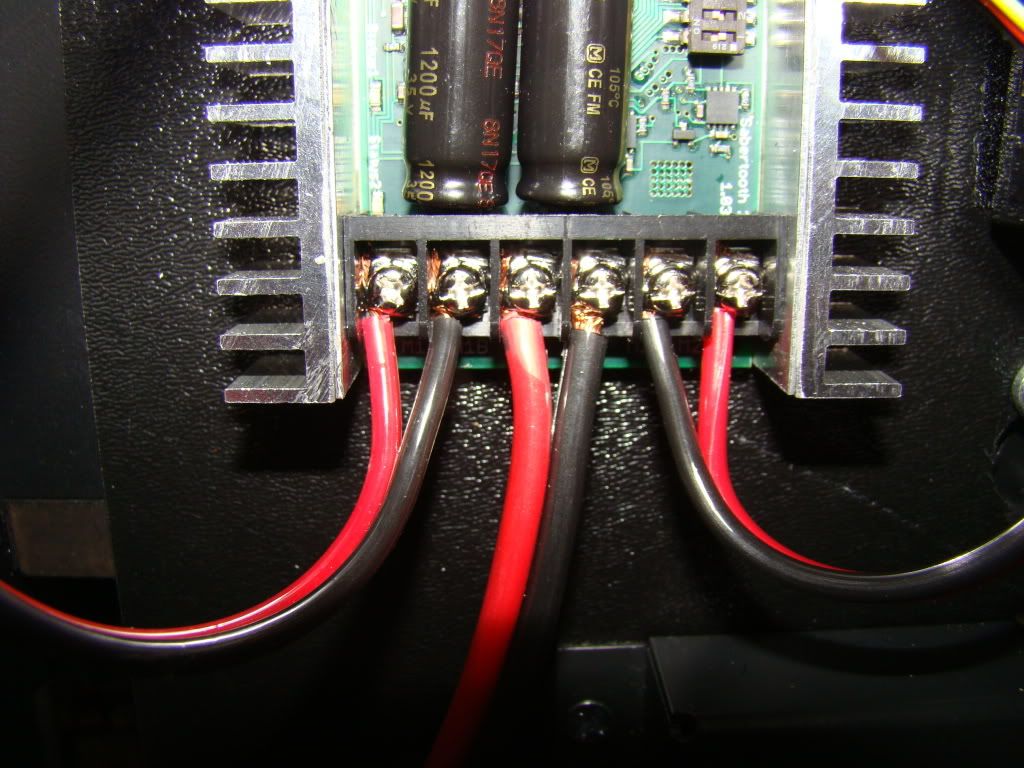
When it was all said and done, nothing I could do would make the motors spin in the same direction (or, depending on how you look at it, opposite directions) so that both sides would be going forward, so I took the easy way out:
Photobucket

I figured out which motor wasn't going the correct direction, and simply swapped the power wires. Since there is no + and - for the motor, it shouldn't be a big deal.
Tuesday, May 26, 2009

Uh-oh...

So here's something I didn't post about when it happened....

About a month ago, I was working on the electronics, trying to figure out why Artoo was going spastic from time to time. If you were reading this around that time, you may recall I mentioned that part of it.

What I left out was the part where during the many wiring changes I made, I somehow ran 12v into the left motor out wires. After about 20 seconds with this incorrect connection, there was a loud popping noise, much nasty smelly smoke, and actual flames. Yes, that's right, Artoo was on fire!

Naturally, my fuses didn't blow, because they weren't anywhere near where the problem was.

Luckily as soon as it popped I started snatching wires, starting with the wires from the battery. I also managed to get all the other wires disconnected and get the flames blown out in practically no time flat.

After much cursing and yelling, I timidly reconnected the speed controller and the lights appeared to work the same as they had before. There was still the matter of all that smoke and fire though...

Today I cut the holes in the leg pipe joining thingy that let the wires pass through the shoulders into the legs. After I made the wires that go through the pipe, I set the feet upside down on top of the frame and connected everything.

Nothing worked.

After reconnecting the right motor, it began to work. I applied judicial use of the volt-meter, and no voltage comes out of the left motor connection. :(

So, now I have to order another dual channel speed controller. The more I read, the more I think the Scorpion XL might have been under-powered and might have caught fire even without my stupidity...it's description says "for small robots in the one to twelve pound class"...Artoo's left foot weighs that much.

So this time I'm thinking about going with the SaberTooth 2x25. It's description says "up to 100lbs in combat or 300lbs for general purpose robotics". It's $5 whole dollars more, but I save $4 in shipping, so it winds up costing a whole dollar more than the Scorpion...

Still, burns me up to make a $125 mistake that could have been easily prevented with just a little more attention.

Oh, and it's been raining for the past 2 days, and will do so until this weekend, so I'll have to wait to paint the vents.

Sunday, May 24, 2009

Prepping pocket and side vents

So today I've taken apart my shiny side and pocket vents, masked them off and gotten the first coat of primer on them...camera battery is mysteriously dead AGAIN, so no pics right now.

It sure is painful to put primer on the pretty aluminum, but I know, as long as it doesn't rain tomorrow, they'll be a beautiful Krider blue by tomorrow night :)

I also just happened to look in the parts run page on astromech.net and found a run of octagon ports being done by RussRep, so I jumped on that.

Now outstanding for the body: Power Couplers, Coin Slots and (I kept forgetting this one) a Large Data Port. Hopefully David Shaw will post soon about the couplers, and Keith at ResinParts.com will get caught up on stuff after his move...

Friday, May 22, 2009

Oh, also...

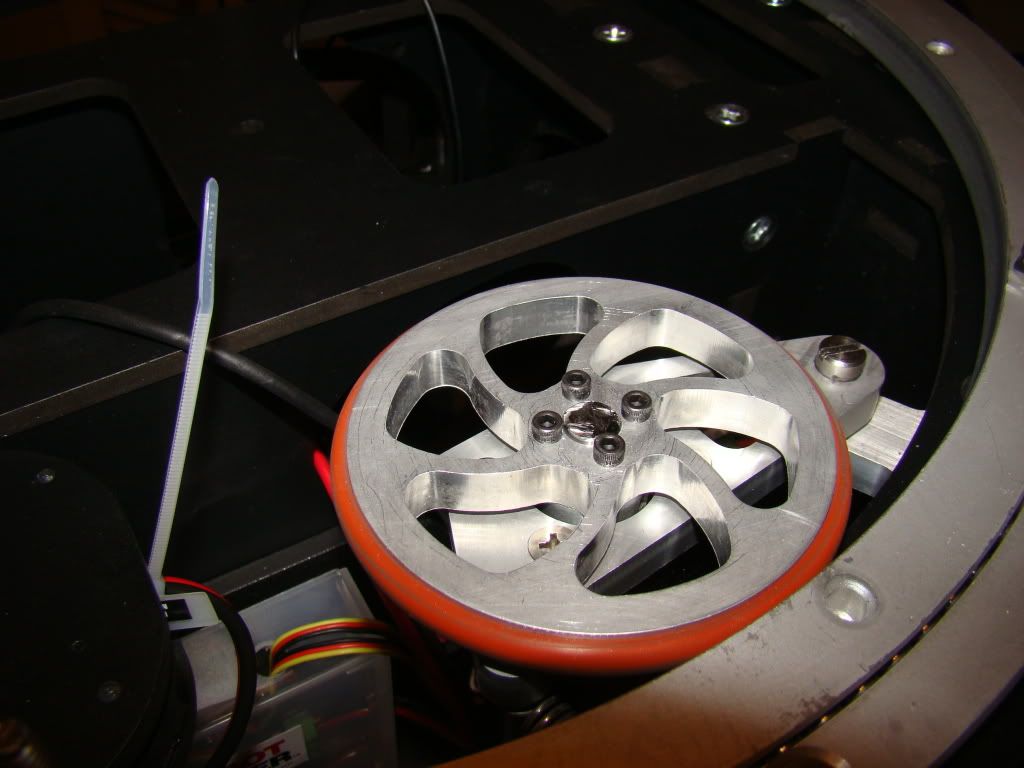
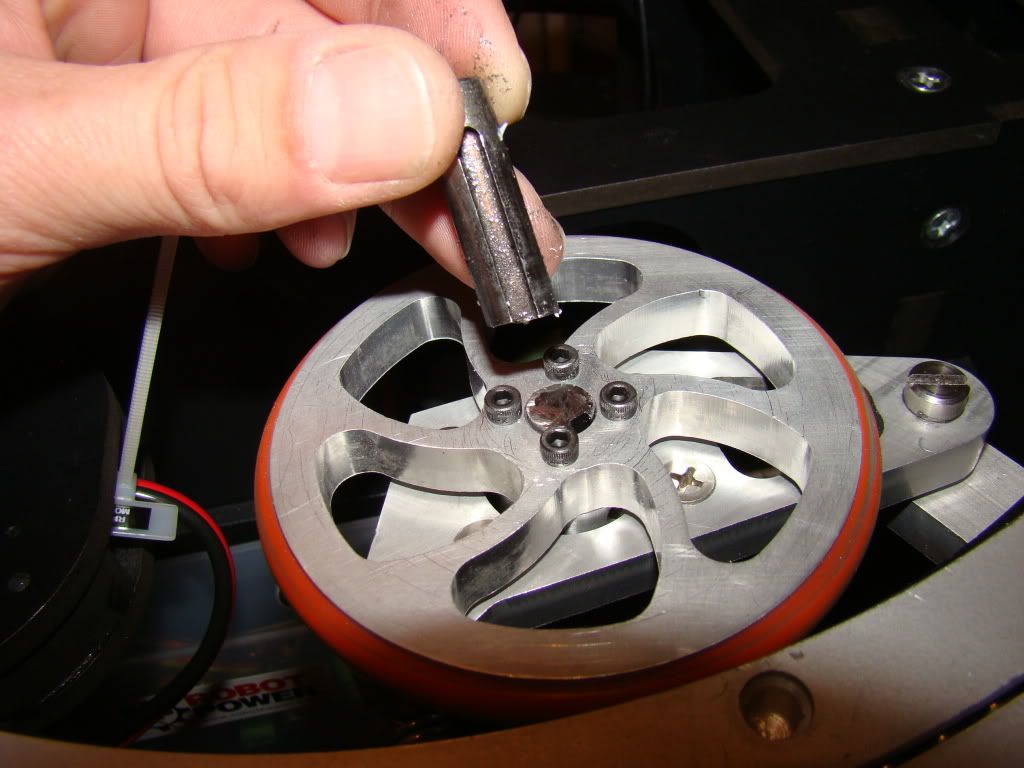
I also ordered one of JAG's dome base plates, so I had to cut the motor shaft down by about 1 1/4".

Photobucket

Photobucket

JAG says the plate is 1/8" thick, so I should be able to replace the center of the 3 nuts on the bolts that stick up from the Rockler into the HDPE ring that the dome is attached to.

Now I just have to hope that the small hex-cap screws that hold the wheel to the cuff won't hit the dome plate. Since JAG said he "had 5 of them" I'd imagine that he has them in hand and it should be arriving soon enough to see...

Feet and details

So, I spent week before last out of town, was home last week, and spent the beginning of this week out of town as well, so progress has been a little slow.

I did however manage to remount the U-channels on top of the motor mount so that the doors on the footshells would close.

they looked about like this before:

Photobucket

After:
Photobucket

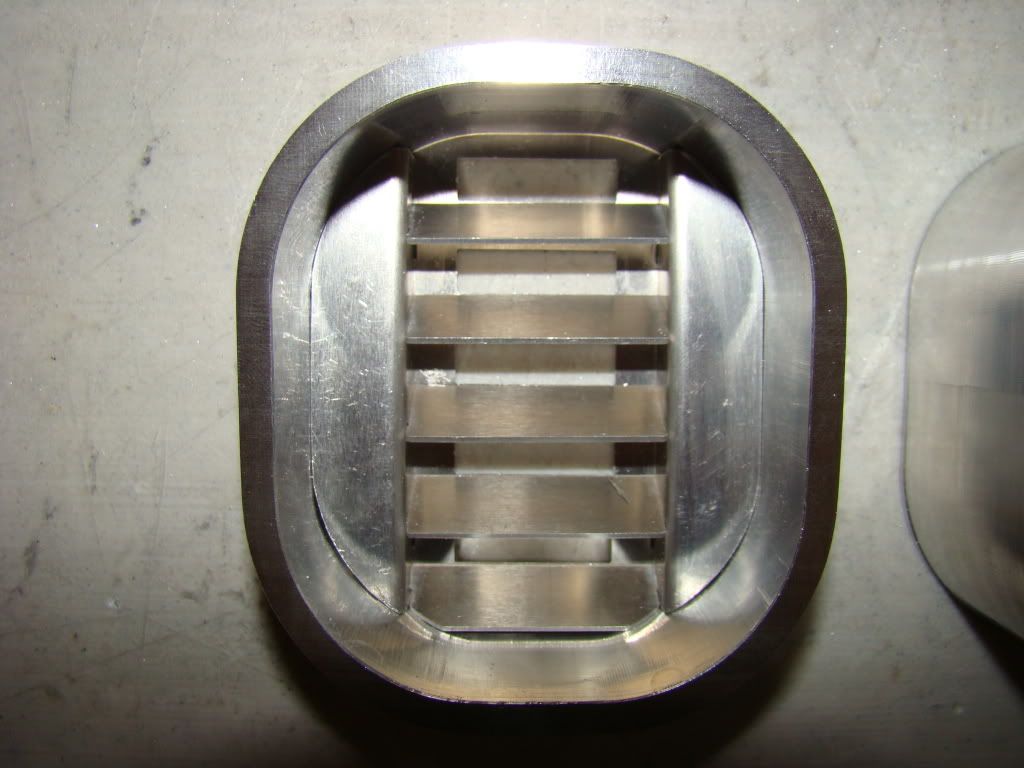
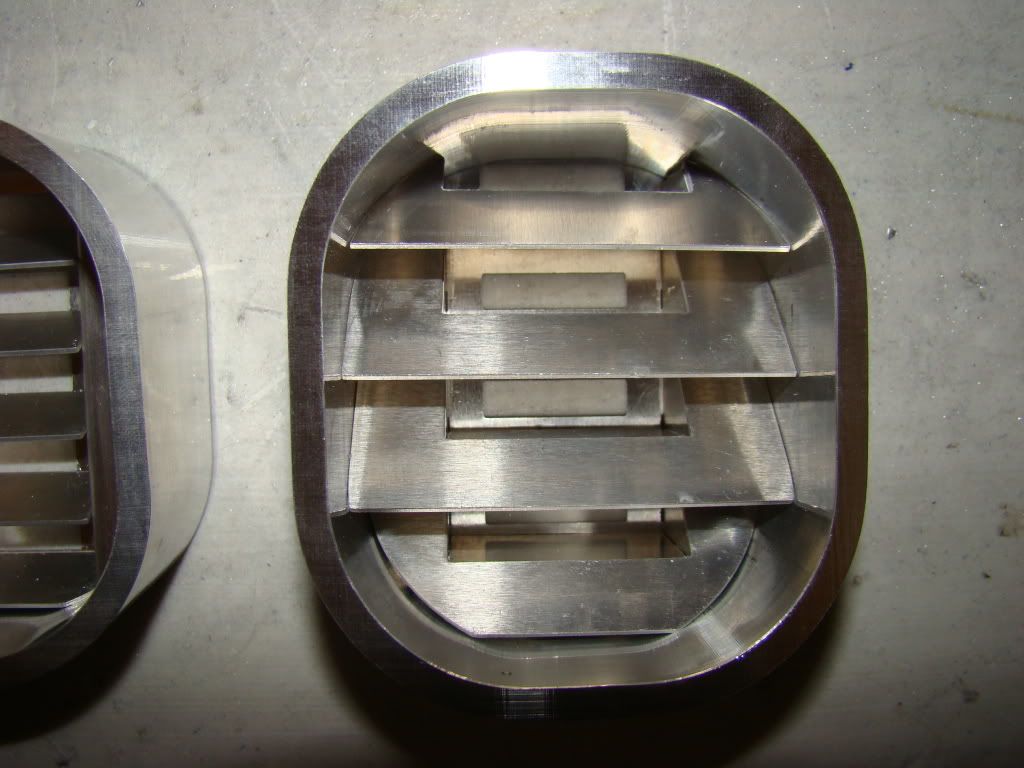
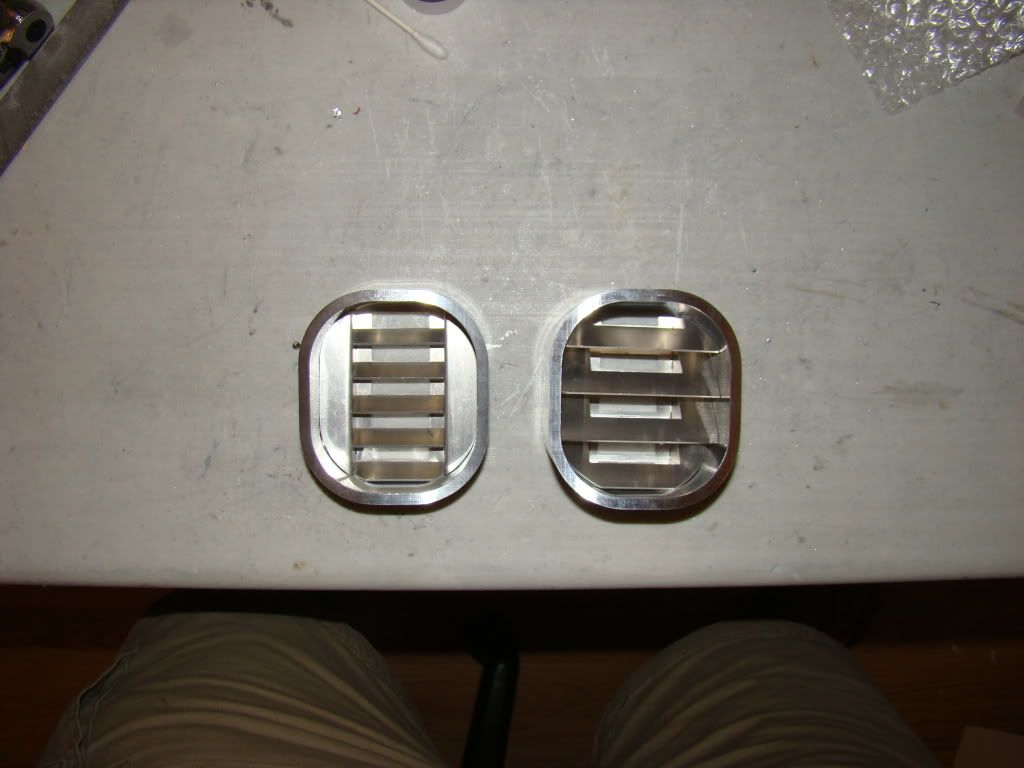
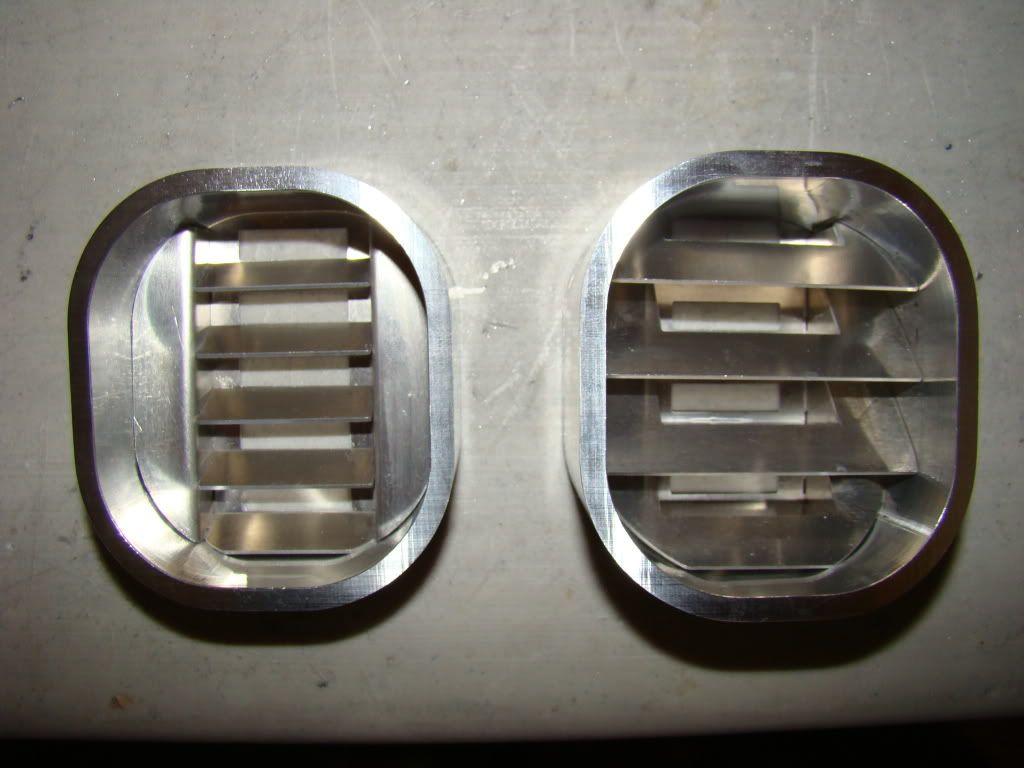
Today I spent about an hour and a half making the Waterset CVWL (Center Vents With Louvers)
I used CA glue to spot stick some of the pieces in place until I knew what would show and what wouldn't, then got them all together.

I only had to file the bottom vents to get them to fit. That took longer than actually building all the rest of the stuff.

The top vents fit like a glove and required no shaping or filing. I built all of the top vents except for the very top one, which I glued in place after the rest of the assembly was in the surround, because there were no tabs to center it up without. Here's pics:

Photobucket

Photobucket

Photobucket

Photobucket

Both sets can be removed from the surround should the need every arise, but it won't exactly be easy. They fit VERY snugly, which should help keep them in place.

Also, both sets appear to be a little bit off kilter, but it's hard to say exactly how, or if there's anything I could do about it now anyway. All depends on which direction I look at them from...weird.


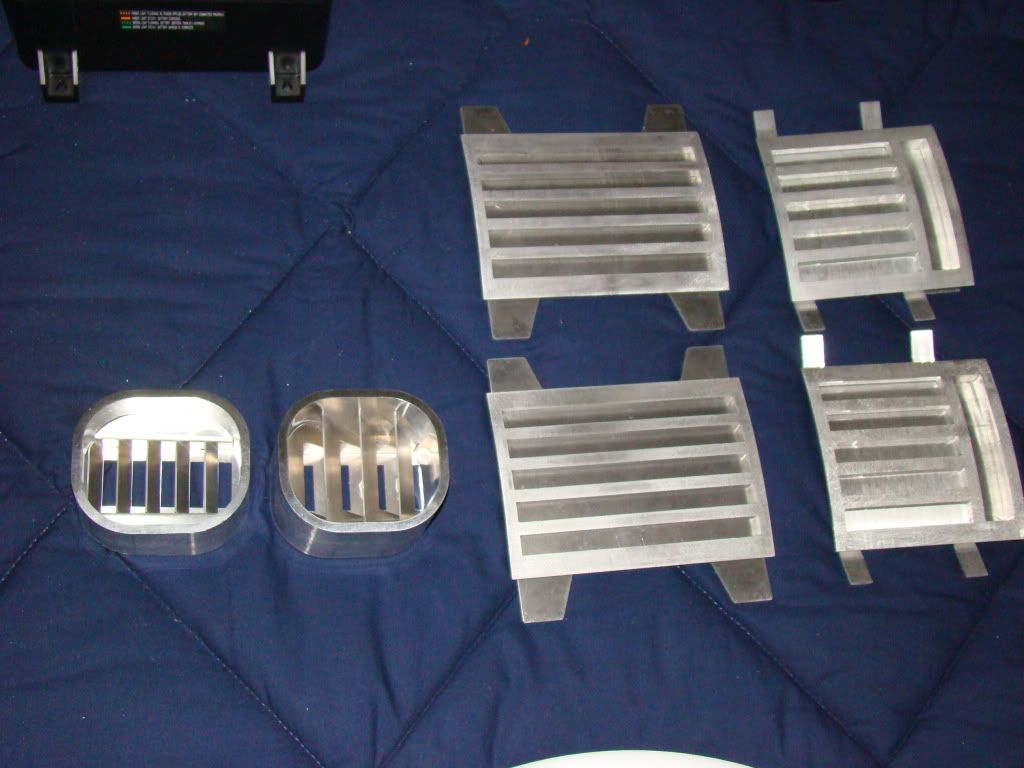
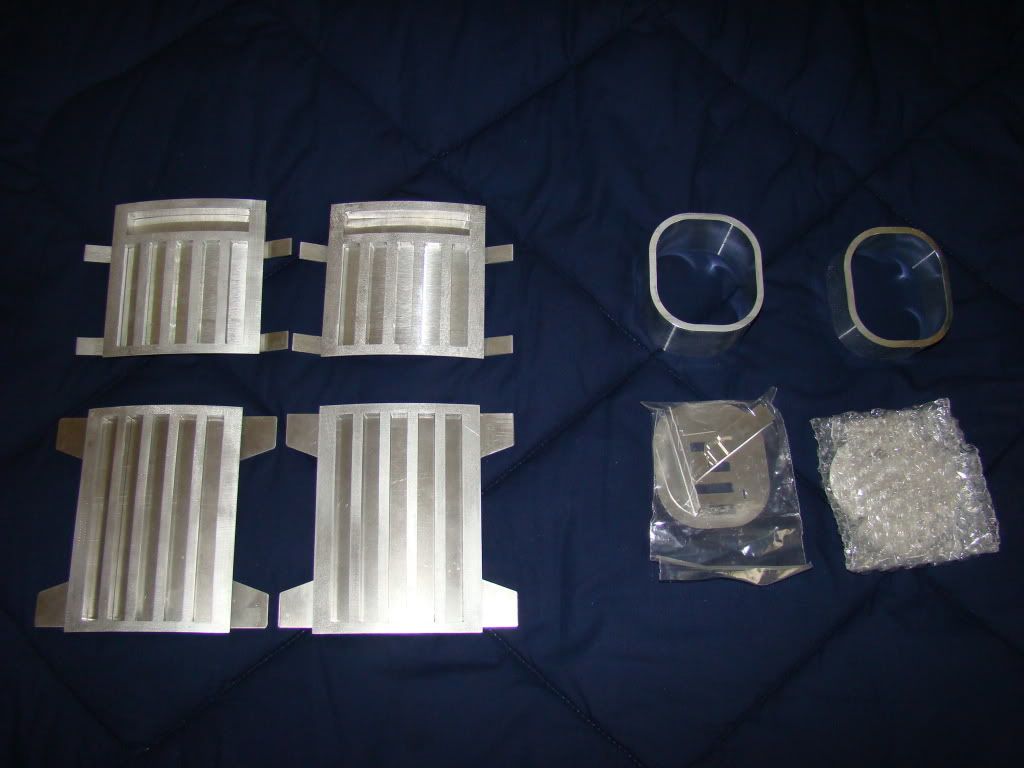
And a shot of all my pretty ALU body details:

Photobucket

Now I just need Mr Shaw to make the power couplers, octagon ports and coin slots. Coin returns are ordered from WoMo already, and on the way sometimes...

Wednesday, May 13, 2009

More breakage...

Yeah, more broken stuff...one of the outside footshells this time. The A&A stuff comes with 1/4" holes pre-drilled, which would be very convenient if I had 1/4" holes in the motor mount U-channels, and if it all lined up. Let's just go ahead and let you know that none of the above statements are applicable...

So, I decide to drill the holes in the footshells out using my drill press. First one went fine.

On the 2nd one, the drill press snatched the footshell and busted 2 of the U-channel pieces and the top piece off.

Photobucket

Photobucket

Of course I didn't get mad, what good would that do? I re-glued all of the pieces and filled the inside corners well with CA this time around, and it appears to be holding. Never mind the lines where it broke the paint, I'm past that right now...

Today I picked up the axle bolts, 1/2 x 1-7/16" today at Lowe's, and they almost fit perfectly. Naturally after I assembled it all, I left the leg standing on top of the foot, which had the motor mounted in it, so it fell over when I stepped into the computer room to get tools to tighten down the bolt. Luckily it fell against an ottoman and was just leaning, but that also was enough to split the footshell, in yet more places. And of course, it's the same footshell, I did that on purpose. I figured since it was already damaged and repaired, what was a little more...

Here's where the U-channel is coming loose on the other side (the side that broke in the previous pics held admirably, with it's thick coat of CA).

Photobucket

It's also splitting in a couple of other places, but then again, that's why I bought the extra giant bottle of special-order CA glue...

I've also just found out during this assembly, that the ALU U-channels on top of the motor mounts are going to have to be repositioned. I thought I'd take some pretty pics to post, but when I tried putting the door on, it won't close, because it's got that fancy closure system that the A&A stuff has, and that makes the door too thick, so it hits the motor mount. I'm not sure what that's going to do to the holes I've already cut in to footshells for the motor to stick out of, or the battery boxes, which I still haven't cut (and might not already fit).

Seems like I dont' get to make new stuff these past few weeks, just re-make eveything that's been made...

Sunday, May 10, 2009

Also...

I've also received WoMo's Side Vents and Pocket Vents, to go with my WaterSet front vent kit (which I have yet to assemble).

Photobucket

The WoMo stuff needs to be painted, might get to that this week.

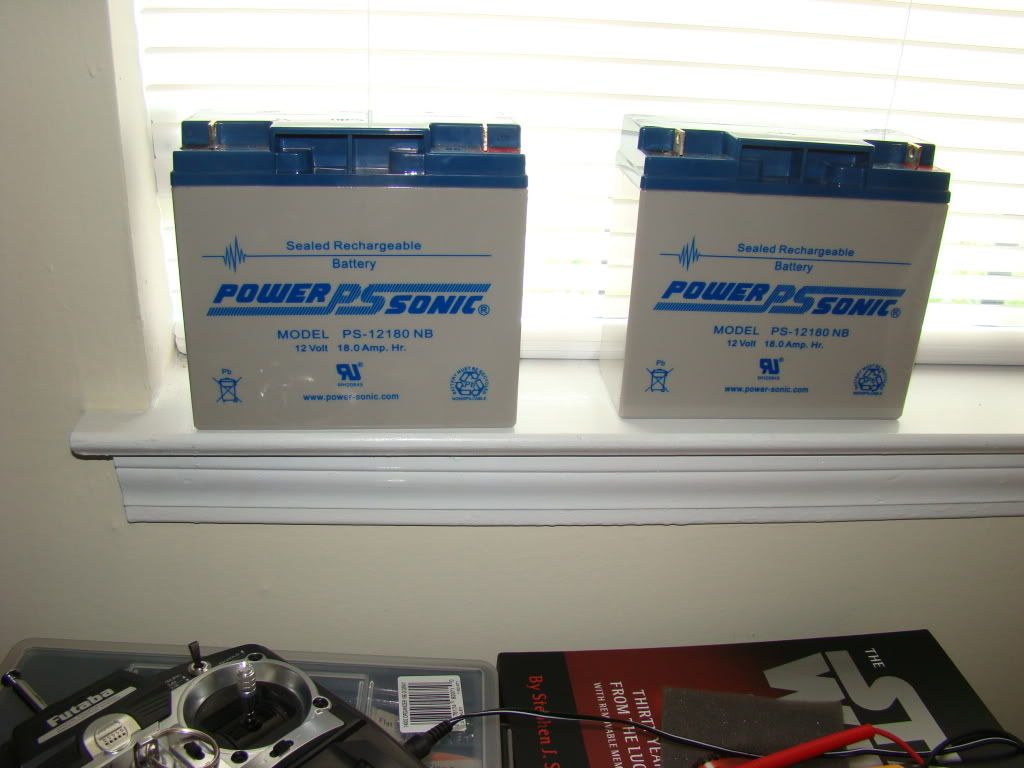
I grabbed a couple of larger batteries from work to play with as well. These are 18AH instead of the 7.2AH that I've been using previously.

Photobucket

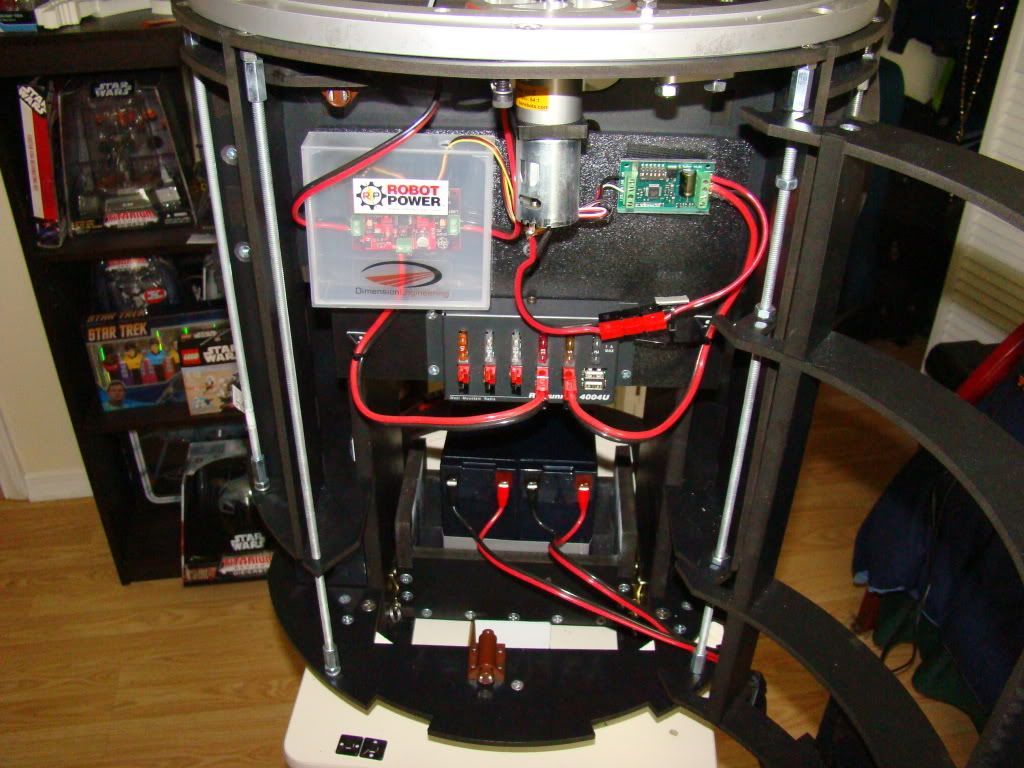
Here's a shot of the "slightly cleaned up" inside wiring:
Photobucket

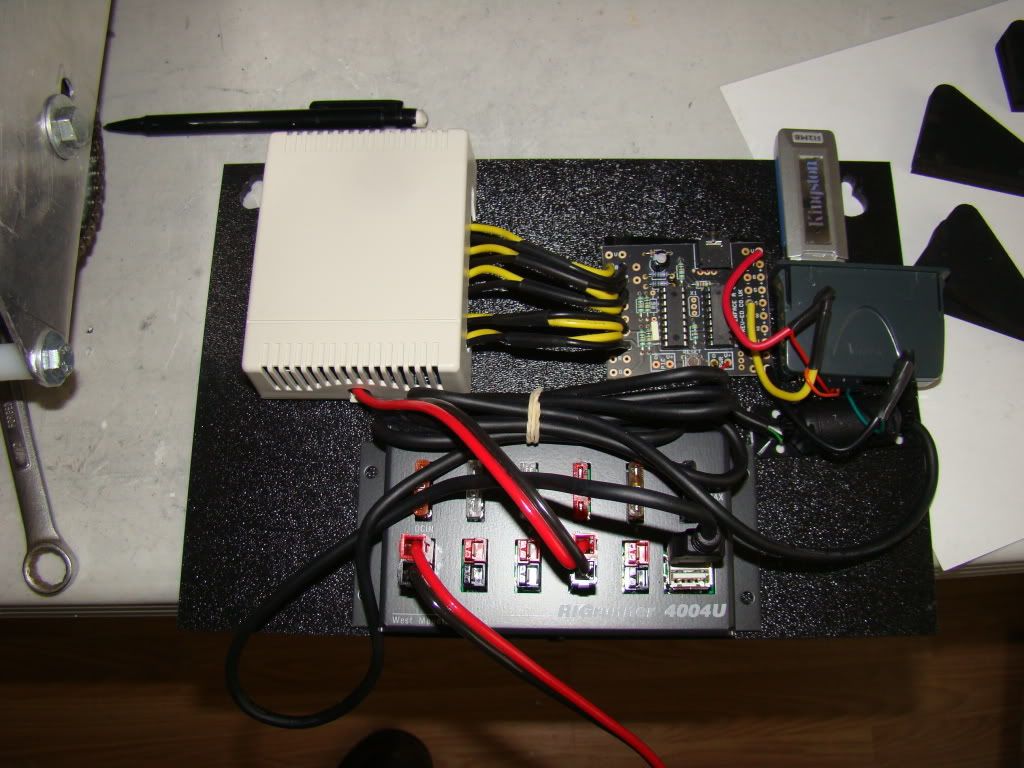
I was easy to clean up because I split the motor power from the voice power, using a 2nd RIGRunner that will also power the dome lights and a second battery.

Photobucket

This will let me kill the drives but keep the lights and voice running. I still need to get some switches to play with, since unplugging the power cables won't always be practical.

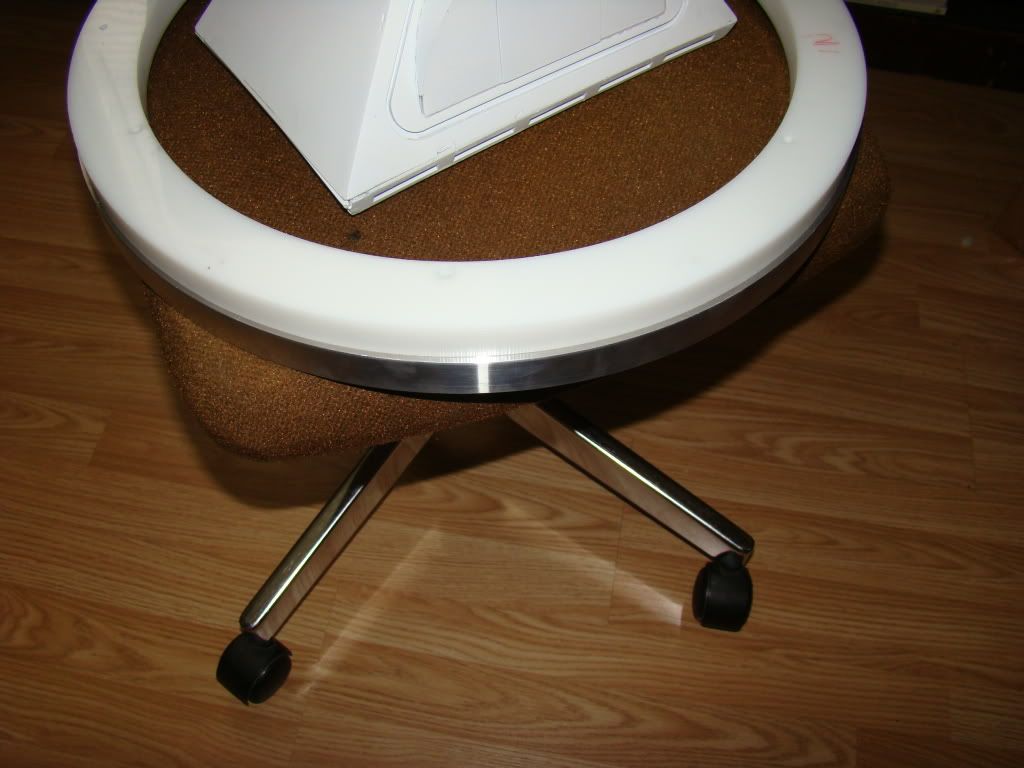
And, got the dome ring attached to the HDPE ring, which took a little longer than I thought it would, since I messed up the first time around and had to give it 1/8 turn and start over, because the holes didn't line up.

Photobucket

The first time around I relied on clamps, which apparently shifted after each hole. Second time around I used the tried and true "drill one hole then put the screw in it. Now drill the second hole, and put the screw in it, and so on" method. Should have done that from the start...

Well, that's all for now. Still got a lot to do...

Updates

Let's see, what's new....

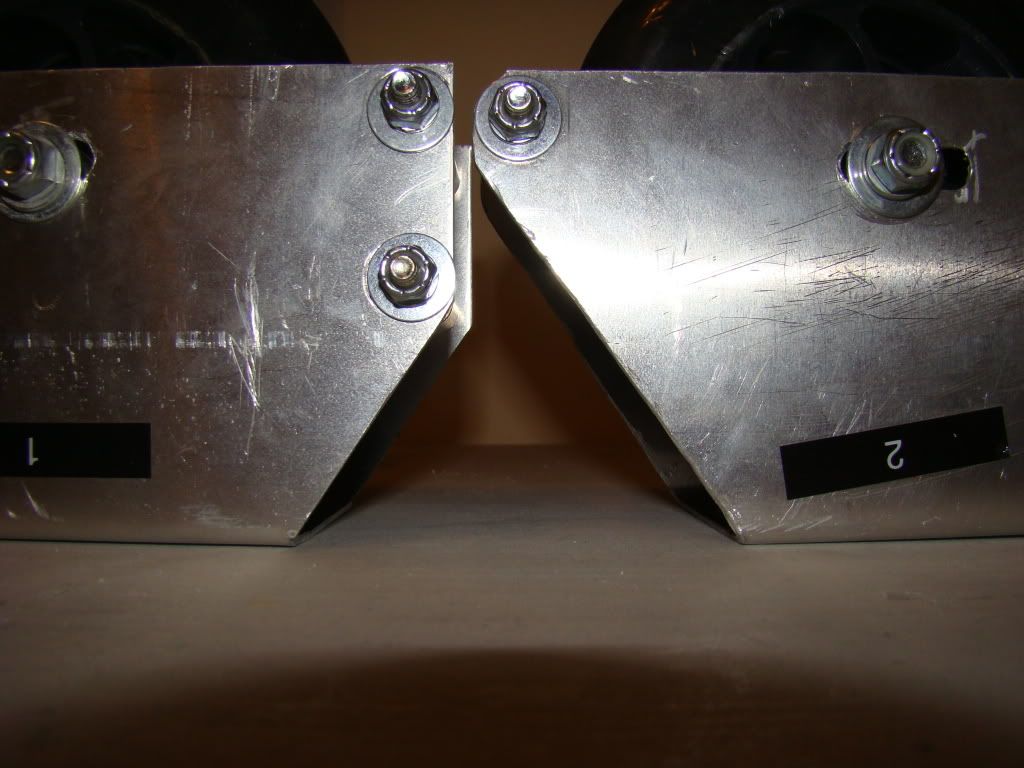
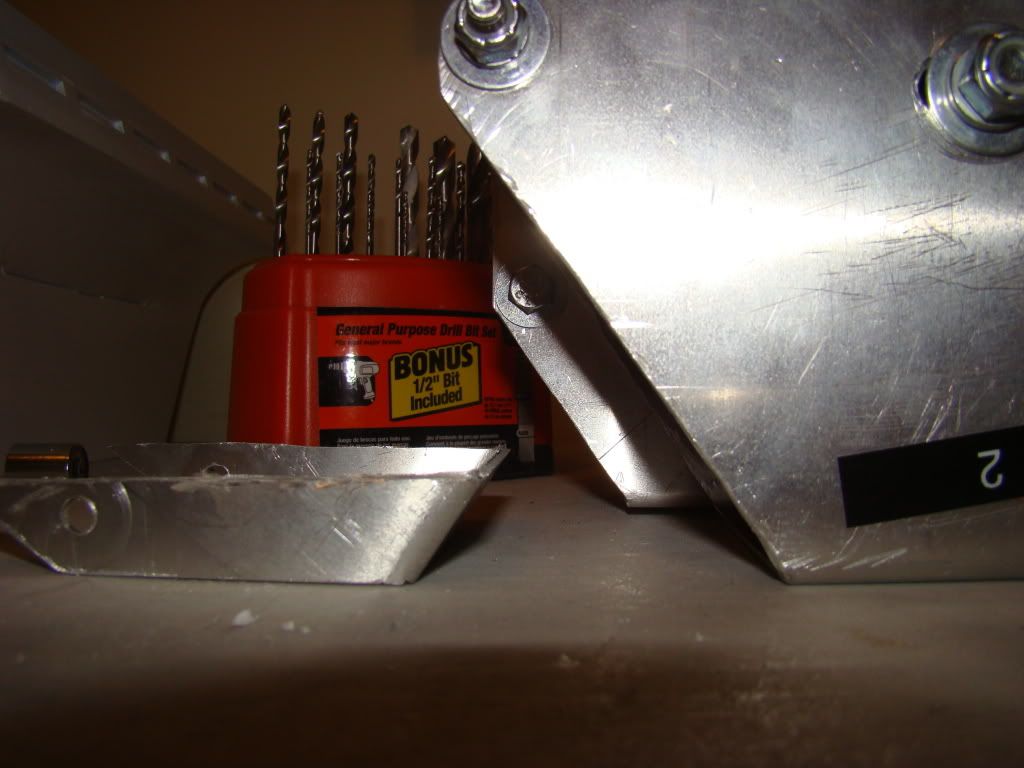
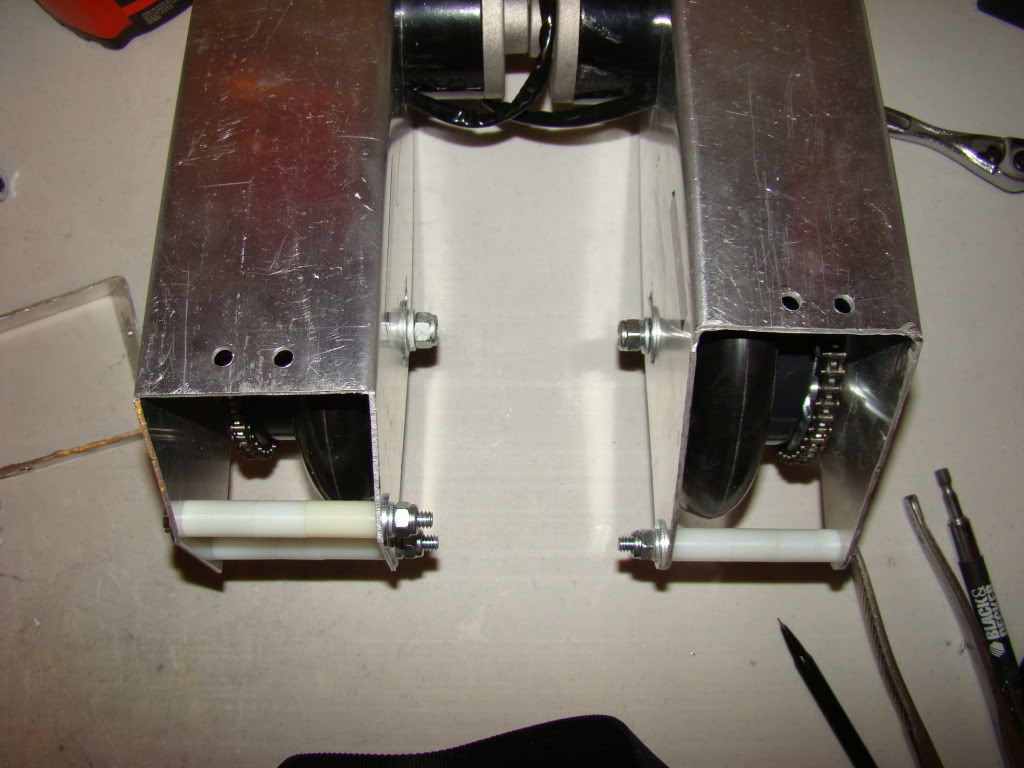
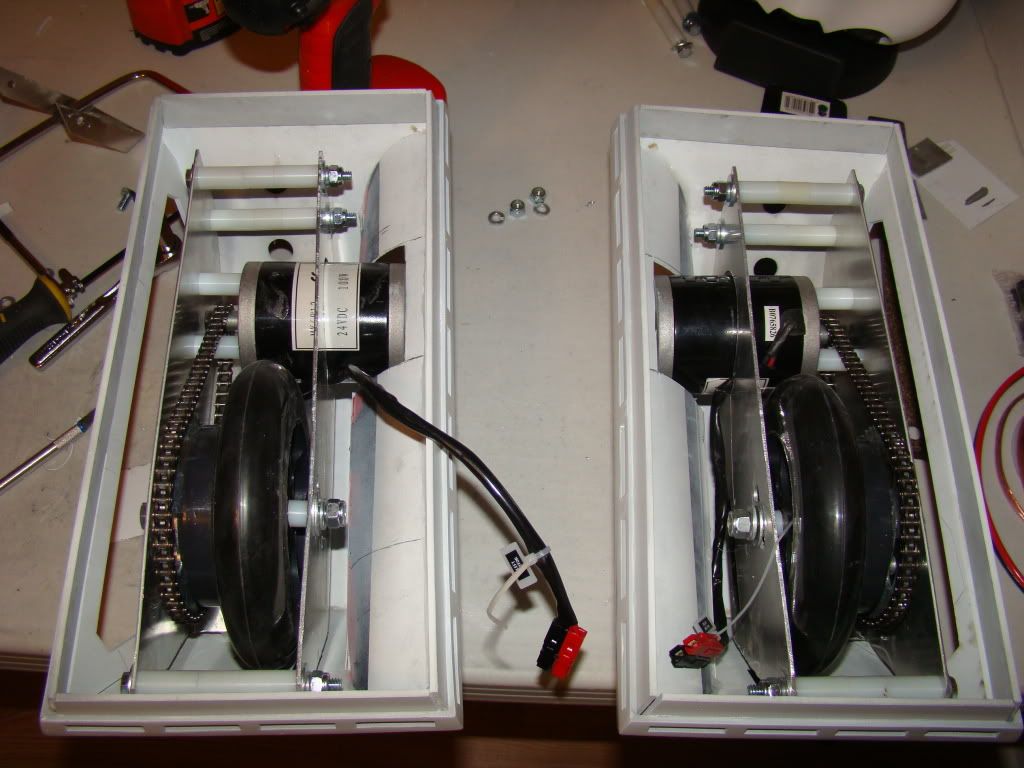
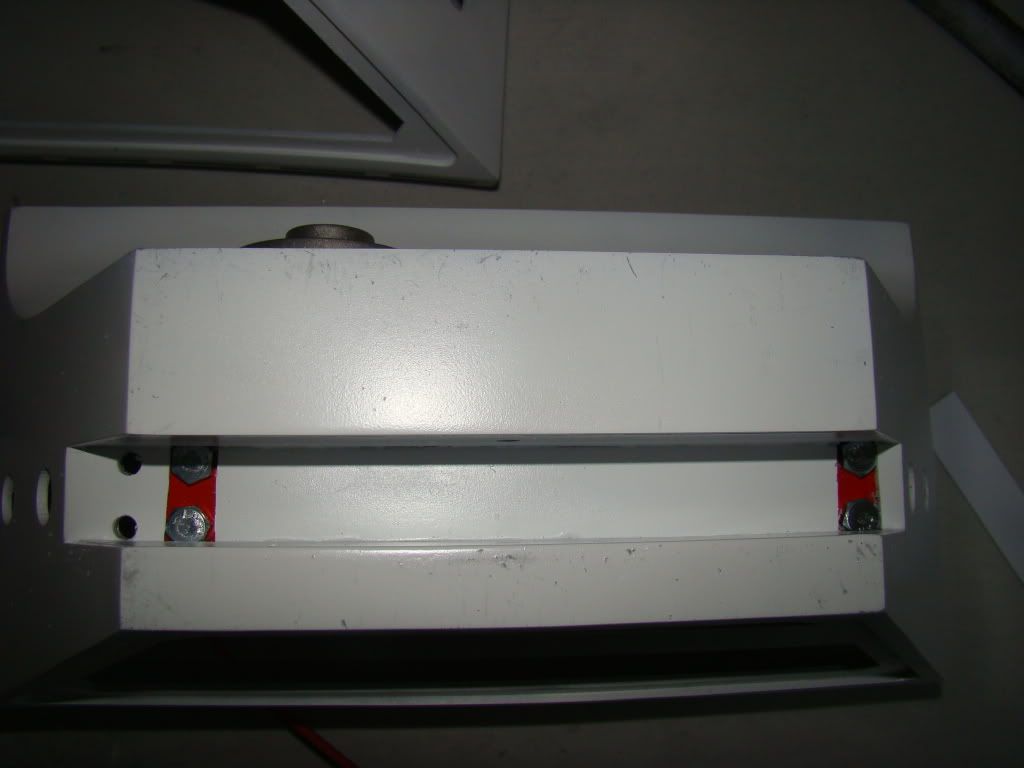
Start off with how I fixed the motor mounts to fit inside the footshells. I did this part a couple of Saturdays ago. I got up and cleaned the house, like a responsible person, and then when it was time to play, the power went out. Just how things work I guess. Anyway, while the power was out I had nothing to do, so I got a ruler, the motor holder, the footshell and a sheet of scratch paper and figured out what was necessary to get them all together.

I wound up cutting slightly more than 3/4" on the sides and slightly more than 7/8" across the top (or was it the other way around...I forget) to get the motor moved forward enough to fit inside. Here's a comparison shot:

Photobucket

And with the part I removed:

Photobucket

Top shot:

Photobucket

Both motor holders inside the footshells:

Photobucket

Motor sticking out the side:

Photobucket

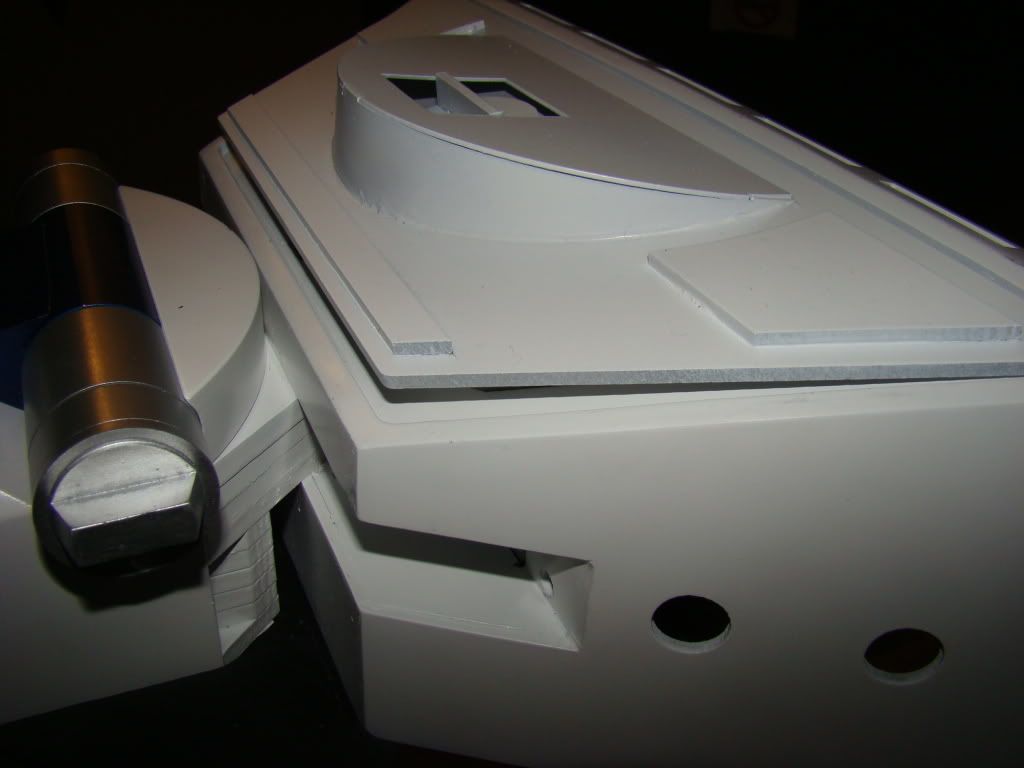
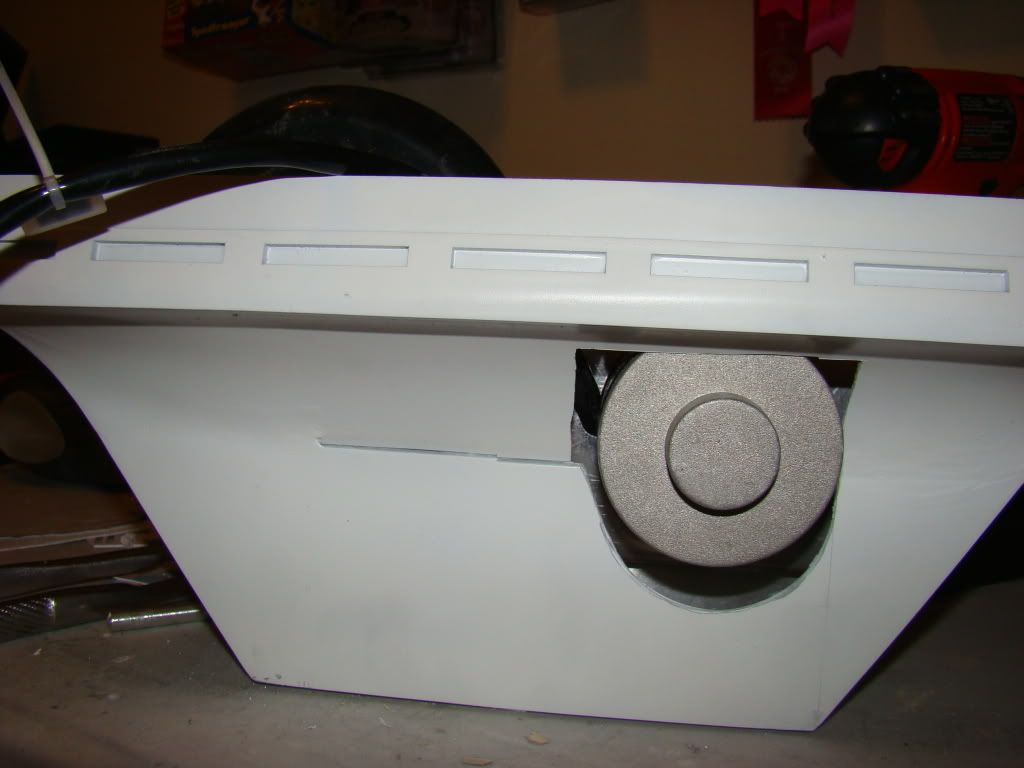
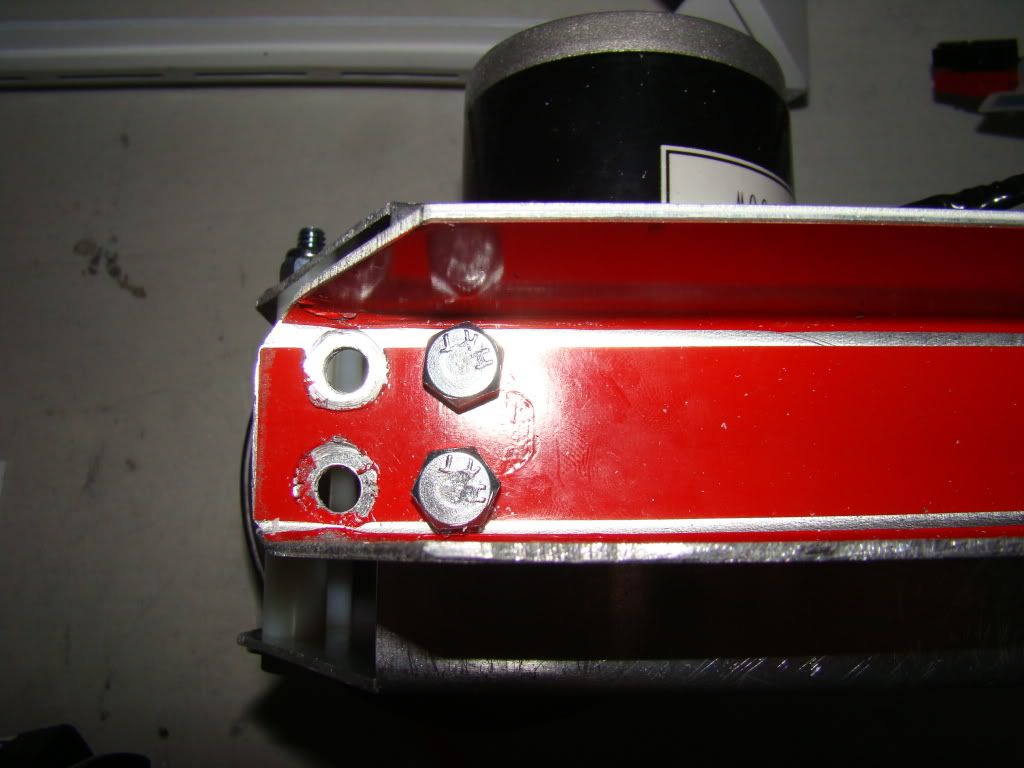
Next up was fixing the problem with the bolts that hold the ALU ankle channel onto the motor. The bolts that hold it together were keeping the footshell from fitting correctly. Here's why:

Photobucket

(In that pic you can also see how far forward the motor holder had to be moved forward. I didn't cut the channels down, since they already fit, just had to drill new holes.)

The fix for that was to remove some of the footshell channel like this:

Photobucket

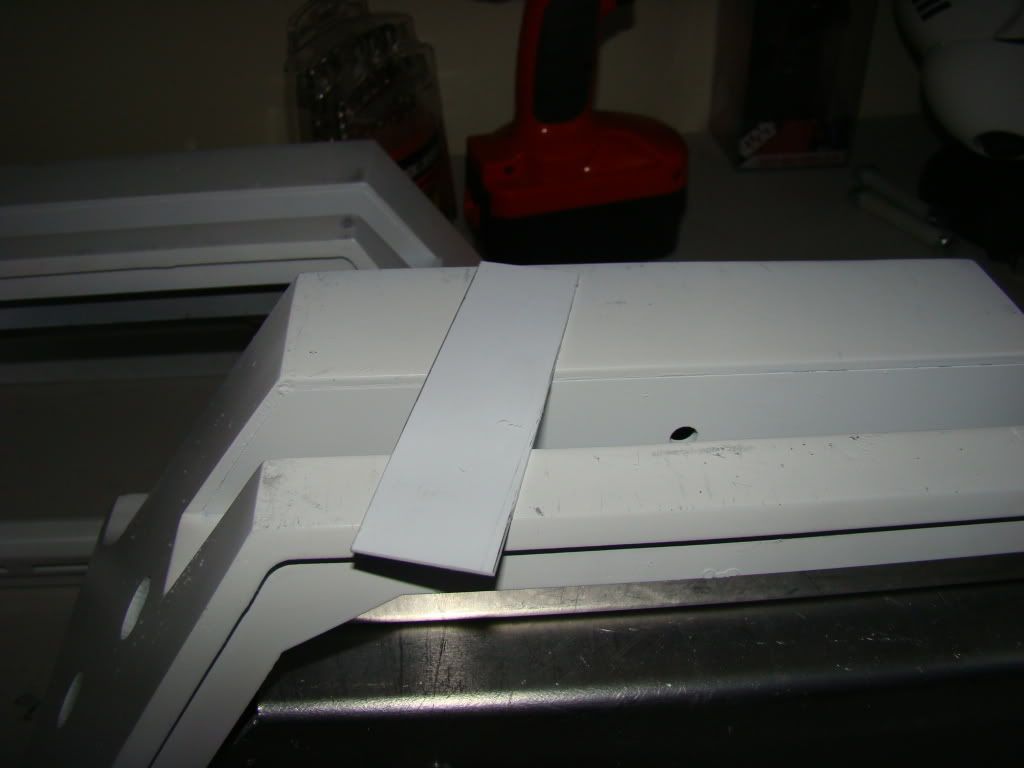
Since this wasn't really pretty, next thing was to fix that...

Photobucket

Photobucket

I haven't glued the sintra caps in yet, much like I haven't cut the battery boxes yet. It's on my to do list, which writing here always helps me keep track of :)

I'm also thinging about the wedges now, and sorted out the 3 different types. Haven't assembled them yet, since I'm not sure if I'll use them, or will instead use a set bolt through the ankle to hold the feet level.

Photobucket

I'll worry about that when I'm closer to having him stand.

Still considering what to do about the center foot and the caster mount that will need to go inside it. Just haven't gotten there yet.

Progress on the dome has come to a comlete halt, since I'm taking people's advice and not cutting the inner dome until I have the resin detail pieces.

Seems like I can see the light at the end of the tunnel, just don't have enough parts to get there yet.