Sunday, March 4, 2012

Battery boxes

I've said it before, I REALLY hate painting all these pretty aluminum parts... maybe next time I'll build an all ALU droid.
Photobucket

The mounting screws:
Photobucket

Mounted on the feet:
Photobucket

Carving out some room for the motors:
Photobucket

Photobucket

Ready for primer:
Photobucket

Dan Baker motor mounts to JAG feet

So, the challenge here was figuring out how exactly to combine the 2 systems, which weren't designed to go together...

The most important thing was to NOT drill on the motor mounts until everything else was ready to go...

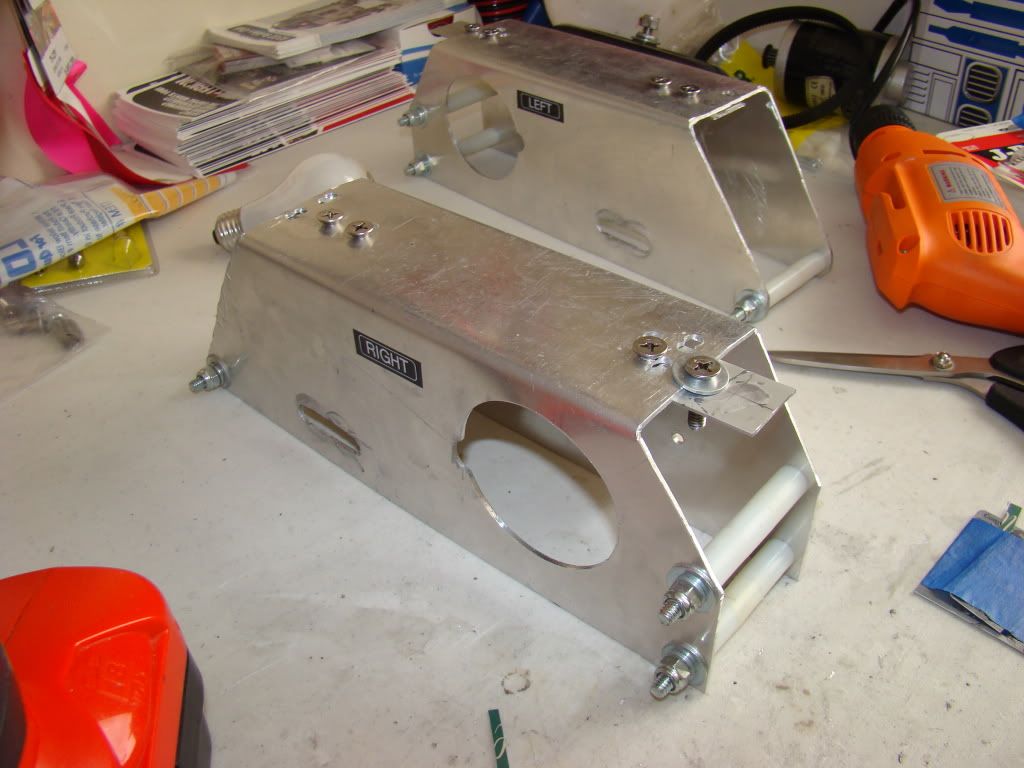
So, we start off with designing something that will hold the nuts in place. Here's what I came up with:

Photobucket

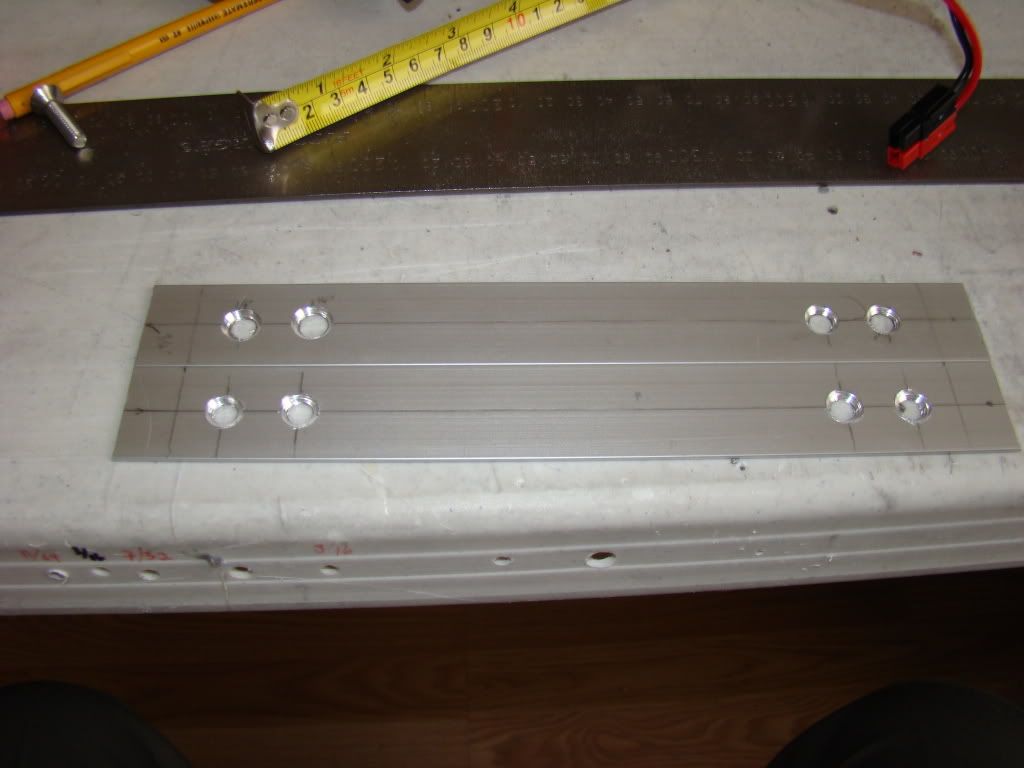
"Gluing" the washers in place:
Photobucket

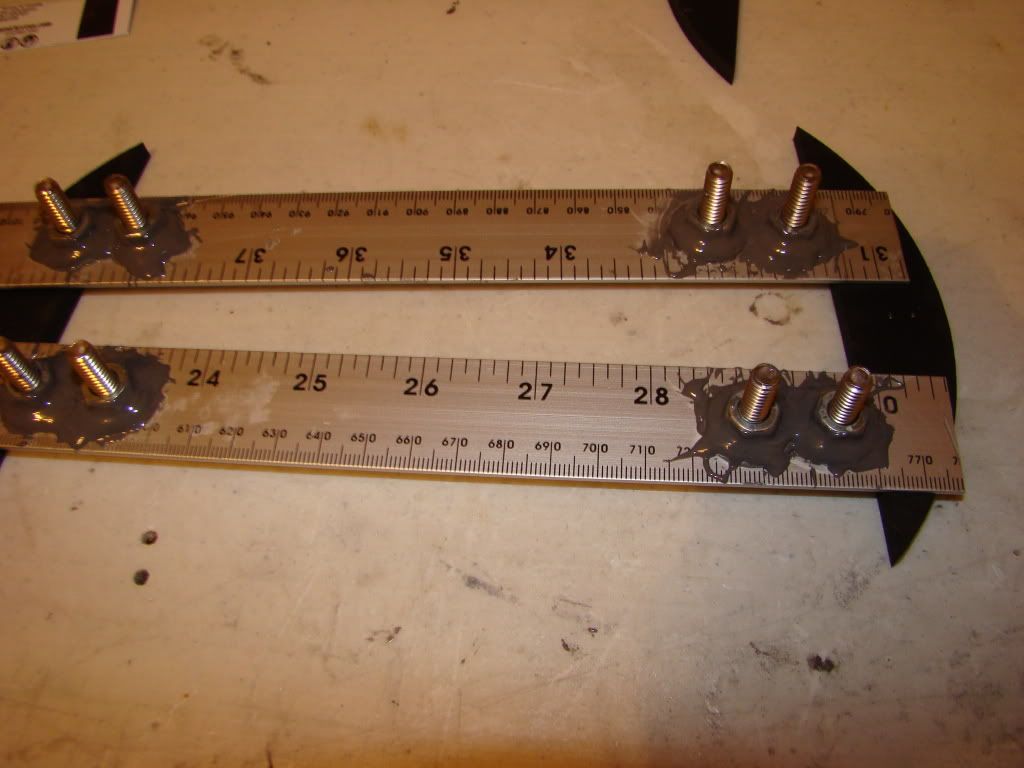
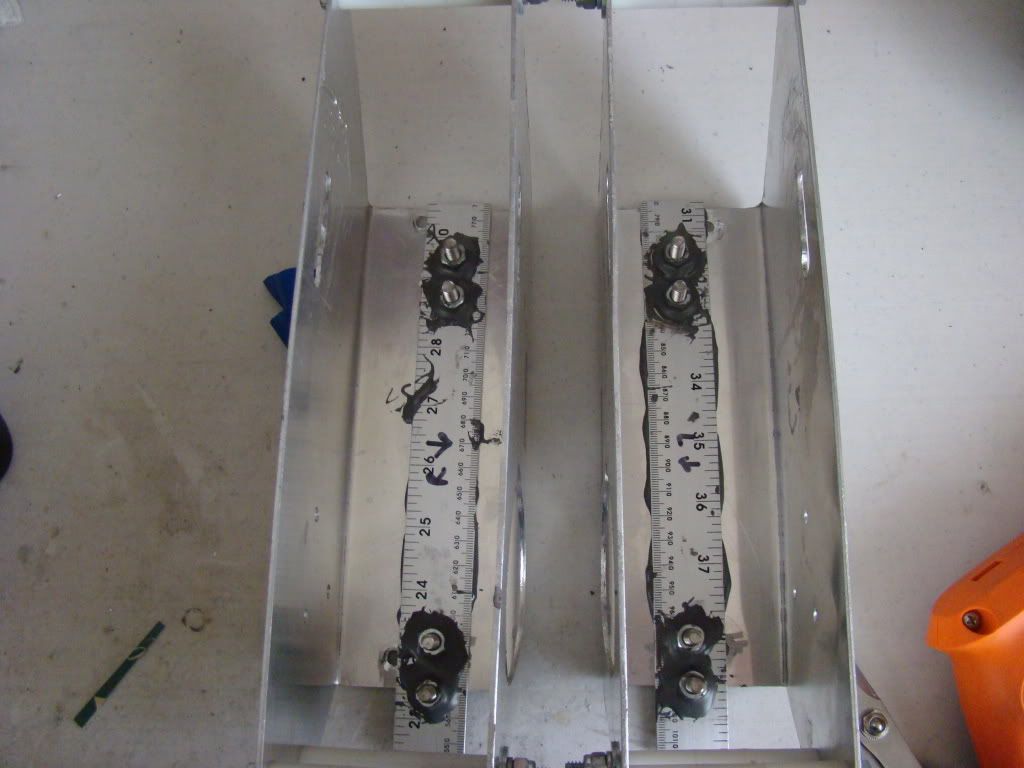
"Gluing" the nuts in place, with a little JB Weld...ok, so a lot of JB Weld.
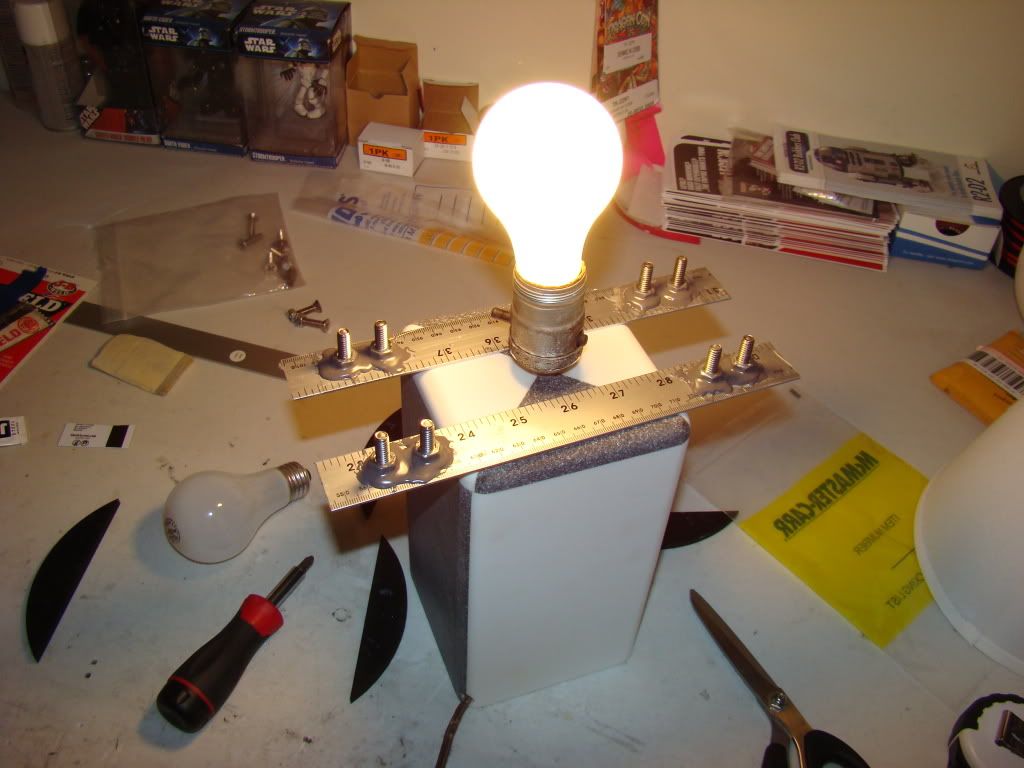
Photobucket

Curing the JB Weld:
Photobucket

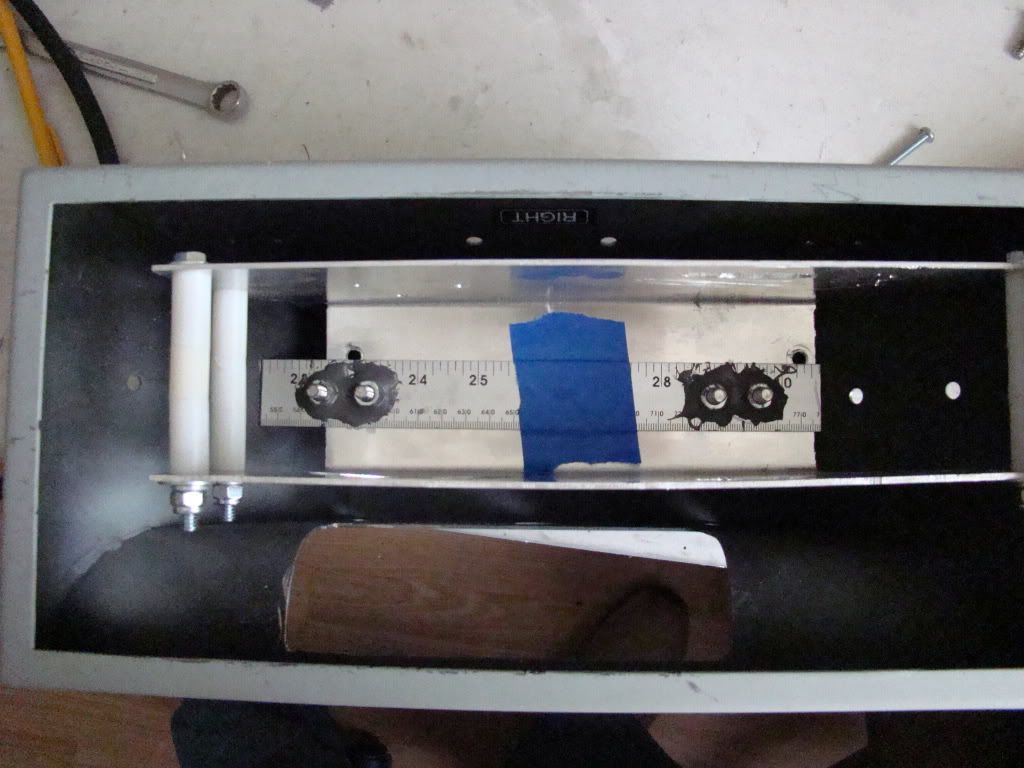
The original pre-drilling test fit:
Photobucket

Drilled the motor mounts:
Photobucket

"Gluing" the mount plates into the motor holders:
Photobucket

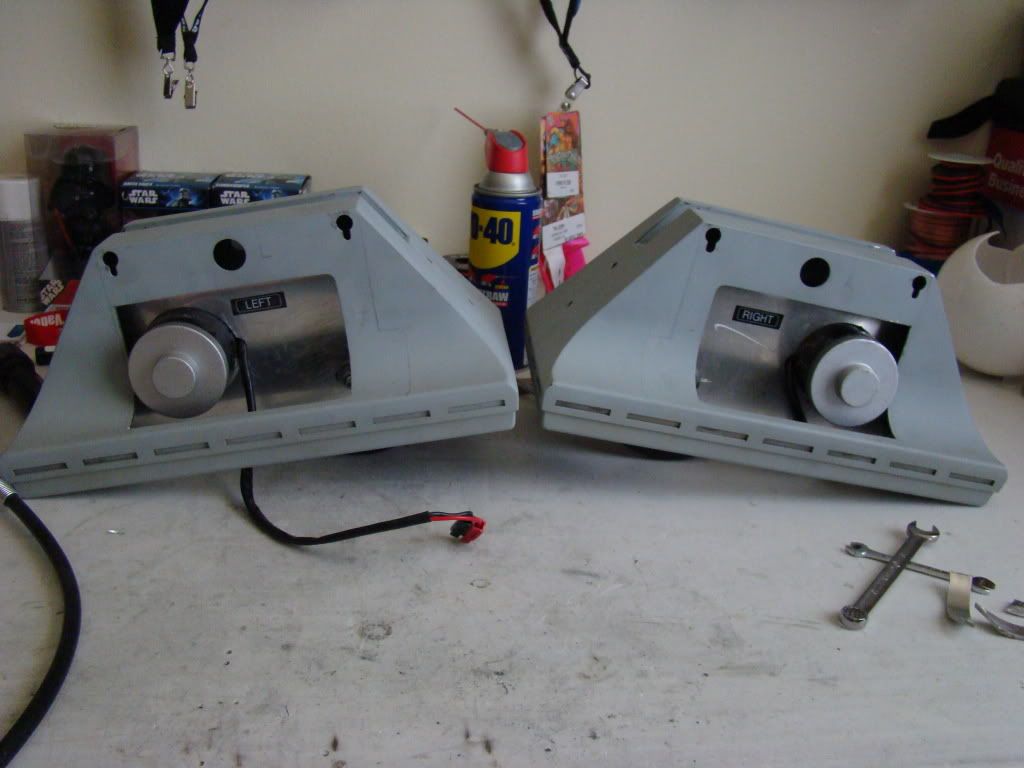
Everything all put together, ready for some paint:
Photobucket

Drilling out the holes for the KHFs:
Photobucket

Photobucket

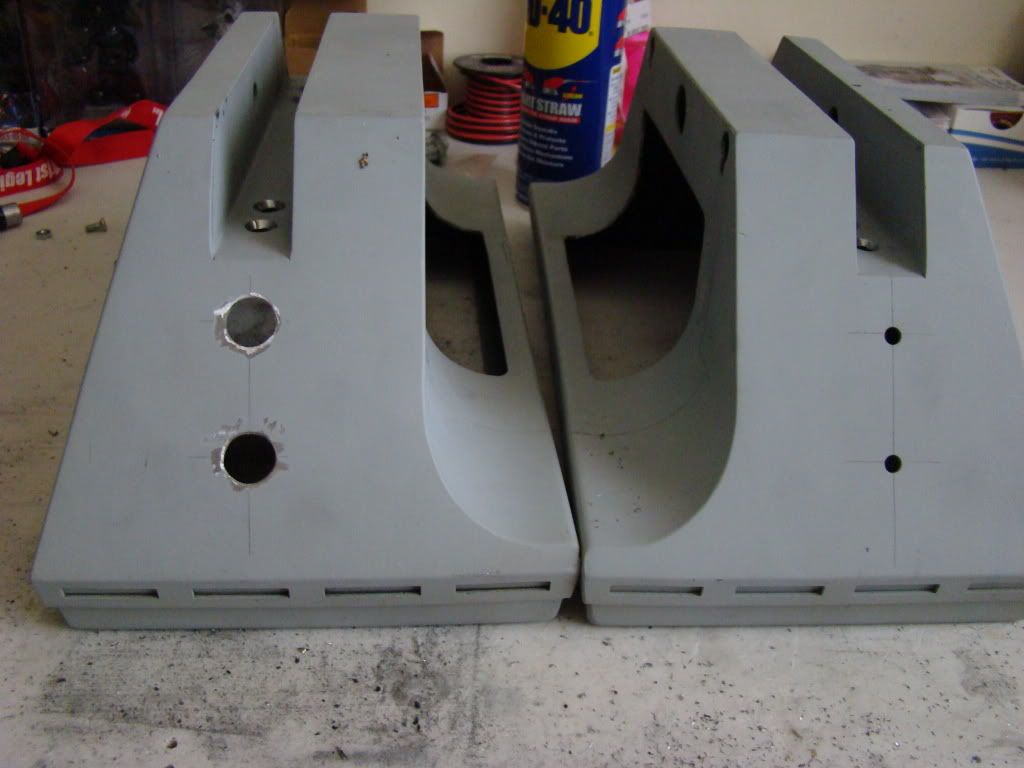
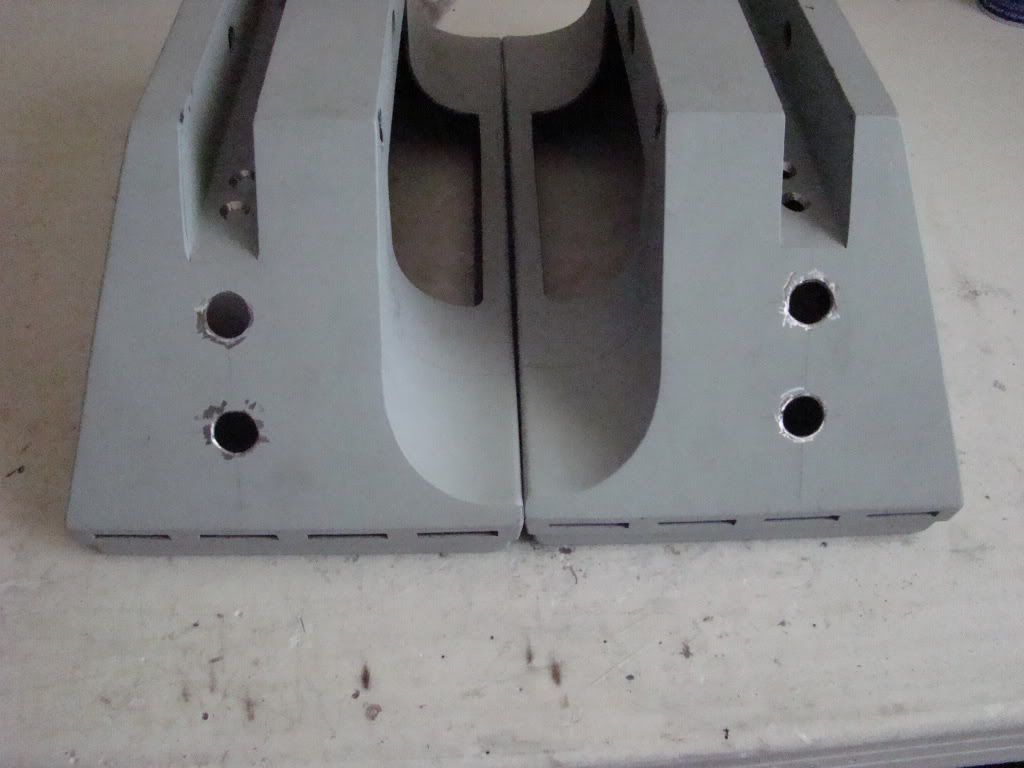
The holes are much "cleaner" than they look in these pics. It's the missing primer that makes them look rough...

JAG Center Foot

So, I just looked at my blog and realized it's been since Oct last year since I posted...I've been working just not posting, so here's a metric ton of info...starting with the center foot.

Start off with pics of the center foot mounting bracket..all primered and clear-coated. Standoffs installed..

Photobucket

Photobucket

Holes drilled in the wheel mounts:

Photobucket

Photobucket

Detail painting:
Photobucket

Photobucket

Photobucket

The center foot is ready to be installed, just haven't done it. The only issue I can see so far will be locking the foot in place.