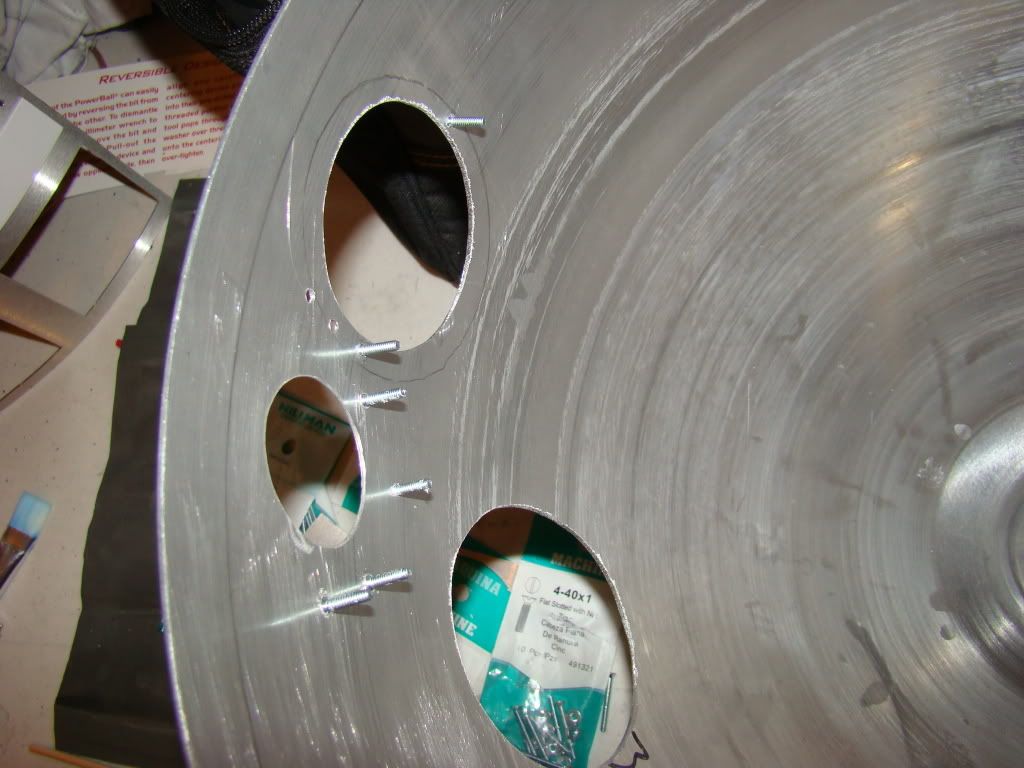
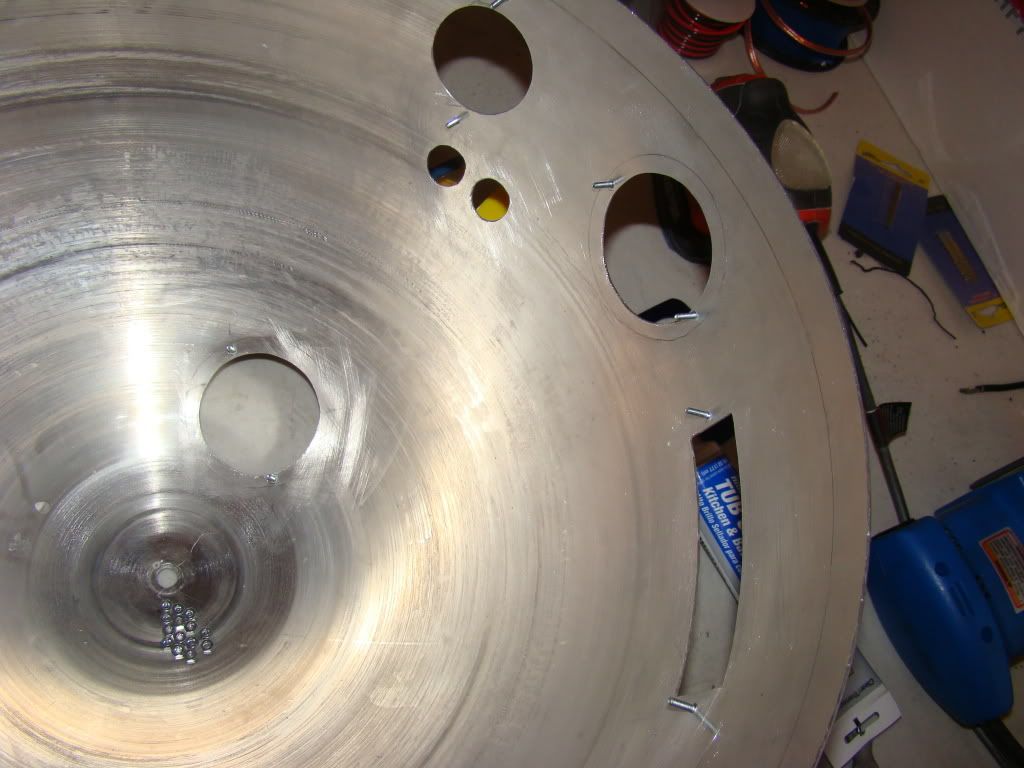
Naturally I didn't take any pics of the outside, with the sanded down spots. Maybe after removing the paper that I put on here:
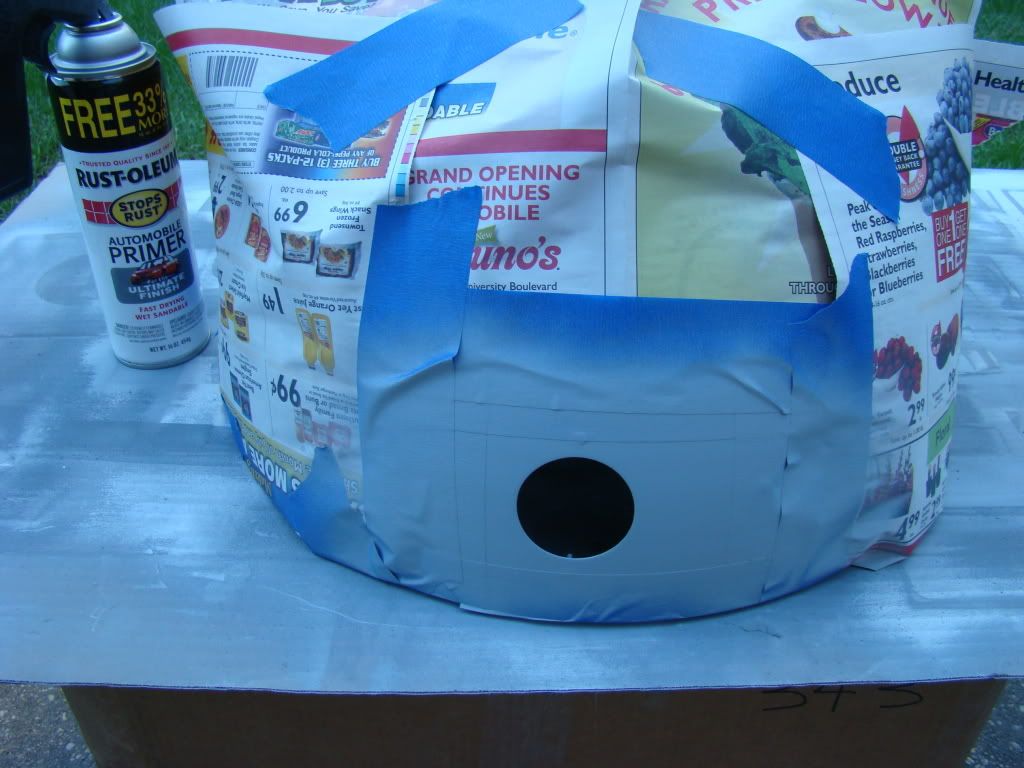
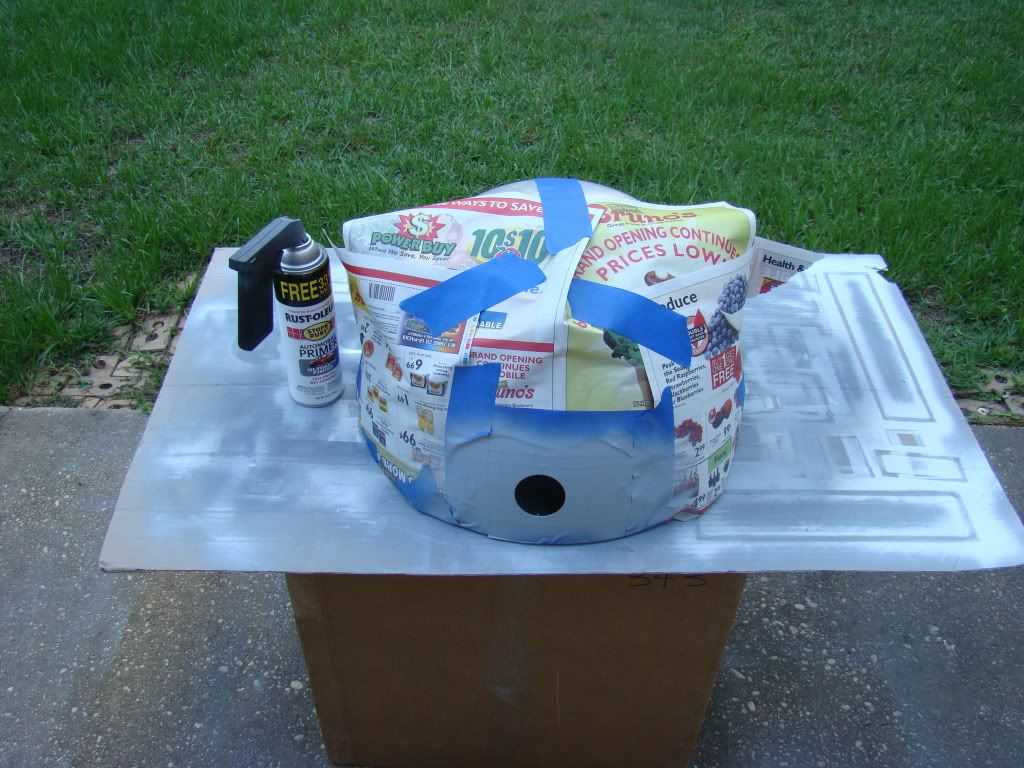
Notice the good deal I got on primer :) Only probem with that is it's more difficult to shake before use, the mixing ball wouldn't move for like, 5 minutes.
I also started mounting some of the detail pieces to the skins. I didn't know Marco's coin slots were the deep ones, so they didn't fit right away. Had to engineer some spacer from, yet again, more scrap A&A frame. That stuff is good for all kinds of stuff :)
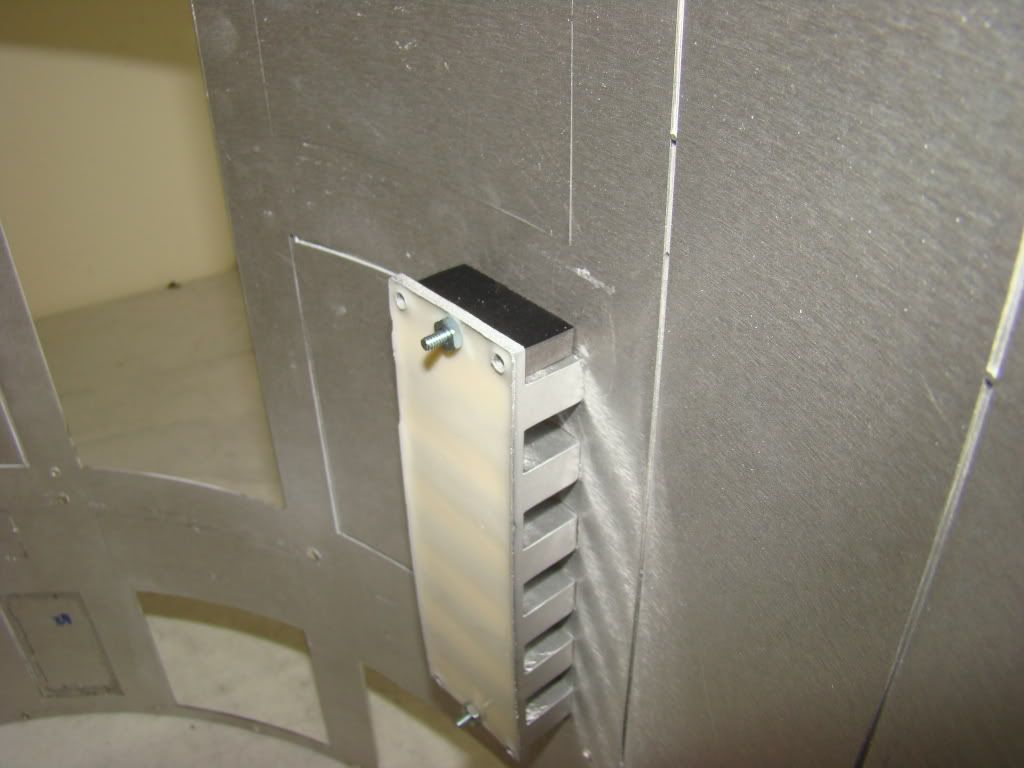
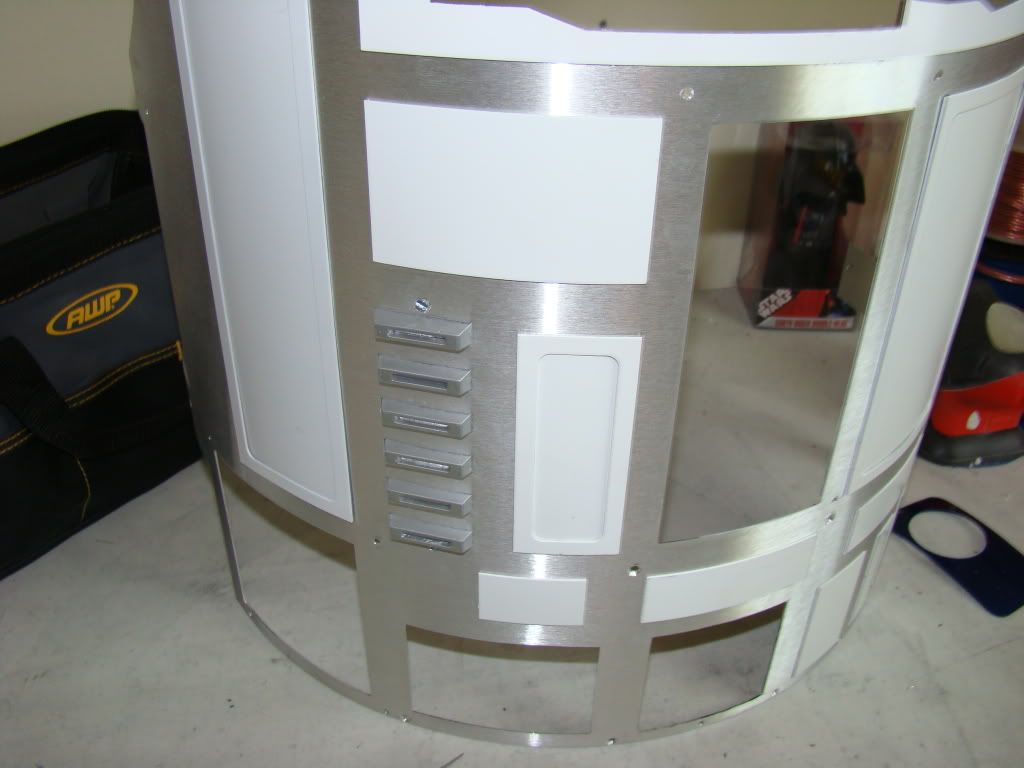
Also mounted the front and back pocket vents. Had to bend those tabs out, like I figured I would.
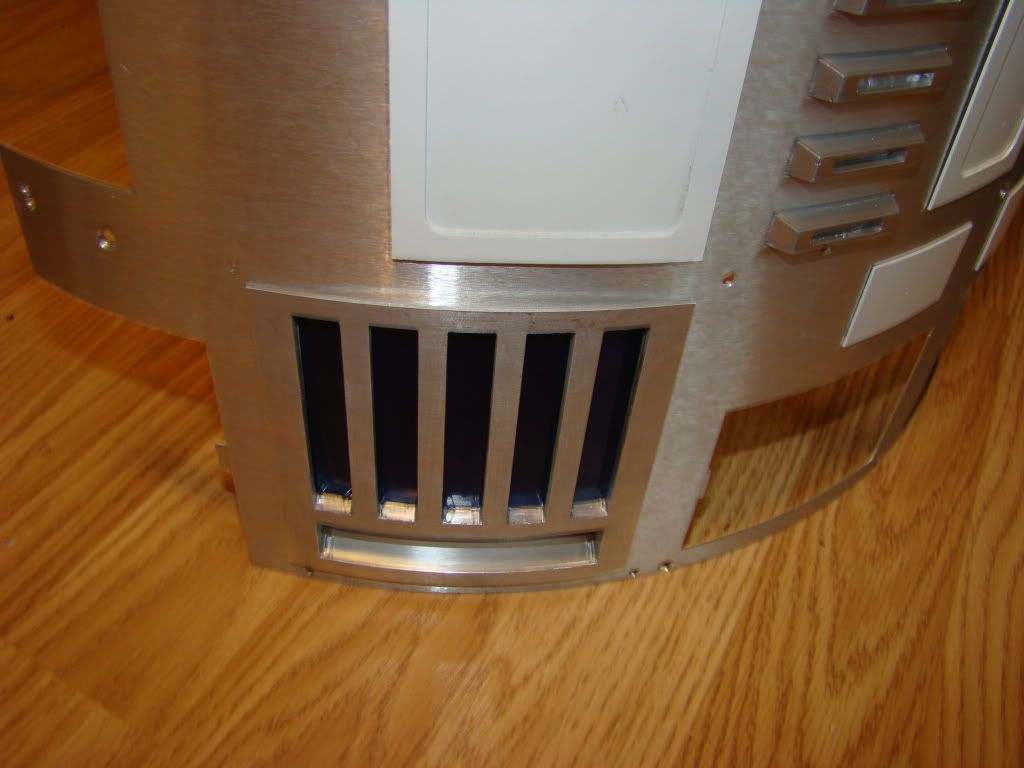
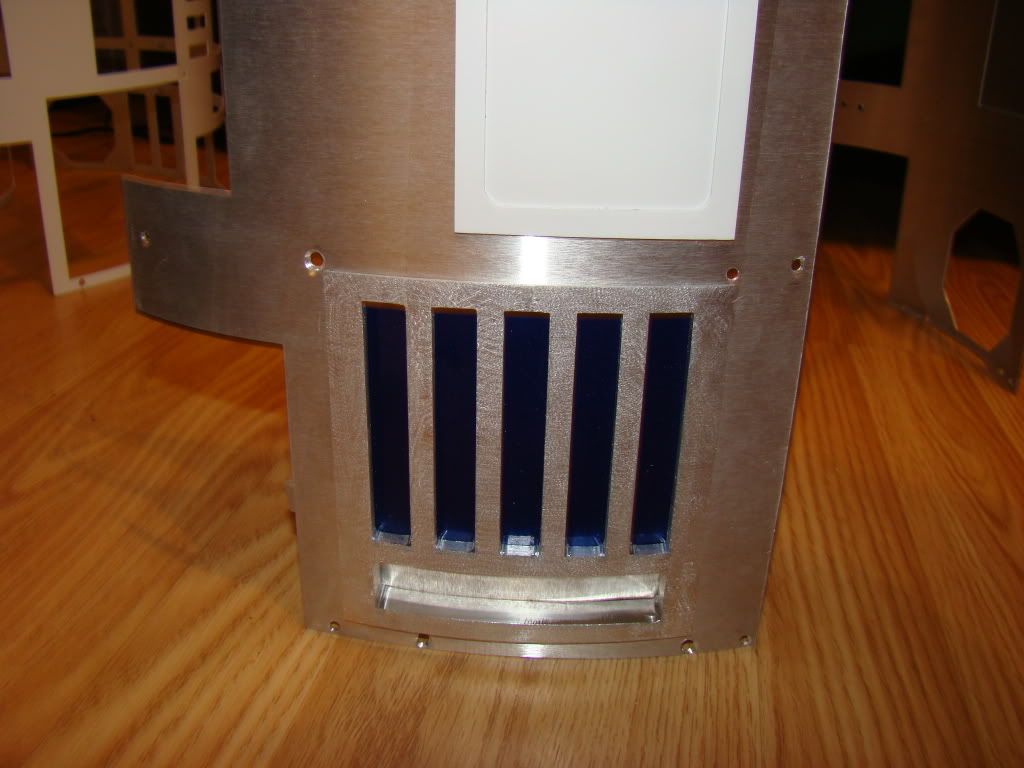
The front one will be better fit when the skins are on.
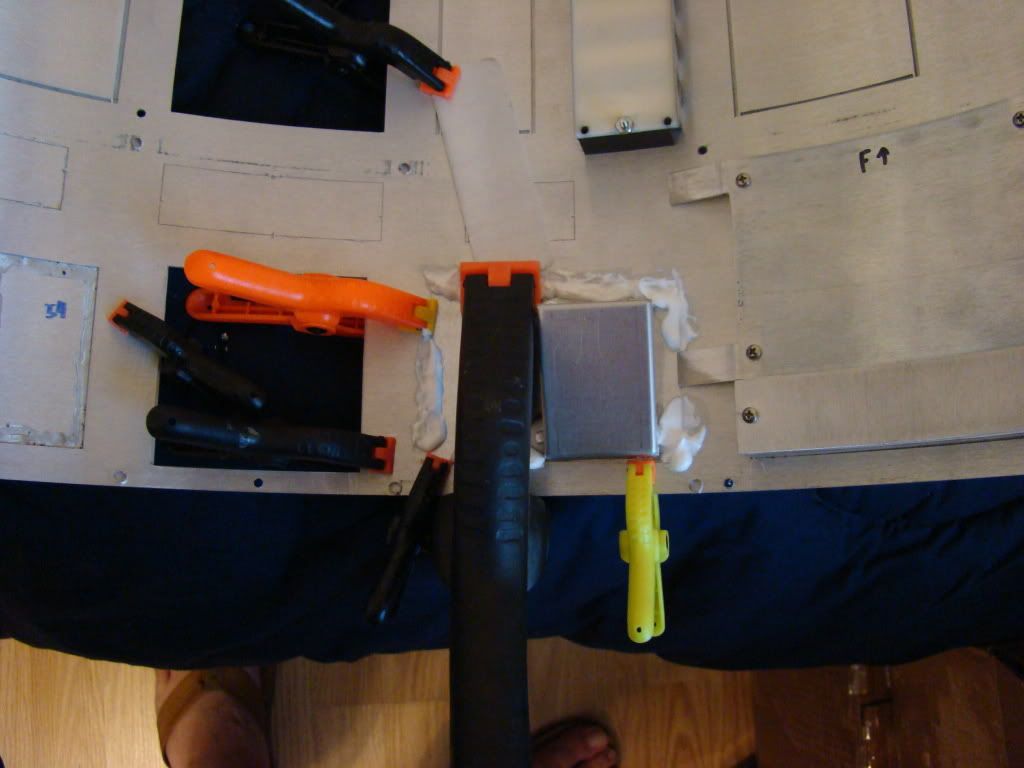
Also glued in the front coin return. Don't have pics from the front, but here's one from the back:
I took more pics than what I posted, always do. I just picked the best ones.
If it's not raining tomorrow, I should be able to actually paint blue again!
No comments:
Post a Comment