Sunday, May 11, 2014

Friends, Romans, Countrymen....

So, this post is mostly about ears work.

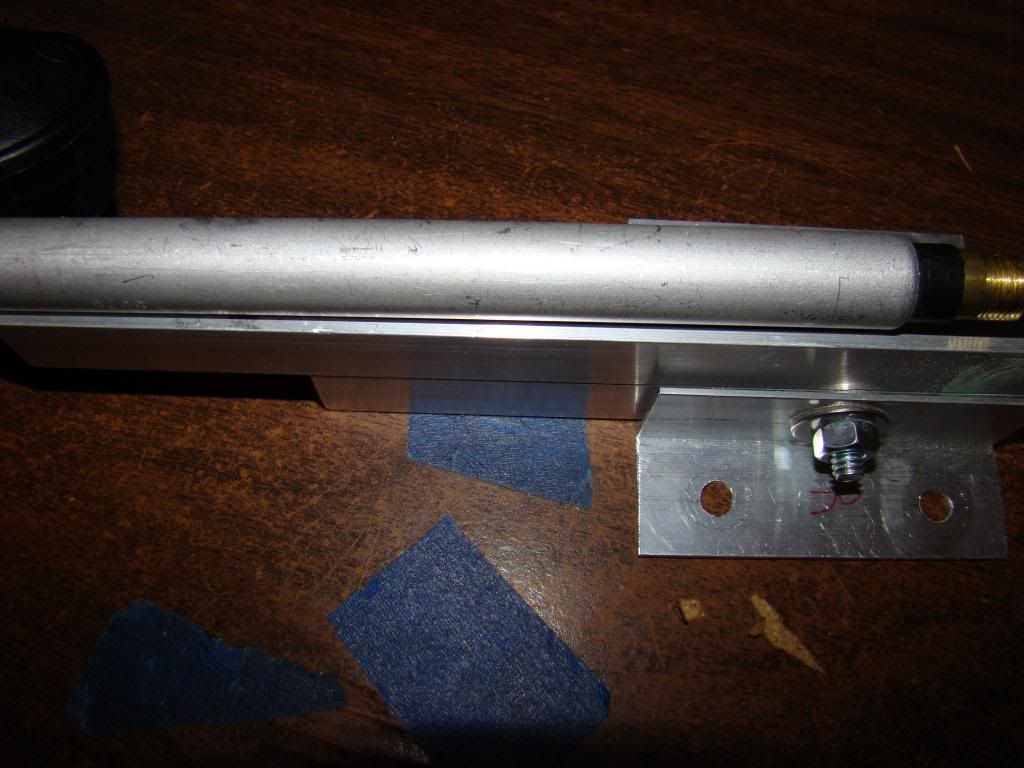
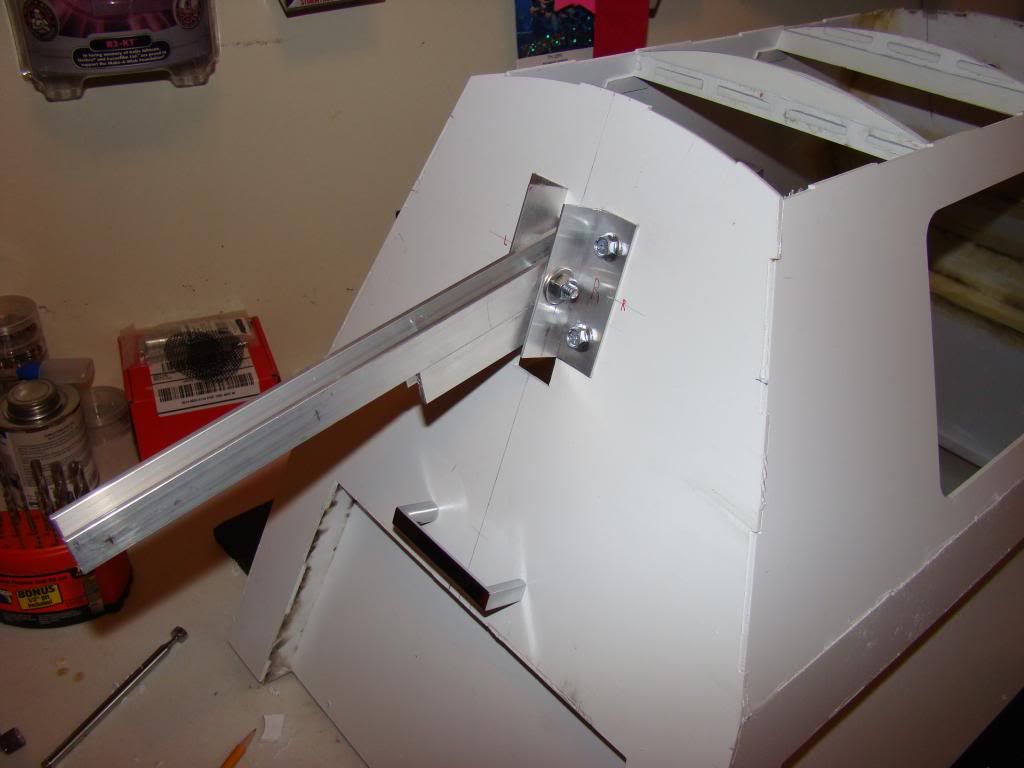
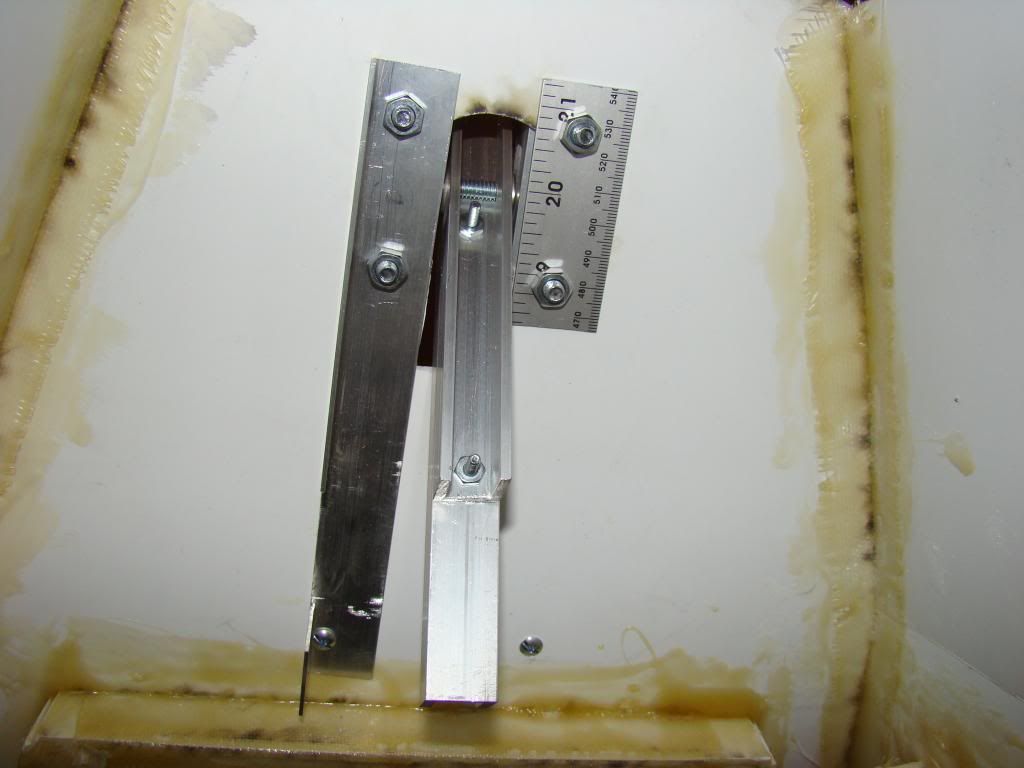
We start off with a picture of the jig I made to hold the tubes in place:


It holds the tubes pretty close to 10 degrees off center.  Credit for this idea, as well as several others goes to fellow K9 and astromech builder Doug Dixon.

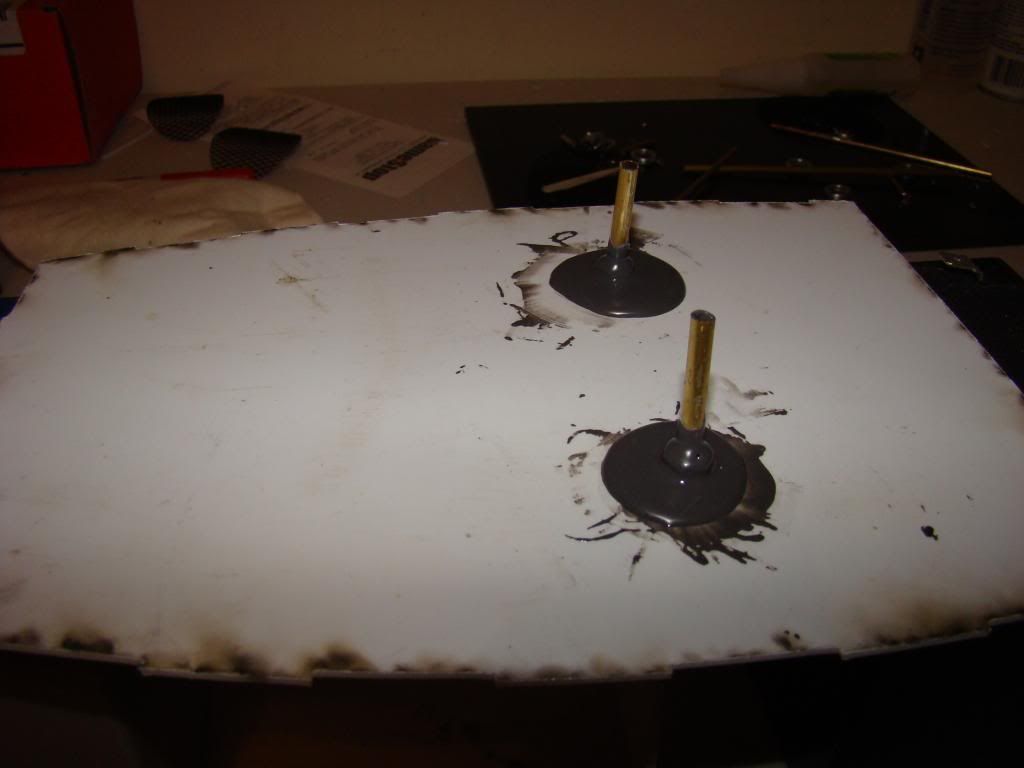
On the bottom I used a washer and a nut that just happened to fit fairly well on the tube, and I JB Welded it in place.  I'd forgotten how messy that stuff can be, and how even after 2 or 3 hours it will still run, albeit very slowly:


for the top of the head I considered coming up with some sort of mold to hold the JB Weld in place, to keep it from settling, but decided against that.
What I ended up getting instead was JB Weld's PlasticWeld, an epoxy putty.  I'd intended to get the SteelStick, but had a brain fart and grabbed the first thing that sounded right.  Guess it's a good thing the head is made of plastic...

Anyway, the stuff looks like what the 'As Seen On TV' guys were selling a few years ago, one color outside and another color in the center.  You just start kneading it until it's all the same color, then you have 20-25 minutes to get it how you want it. It's kind of like thick Play-Doh.

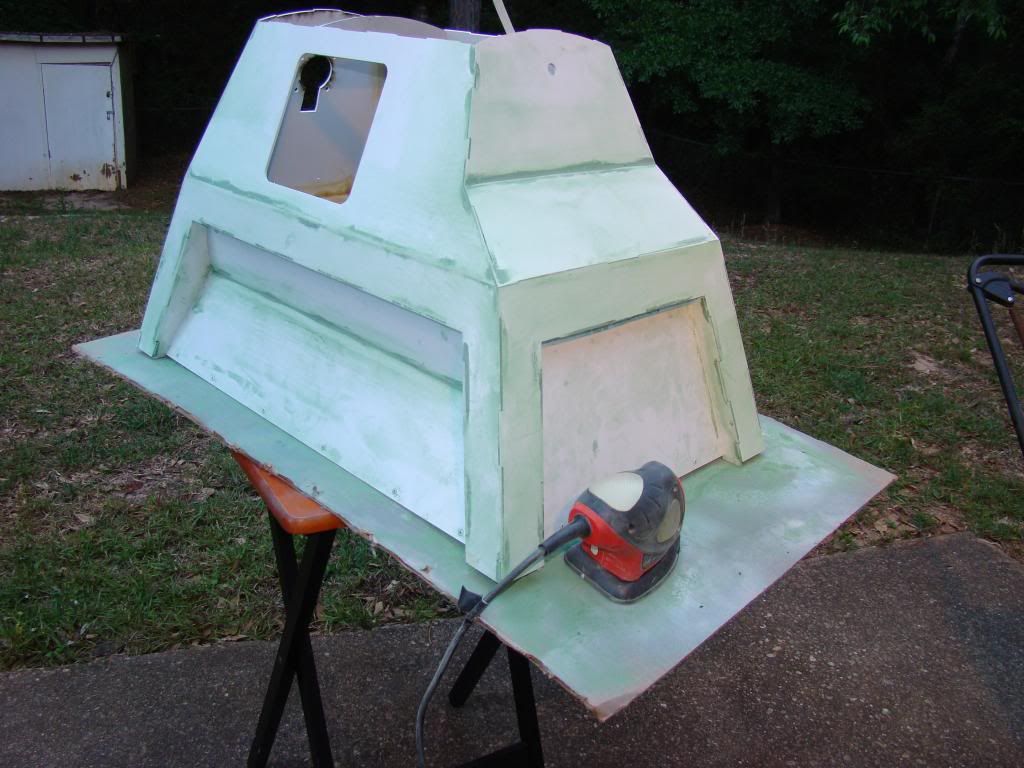
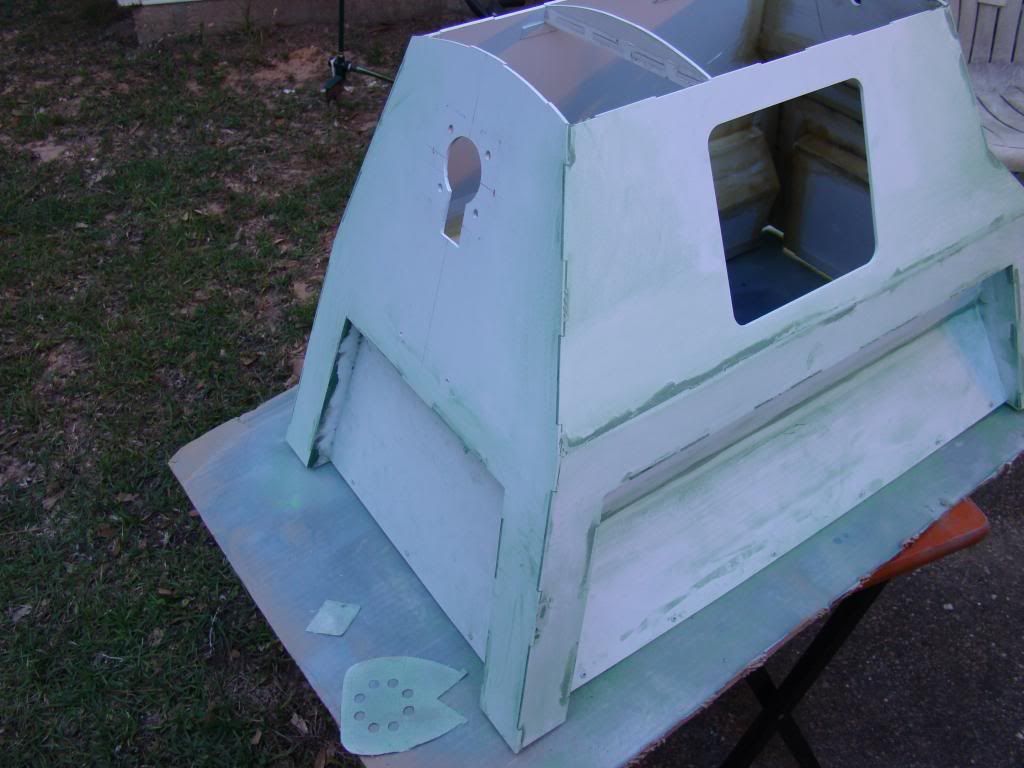
Here's what I did with it:


It's supposed to be cured in 2-3 hours and be sandable and paintable.  We'll see.  The washer on top of the putty is for the pen tip to ride on, once that stuff is all built.

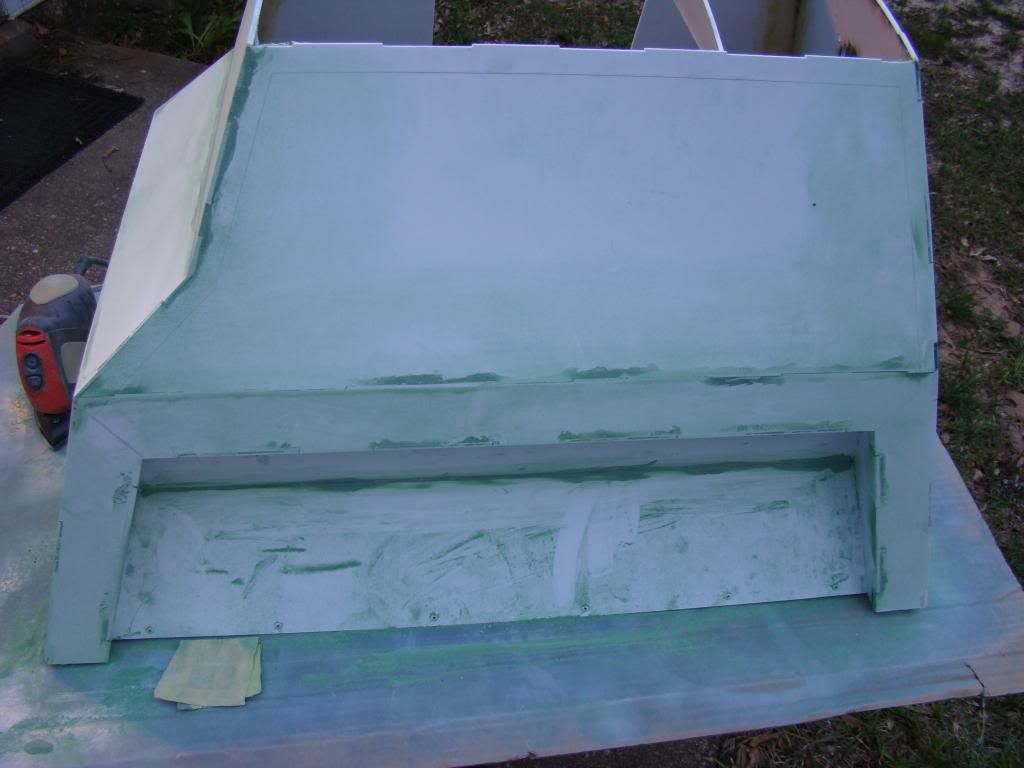
Now that this part is finished, I'll be able to go ahead with assembling the head.

Tuesday, May 6, 2014

The "ISSUE"...

I almost forgot.  I mentioned "There IS a little issue, well actually a huge issue, but I don't have any pics, so I'll just have to leave you hanging whilst I figure out exactly what to do about it."

So here's a couple of pictures of the problem...


The U-channel is apparently thicker than what the plans call for.  The antenna mast doesn't fit inside of it. 

Right now the plan is to mount the antenna exactly like it shows in the picture. 

In order for the antenna to come out of the head where it's supposed to, I'm going to have to change the angle at which the head mounts to the neck, but I think I'd have done that anyway.

We'll see how it plays out I guess.  The beauty here is that I don't think anything I do can ruin a part that can't be remade in a few minutes.


Sanding

Well, as promised here are a couple of post-sanding round one pics.  Maybe they'll be "good enough" and won't require a 2nd application.
Turns out that with my mouse sander, the Squadron Green modeling putty sands pretty easy.  I am glad I took it outside, there was a lot of green dust.


And here's a couple of pics of K9's first (and hopefully only) bath...


Seemed like the easiest way to get all the green dust off of him.  I didn't want to risk putting him in the shower and wind up with a green tub :)

After, I was trying to decide which towel to risk for drying him off, then that little voice in the back of my head said "Duh...use the GREEN towel ya Mo-Ron".

Tomorrow I'll shoot a little primer on the seams and see how they look.


Monday, May 5, 2014

A busy weekend

Well, after a week of being out of town for work, I decided I needed to get some work done.

Started off by reinforcing the side panels with some 3/4x1/2" angle aluminum:


They were getting a little "flexy" and needed stiffening.  Front, back, and both sides are done.  I used white painted pop rivets, because that's what I had handy, from the old days building storm trooper armor.


It only took me about 6.5 hours to "engineer" the neck joint.  I followed the plans from the K9.replicarobots.com files as best I could, what with them being in mm and not inches.  That made things only a little more difficult, since I had to round up or down, depending on what I was buying/ordering.

I used 1" angle aluminum for the left and right mounting brackets, 3" tall on the outside.  I used 3/4" U channel for the neck, bought from Amazon, measured to the lengths in the how-to.  The nuts and bolts that hold the mounts are 5/8" long, 1/4-20.  The bolt that's currently in place for the pivot is 1 1/2" 1/4-20, and will have a nylon threaded lock nut when it's time to assemble it all "for good".


On the inside, I used one side scrap flat aluminum from a cheap yardstick from good ol' Harbor Freight.  On the other side I used 1" angle again, this time long enough to act as backing for the handle as well.  You can also see that I've cut the notch for the giant Turnigy S8166M that'll move the head.  I haven't drilled the mount holes yet, waiting for the servo to arrive first.


There IS a little issue, well actually a huge issue, but I don't have any pics, so I'll just have to leave you hanging whilst I figure out exactly what to do about it.

In other news, I also did a little body work.  I used "Squadron Green Modeling Putty" from the local model shop as filler.  I'd never heard of it until I was checking out another builder's log.
 
When building R2, I'd previously used CA glue (superglue), which is terrible to sand and super brittle, Bondo body filler, which is heavy and brittle, Elmer's Glue Wood filler, which is easy to use, easy to sand, but doesn't stick to plastic well, and is brittle.

So far, the putty's been easy to apply.  It comes out of the tube a little thicker than toothpaste, and applies easily with a finger.  It also washes off of said finger fairly easily  It did seem to shrink a little where there was a gap to fill.  I used a little more than half the tube:


Tomorrow I'll sand and see how it turns out. I'm sure there will be some areas that will need a 2nd application, but I still have half a tube left.  After a 2nd application maybe this weekend I'll shoot a little primer on the seams to see how it turns out.