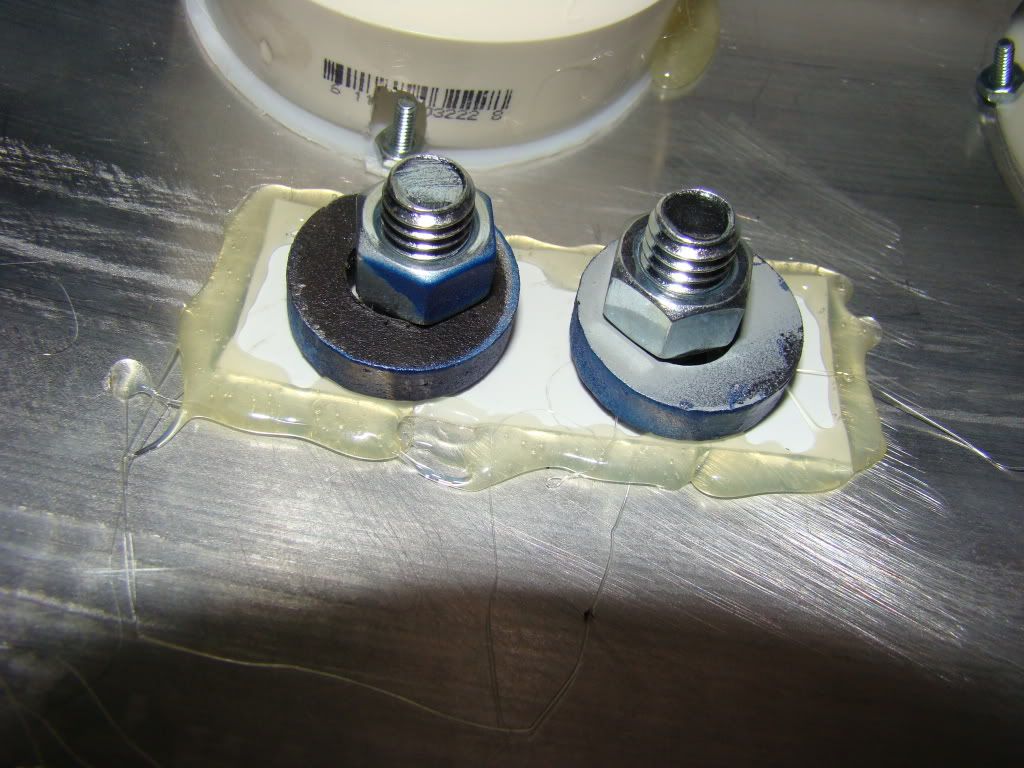
I used some scrap styrene and some other scrap A&A pieces to come up with a way to get them in there.
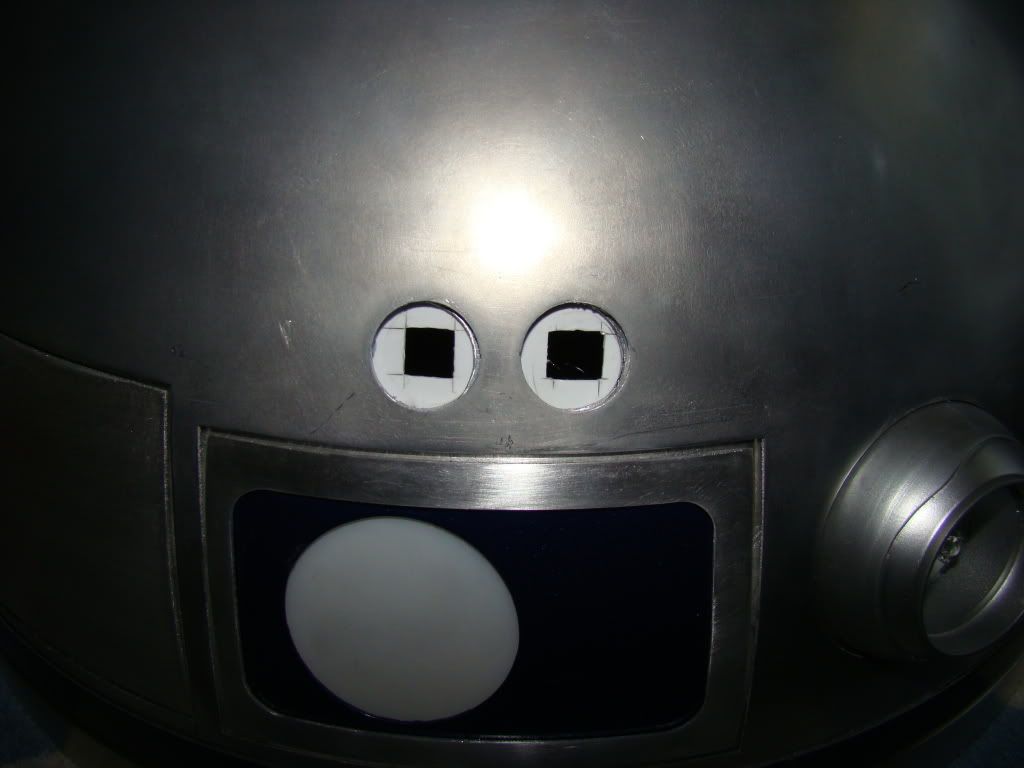
Here's the styrene already glued in place, with the squares cut for the carriage bolts:
And a shot from inside the dome where you can see the spacers I made to get around the square parts:
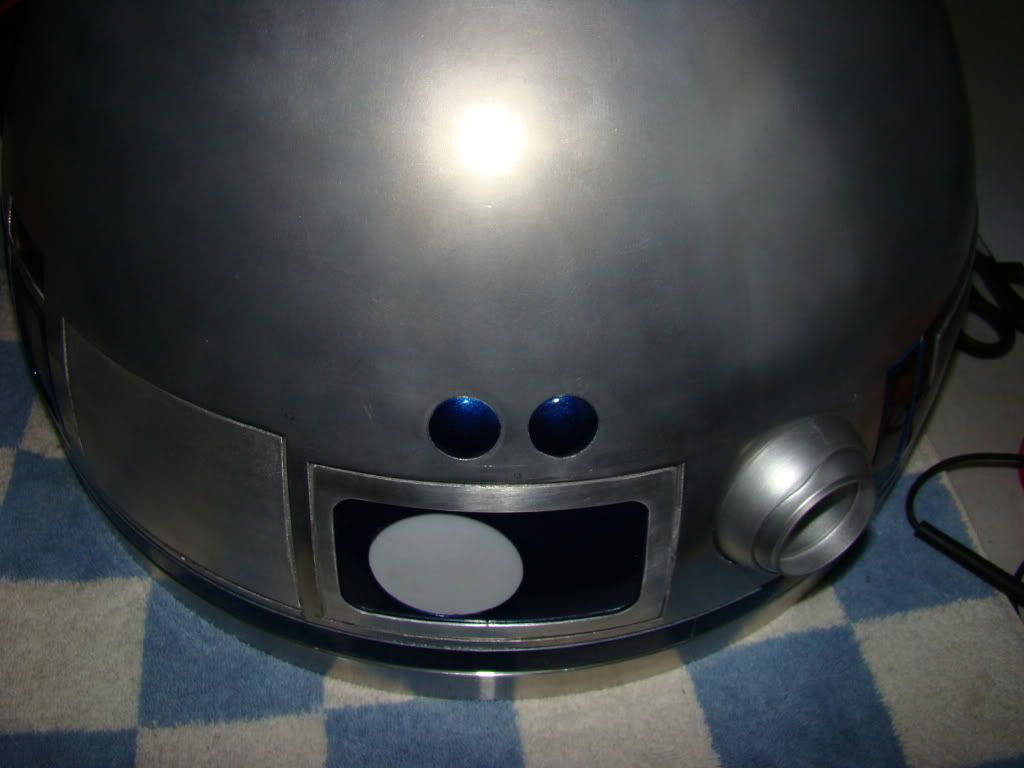
And a shot from outside with the bumps installed:
Next up is the resin KHFs, since I don't believe my ALU ones will arrive before it's time to head out to DCon next week.
Apparently when Keith originally cast them, he wrapped masking tape around the threads so as not to destroy the molds during removal. This means that the part where the thread would normally be is a little thicker than it should be. Here was my solution. I drilled a hole through each of them:
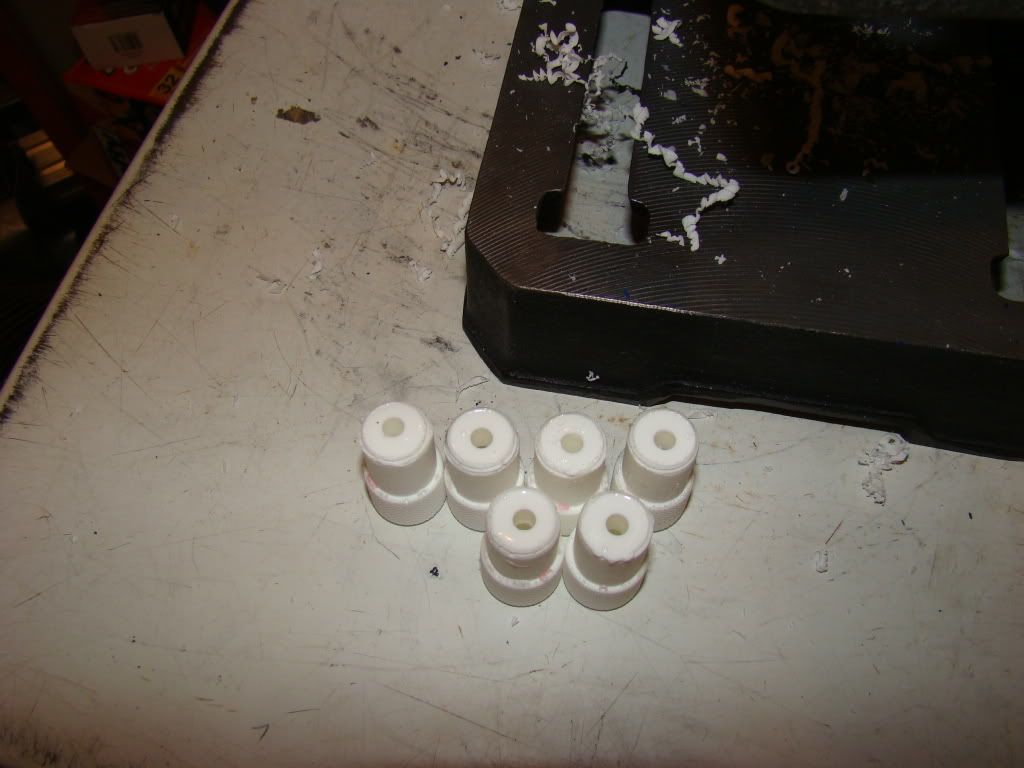
Then ran a bolt through the hole and tightened it down and put it in the drill press:
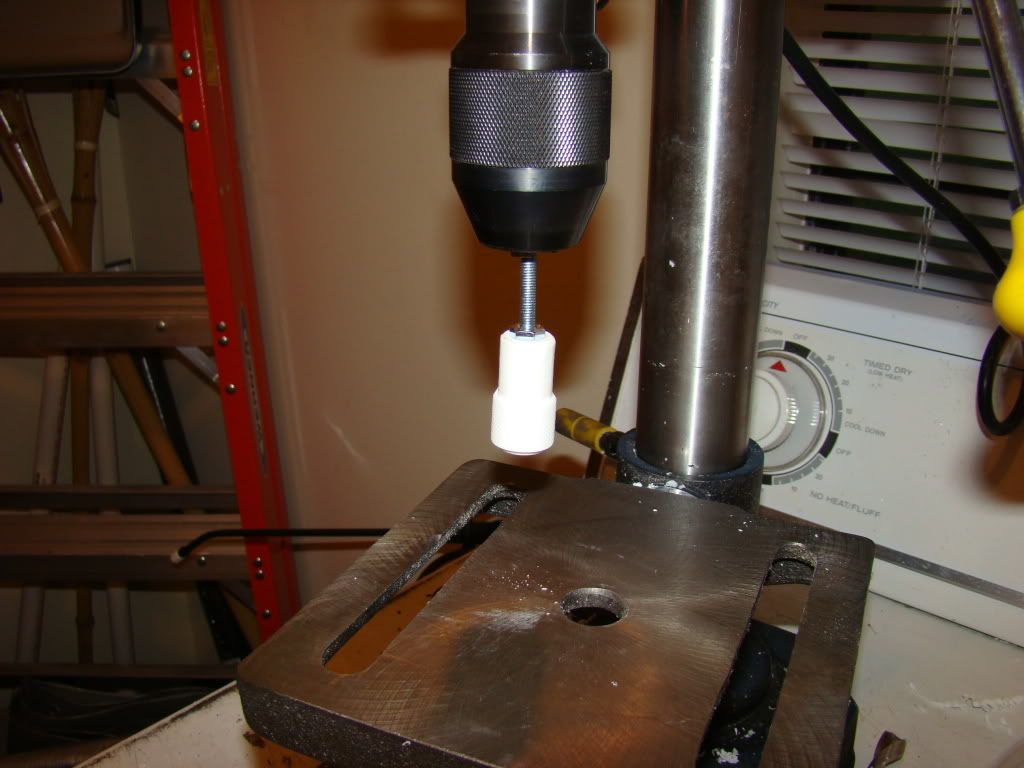
I tried 2 methods then:
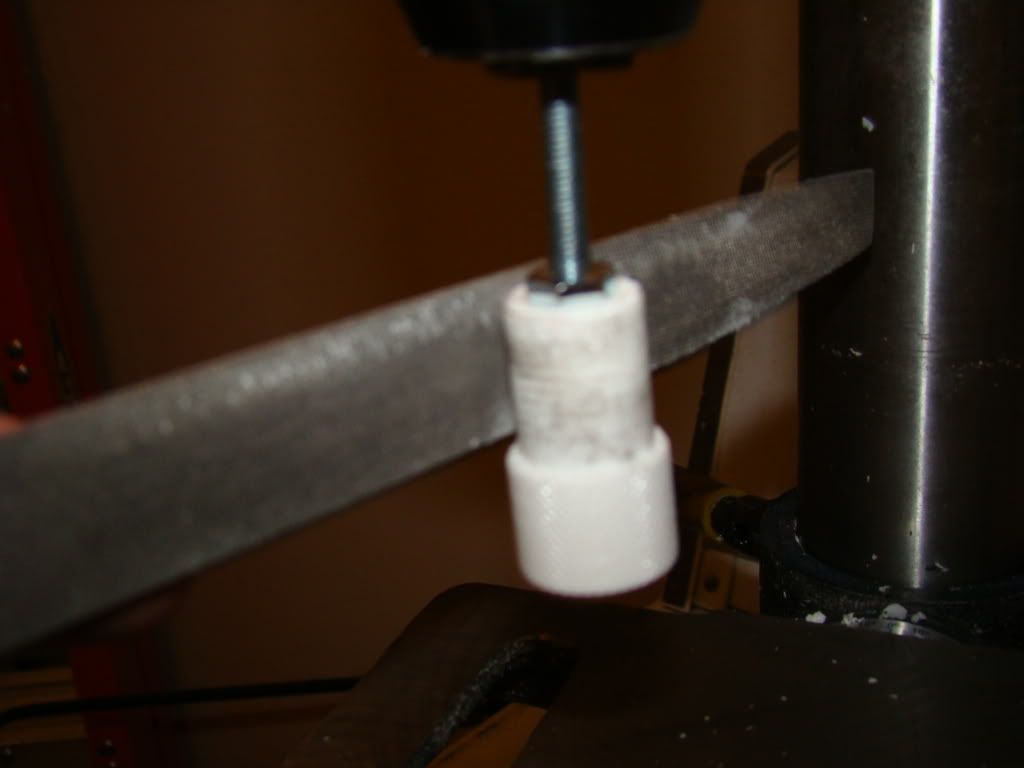
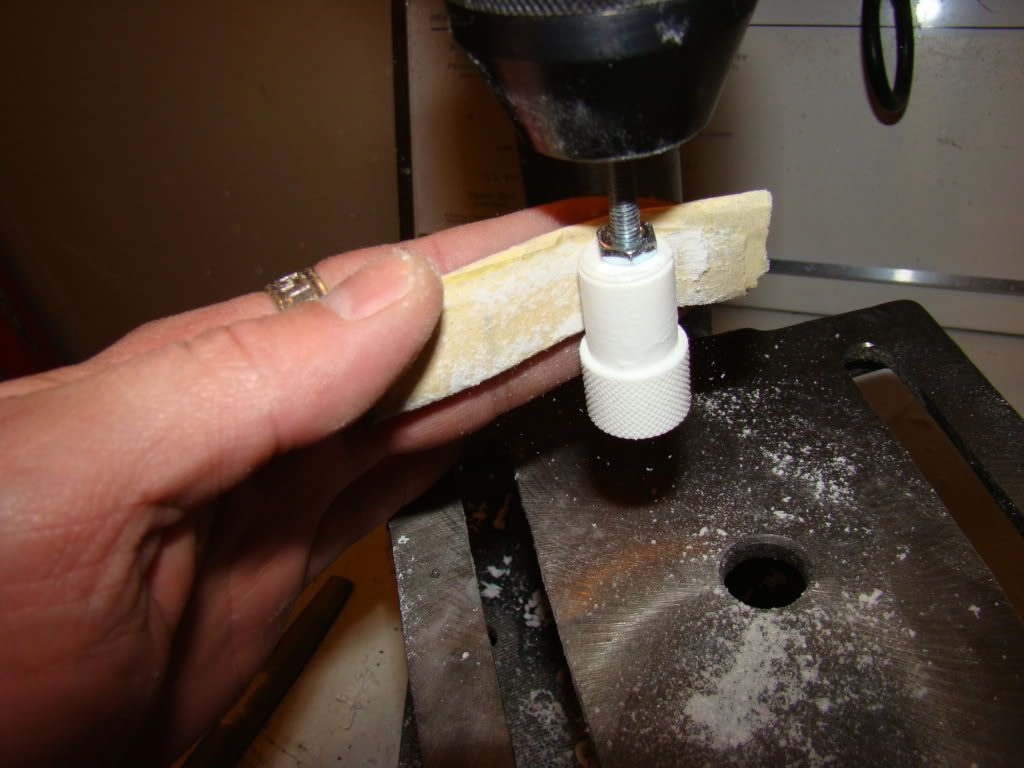
Of the 2, the sandpaper seemed to work a little better, but it loaded up awfully fast. The file was just too big a pain to keep from loading up.
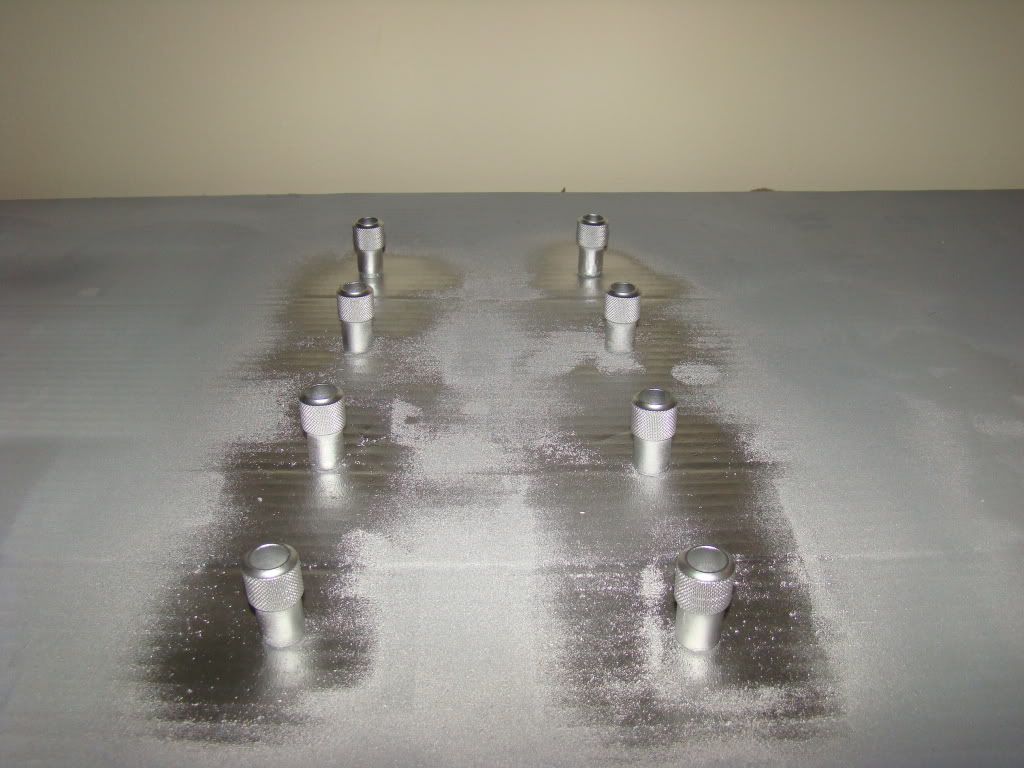
Here's a nice shiny silver shot of them:
I also dremeled the ends off of the braided hoses and painted them. Somehow I managed to get the "Rich Caramel" color instead of the "Aged Brass" Rustoleum Metallic. I'm not sure that's the one I picked when I was comparing them, but it's what made it home. It's not exactly what I wanted, but I think it'll do. Color like this isn't easy to show in a picture, but here goes:
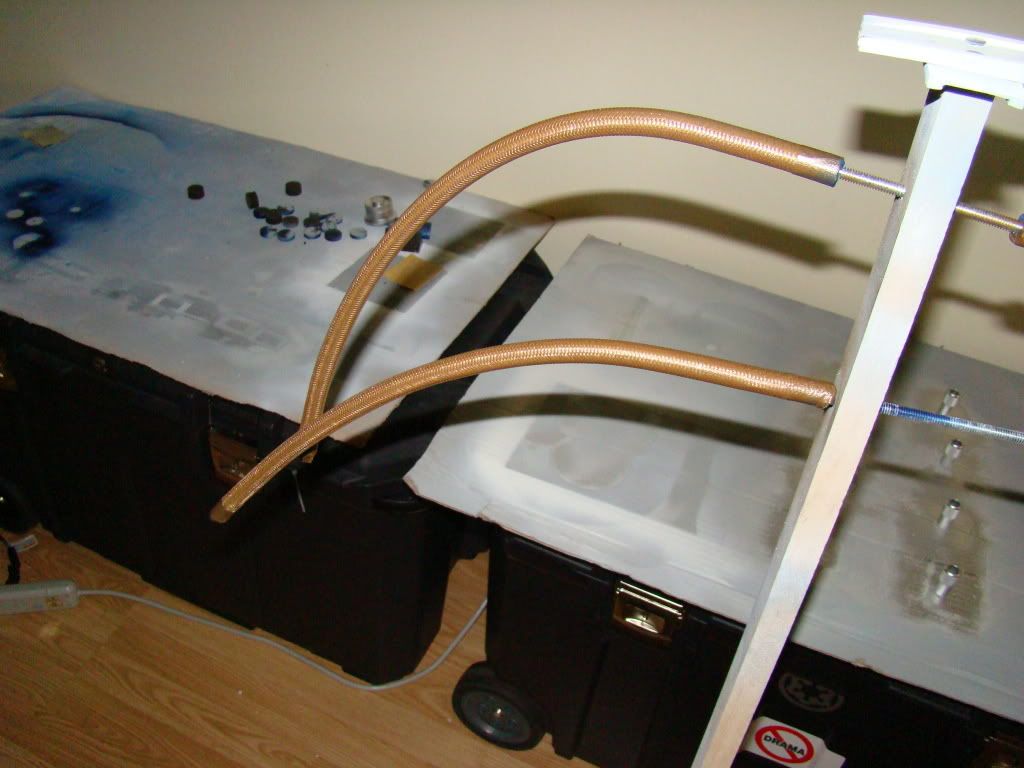
Still working on a plan to mount them securely, right now I'm thinking about some cotter pins, but we'll see when I get to that part this afternoon or tomorrow.
And here's a shot of the keyholes I cut in the battery boxes to hold them on better. I started by drilling the top of the keyhole, then another hole the same size 1/4" lower. I then used a big bit in the bottom hole to make the hole bigger.
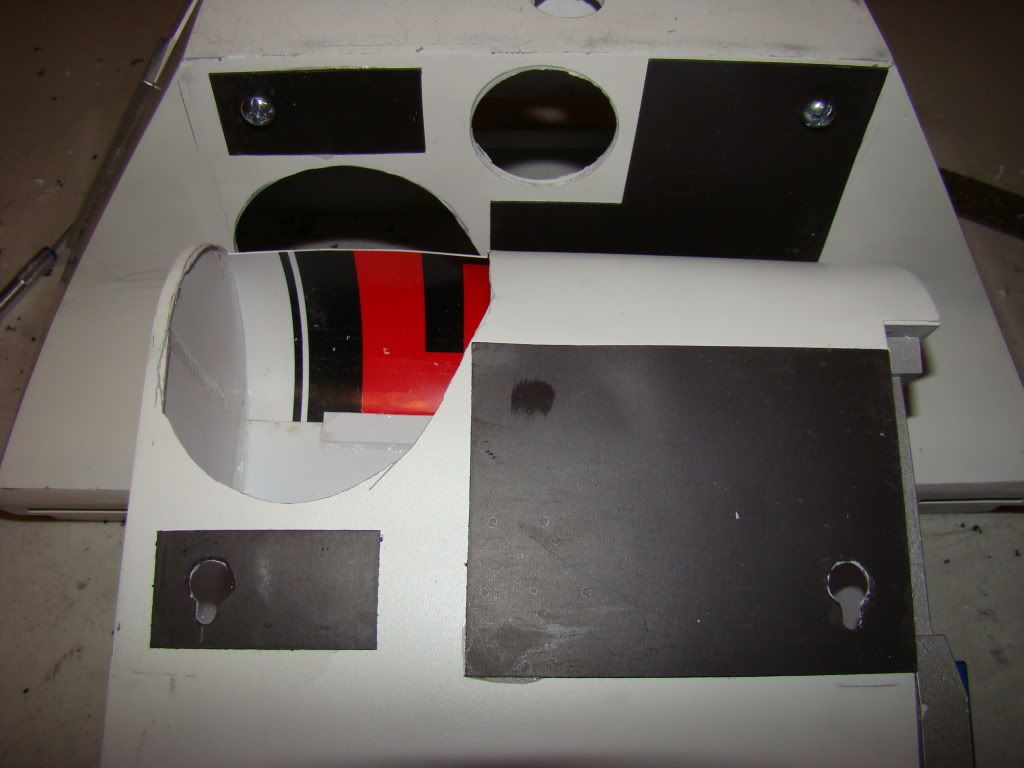
Naturally that pic is of the good set of keyholes. I didn't come up with the working method for making them until AFTER the first hole. I say hole, because that's what it turned in to. I didn't make the 2nd hole with a pilot then a bigger bit, and it walked right into the top hole and made an all around mess of it. Luckily the other keyhole and the magnets seem to be holding it fairly well.
Guess I'll keep my eye out for some ALU battery boxes to go with the steel feet I'm keeping my eyes open for.
Yesterday between coats of paint I also did some troubleshooting on my slip ring. I replaced the closed frame jack with an open one so I could see the contacts. I then found out what the problem was. Apparently the tip pf the plug is just pressed on to a pin, which has the contact rings at the other end of it. Somehow, the tip started to loosen and that allowed the pin to move, thus causing the short in the power to the dome. I took the plug the rest of the way apart for a better understanding of how it works:
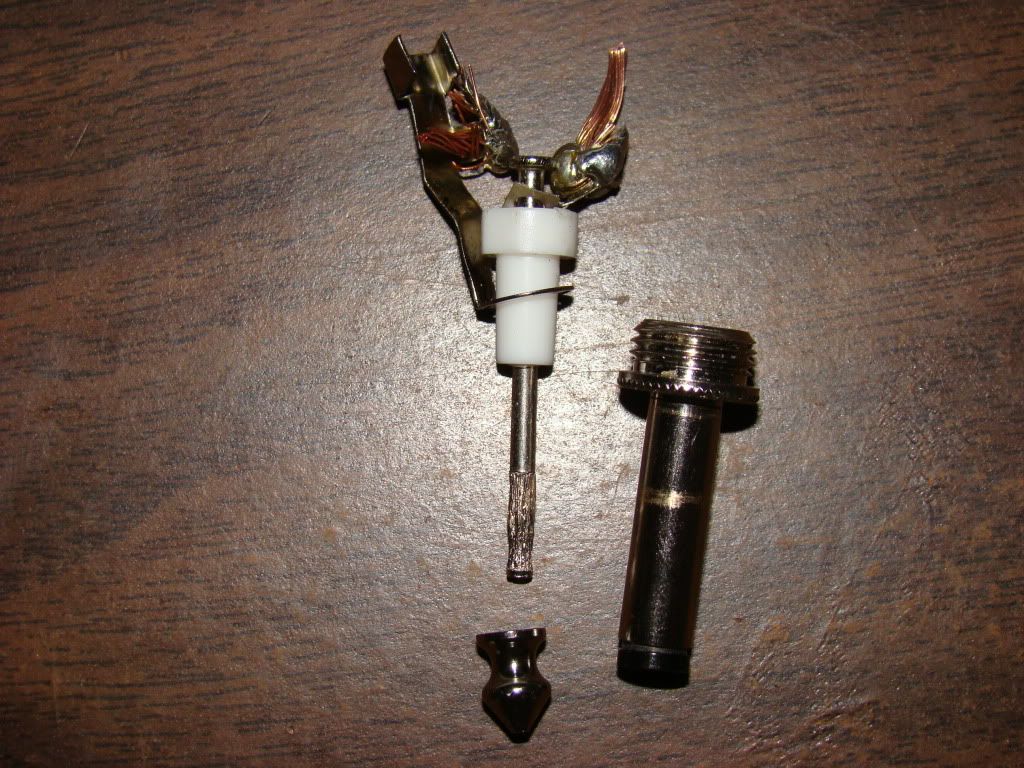
While I was at RS I also picked up an "inline automotive blade fuse holder" and incorporated that into the wiring just inside the dome, between the slip ring and the DC/DC converter, just in case. I only had a selection of low amp fuses on hand, so I used the biggest, a 7.5 amp fuse. I need to ask about that too, how many amps should I be fusing for on the JEDI display system.
Last night I ran the JEDI lights for 12 hours (overnight basically) and they were still kicking when I woke up this AM...I think thats a good sign. I also played with the sound a little, maybe 20-30 min, adding to the load on the single 7.2AH battery during the same time. Not gonna have to worry about them dying out on me I guess.
No comments:
Post a Comment