I diligently sanded all the primer smooth as glass, and as I was finishing the last piece, the living room darkened ominously...
Clouds rolled in quickly and the bottom fell out shortly thereafter.
With a sigh of disgust, I retired to the computer room and continued working on the dome electronics (well, ok, it's only lights, but there are boards attached to the LEDs, so that makes it electronics, and it sounds better, right) which I had started considering briefly the previous night.
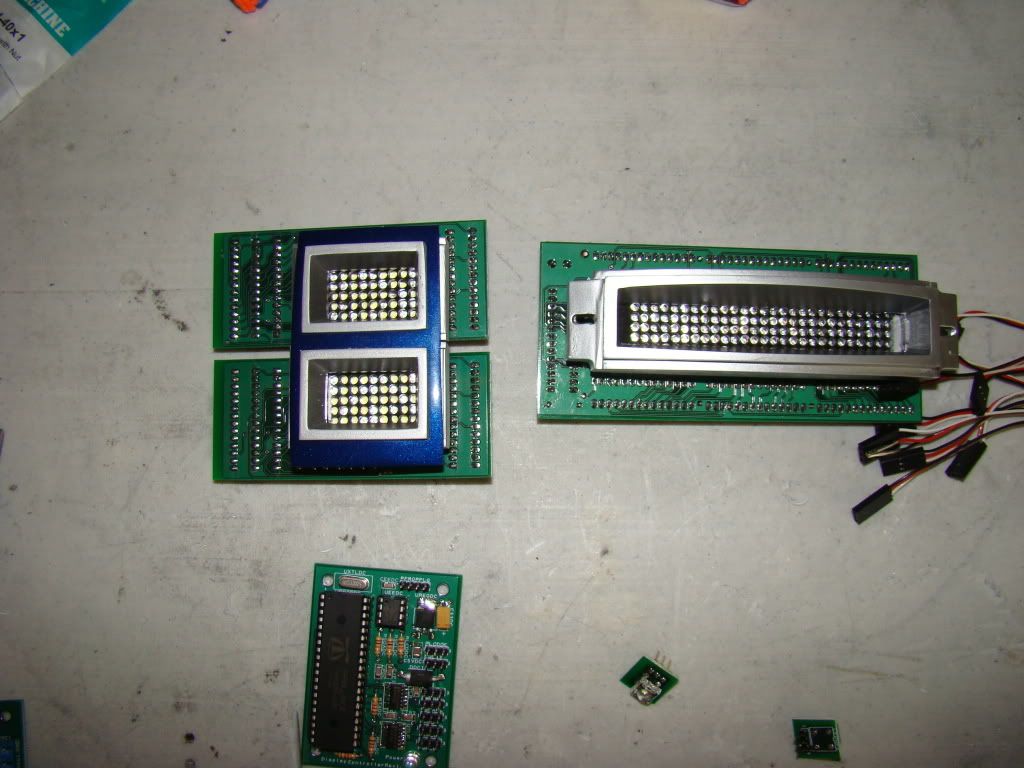
I "put together" my logic displays and attached them to the surrounds using #4 1/2" wood screws.
Next I finished figuring out what to do about PSI cups as I worked on them...it's kind of an on the fly type thing.
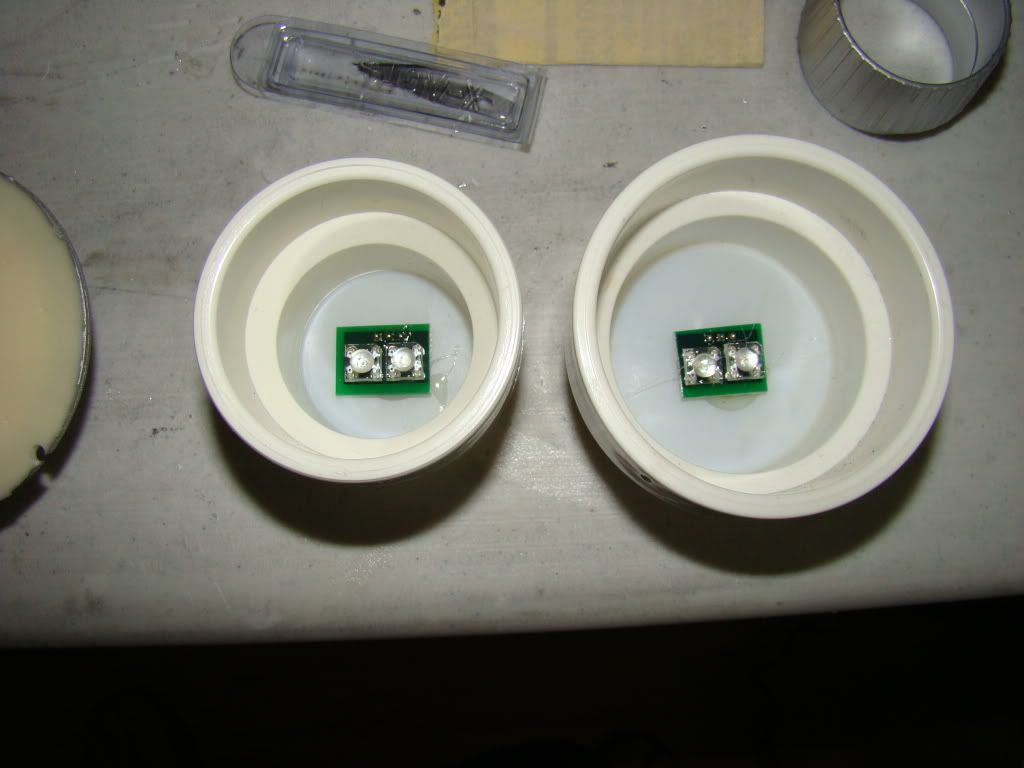
Start off with a PVC test cap, cut a slot in it like this:
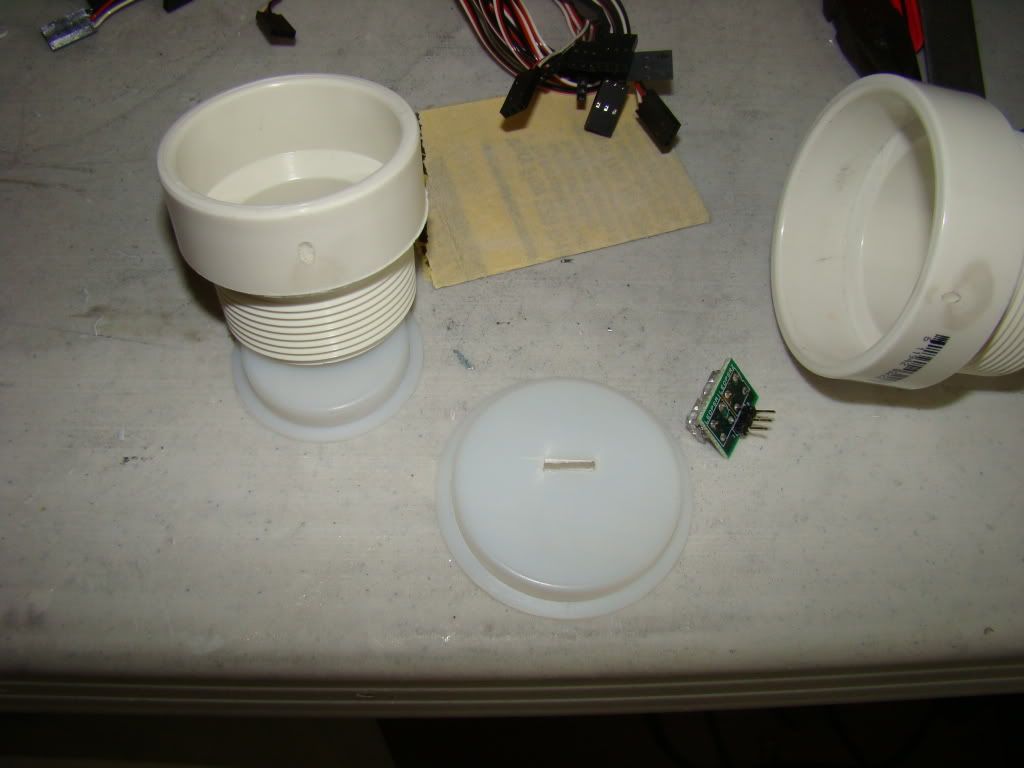
A spot of hot glue, with the pins cleanly sticking through the slot in the cap:
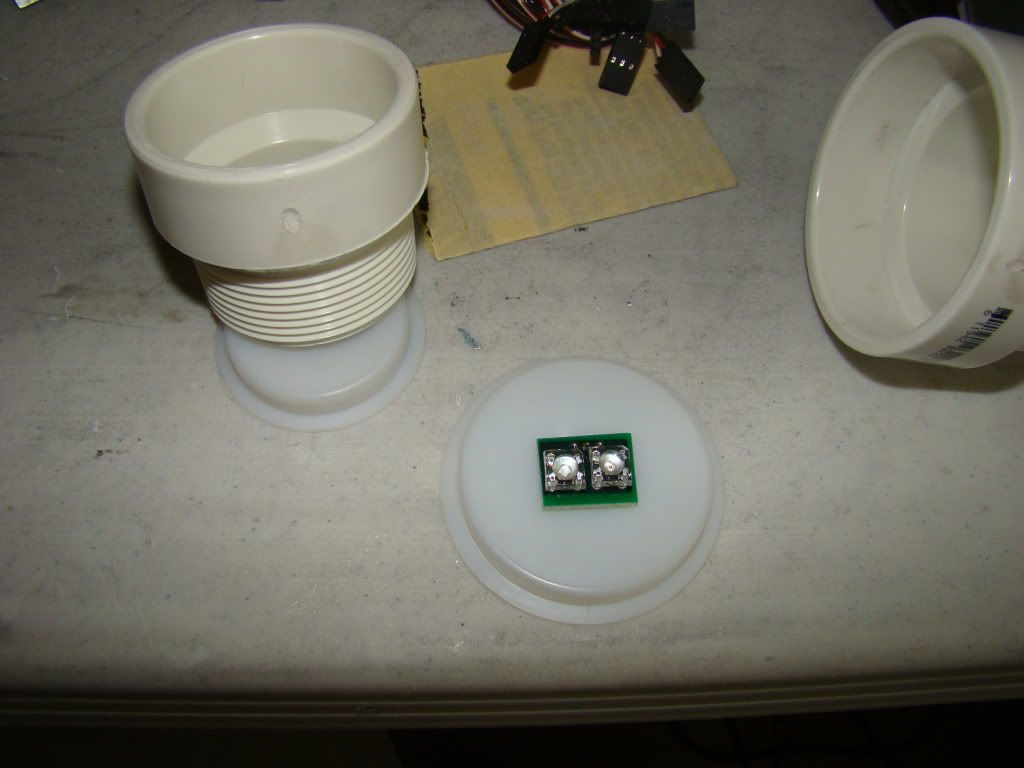
then place the fitting on top of the cap"
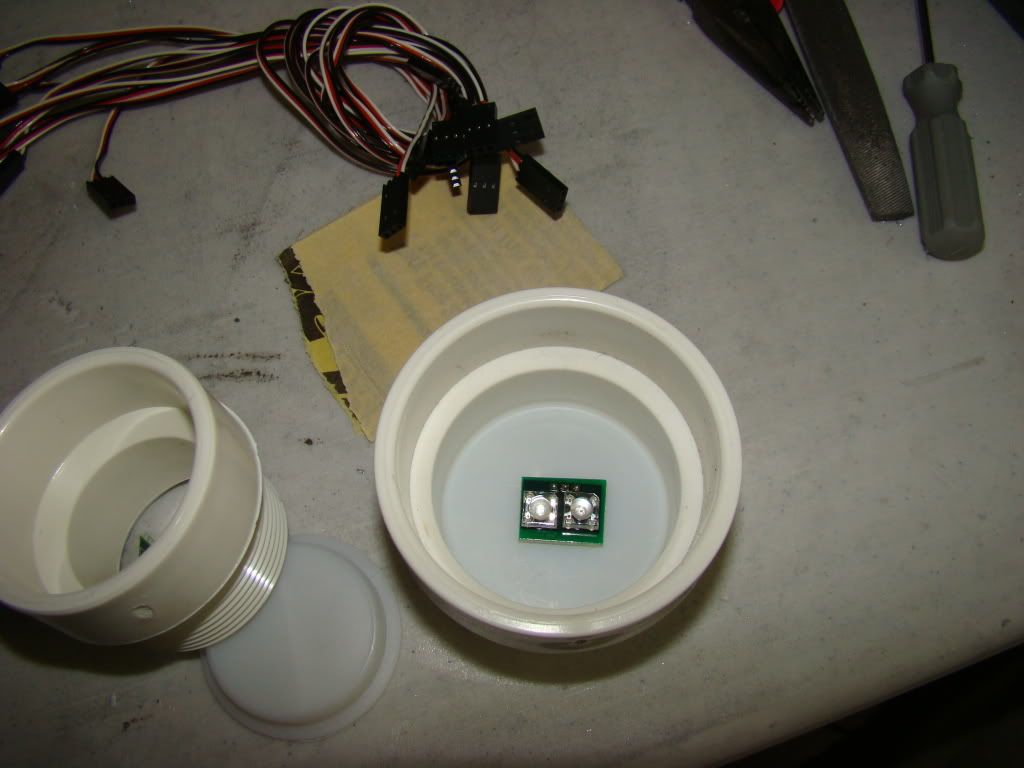
and they look like this from the light side:
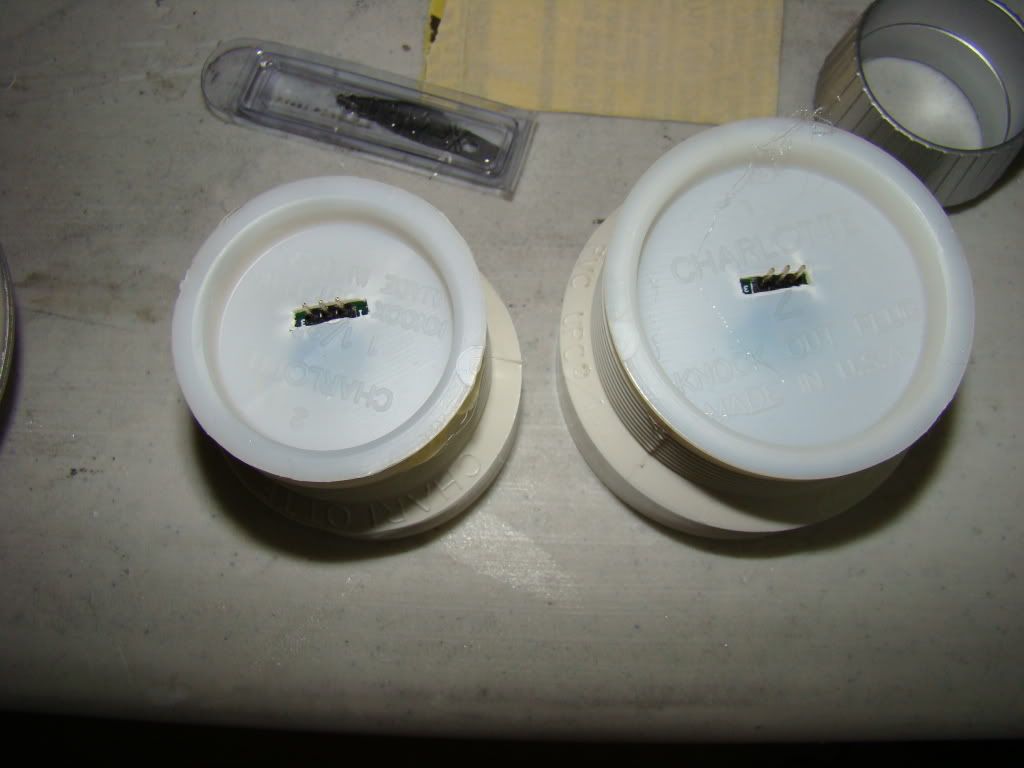
and like this from the dark side:
I decided that this worked so well, I'd use the same method on my HPs. Since they are resin, it was an easy thing to make the "slots" with the drill press:
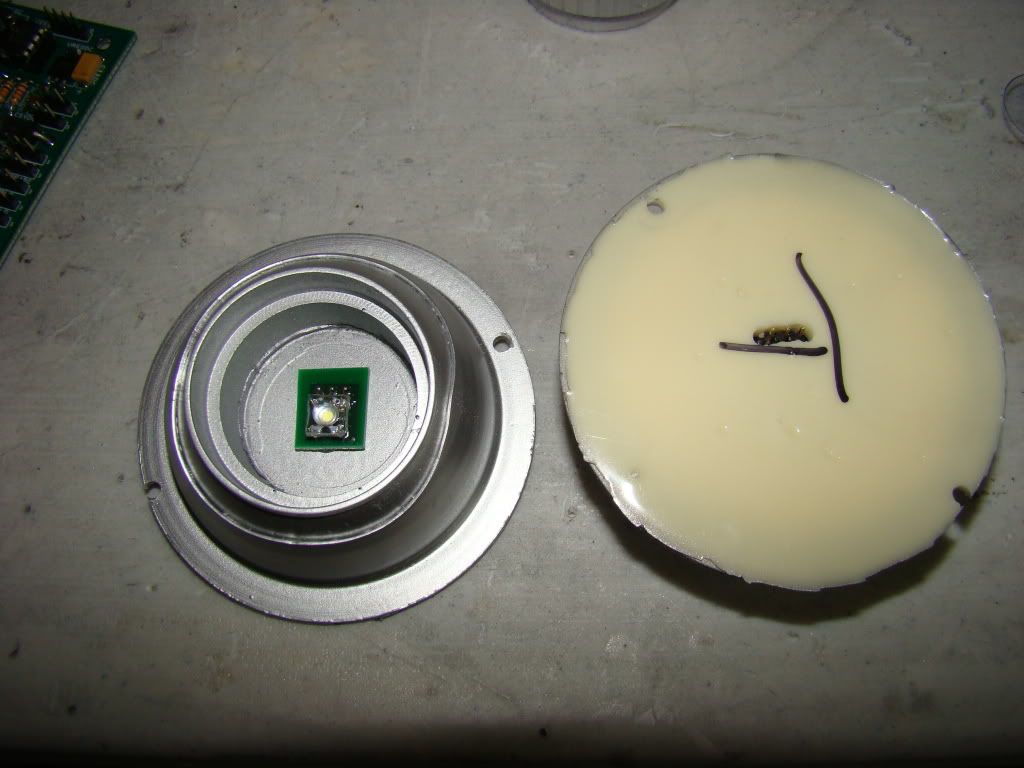
This way I didn't have to run wires through holes in things, and the wires won't get in the way when I'm mounting all my detail pieces.
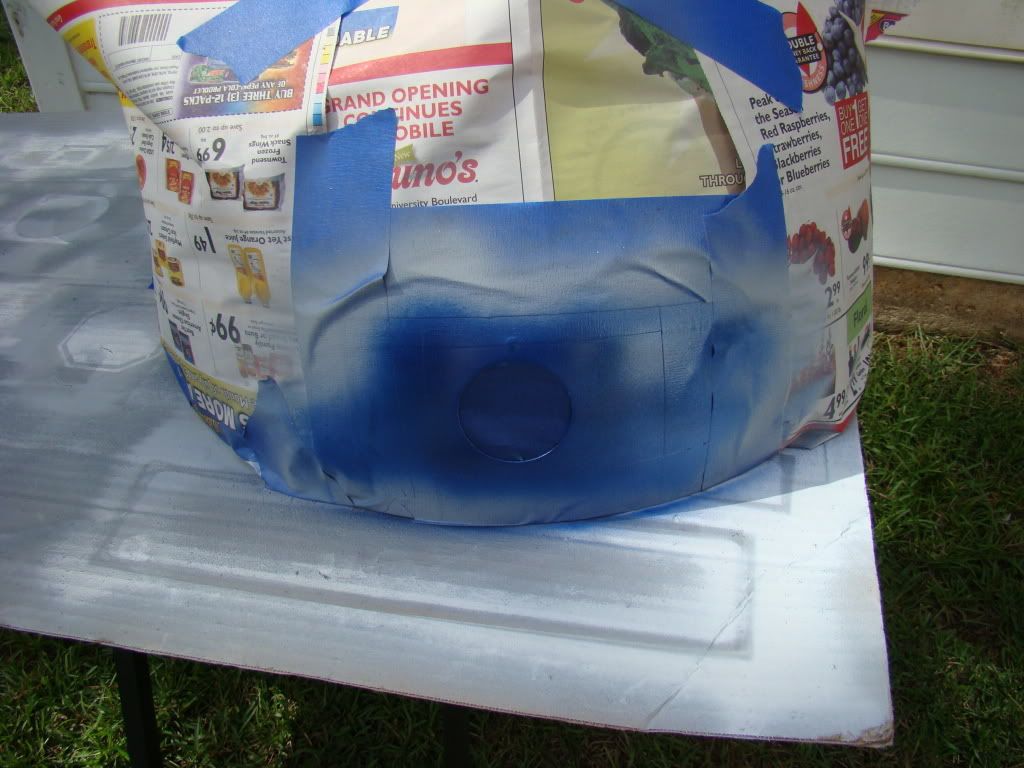
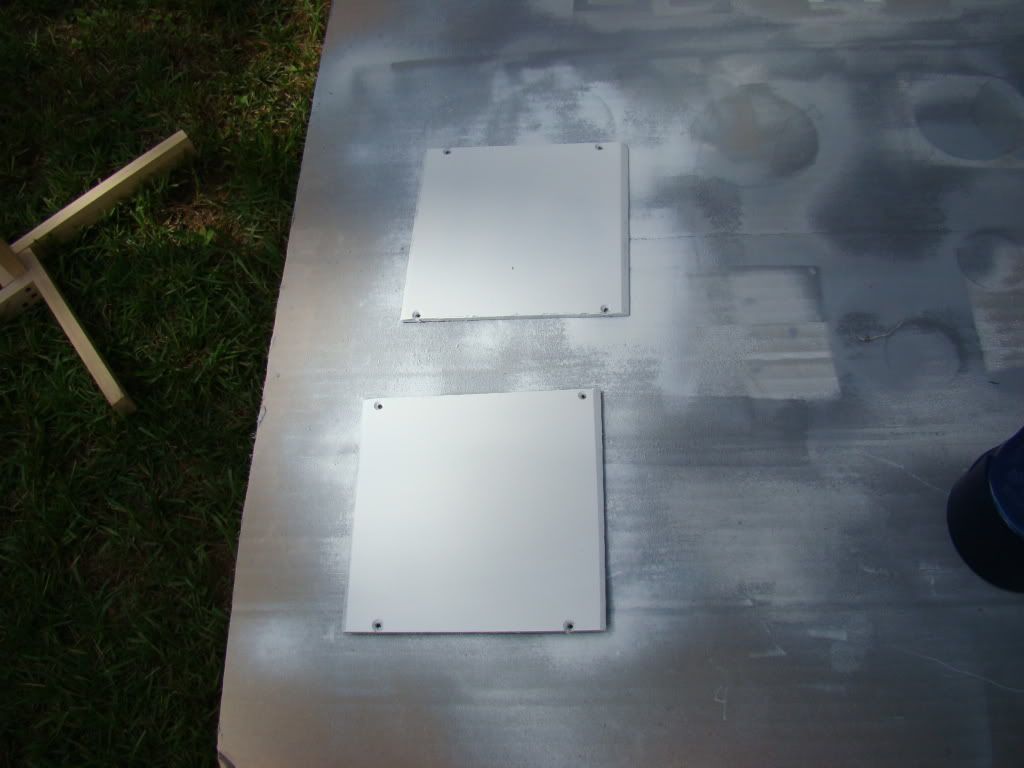
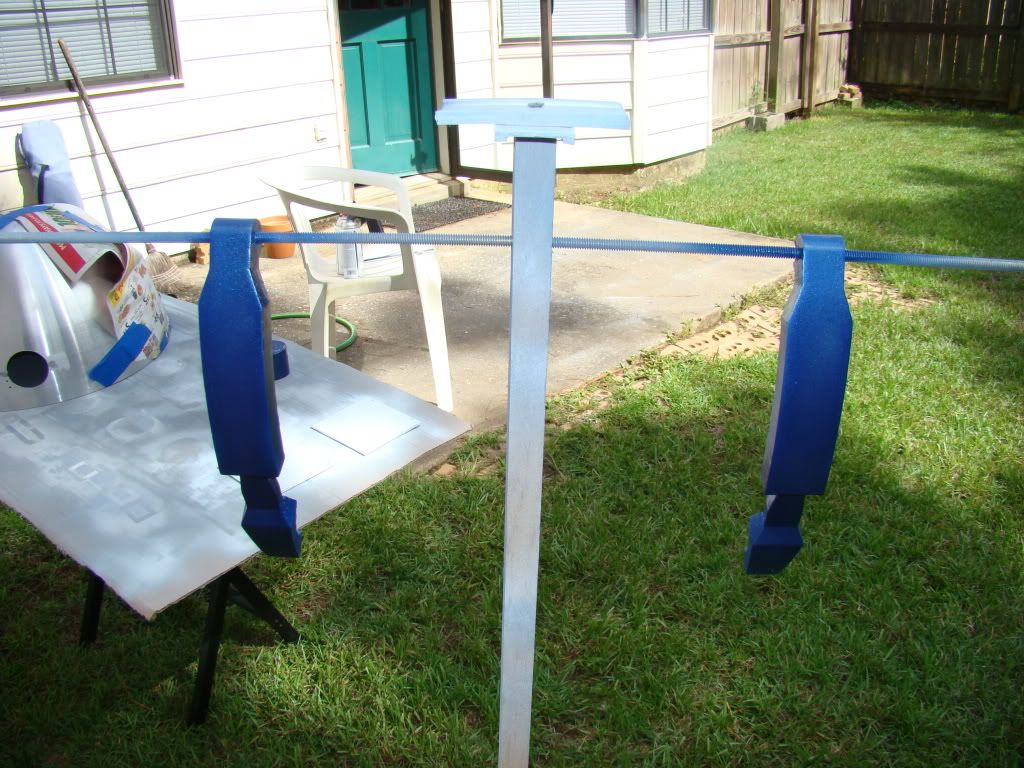
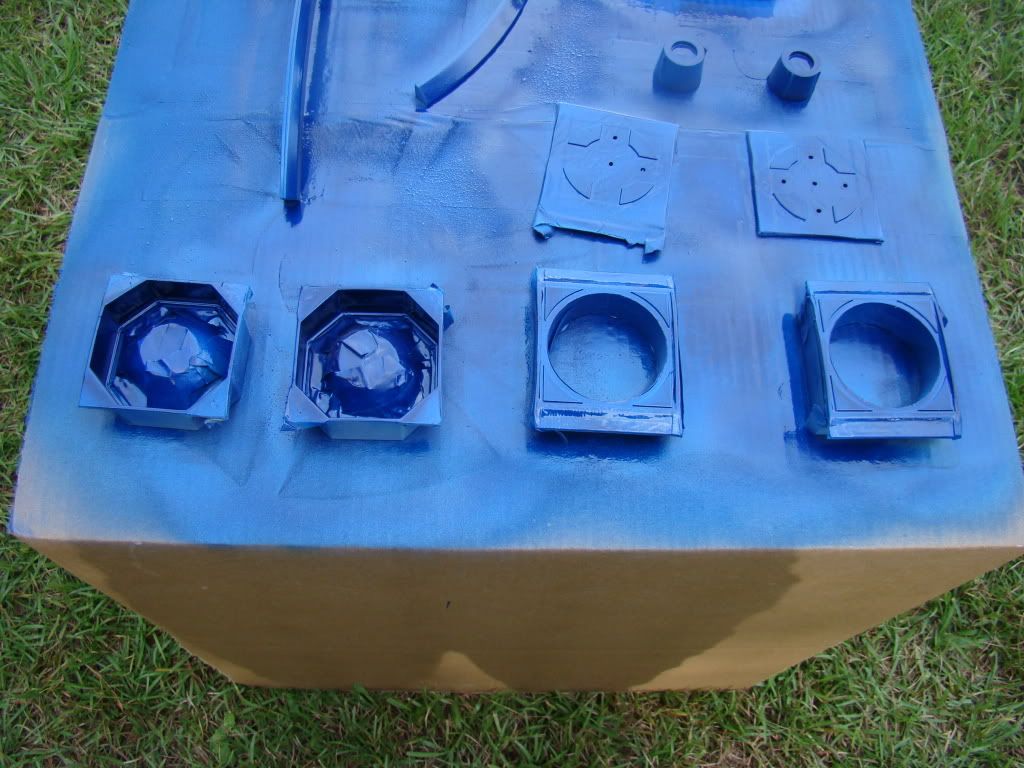
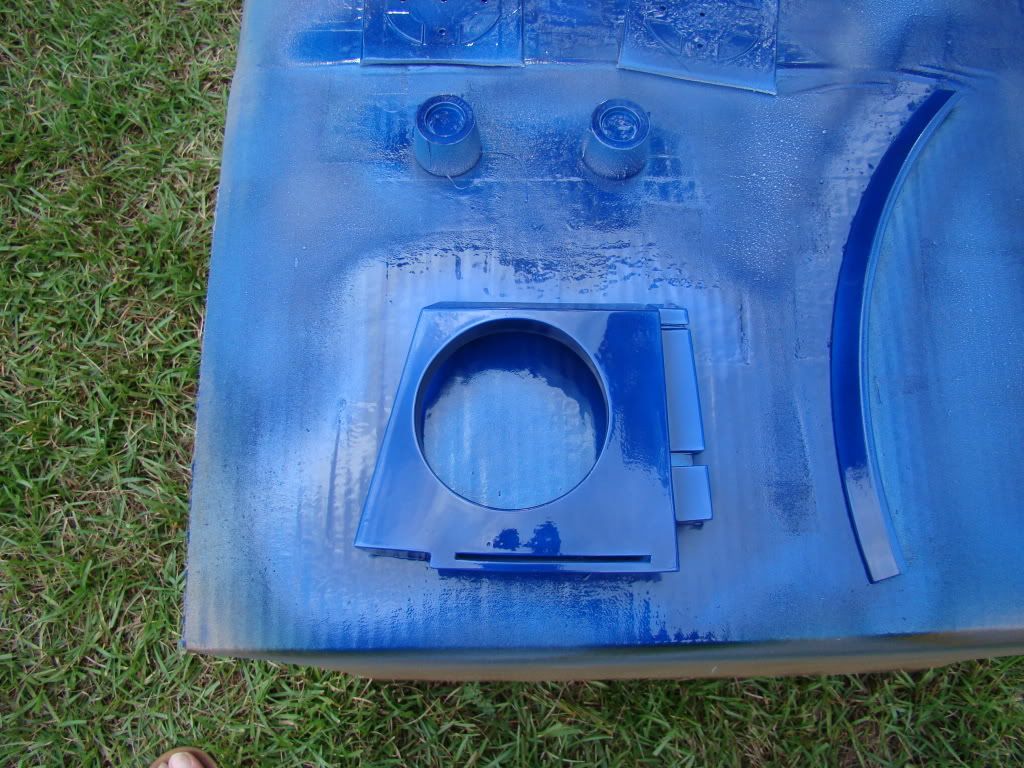
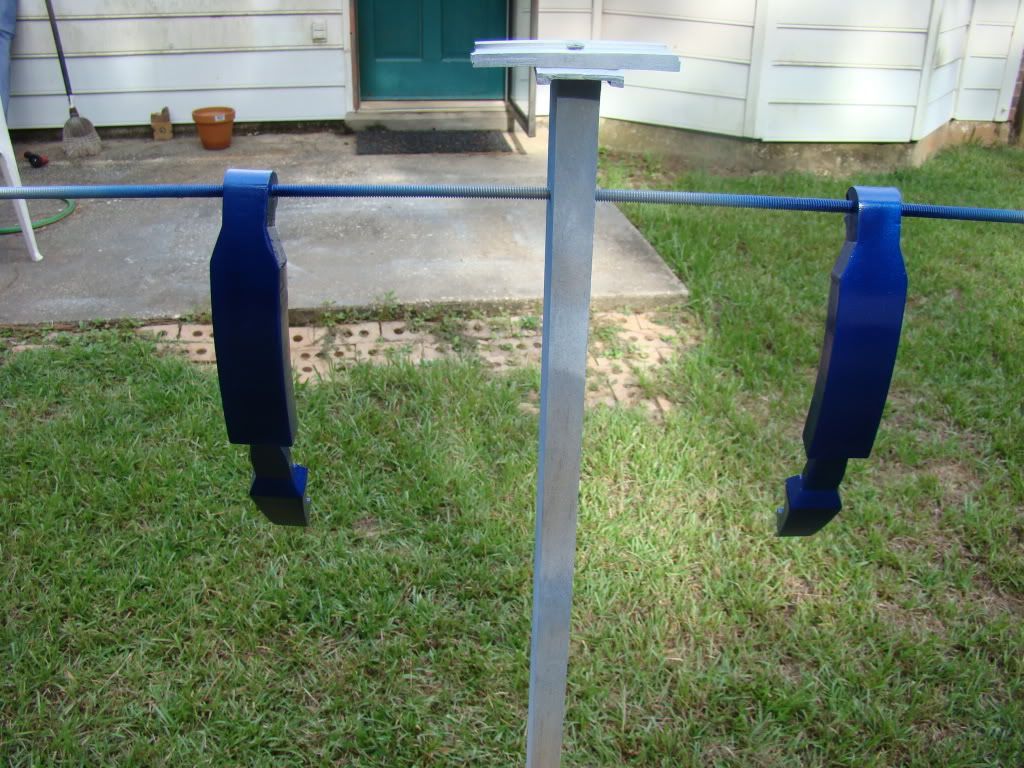
Just about the time I finished this, my phone rang, so I stepped outside (I always do for some reason) and found that the day had turned quite nice. Well, other than being 100 degrees, or rather close. The concrete and the grass were both dry as could be, so I quickly moved my painting setups outside and began:
That dome spot:
The side gap filler plates:
The same old helmet painting stand turned arm painting stand:
And the rest of the detail pieces:
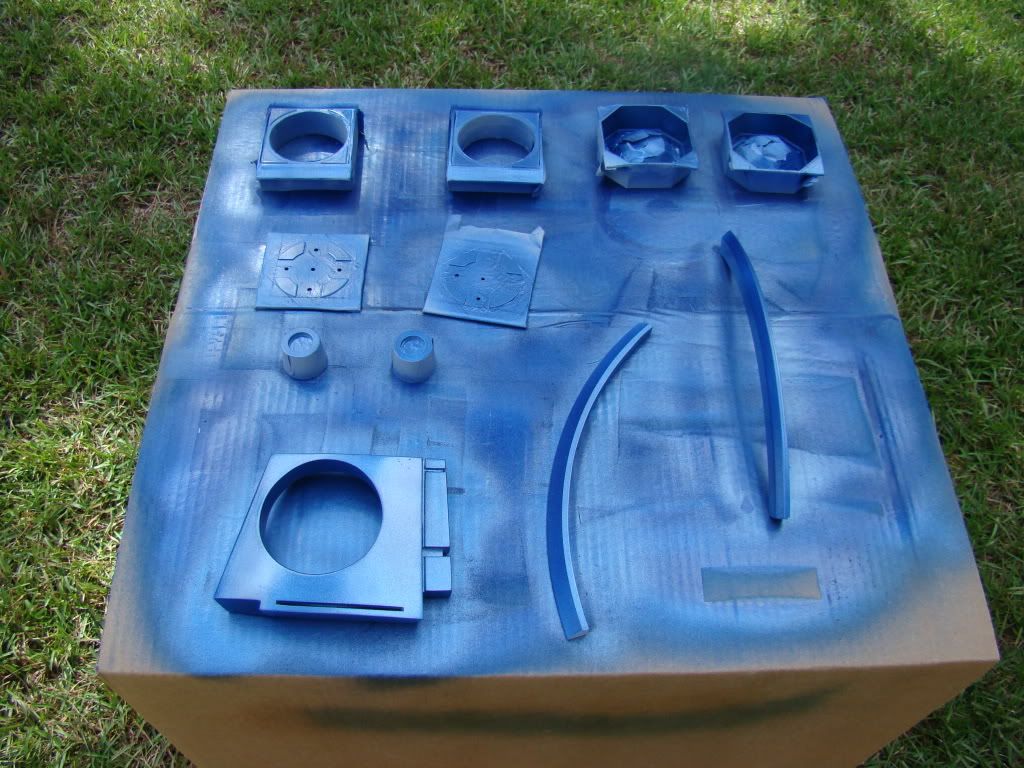
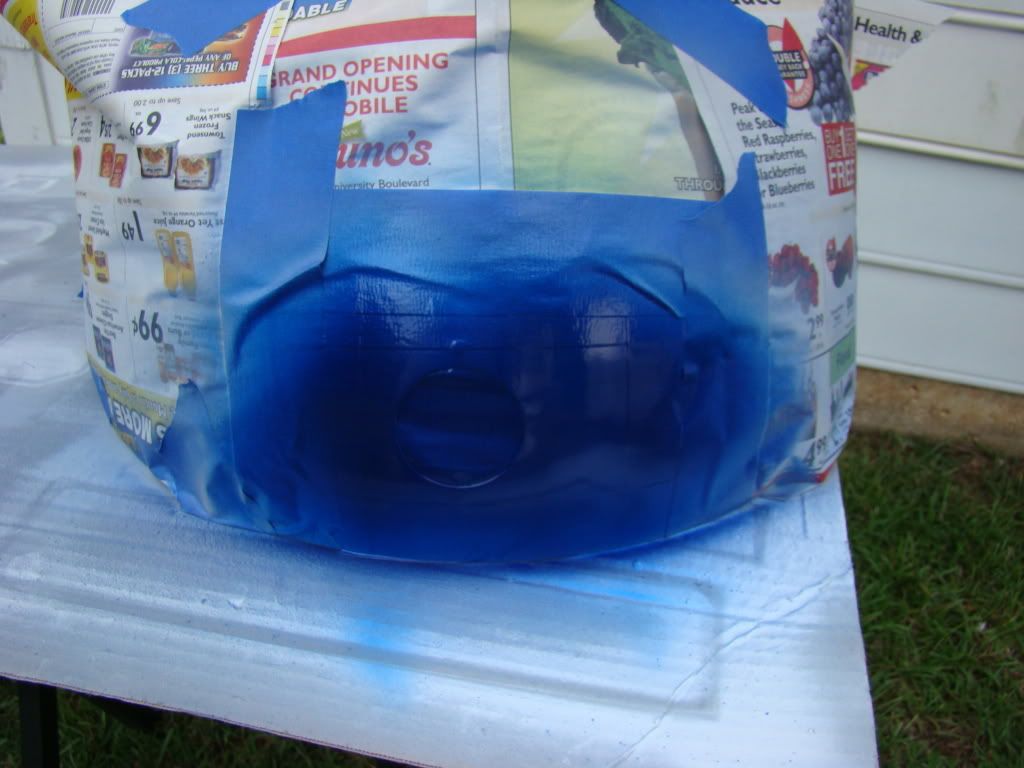
And the same type shots after anodized blue, because they are pretty:
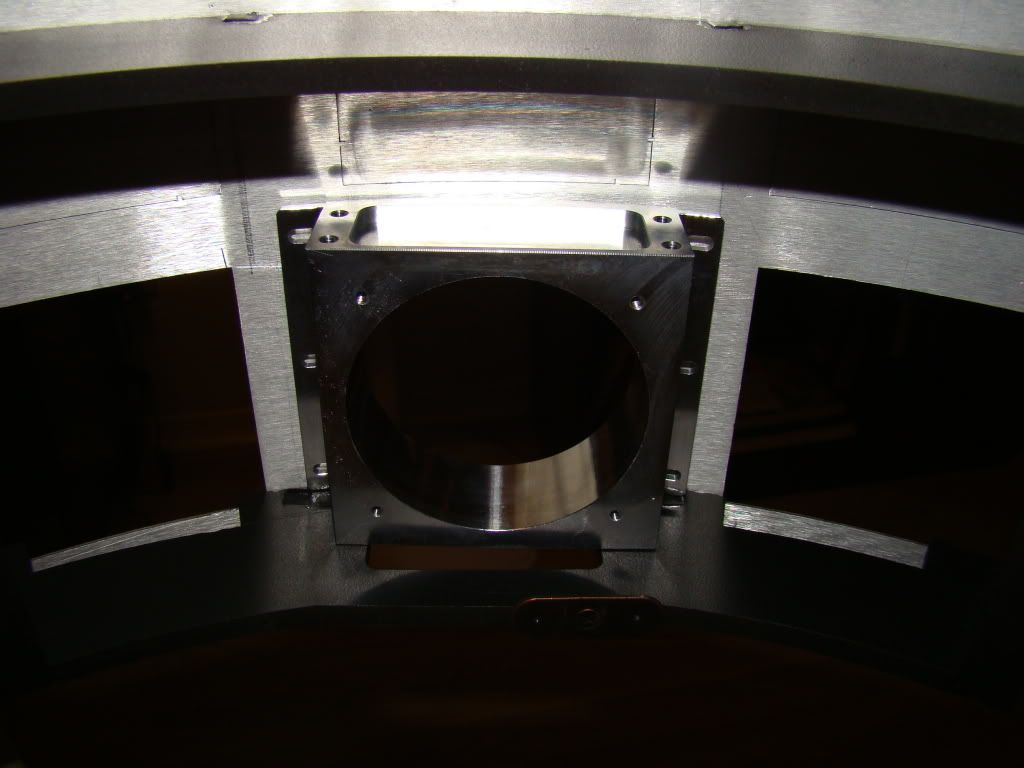
Oh, here's a pic of the power coupler sitting in place as I drew the line to mark out the material that needed removing from the rear door frame:
And Saturday evening I removed the masking tape and the masking latex (The master mask worked like a champ, yo, like a champ!
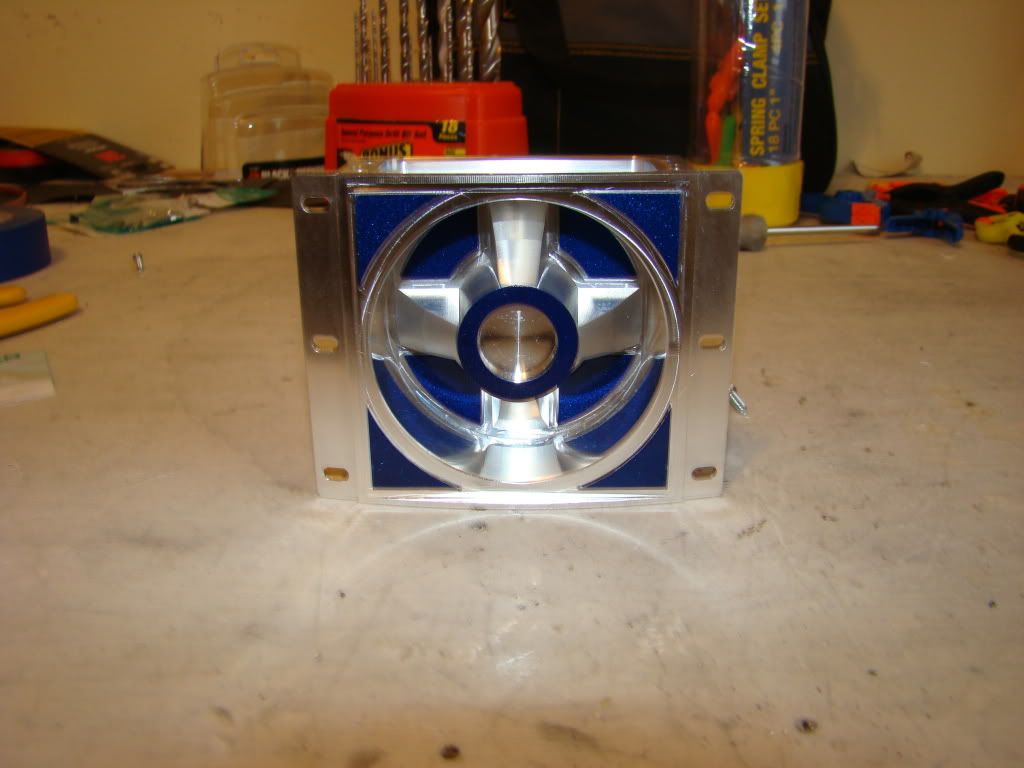
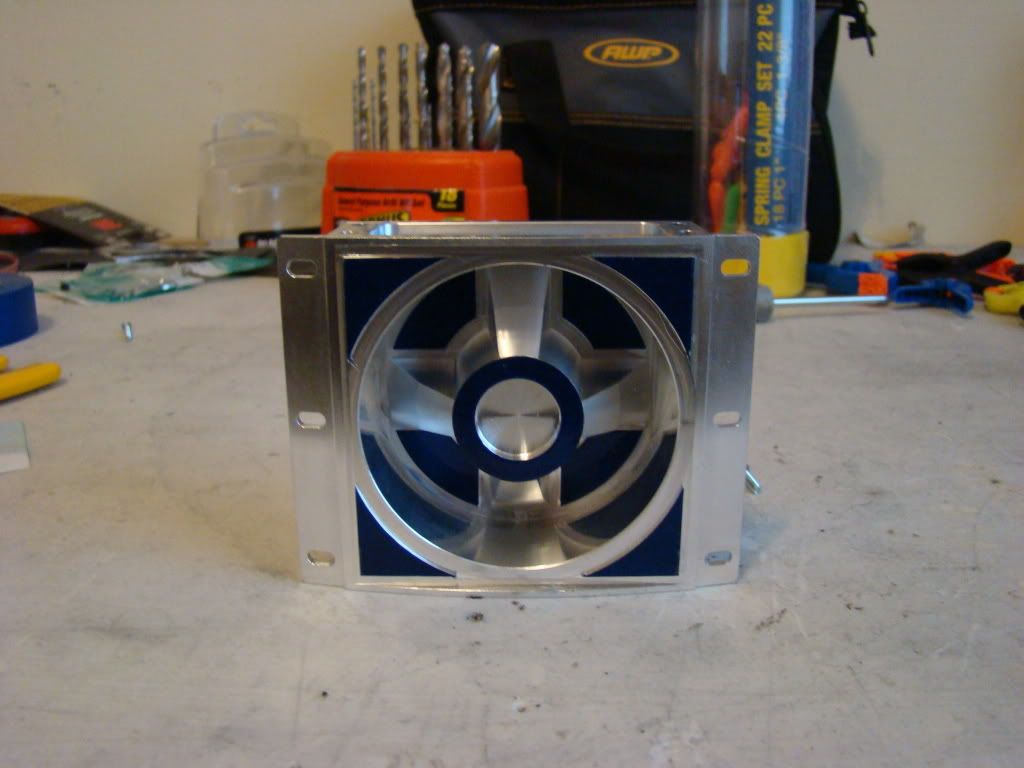
the lighting in that picture is weird, but it shows the clean edges I got better than the other pics...
Mounted in the door:
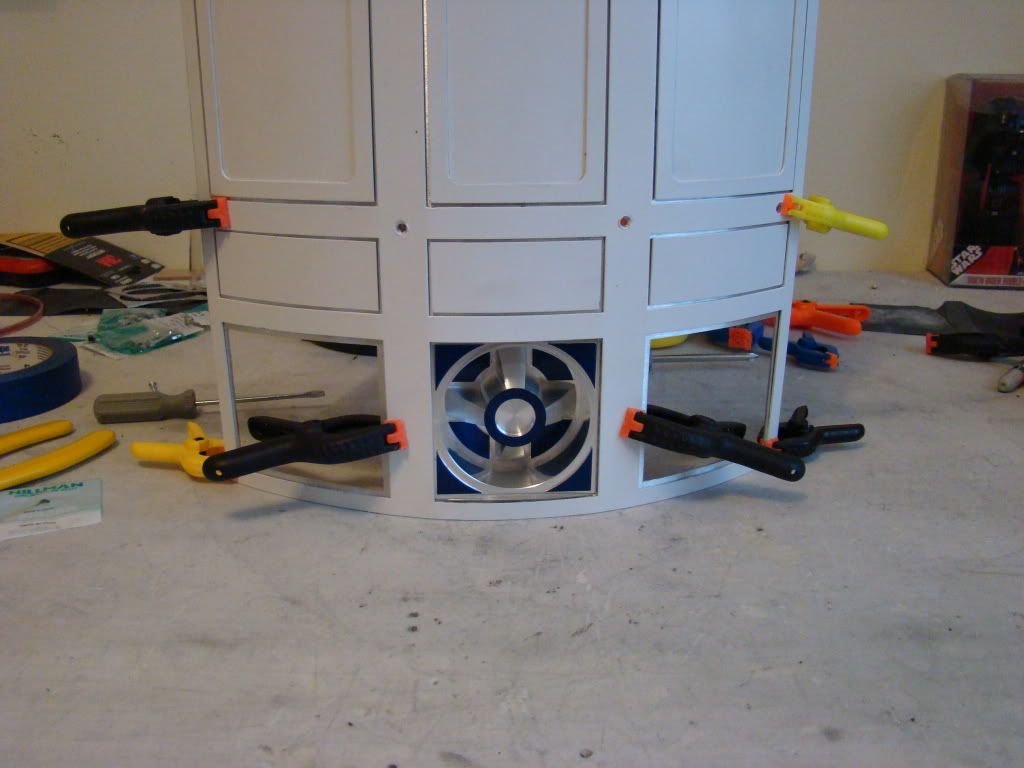
And the coin returns glued in place:
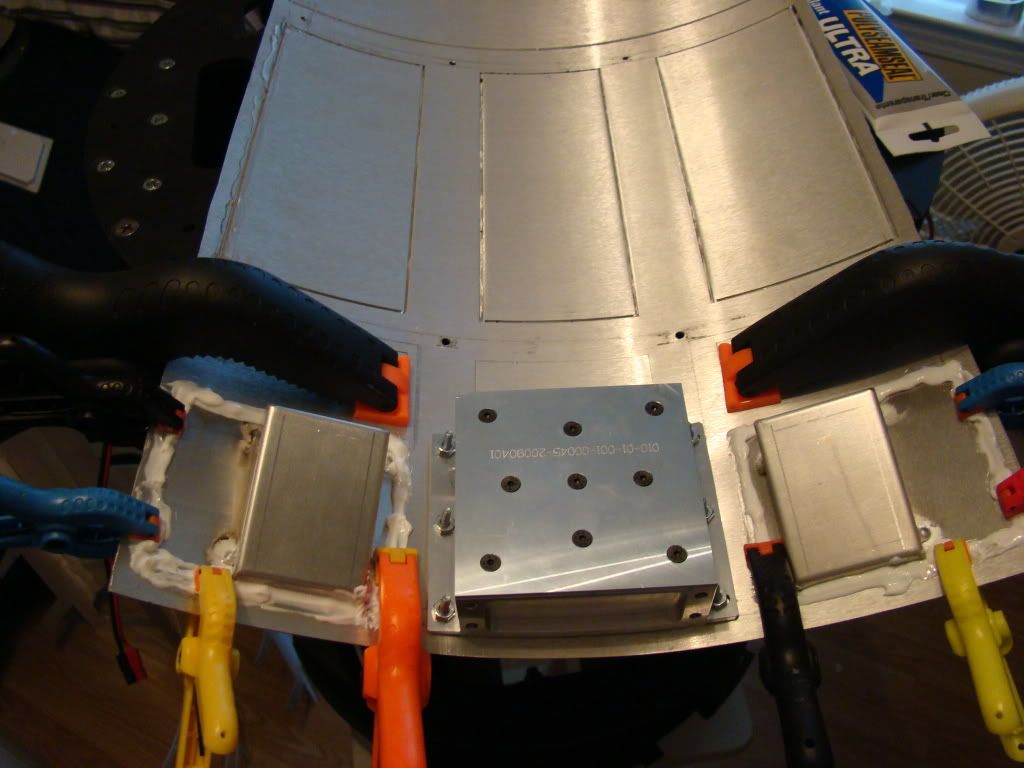
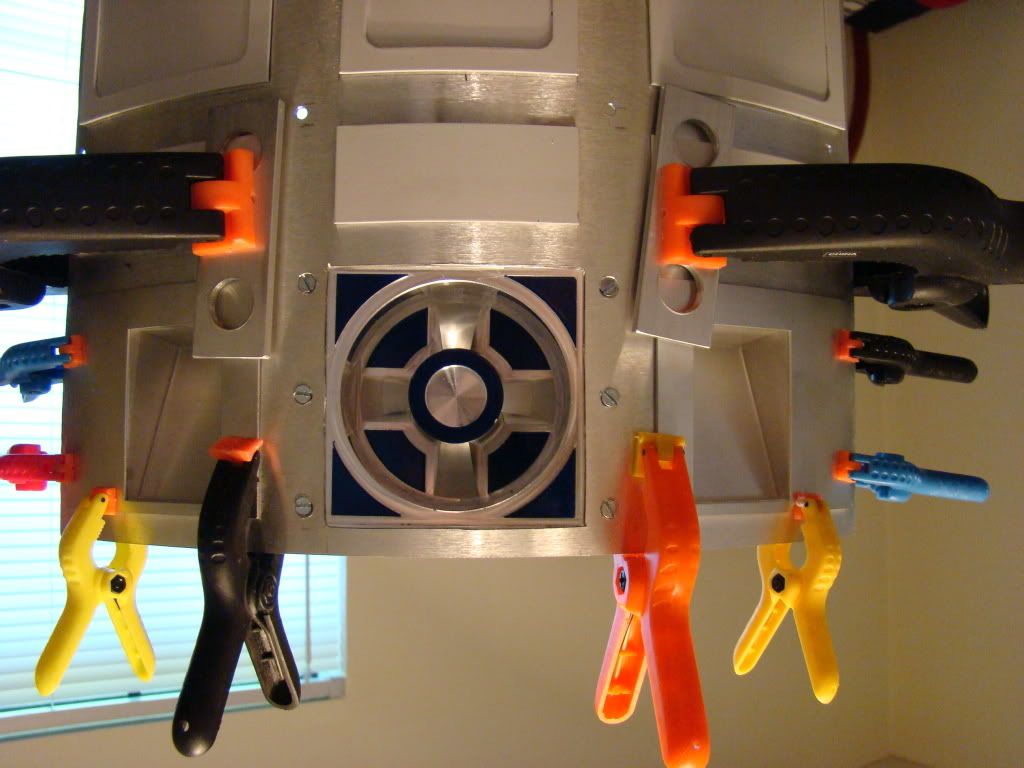
That one looks weird, doesn't it?
Sunday evening, after having spent most of the day adding more silicon to the coin returns, trimming the rear door frame to fit the coupler, and some other stuff I didn't take pics of, I decided the utility arms were dry enough to play with:
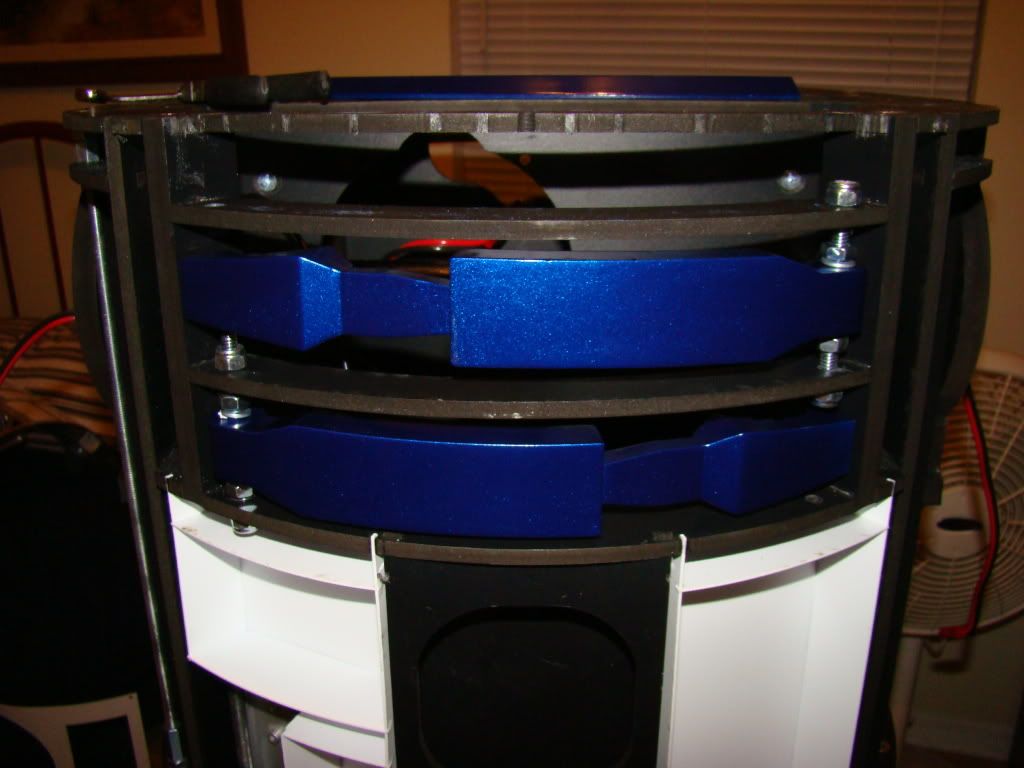
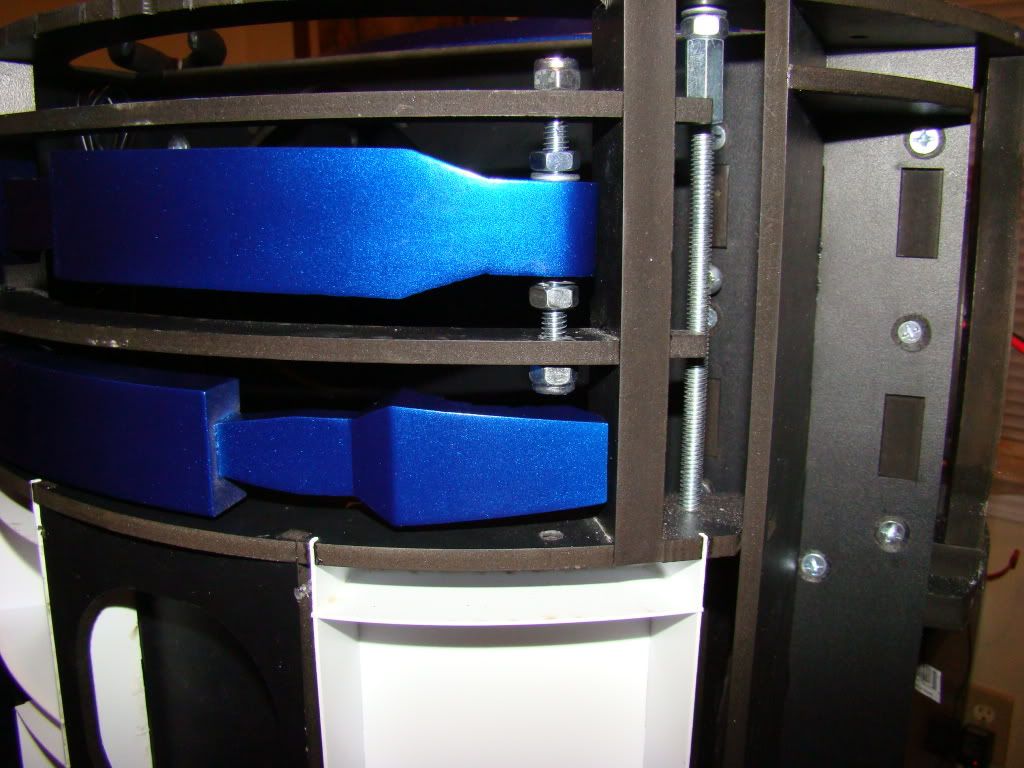
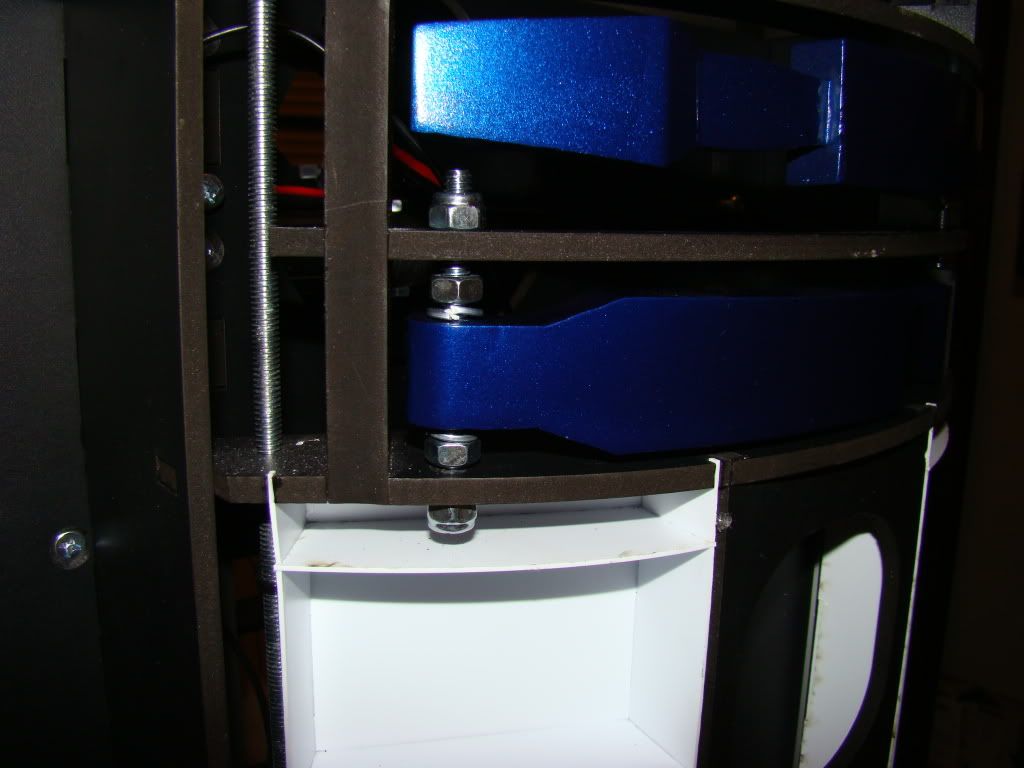
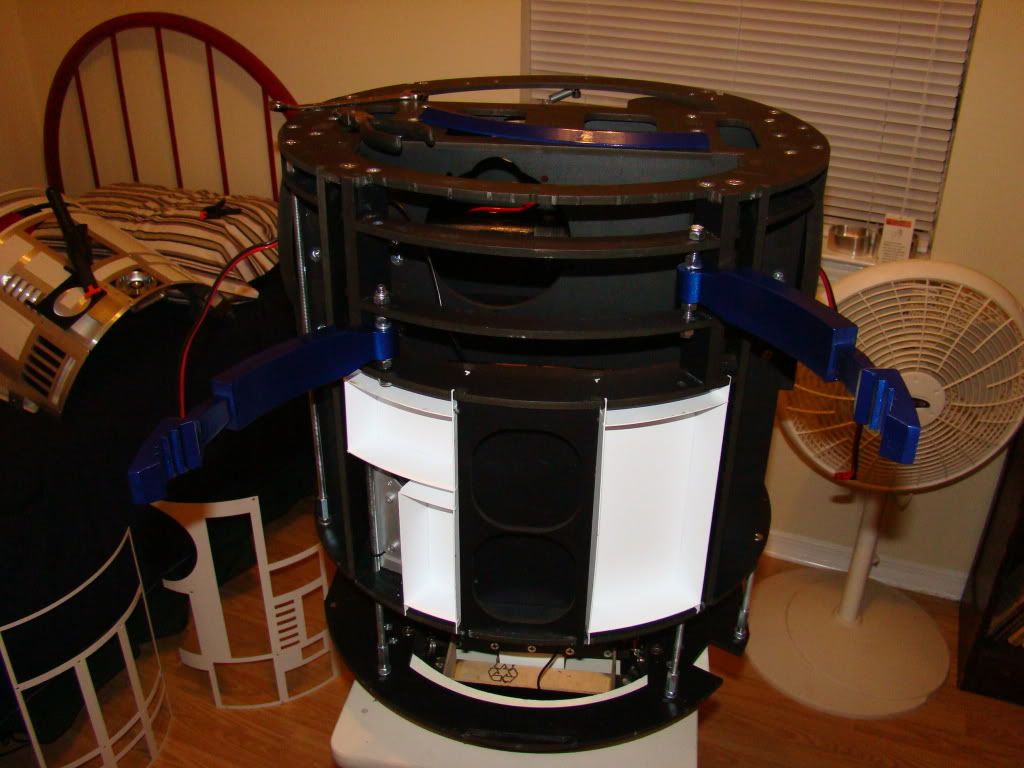
Then I screwed the inner front skin on with just enough screws to hold it in place and adjusted the arms to be close to the correct position:
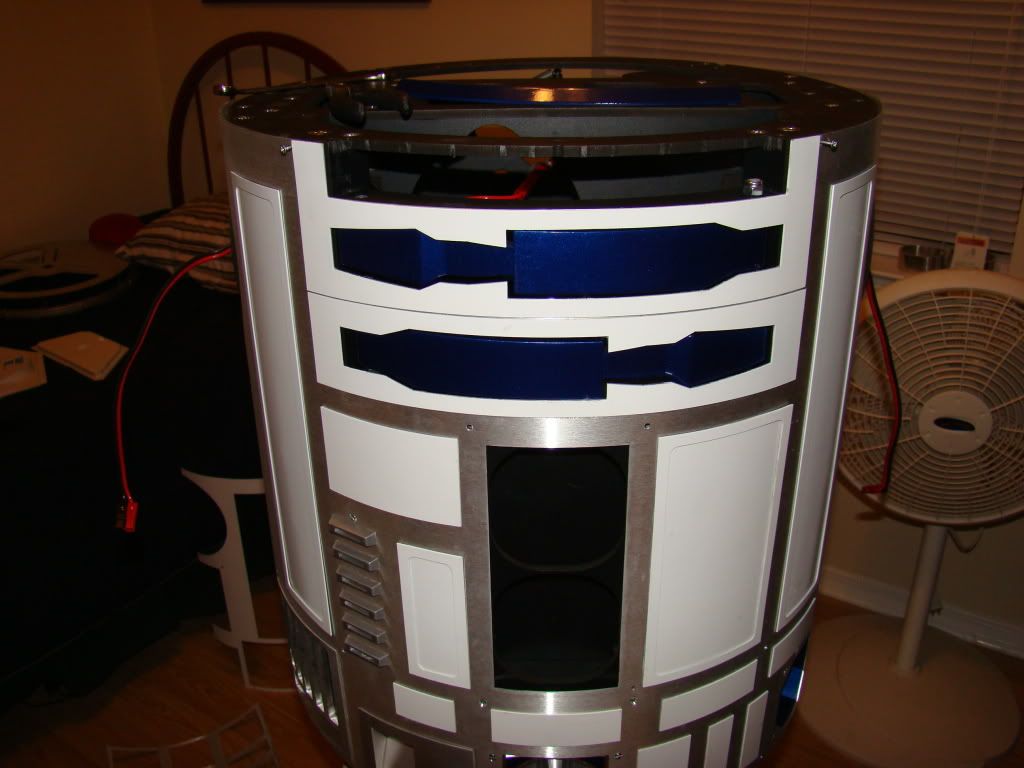
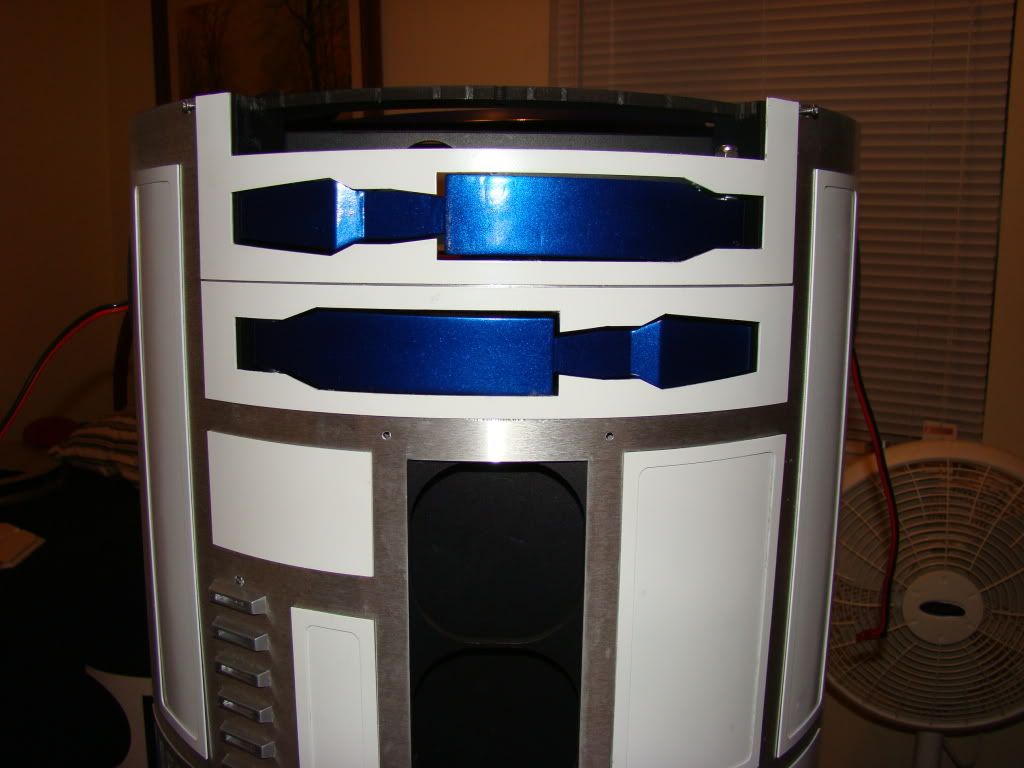
In that last pic, you can the after-effects of the now so called "Rambo Method" of removing paint from the resin arms...that is, scraping it off with a knife. The spots aren't readily visible unless you are looking for them, and who will be, but you, another R2 builder?
Naturally the arms won't open with the skin on. This is a known issue with the aluminum skins, that probably should be resolved, but hasn't.
the solutions to the problem involve sanding or "chamfering" down the back side of the arm so it can pass through the hole. Problem is, I'm really not game for a 3rd shot at painting the arms. Yet...
More updates later...
No comments:
Post a Comment