Wednesday, April 29, 2009
Leg pipe joining thing
Wow...apparently I don't have pics of how my setup is now, umm, set up. I'll have to remember to take some pics and post them. That's the only reason for this post actually :)
Wednesday, April 22, 2009
Ankle and electronics
I kinda figure I ought to break the posts up sometimes, when there are lots of topics to be covered...makes finding something later a little easier.
I decided a while back to use hinges to mount the center ankle, since I'd seen someone else had "L" brackets, the hinges were just more readily available.


The pins are removable, so that the whole ankle comes out (if I wiggle it around right or remove the bottom plate.

Originally the plan was to have another set of hinge halves mounted higher inside the frame, so that I could raise the foot to be inside for 2-leg mode. That doesn't look like it's working out right now.
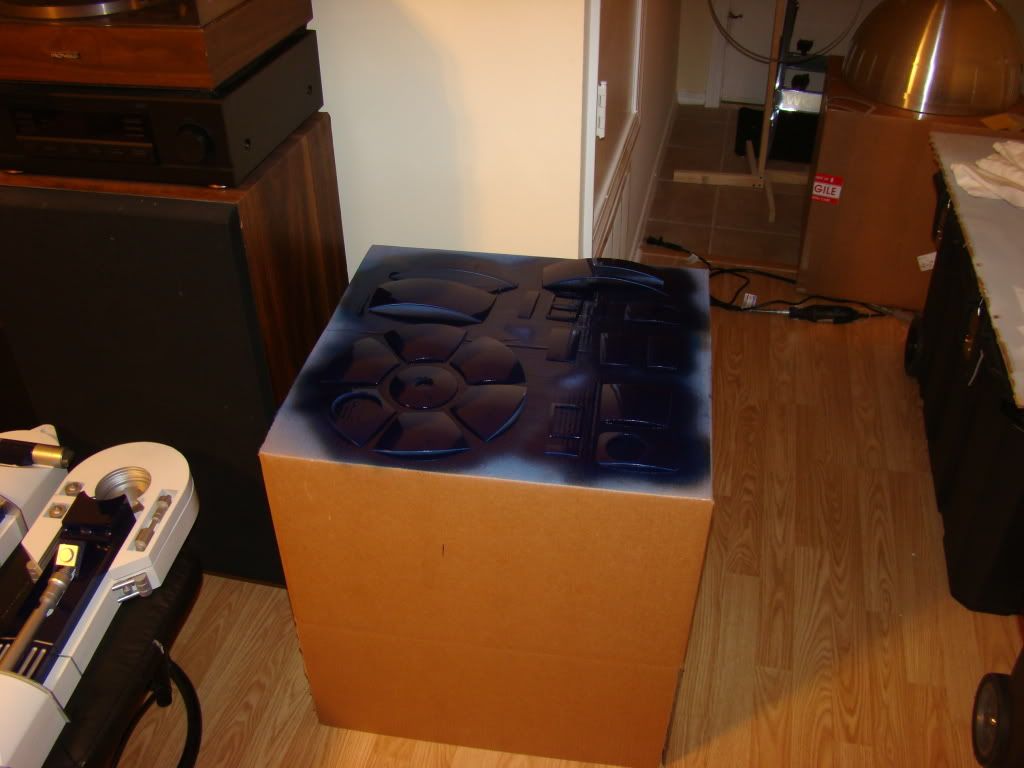
One of the guys at work asked me if I had all the electronics mounted to the frameyet, to which I had to answer "nope". Naturally this motivated me to get to work on that, here's some results:
Start with this stuff:

Here's how I mounted the $12 USB powered speakers from WalMArt:


Just some zip ties and some small holes.
Here's the vox plate mounted:

That sounds (no pun intended) better than calling it something more technical, I think. The rectangles that all this stuff is mounted on are the leftovers from the skid plate (the bottom plate).
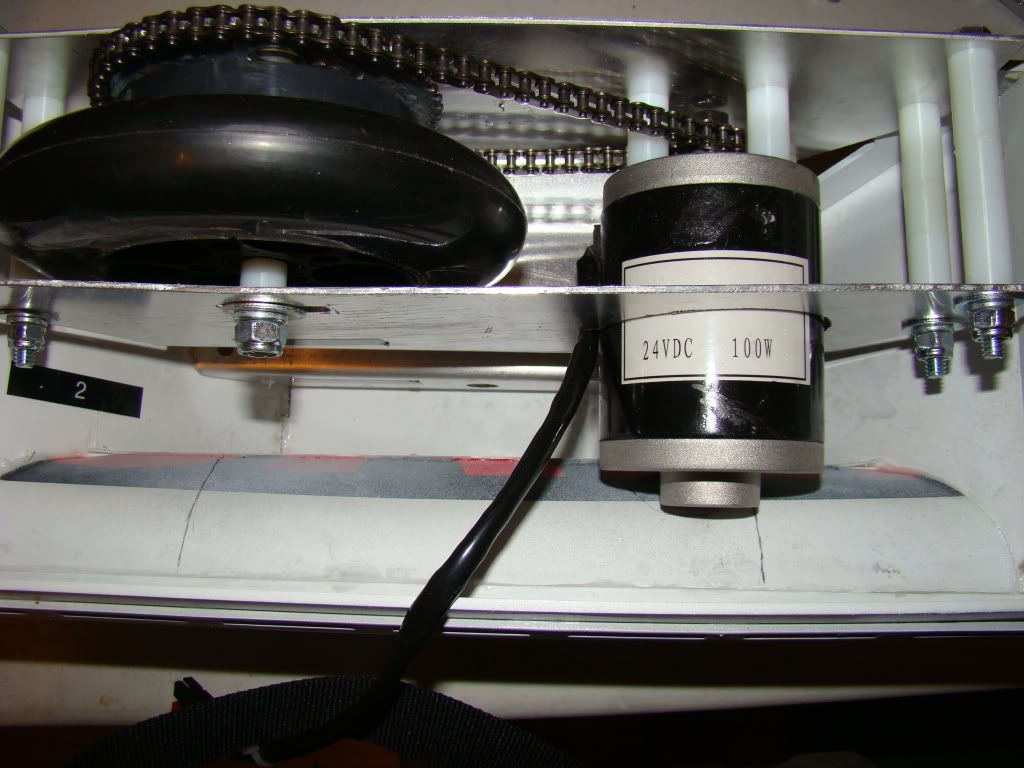
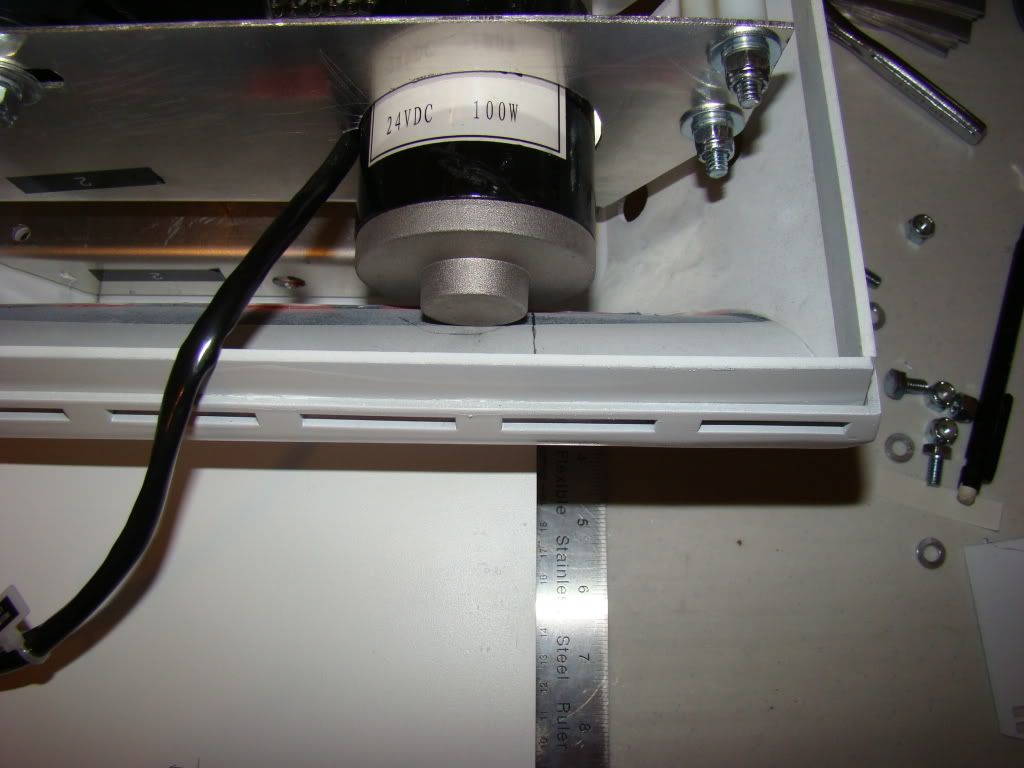
Here's the Speed controllers and the fuse-block, all mounted pretty in the back open area:

And at the bottom, you can see the top half of the foot, which happens to be almost the perfect size for 2 batteries to sit in.

and of course, got this in the mail to make it all official:


that's all for now...
Work work work...:)
Start off with a problem...apparently the motor mounts I built don't fit a normal battery box. The designer told me when I asked, that he built non-standard battery boxes that were 1 1/2" longer than standard. That might've been a good thing to know beforehand, but I'm focusing on the solution, not the problem.
Here's some pics that'll give you an idea what I mean:
In these pictures, the pencil line you can see is where the edge of the battery box will be on the outside of the foot. You can also see how the motor is going to be between 3/4" and 1" too far back. Right now, my options are to either build new battery boxes that will fit it, or try to cut down the front side of the motor holder so that the whole thing will move forward far enough to fit properly. I'm leaning towards the latter...
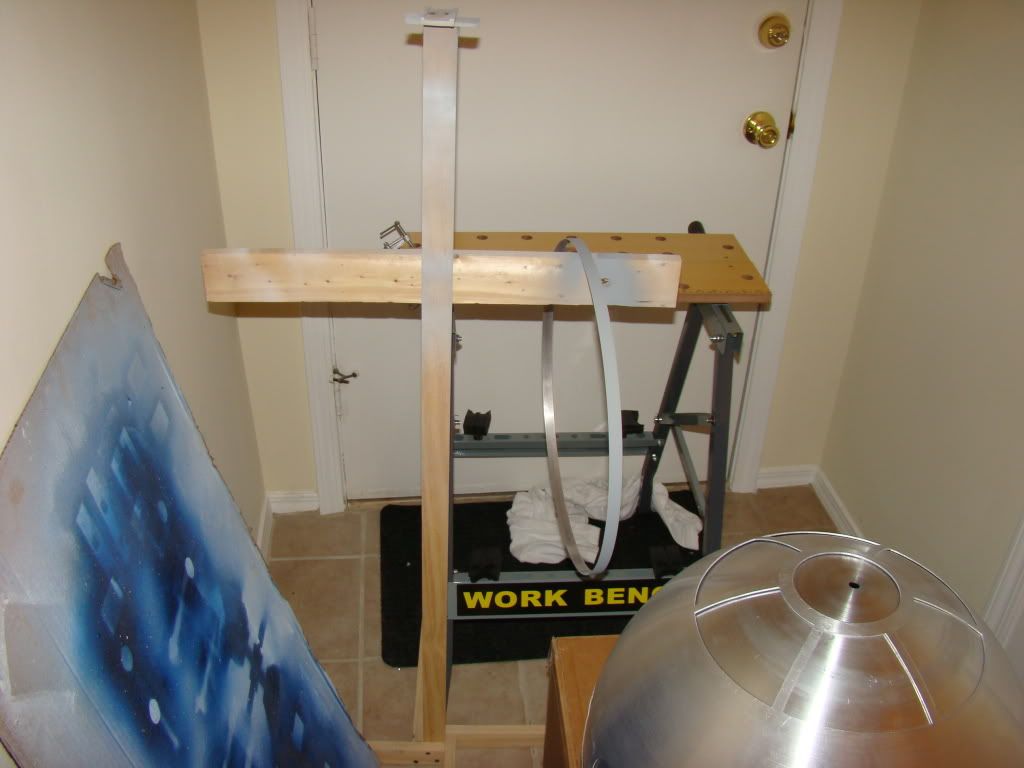
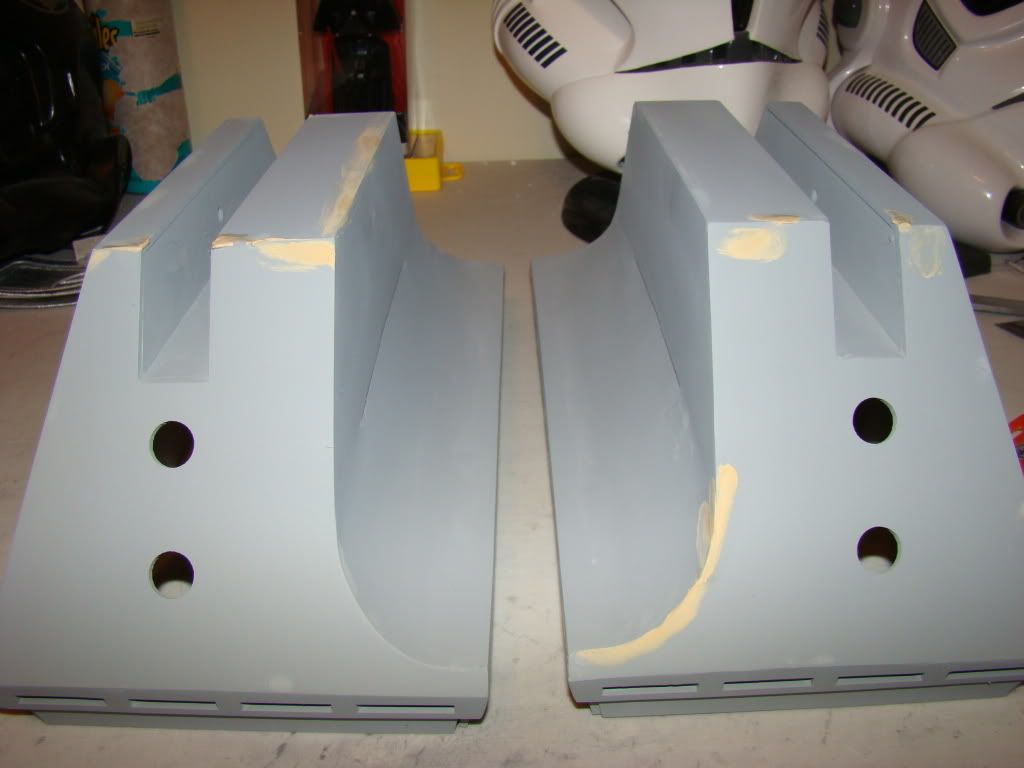
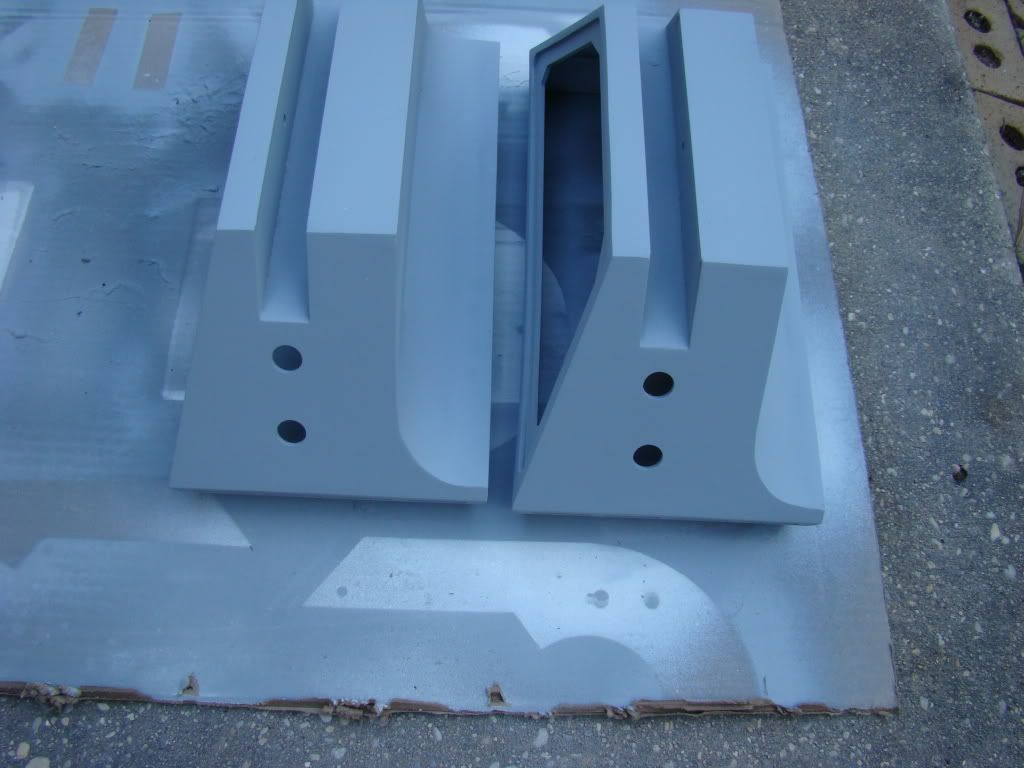
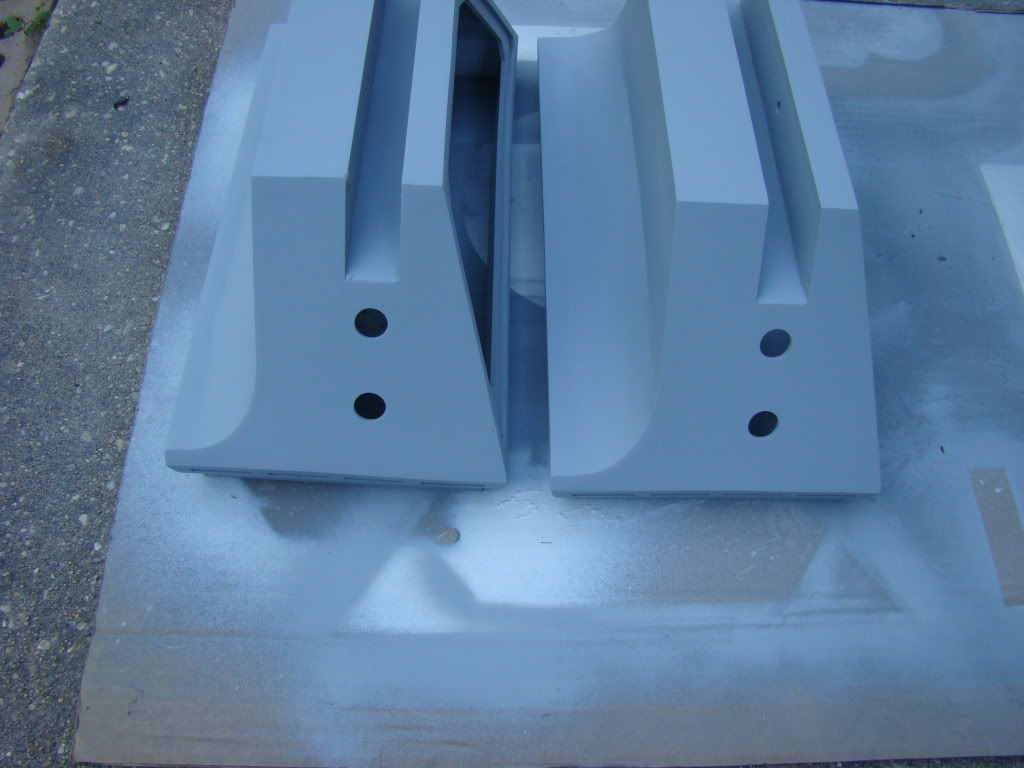
Also last week I got those little silver details on the booster covers and leg grooves painted. It's not the best by a long shot, since I'm not very good with a little brush, so we'll be applying the 50' rule whenever someone wants to comment.
It wound up taking me 3 days to "de-slag" the dome panels, and another 3 days to sand down the spin lines on the panels. Hopefully it the sanding wasn't a waste of time.
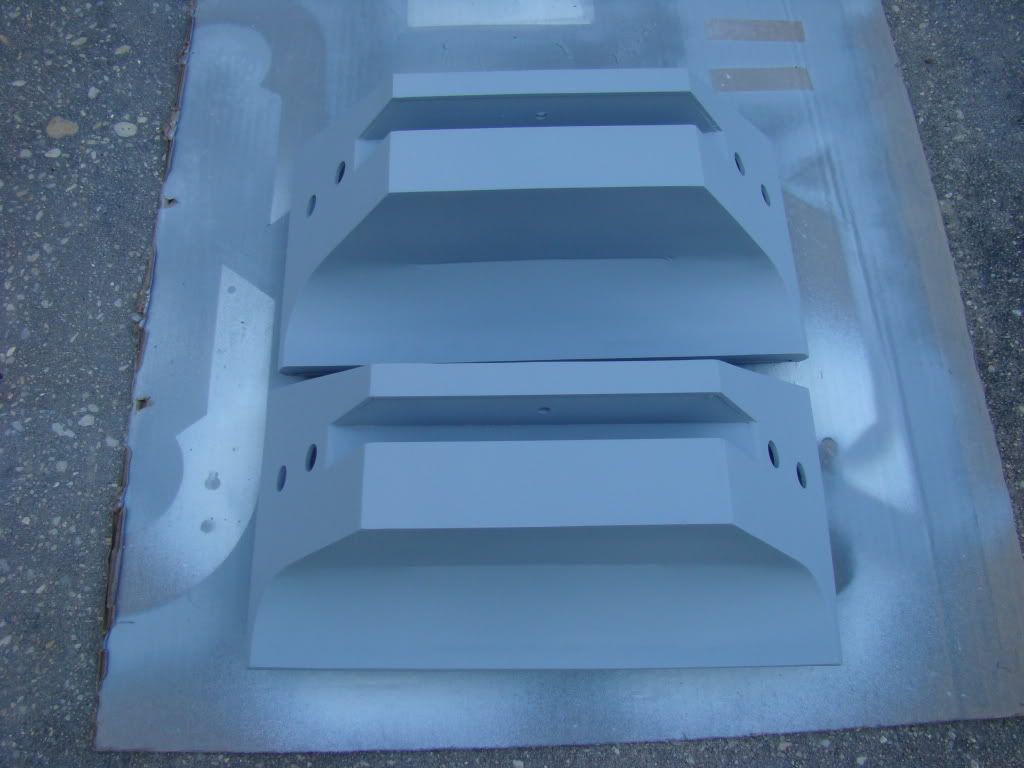
Anyway, got those primed like, Monday I think:
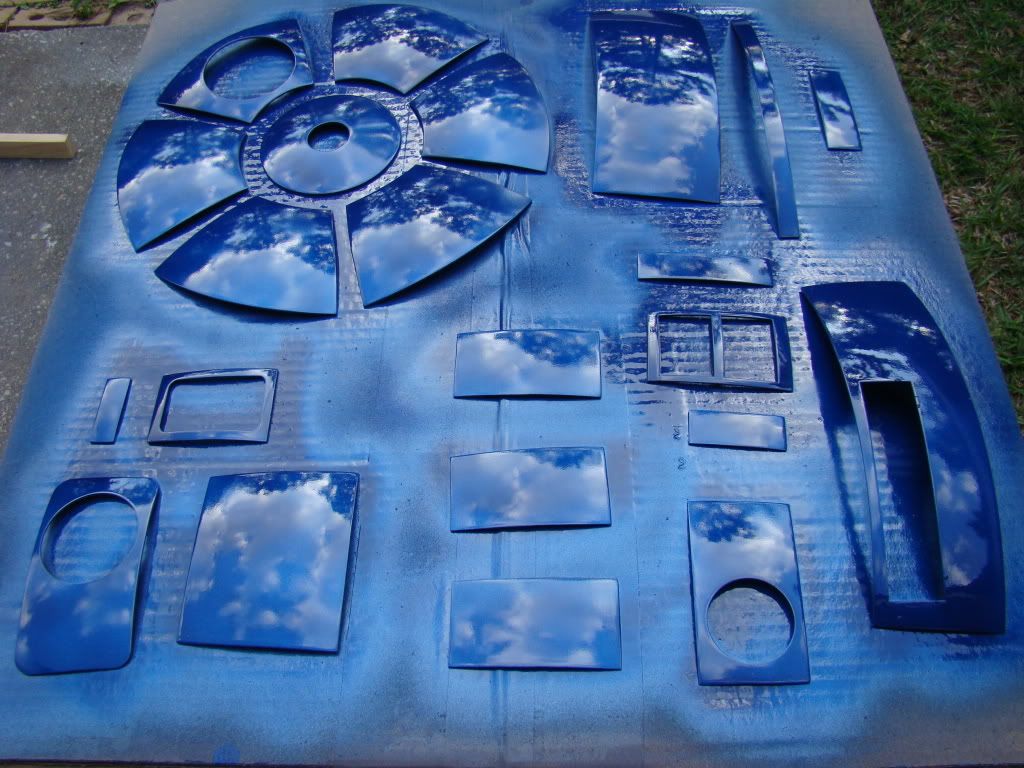
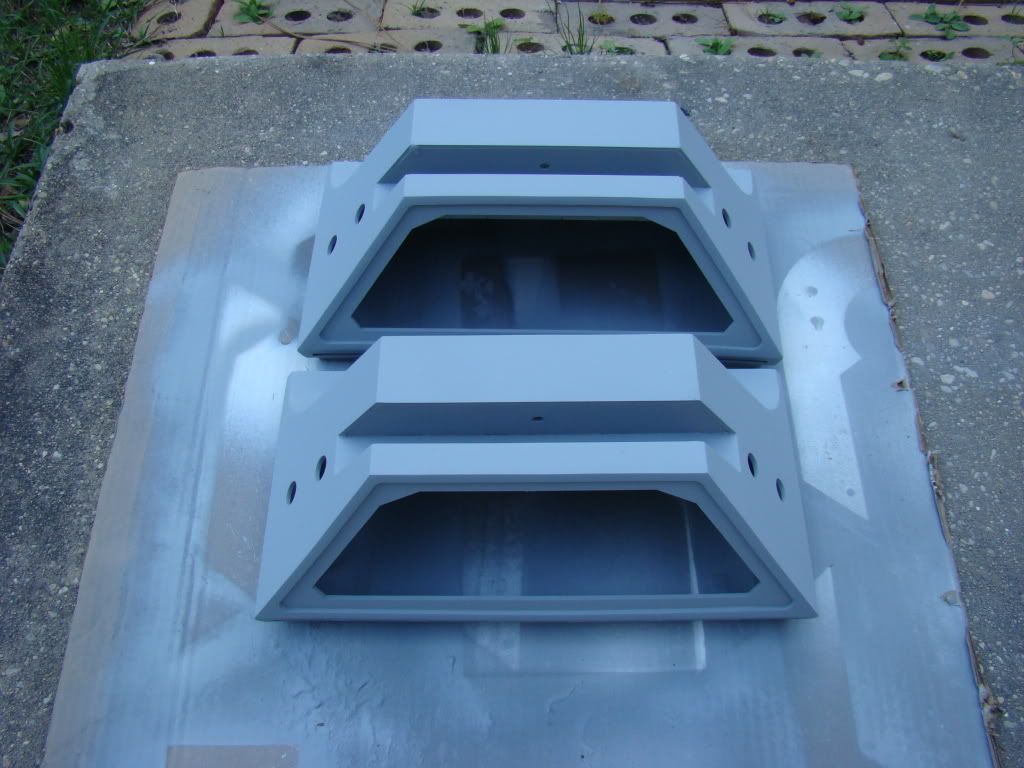
Tuesday I gave them a light 440 grit sanding, a good wipedown and commenced the "kridering"...here's after the first coat of blue:

And after the clear coat. This time I jsut kept clear coating until I ran out, which turned out to be 3 and a half coats.
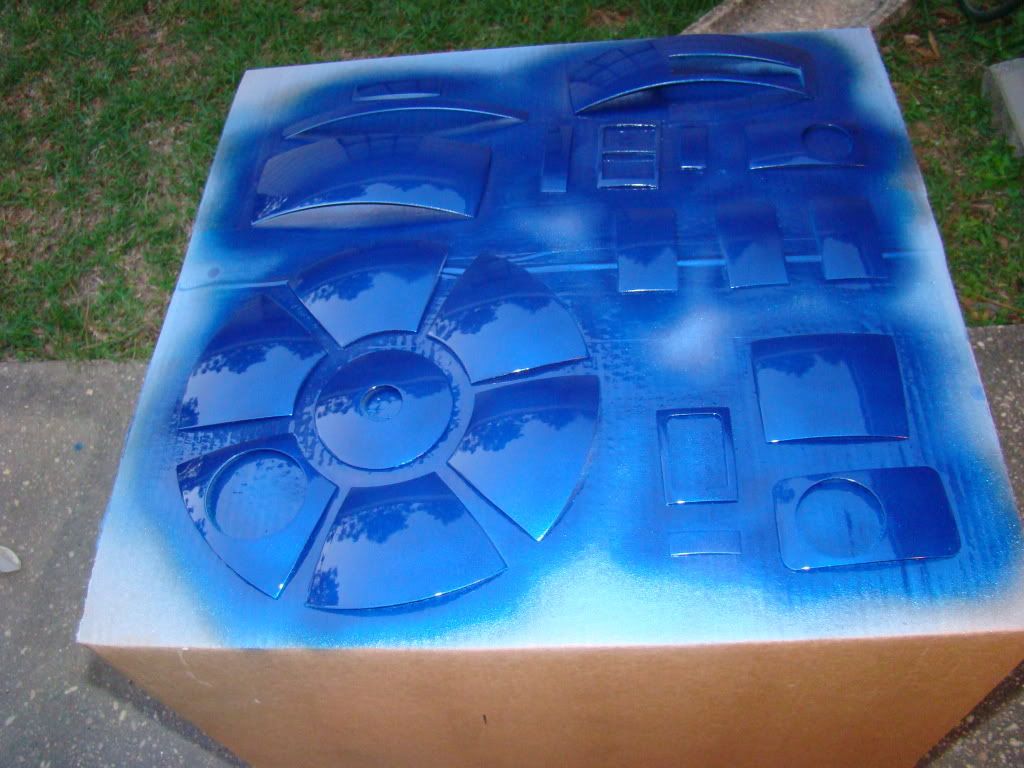
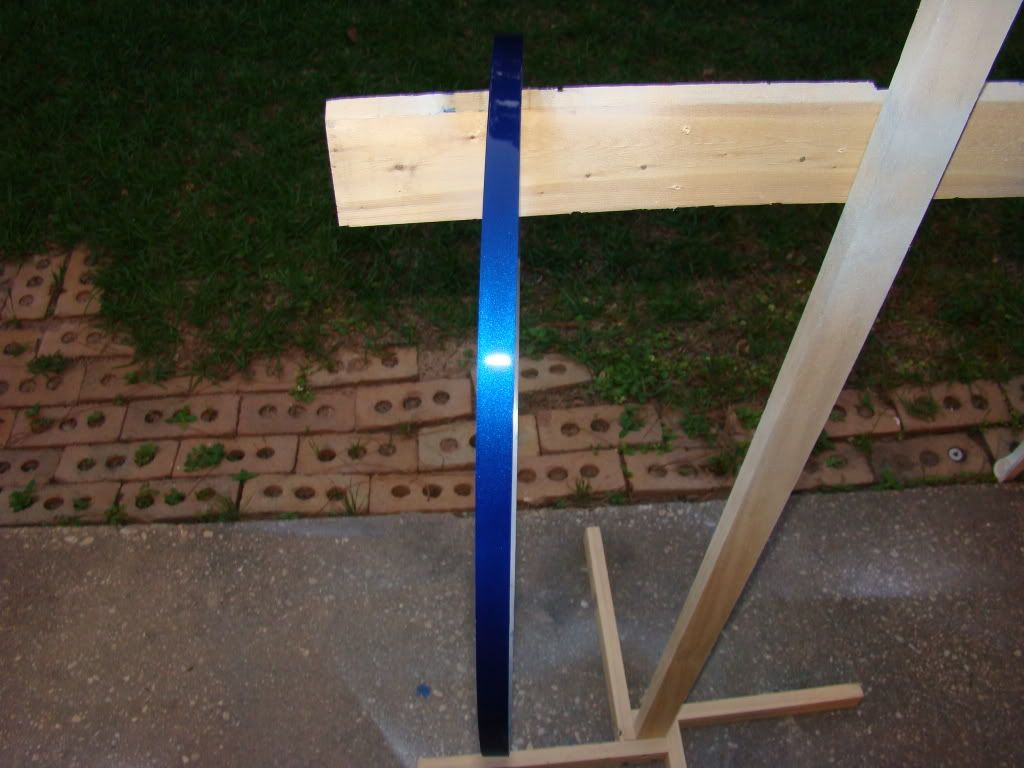
I love this effect:
The way it's almost black it's so dark from certain angles.
More fun stuff coming up in the next post, which will be up shortly!
Here's some pics that'll give you an idea what I mean:


In these pictures, the pencil line you can see is where the edge of the battery box will be on the outside of the foot. You can also see how the motor is going to be between 3/4" and 1" too far back. Right now, my options are to either build new battery boxes that will fit it, or try to cut down the front side of the motor holder so that the whole thing will move forward far enough to fit properly. I'm leaning towards the latter...
Also last week I got those little silver details on the booster covers and leg grooves painted. It's not the best by a long shot, since I'm not very good with a little brush, so we'll be applying the 50' rule whenever someone wants to comment.

It wound up taking me 3 days to "de-slag" the dome panels, and another 3 days to sand down the spin lines on the panels. Hopefully it the sanding wasn't a waste of time.
Anyway, got those primed like, Monday I think:


Tuesday I gave them a light 440 grit sanding, a good wipedown and commenced the "kridering"...here's after the first coat of blue:


And after the clear coat. This time I jsut kept clear coating until I ran out, which turned out to be 3 and a half coats.


I love this effect:

The way it's almost black it's so dark from certain angles.
More fun stuff coming up in the next post, which will be up shortly!
Tuesday, April 7, 2009
Dome and feet work
Start with the not so interesting stuff...
After the 4th coat of primer and 3rd time filling little holes/gaps on the feet, I think it's time to apply the 50 foot rule and get them white tomorrow so I can cut them up...
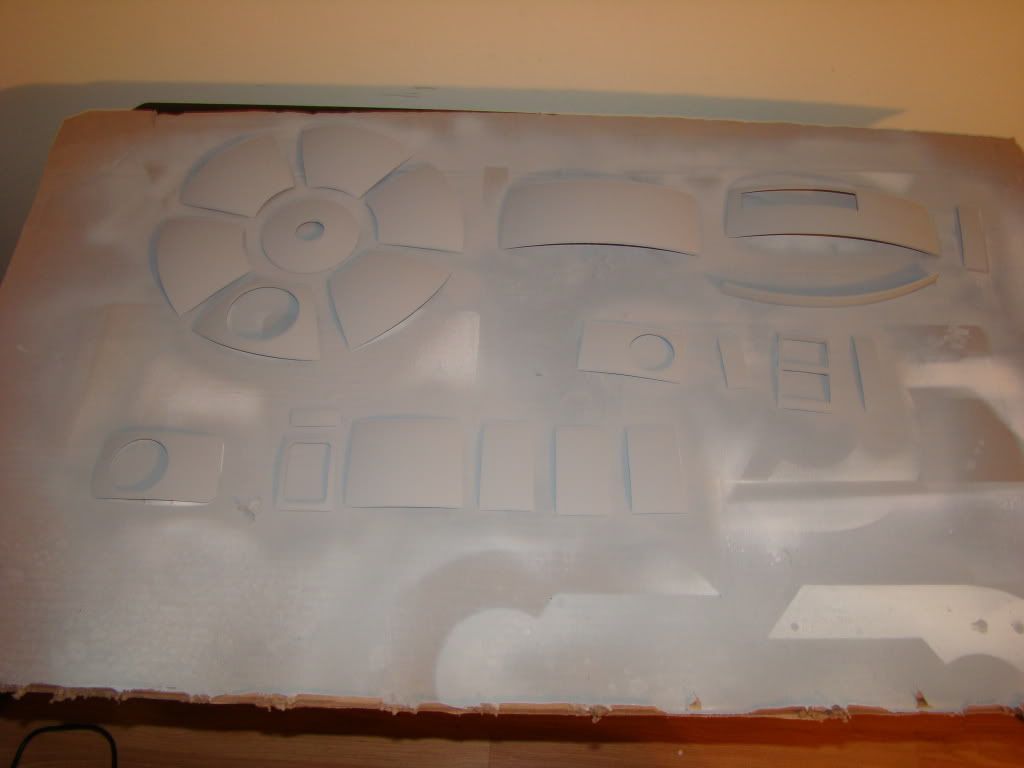
I also realized sometime last week that I hadn't made enough foot strips, and that the ones with the holes in them were too long, so I had to shorten the ones I'd made previously by about 1/2 ", and used them as a template for the others:

On dome progress, I removed all the little scrap filler pieces:
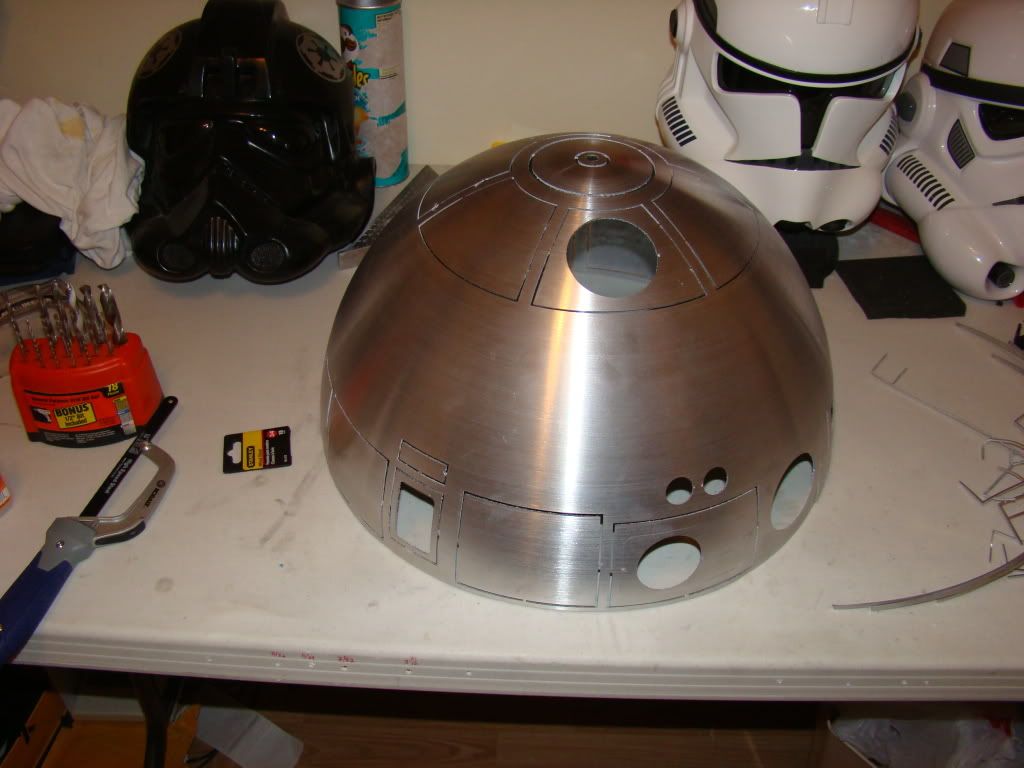
and using the small hacksaw you can see in the pictures (conveniently placed, right?), removed all of the panels:
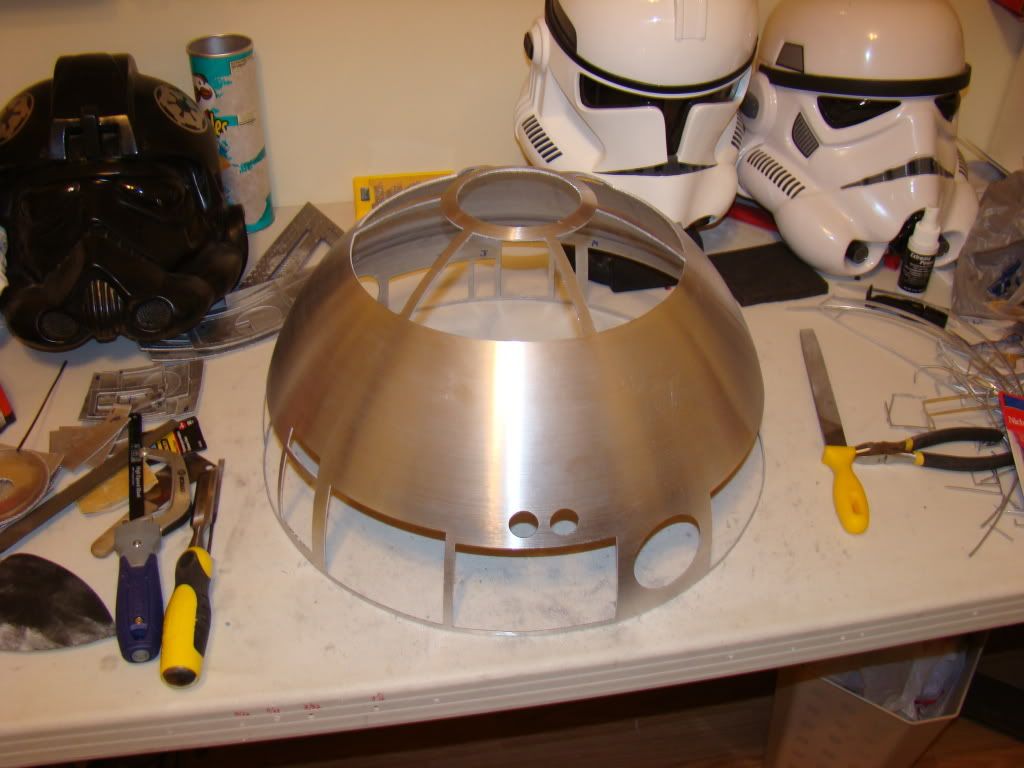
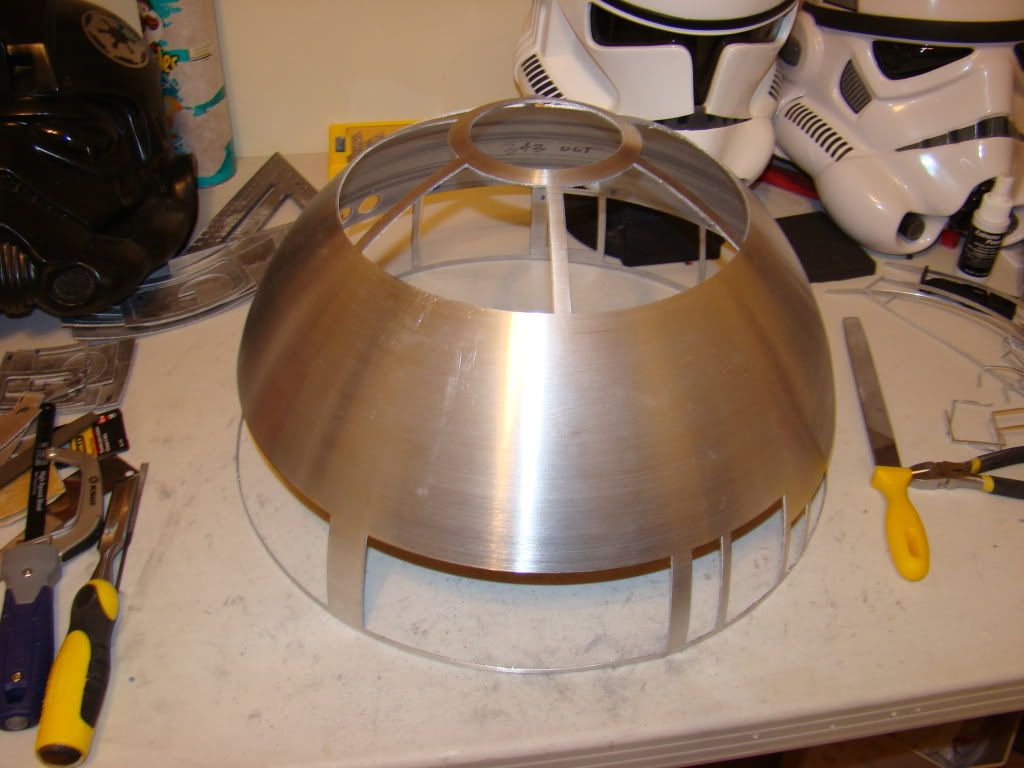
Then I spent pretty much 2 days removing the slag from the laser cutting procedure so that the outer dome and the dome ring would fit back on the inner dome without scratching it all to hell
Tonight during Biggest Loser, one of my favorite shows, I'll remove the slag from all the panels and get them laid out for painting. Not sure when I'll get around to that (hopefully this weekend, or sooner)...
I've also got to decide how much sanding, if any at all I plan to do on the dome. I really like the brushed look that the spin lines give it, but there are already some scratches, and I've seen some mirror finish ones up close too, and they sure are pretty...
After the 4th coat of primer and 3rd time filling little holes/gaps on the feet, I think it's time to apply the 50 foot rule and get them white tomorrow so I can cut them up...


I also realized sometime last week that I hadn't made enough foot strips, and that the ones with the holes in them were too long, so I had to shorten the ones I'd made previously by about 1/2 ", and used them as a template for the others:

On dome progress, I removed all the little scrap filler pieces:

and using the small hacksaw you can see in the pictures (conveniently placed, right?), removed all of the panels:


Then I spent pretty much 2 days removing the slag from the laser cutting procedure so that the outer dome and the dome ring would fit back on the inner dome without scratching it all to hell


Tonight during Biggest Loser, one of my favorite shows, I'll remove the slag from all the panels and get them laid out for painting. Not sure when I'll get around to that (hopefully this weekend, or sooner)...
I've also got to decide how much sanding, if any at all I plan to do on the dome. I really like the brushed look that the spin lines give it, but there are already some scratches, and I've seen some mirror finish ones up close too, and they sure are pretty...
Friday, April 3, 2009
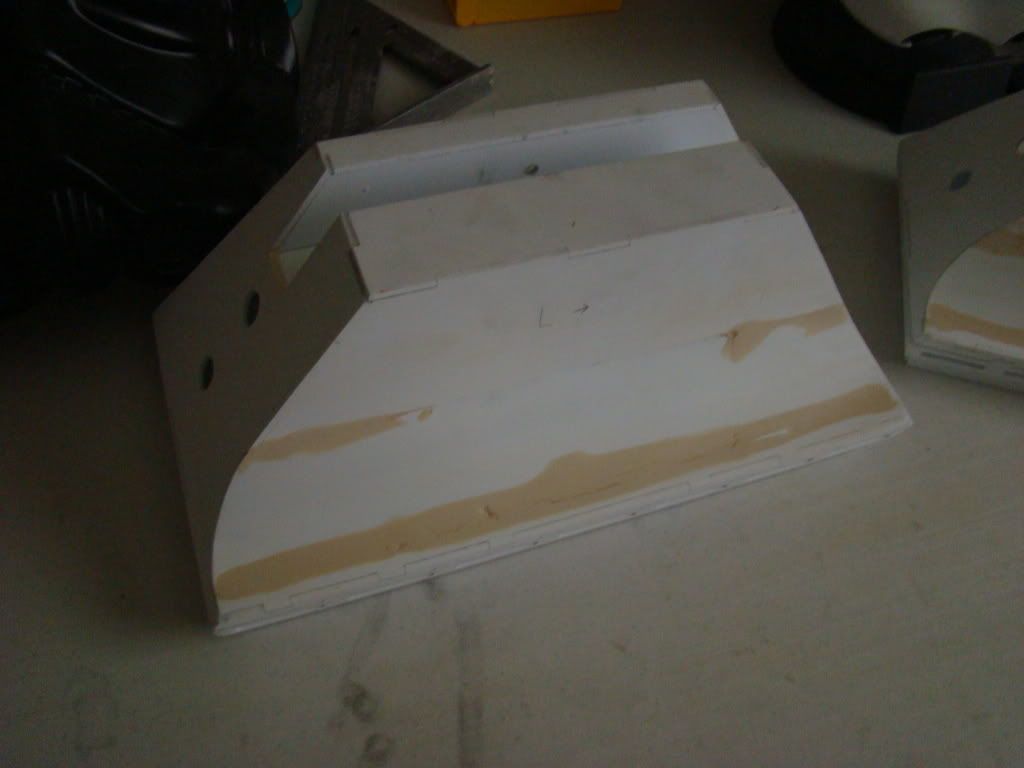
Footshells and stuff
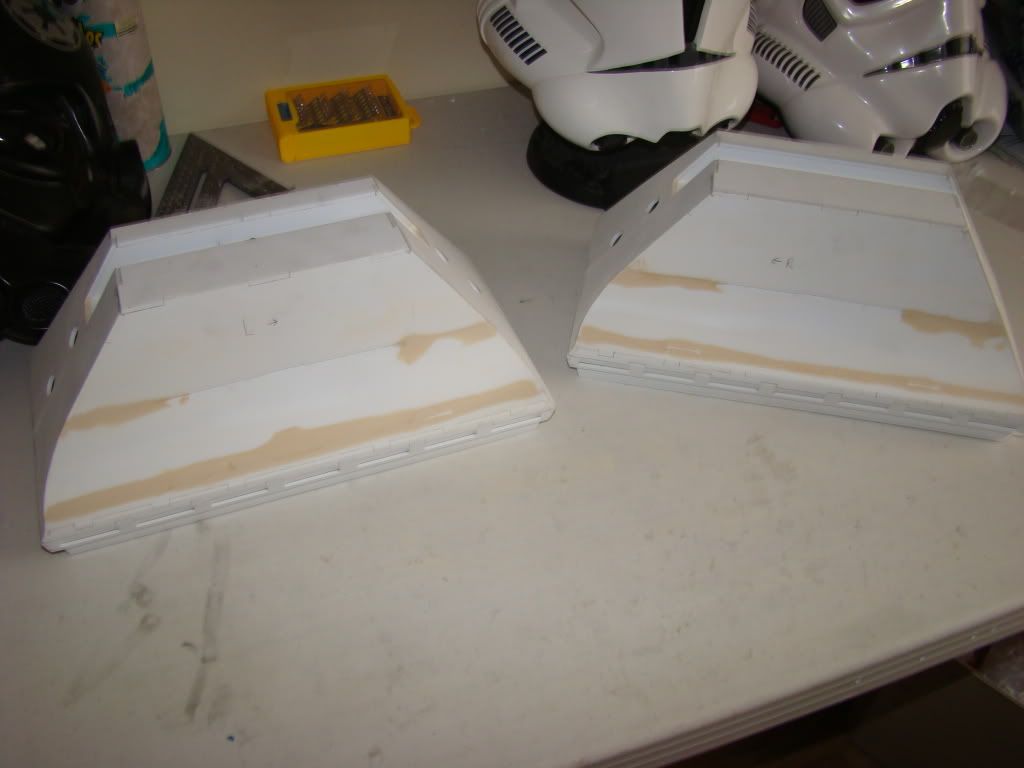
Been working on the footshells so I can get the feet on the legs with the motors installed.
Biggest problem has been the way the curves inside the feet (made from the for sale signs, if you remember/read the previous post) and the way they don't really fit out of the box. I even made the replacements bigger, but there are still issues.
I started by filling the gaps with wood putty:
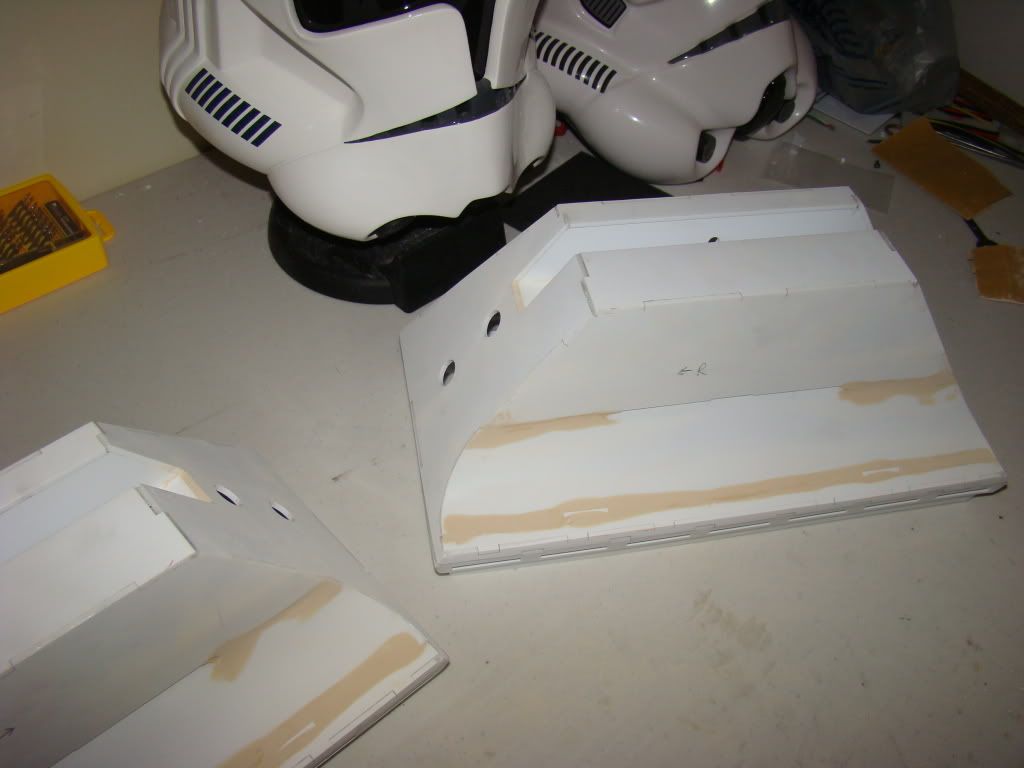
After filling and sanding twice, I applied a layer of CA glue as a sealer, and sanded that down some.
Currently I'm priming them, mainly to find all the crappy spots that need more work...
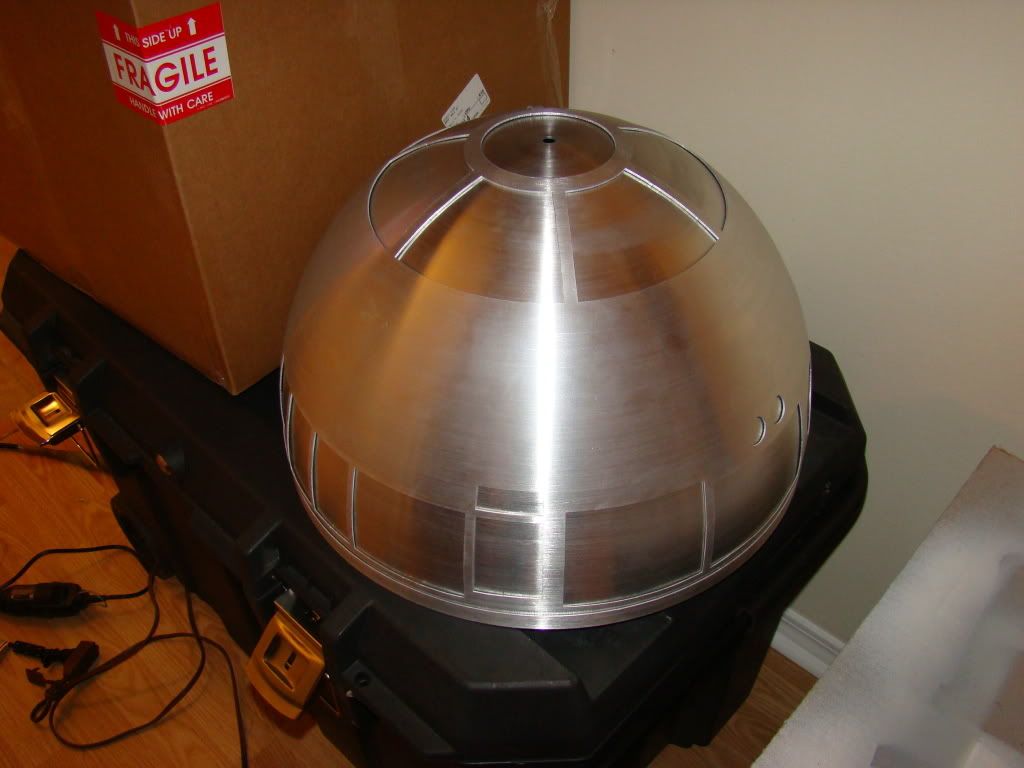
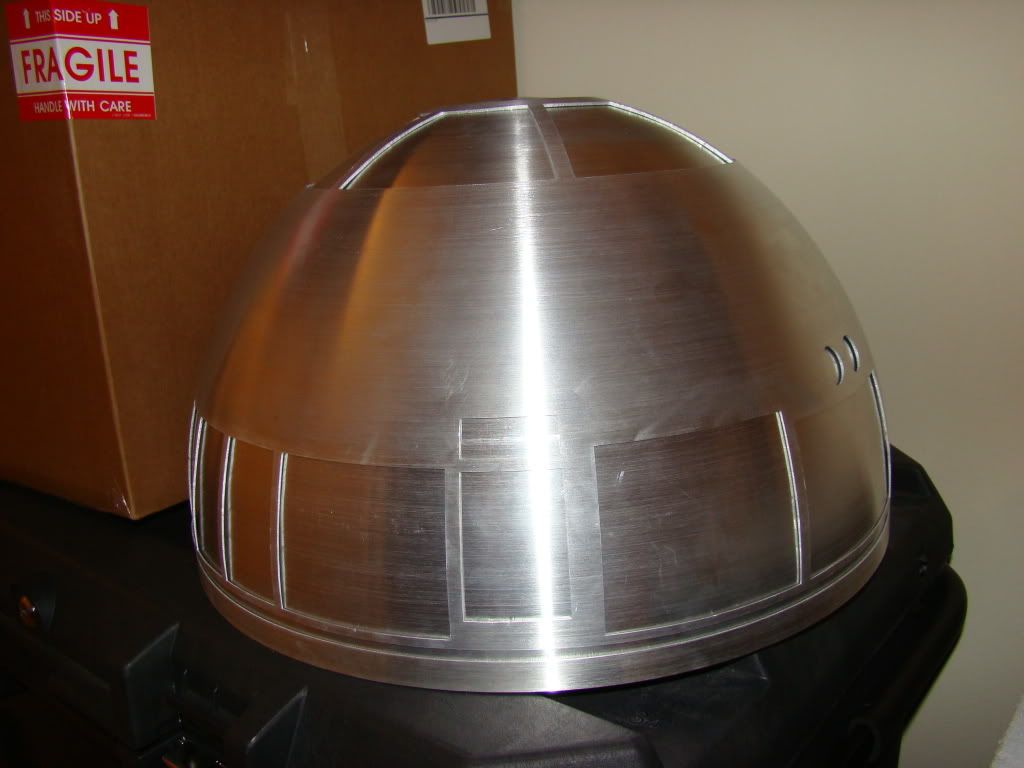
I'll say it has been extremely difficult to concentrate on the footshells, mainly because of this:
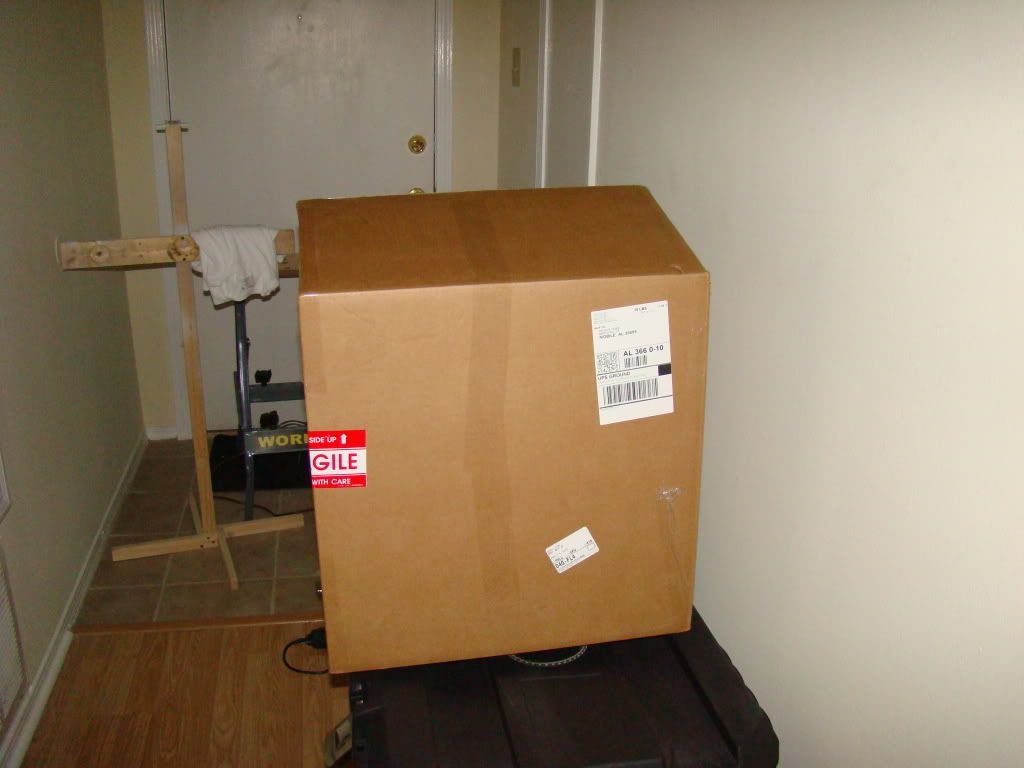
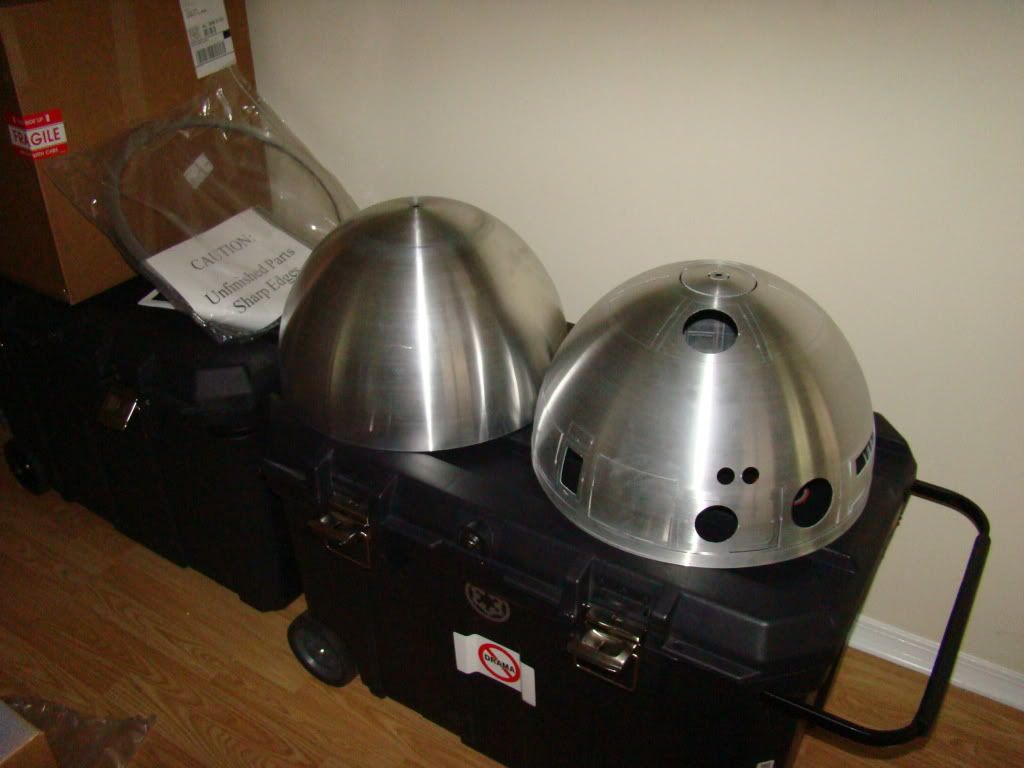
And naturally, who can resist the "silver bullet" pictures? It was too much temptation for me...
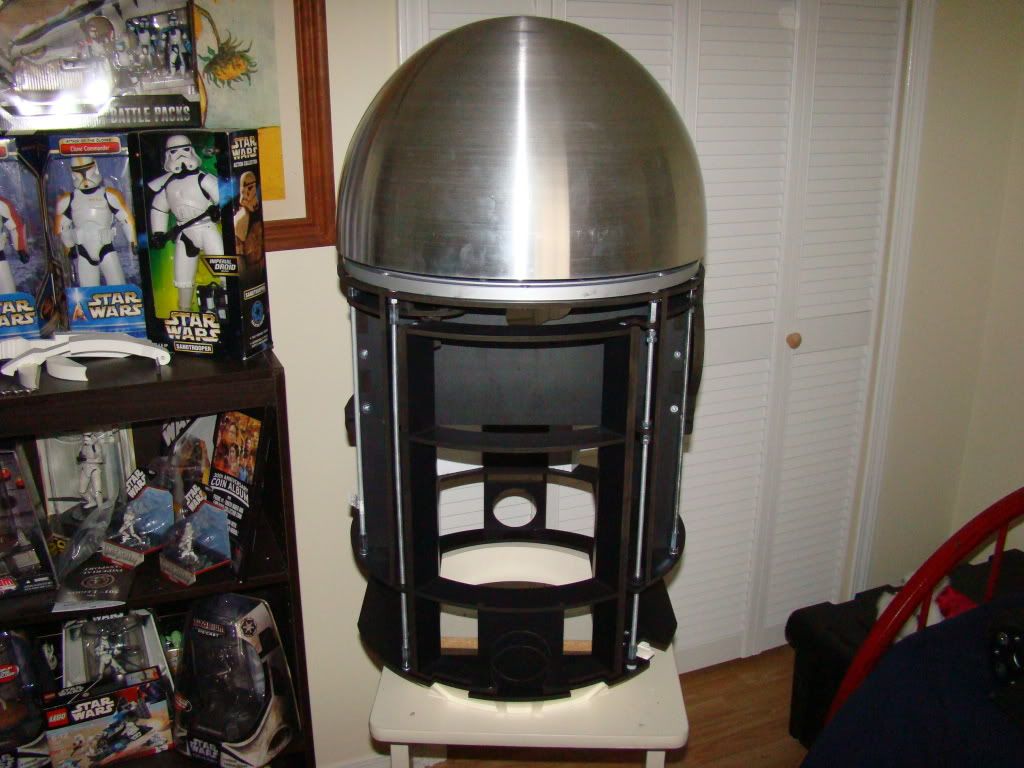
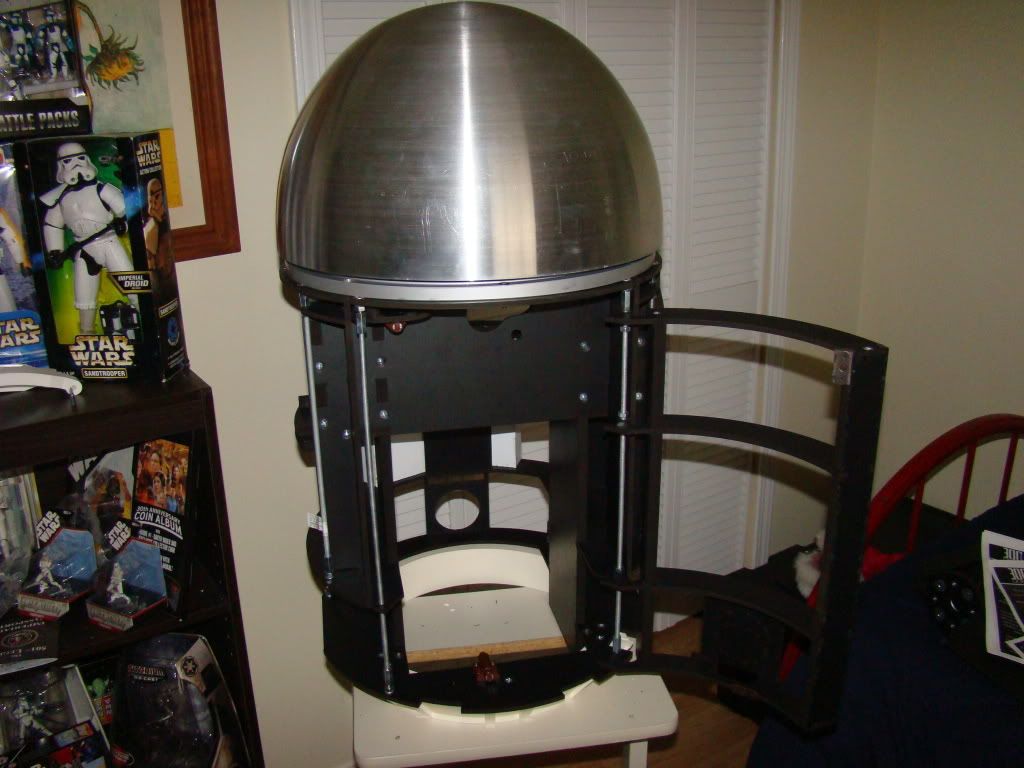
That's all for now...
Biggest problem has been the way the curves inside the feet (made from the for sale signs, if you remember/read the previous post) and the way they don't really fit out of the box. I even made the replacements bigger, but there are still issues.
I started by filling the gaps with wood putty:


After filling and sanding twice, I applied a layer of CA glue as a sealer, and sanded that down some.
Currently I'm priming them, mainly to find all the crappy spots that need more work...
I'll say it has been extremely difficult to concentrate on the footshells, mainly because of this:


And naturally, who can resist the "silver bullet" pictures? It was too much temptation for me...


That's all for now...
Subscribe to:
Posts (Atom)