Anyway, start off with some pics of the rear inner skins reattached:
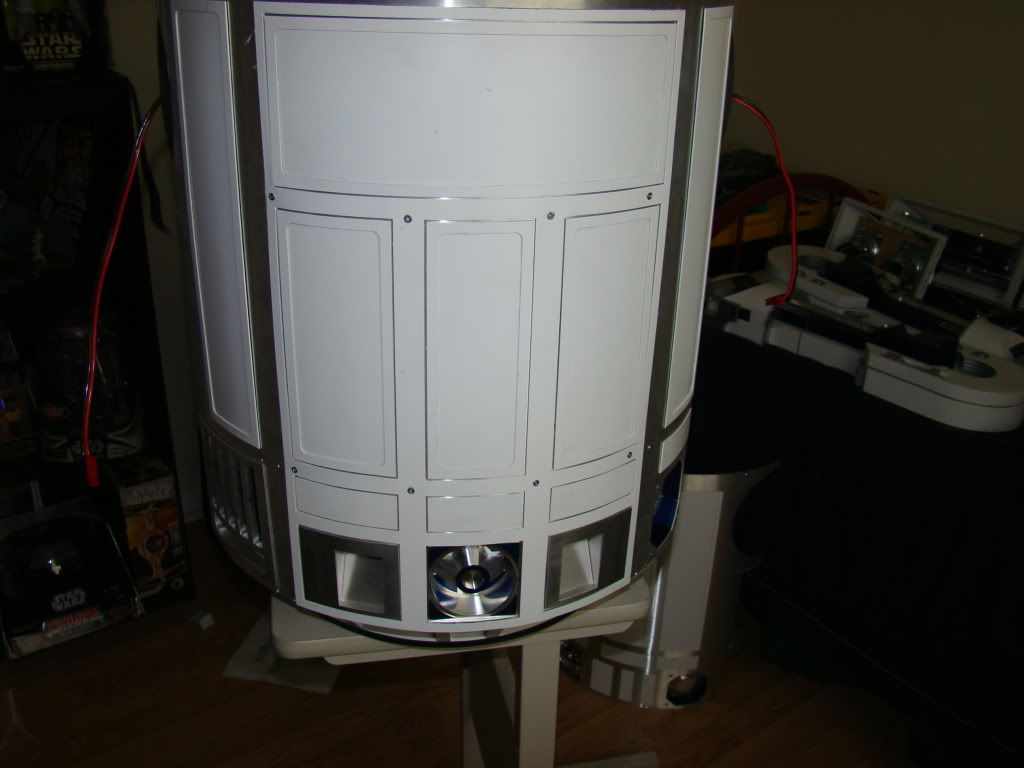
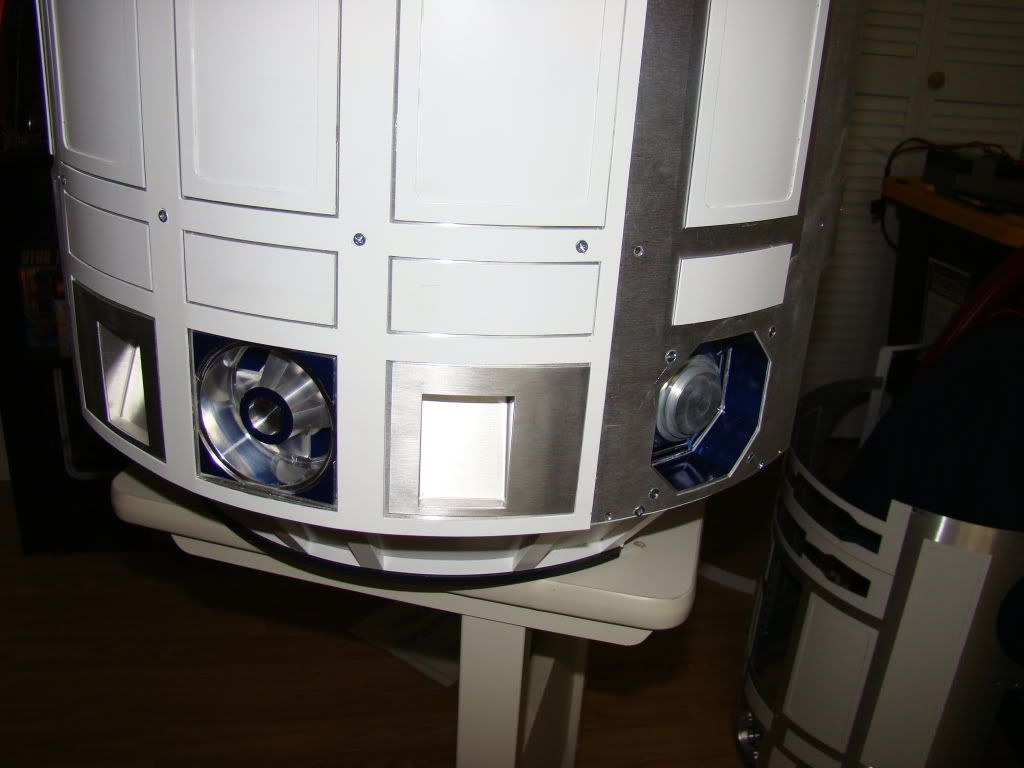
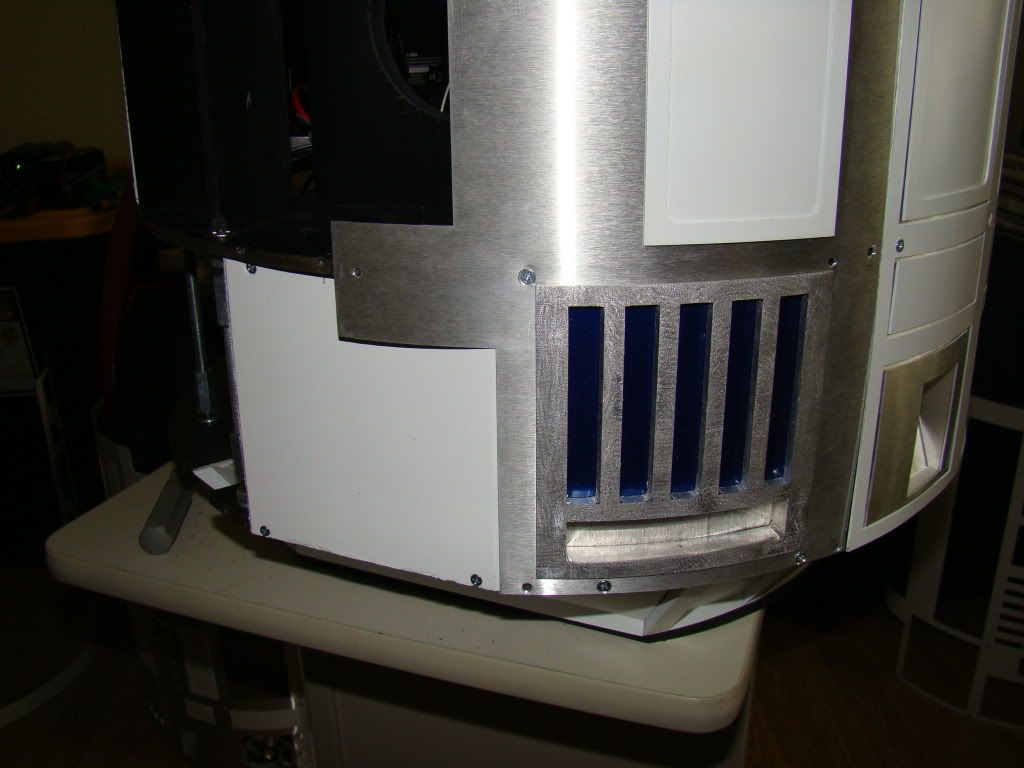
Saturday I decided to figure out the LDP. I started by figuring out how it fit, then I measured for a piece of styrene for the back. 9 3/4" x 1 1/8" if you're curious. I sprayed it black to keep it pretty, then glued it to the bottom, then glued the top on as well. I also cut some small pieces for the sides, and painted them black as well.
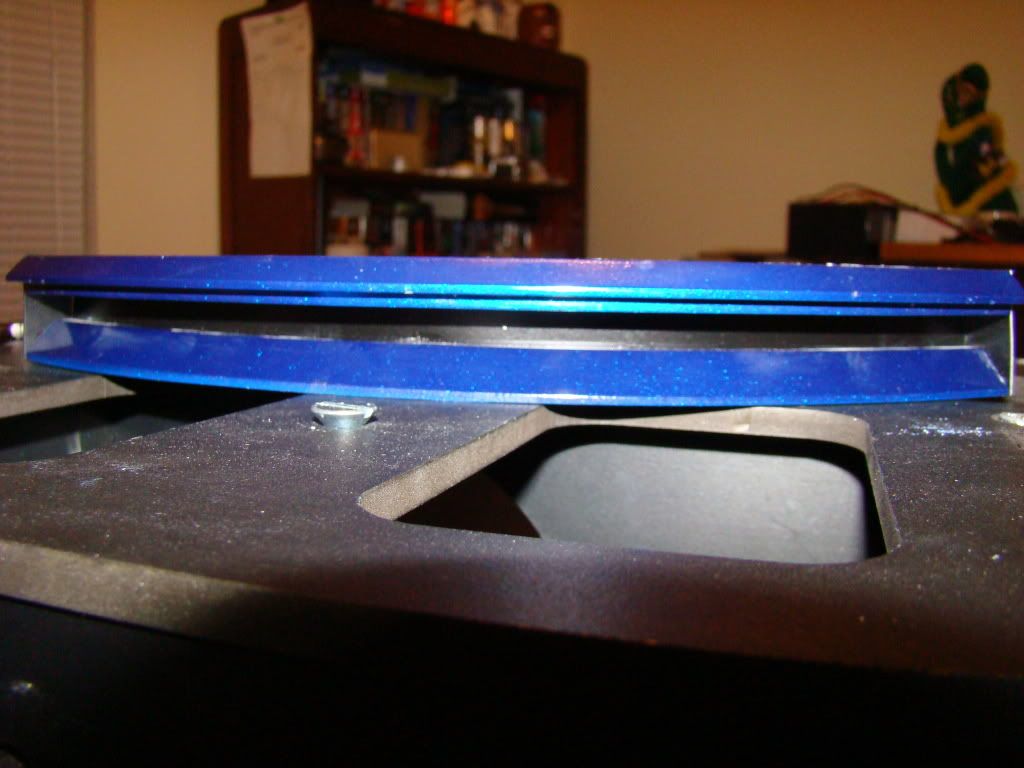
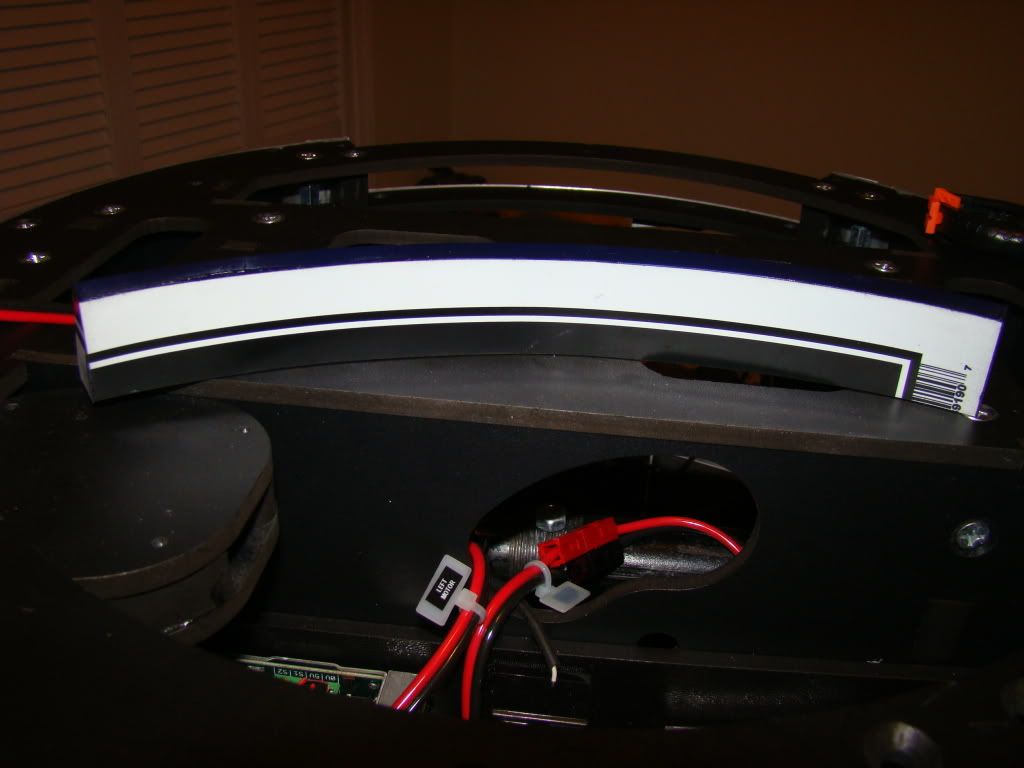
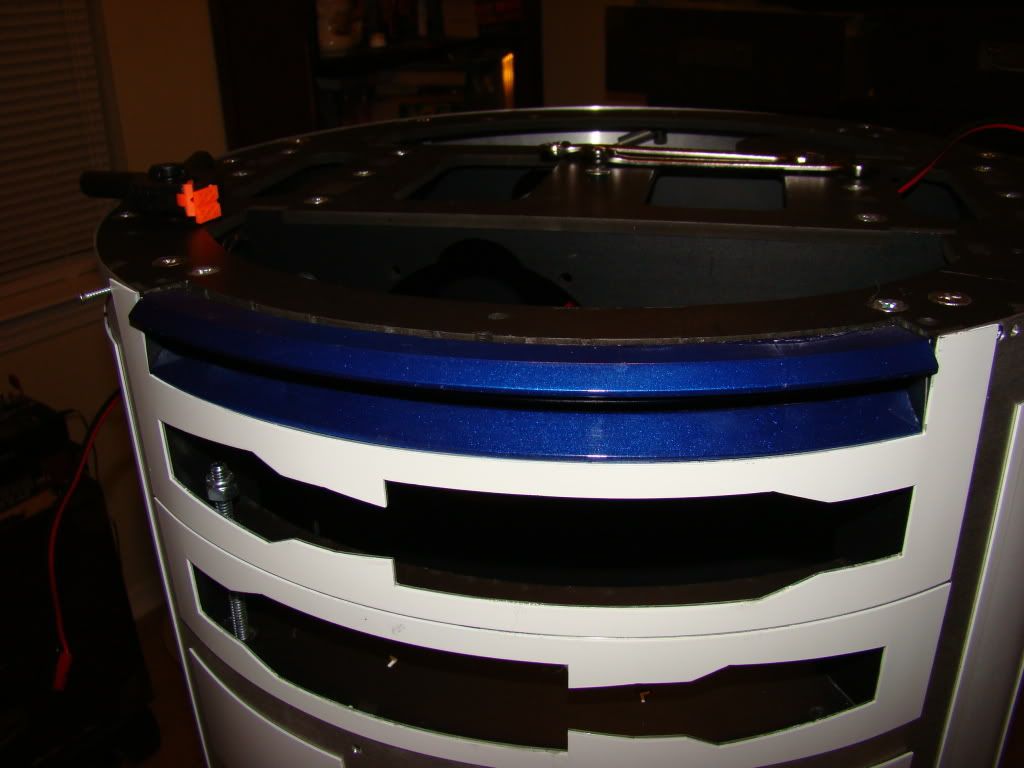
Here's a shot of the screw I replaced the threaded rod with, all neatly countersunk to not be in the way of the LDP.
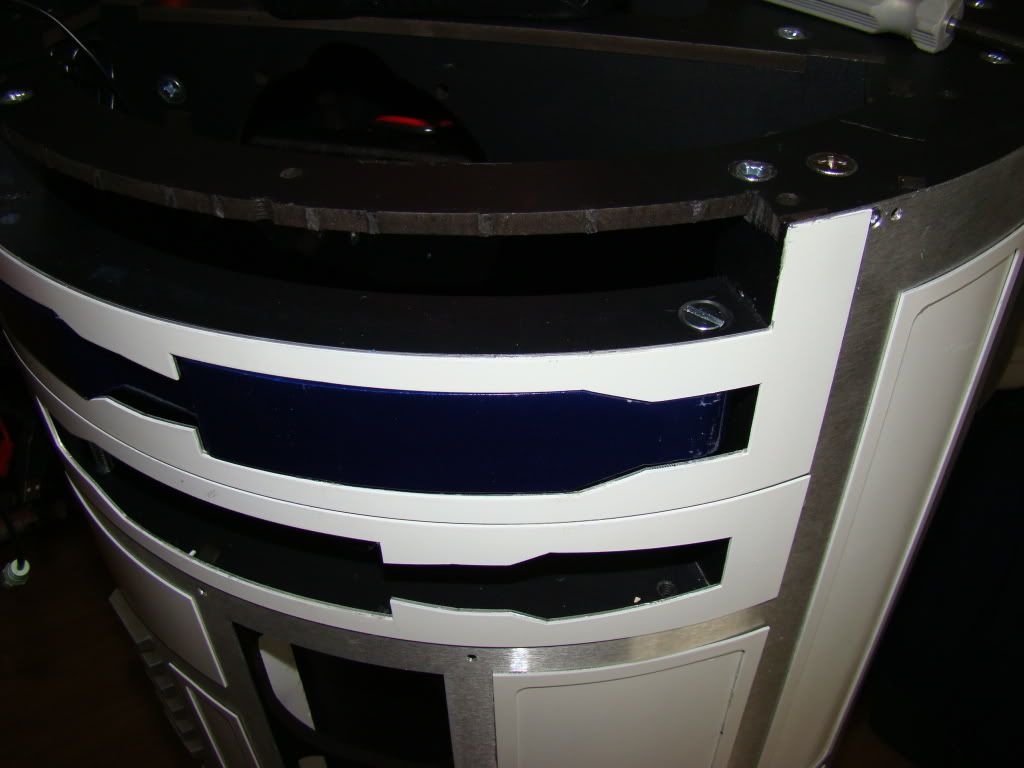
The arms re-installed:
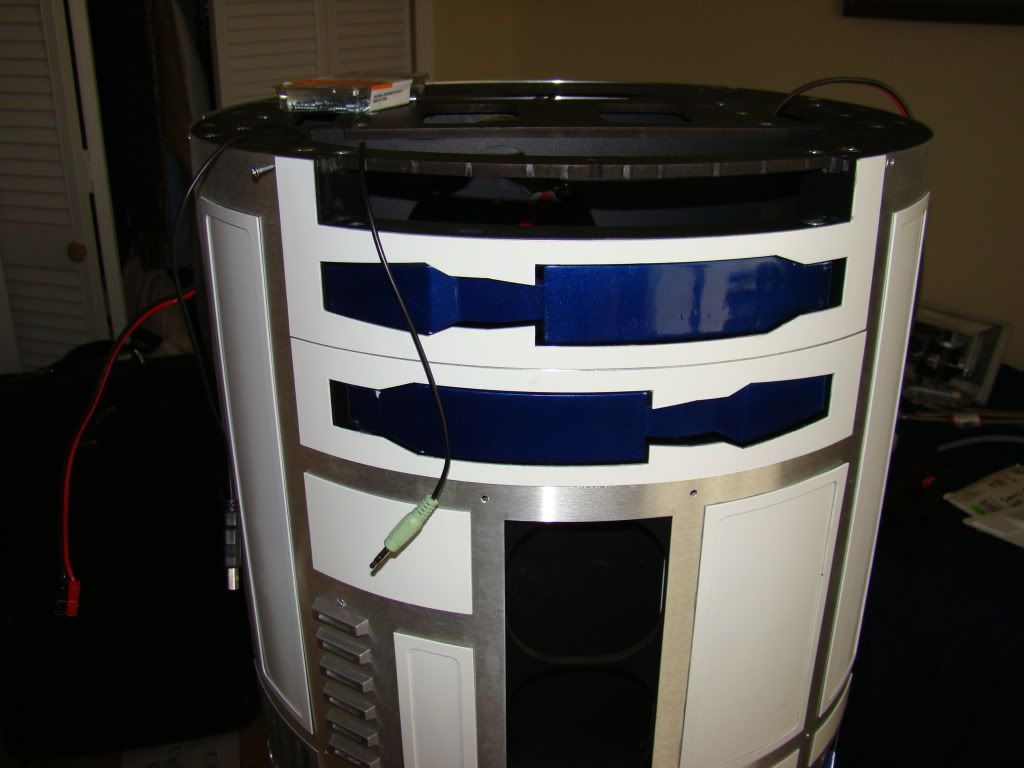
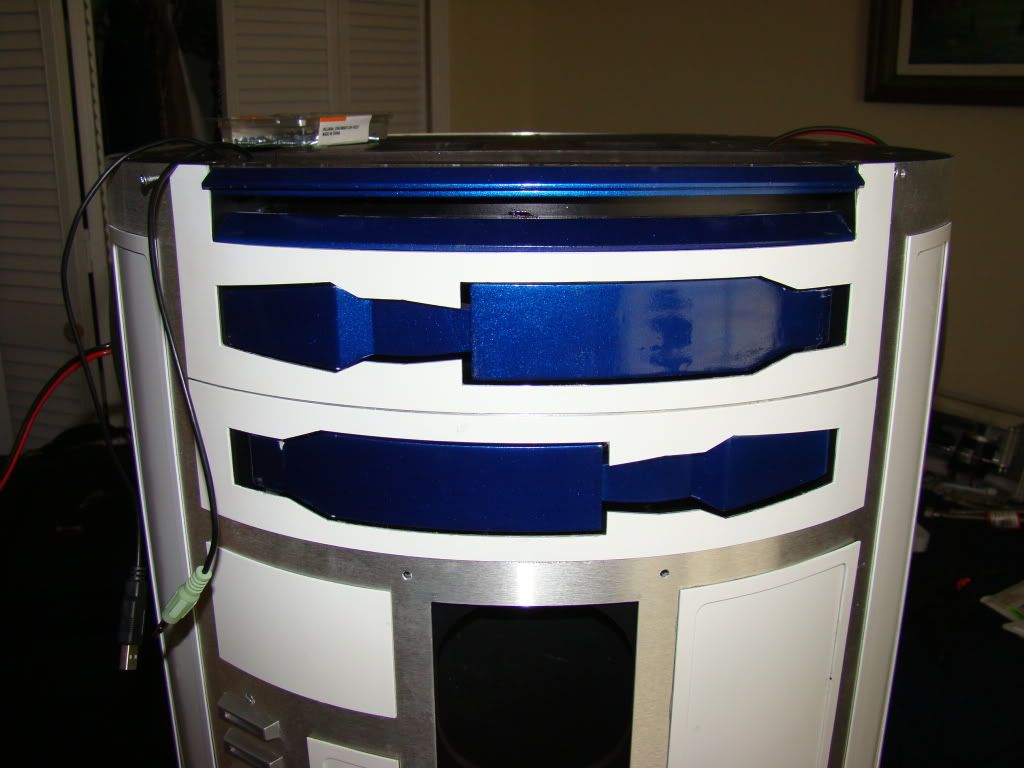
You'll also notice that the arms are taking quite a beating from the skins already, having been installed 2x already.
Here's work on the center vents. I finally figured out that since the top and bottom points were the pivots, and it was the sides that were moving, some cute little clamps in the right places ensured that it didn't move.
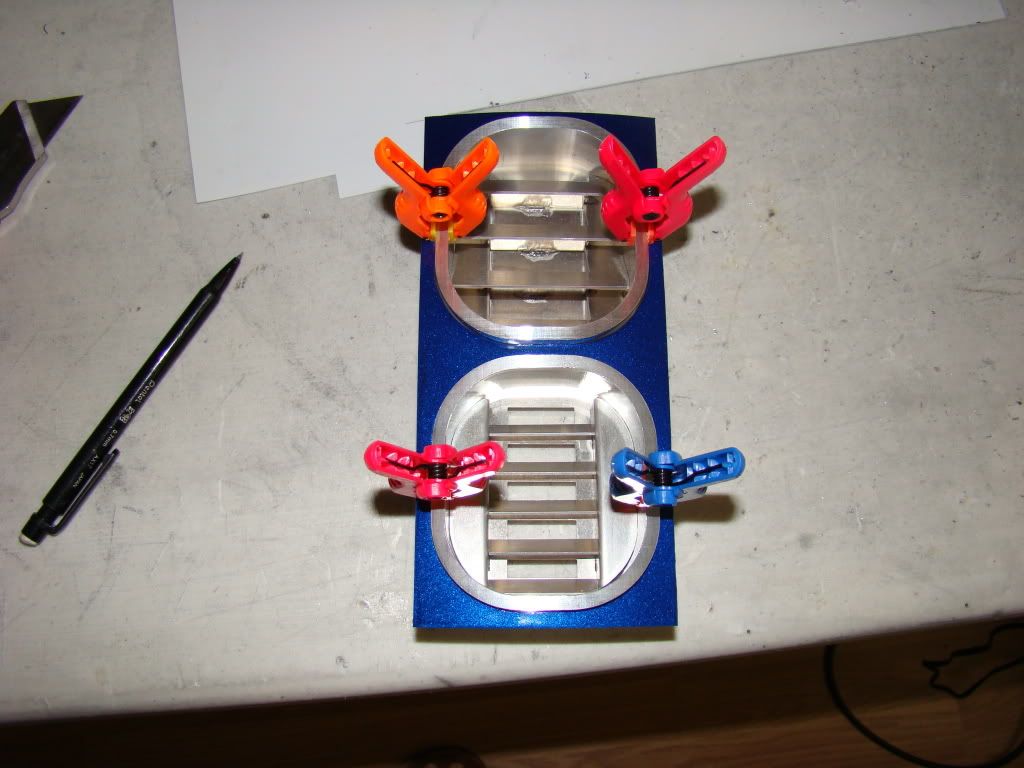
A little hot glue in the right places to ensure no more wiggling out of place:
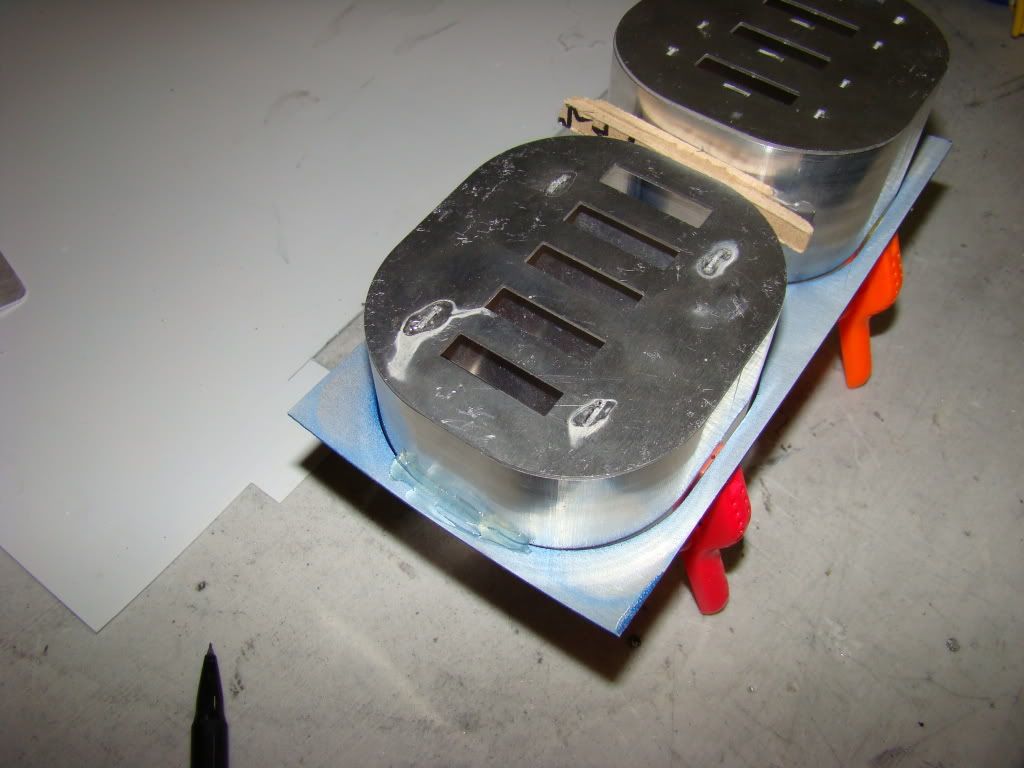
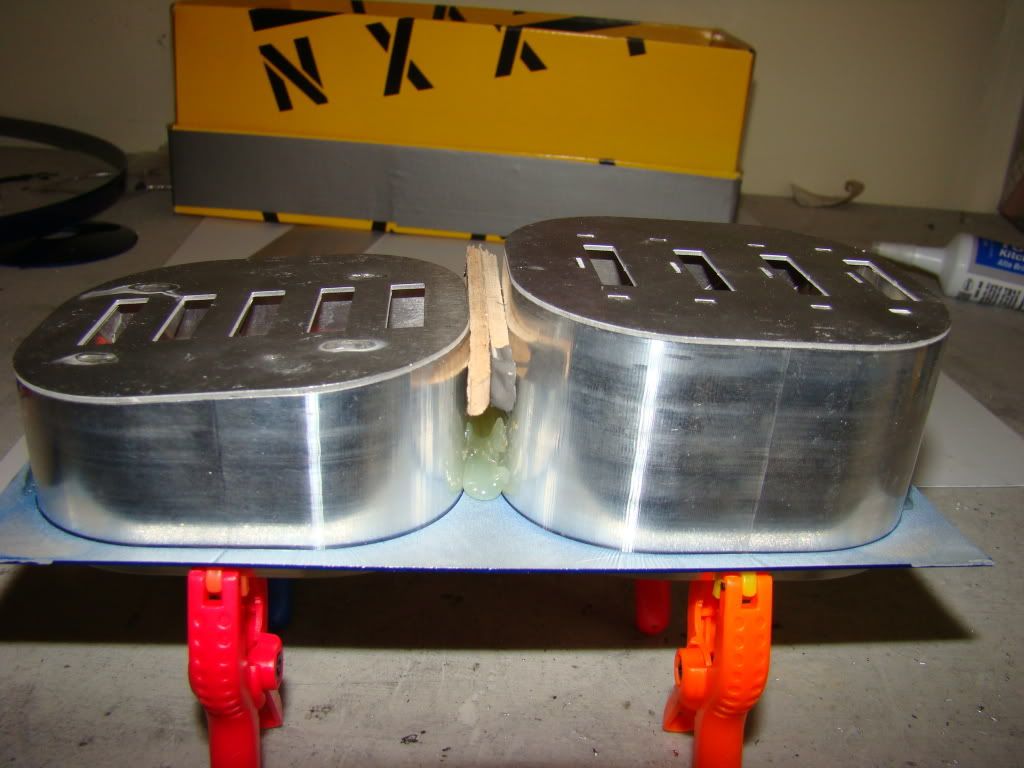
And what it takes to get the vent surround flat after gluing:
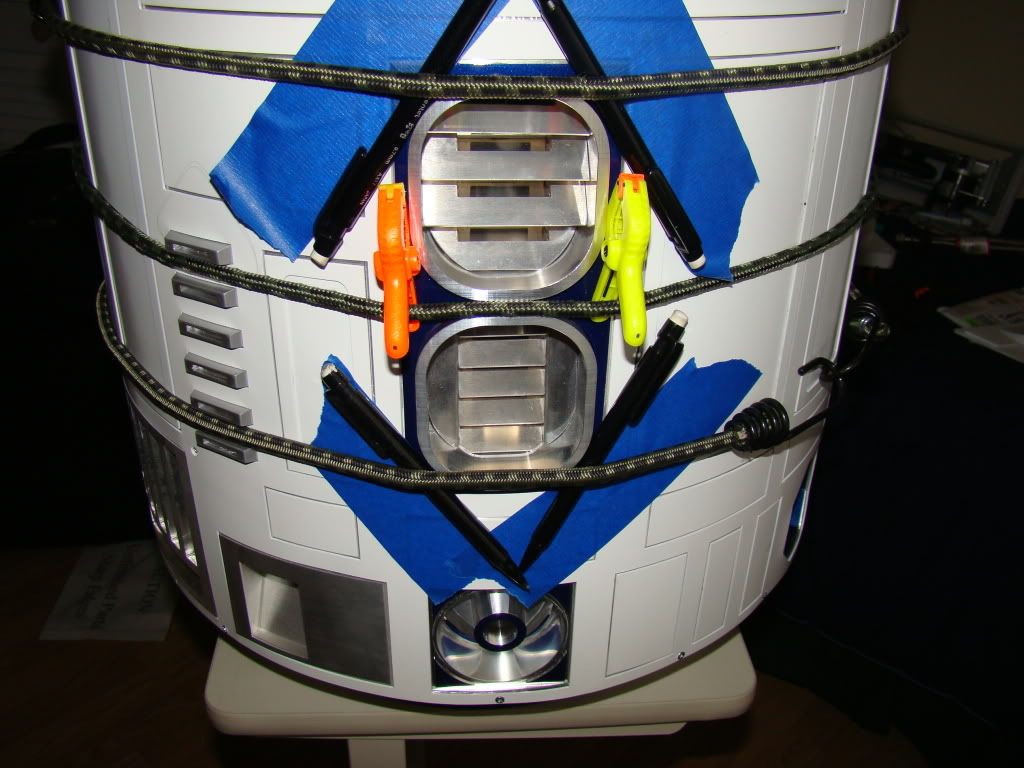
The pencils and clamps apply pressure in just the right places, and boy, those bungees are tight :)
And that's pretty much where we stand right now...
No comments:
Post a Comment