Sunday, August 30, 2009

Ankles locked, footshell doors on, and shoulder hubs in

So like the title says, did some of the last remaining tasks to get Artoo ready for DCon!

Started off by pencilling in the outlines of the ankles to decide where to drill, then drilled an 11/64" hole, and then screwed some 10-32 2" bolts into the holes.

Photobucket

Photobucket

Photobucket

Also managed to get the doors on, which isn't exactly as easy as it might sound. The right footshell was slightly out of square or something, and the motor mount was in the way ever so slightly. I had to grind a trench across the back of the door to get it to fit. Don't have pics of the trench, but I do have pics of the doors in place:

Photobucket

Photobucket

Also saved the shoulder hubs for last of all, because once they are in place, they are a supreme pain to get back out. But I went on faith and put them in anyway..

Photobucket

Photobucket

Friday, August 28, 2009

Assembled pics!

Here's pics of the 99.95% complete droid now sitting in my living room!

Photobucket

Photobucket

Photobucket

Photobucket

Photobucket

TADAA!

As you can see, all that's left is putting in the shoulder hubs, pinning the ankles so the feet won't move, and putting the doors to the footshells on!

braided hoses and KHFs all connected!

So apparently, 18" is NOT the length of the braided hoses, it's 12" according to Master Senna.

Here's how I secured the KHFs into the feet:

Photobucket

And I did the same sort of thing in the battery boxes, which are starting to fall apart.

Photobucket

And here they both are all put together:

Photobucket

Thursday, August 27, 2009

Dome bumps and "footwork" and Slip Ring repair

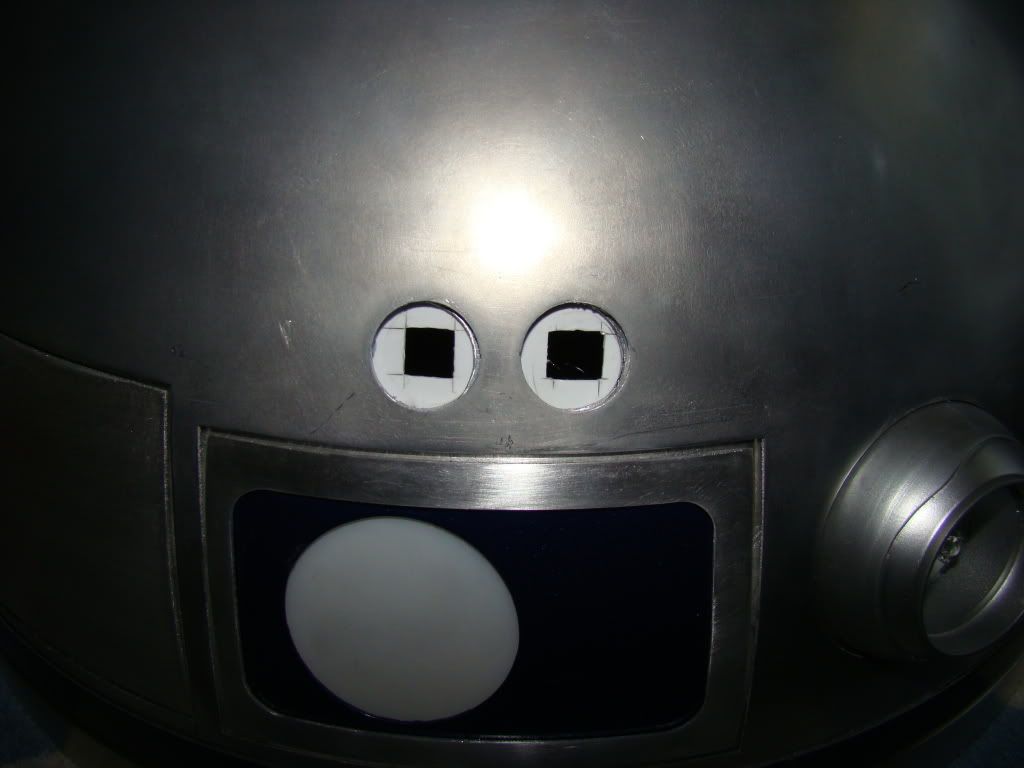
Since I un-wisely cut out the dome bump holes on my inner dome, it took me a little figuring to decide how to handle it.

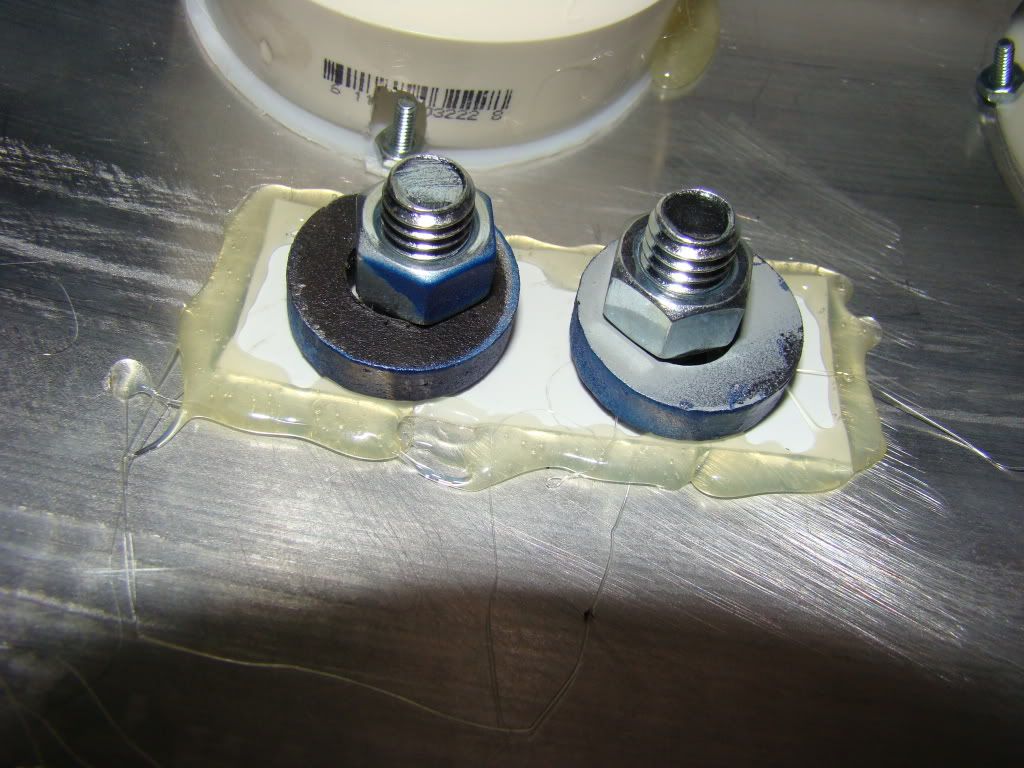
I used some scrap styrene and some other scrap A&A pieces to come up with a way to get them in there.

Here's the styrene already glued in place, with the squares cut for the carriage bolts:

Photobucket

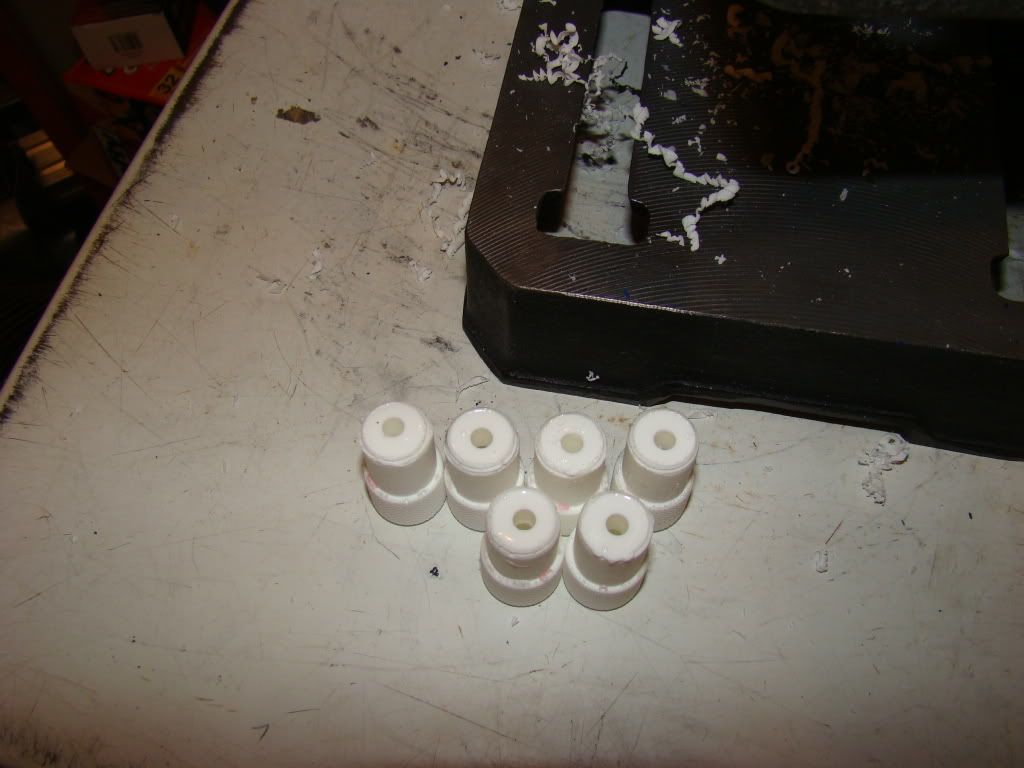
And a shot from inside the dome where you can see the spacers I made to get around the square parts:

Photobucket

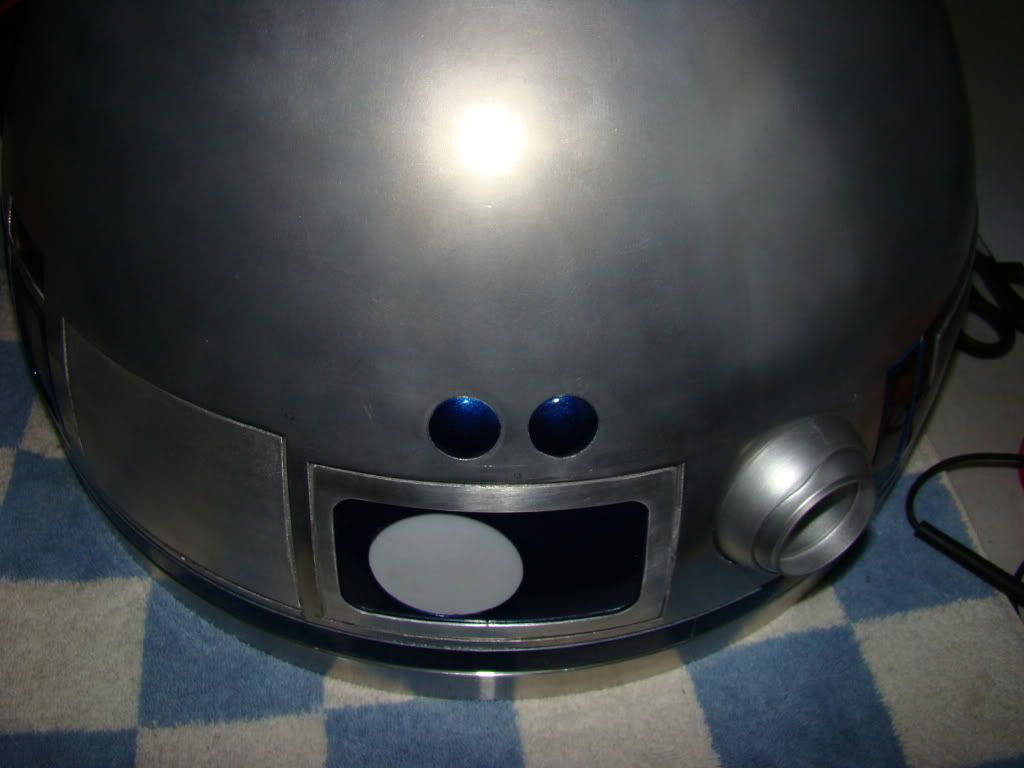
And a shot from outside with the bumps installed:

Photobucket

Next up is the resin KHFs, since I don't believe my ALU ones will arrive before it's time to head out to DCon next week.
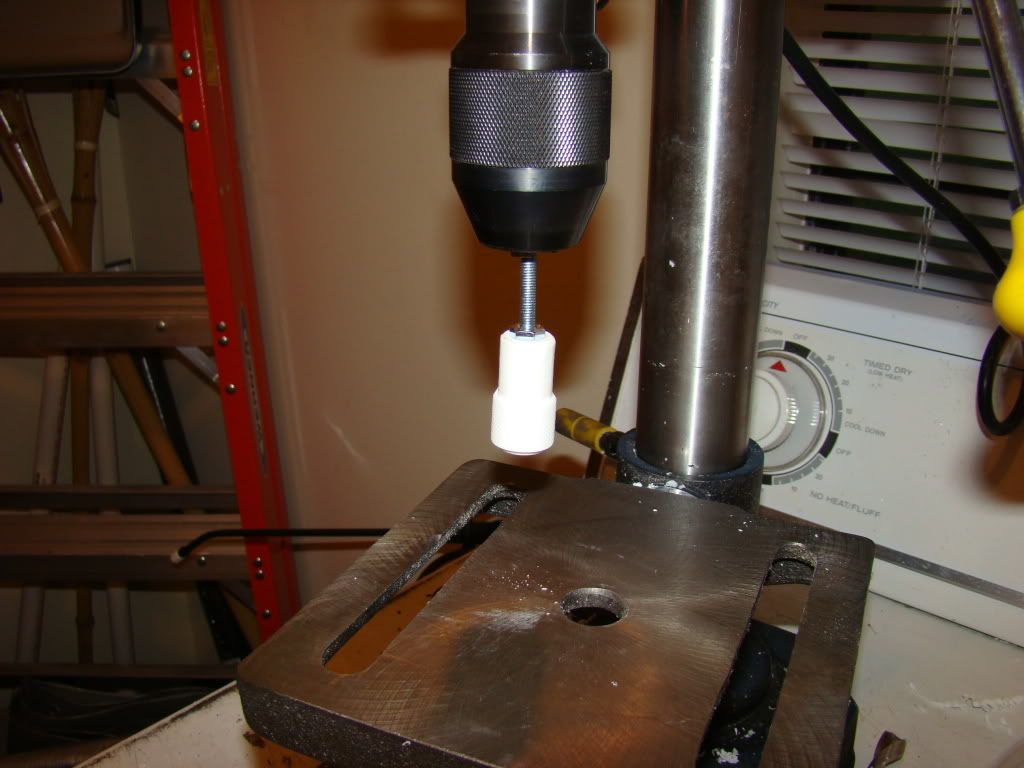
Apparently when Keith originally cast them, he wrapped masking tape around the threads so as not to destroy the molds during removal. This means that the part where the thread would normally be is a little thicker than it should be. Here was my solution. I drilled a hole through each of them:

Photobucket

Then ran a bolt through the hole and tightened it down and put it in the drill press:

Photobucket

I tried 2 methods then:

Photobucket

Photobucket

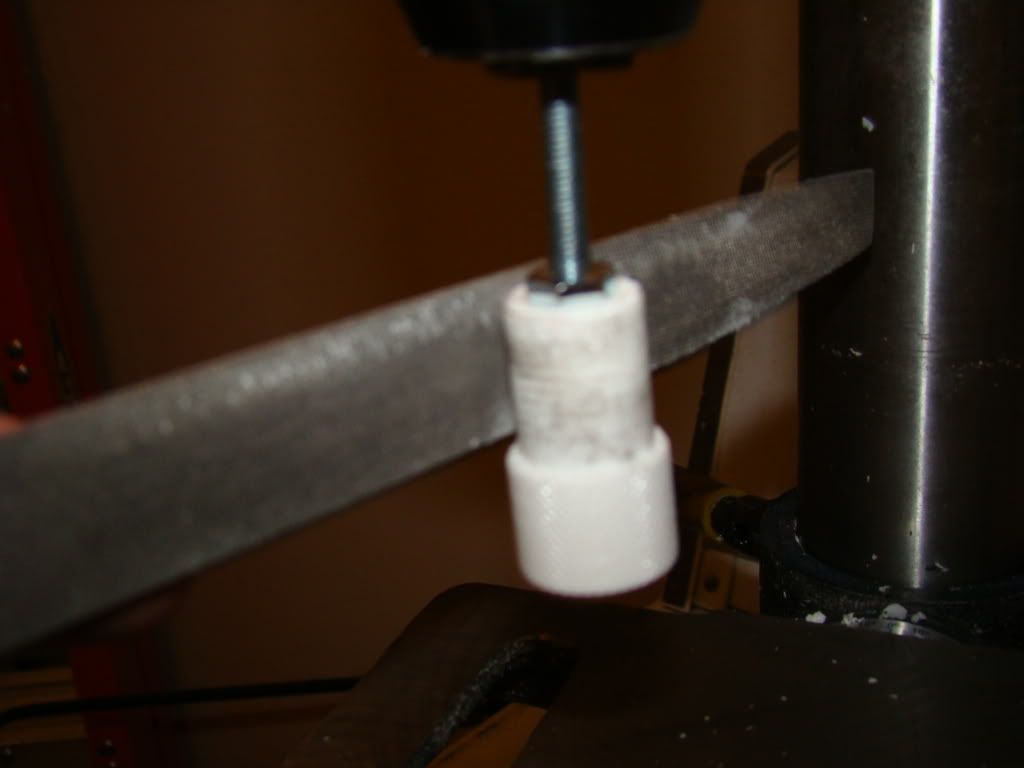
Of the 2, the sandpaper seemed to work a little better, but it loaded up awfully fast. The file was just too big a pain to keep from loading up.

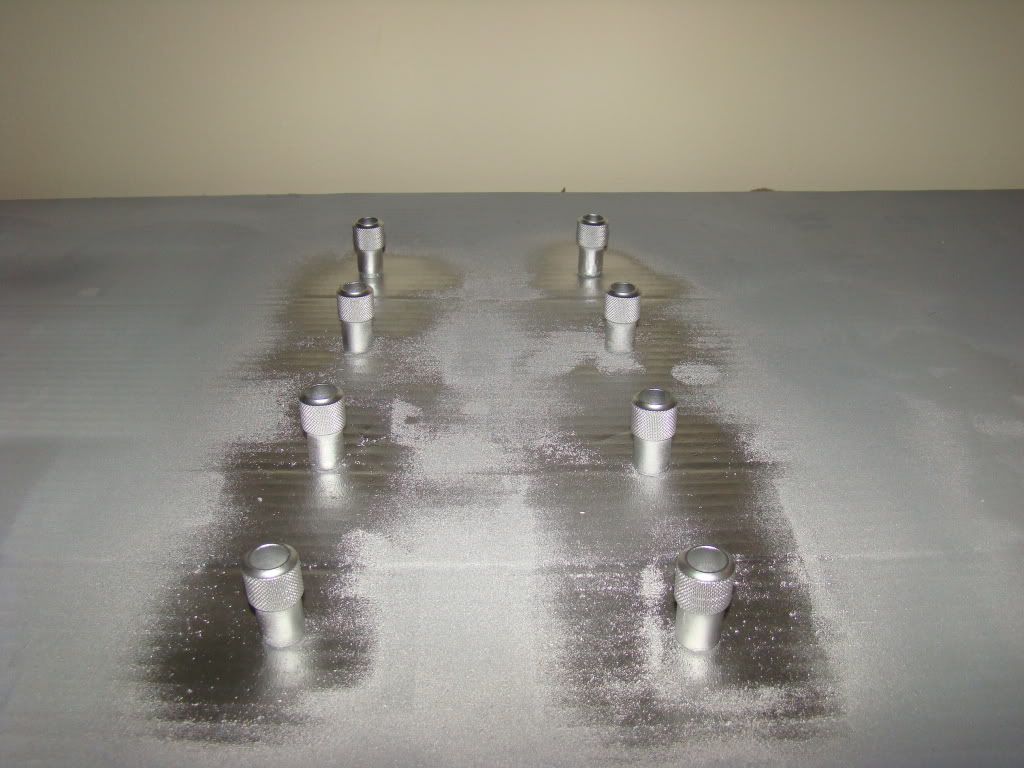
Here's a nice shiny silver shot of them:

Photobucket

I also dremeled the ends off of the braided hoses and painted them. Somehow I managed to get the "Rich Caramel" color instead of the "Aged Brass" Rustoleum Metallic. I'm not sure that's the one I picked when I was comparing them, but it's what made it home. It's not exactly what I wanted, but I think it'll do. Color like this isn't easy to show in a picture, but here goes:

Photobucket

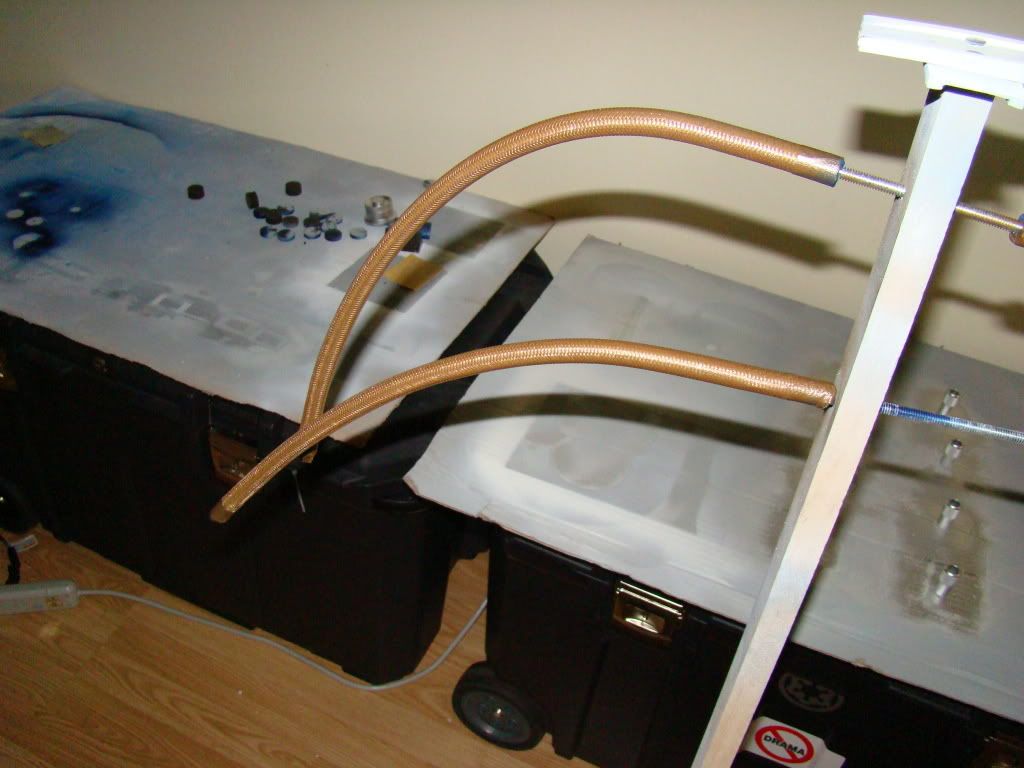
Still working on a plan to mount them securely, right now I'm thinking about some cotter pins, but we'll see when I get to that part this afternoon or tomorrow.

And here's a shot of the keyholes I cut in the battery boxes to hold them on better. I started by drilling the top of the keyhole, then another hole the same size 1/4" lower. I then used a big bit in the bottom hole to make the hole bigger.

Photobucket

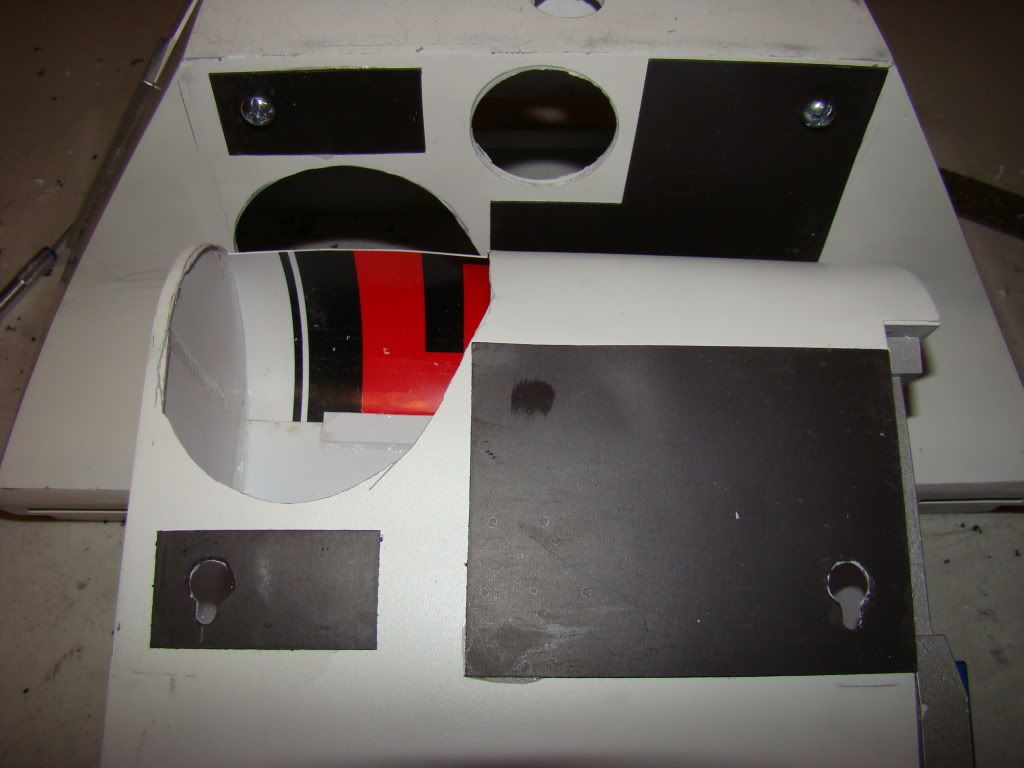
Naturally that pic is of the good set of keyholes. I didn't come up with the working method for making them until AFTER the first hole. I say hole, because that's what it turned in to. I didn't make the 2nd hole with a pilot then a bigger bit, and it walked right into the top hole and made an all around mess of it. Luckily the other keyhole and the magnets seem to be holding it fairly well.

Guess I'll keep my eye out for some ALU battery boxes to go with the steel feet I'm keeping my eyes open for.

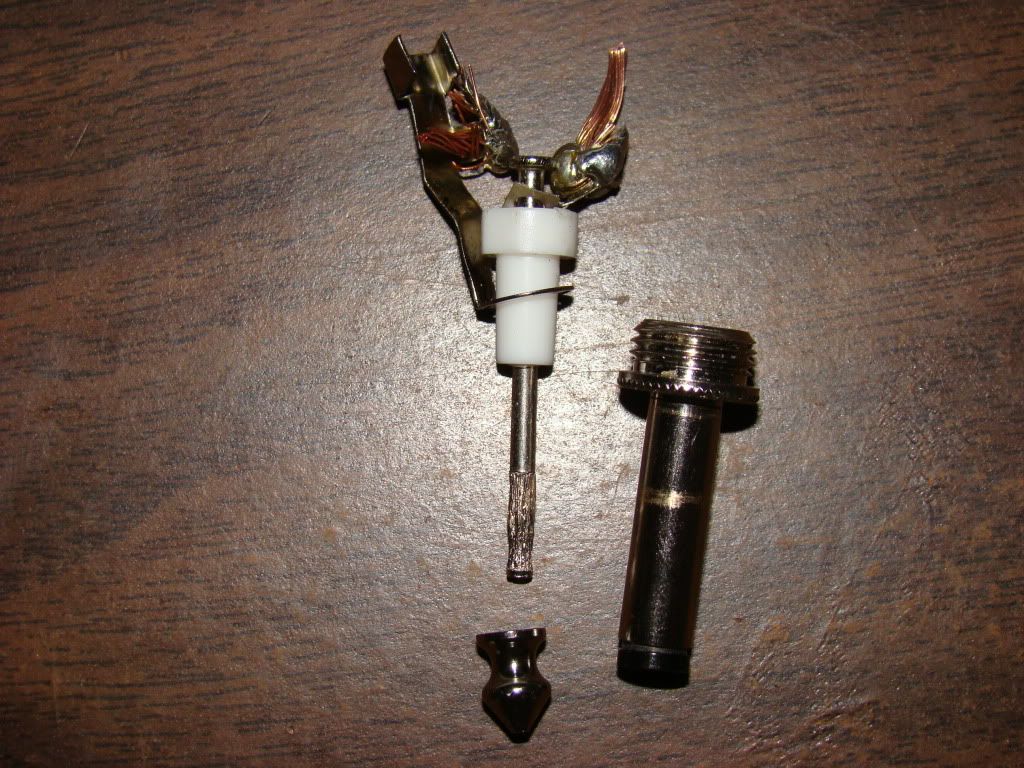
Yesterday between coats of paint I also did some troubleshooting on my slip ring. I replaced the closed frame jack with an open one so I could see the contacts. I then found out what the problem was. Apparently the tip pf the plug is just pressed on to a pin, which has the contact rings at the other end of it. Somehow, the tip started to loosen and that allowed the pin to move, thus causing the short in the power to the dome. I took the plug the rest of the way apart for a better understanding of how it works:

Photobucket

While I was at RS I also picked up an "inline automotive blade fuse holder" and incorporated that into the wiring just inside the dome, between the slip ring and the DC/DC converter, just in case. I only had a selection of low amp fuses on hand, so I used the biggest, a 7.5 amp fuse. I need to ask about that too, how many amps should I be fusing for on the JEDI display system.

Last night I ran the JEDI lights for 12 hours (overnight basically) and they were still kicking when I woke up this AM...I think thats a good sign. I also played with the sound a little, maybe 20-30 min, adding to the load on the single 7.2AH battery during the same time. Not gonna have to worry about them dying out on me I guess.

Saturday, August 22, 2009

Blue ring, dome panels and radar eye

Here's a couple of shots of the "finished" blue ring:

Photobucket

Photobucket

Been a lot of discussion about the gaps above and below the ring in the past couple of days, as apparently I'm not the only one to have this issue, far from it in fact.
I'm of the mind that I did the best I could with what I had, and the gaps don't bother me so much. Only another builder would notice, and then only if they were looking at the gaps or for them.

I also got the rest of the dome panels in place:

Photobucket

Photobucket

Photobucket

Photobucket

You can tell that the 2 silver panels look very different when compared to the dome, but I think that just adds character. Which is another way of saying I'm not taking them off and sanding them. They will never match exactly, and I like the way they look now.

This afternoon I took off the tape holding the panels and decided this was worthy of some outdoor sunshine pics :)

Photobucket

Photobucket

Photobucket

After those pretty pictures, I was inspired to finish it up, so I hot glued the black lens to the back of the radar eye. Oddly enough I didn't have to make a groove for the lens to sit in like I keep hearing so many other builders did, although it probably wouldn't have hurt to have done so.

I also read that when you think you have it in the right place, it's WAY too high up, and the whole thing usually needs to go down 1/2". So I started with that in mind, and it does feel like it's too low to me, but here's the pics:

Photobucket

Photobucket

As soon as the silicon holding the front logic surrounds cures completely, I'm going to get everything wired up in the dome. Should be able to get to that tomorrow...

Friday, August 21, 2009

Blue ring and pie panels

So for the past 4 or 5 days, I've been trying to figure out what the best way was to glue the blue ring to the dome.

If my outer dome had fit better, I wouldn't have needed to use all the clamps I did, and could have started the right way, by attaching the base ring to the inner dome, gluing on the blue ring, then gluing on the outer dome.

Instead I had to do it backwards, and wound up with the blue ring loose with everything else attached. I asked over on the Astromech boards and heard a few novel ideas, but none that would work with everything already assembled.

Finally last night I sucked it up and did something about it:

Photobucket

You can see the blue tape intended to keep the paint from chipping, and the piece of scrap behind the ring to keep me from cutting too far, and the tape behind the scrap to keep the scrap from scratching the dome more than necessary...

Photobucket

Here's the cut...not very pretty, or straight. The bright side was, that by the time the edges were filed straight, enough slack was taken out of the ring for a near perfect fit:

Photobucket

The silicon dries clear, and will be cleaned up this afternoon. I just wanted to make sure I had enough behind the ends so that they wouldn't pop loose.

After getting that going, I thought "Hey, now I can do other stuff on the dome"...and the dome topper and the pie panels went on:

Photobucket

Photobucket

Now I'm excited, and can see the dome being finished possibly this weekend :)

I'm actually debating taking half a day off work to get a head start on cleaning up the blue ring, installing the other HPs, logics and radar eye, and gluing the rest of the panels on. After that, it's just a matter of wiring up the JEDI display system.

I think I'm gonna make it...

Tuesday, August 18, 2009

Side vents mounted, center vents revisited, and SLIP RING!

Mounted up Womo's most excellent side vents yesterday, and as I thought they did prove to be a challenge.

Here's a couple of shots of them installed:

Photobucket

Photobucket

I thought I'd posted one of these pictures, but here's how I managed it:

Photobucket

Yep, I picked up a giant hole-saw and made myself a couple of giant holes to reach through. That still didn't make it a piece of cake or anything. It was so tight in there that of the 6 pictures I tried to take, only 2 were even remotely able to capture what I was trying to show...

Photobucket

Photobucket

Next up, as the title says, had to revisit the center vents, since they popped loose a couple of hours after I removed that elaborate system that held them in place. Turns out there was hot glue too close to the edge, so the glue was holding the surround out, and it had a lot of pressure behind it, so it let go.

Here's attempt #2, with the hot glue cut back:

Photobucket

Photobucket

Oh, and here's another thing...you gotta be careful what you use to hold things in place when you apply that much pressure:

Photobucket

Those little clamps pressed or worried a hole in my paint! And the pencils left slight depressions in the paint too. You'd almost think it wasn't cured after a week.

I also built my slip ring today, with some parts from RS. That's a place the doesn't sell very many radios, and really isn't built in a shack...odd. Anyway,
I picked up a 2-pk (didn't sell them single) of "mono-Shielded 1/4" Phone plug", 1 "Panel Mount Mono 1/4" Phone Jack" open circuit type, solder type terminals. And I don't even have a home phone... Also got some 18ga zip wire, but that will come up later this week :)


I soldered about a foot of wire to both pieces, and put PowerPoles on the other ends, for easy connection.

I opened the little hole in the center of the top frame plate up to be 3/8" and bolted the phone jack in place, nothing to it...

Photobucket

Getting a picture of it was another matter entirely. The camera is sideways just to fit...

Next up I had to figure out something to hold the plug in place, yet would also be adjustable. What I came up with is probably overly complicated, but I did have fun, and now have yet another entry into the "What did you make for your droid with A&A scrap pieces" file.

Photobucket

I drilled the center hole, then sawed the piece in half, removing just enough to make the two pieces...oh never mind. You're smart enough to see what it does...aren't you? I'll save myself a couple of paragraphs there.

Just remember not to close that or tighten any screws until the plug is all the way inserted.

Body work is done! Next up SHOULD be dome work...