So wiring...previously my method of applying power was to plug the batteries in to the RIGRunners. I didn't like that idea, especially since one of them is in the front of the body, and not easily accessible without removing the head or something difficult. Here's my solution:
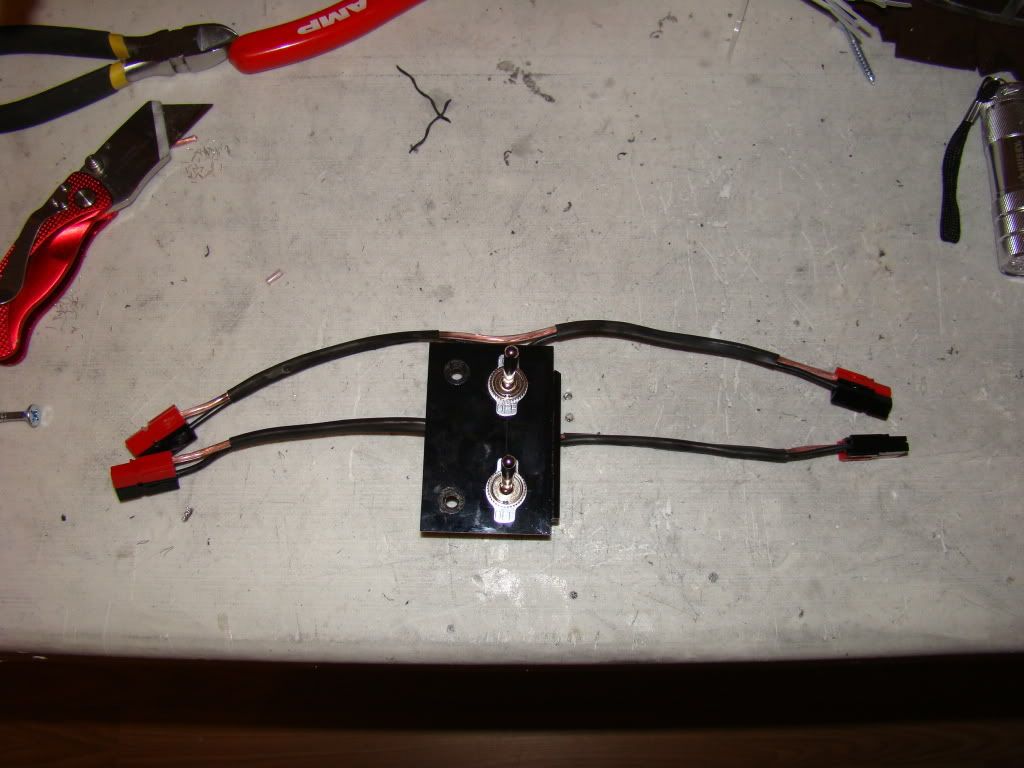
Pretty snazzy, eh? Those are extra long toggle switches from Lowe's, and some of the original wire I had used before getting the black and red zip wire. I couldn't see only using the red side of the zip wire and then having even more wire laying around that didn't match, so I improvised. It's 16ga speaker wire that I also used to rewire a lamp, so it's probably going to be ok with 12v.
Anyway, here's a pic of it installed:
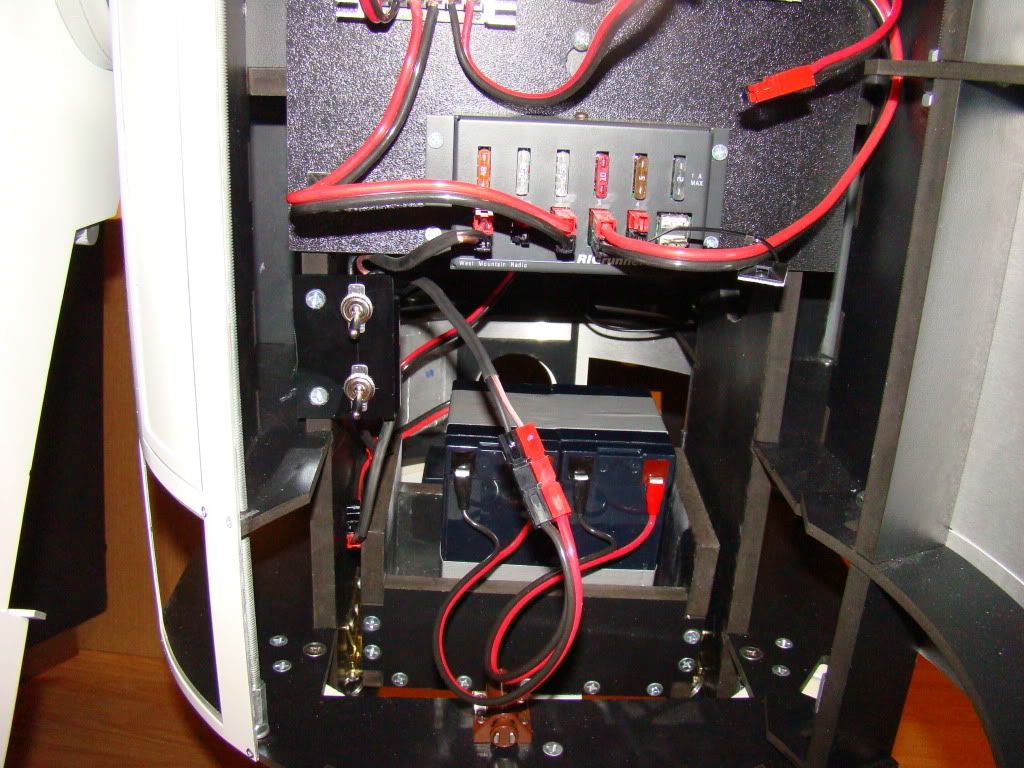
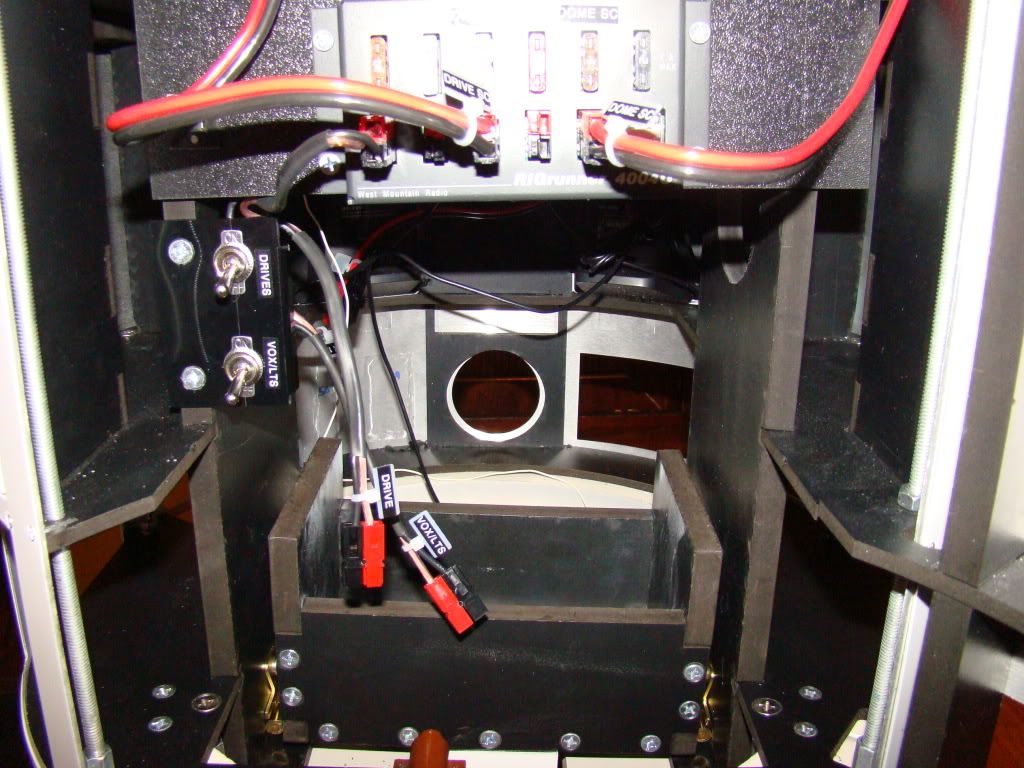
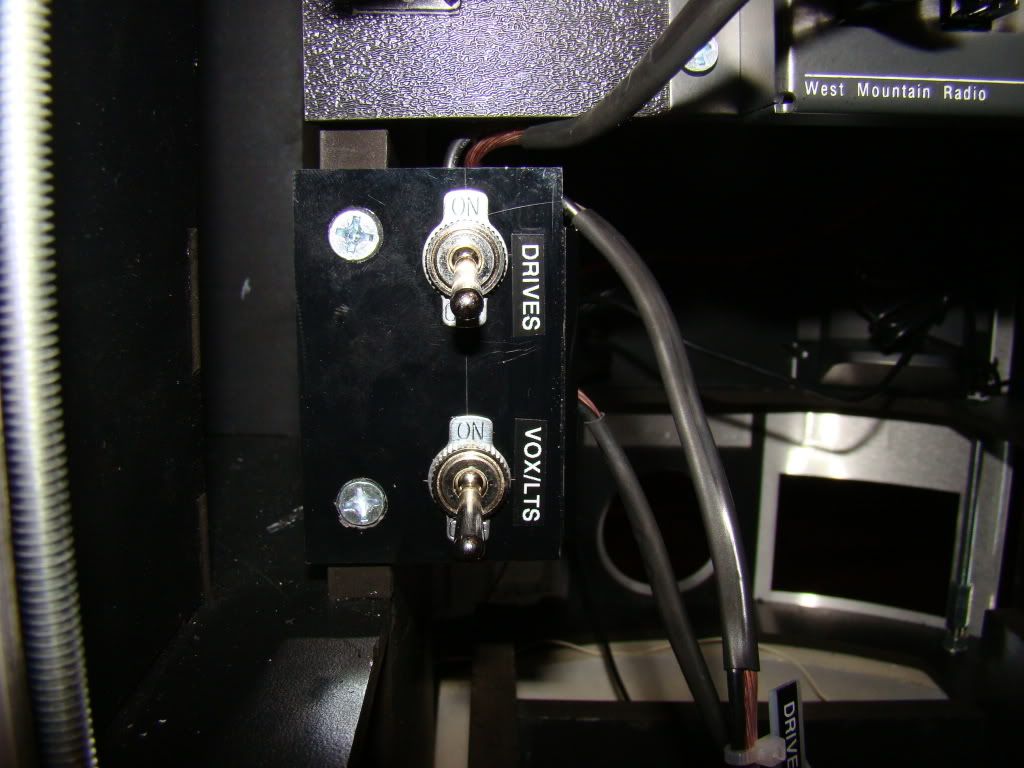
Just what the doctor ordered, I'd say...since then I've labelled the wires and switches like so:
And painting, as I said, the silver stuff is silver now:
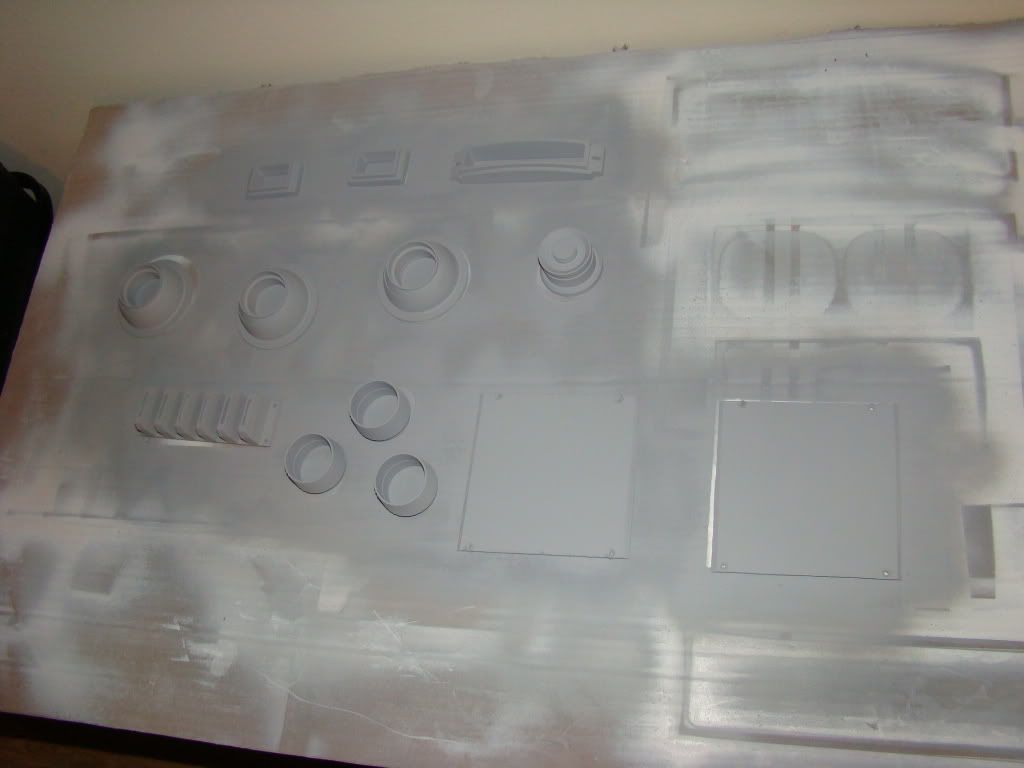
You'll also see the bottom side panels primered there.
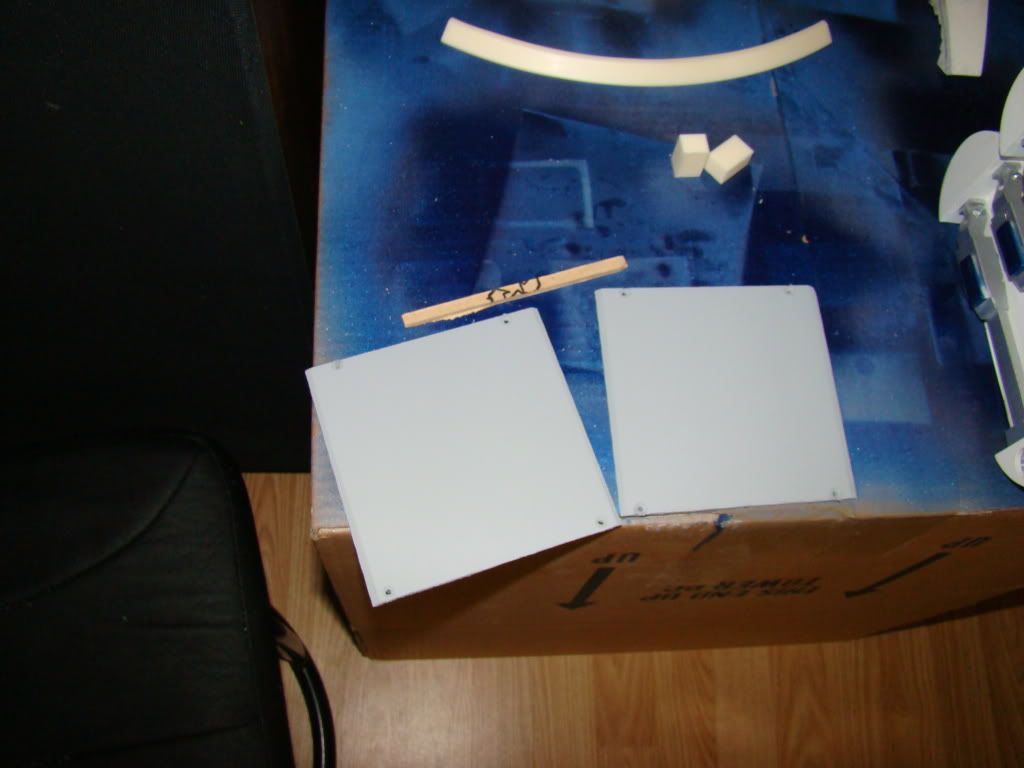
Found some 1/8" (maybe thinner) MDF at work and snagged a couple of pieces. Turns out they were exactly the right size, and only needed a bevel to slide right in. They are also pre-drilled and countersunk, with holes in the frame waiting and support blocks for the top ready to be attached when the skins are off. See, I HAVE been busy :)
Here's the silver stuff after being painted:
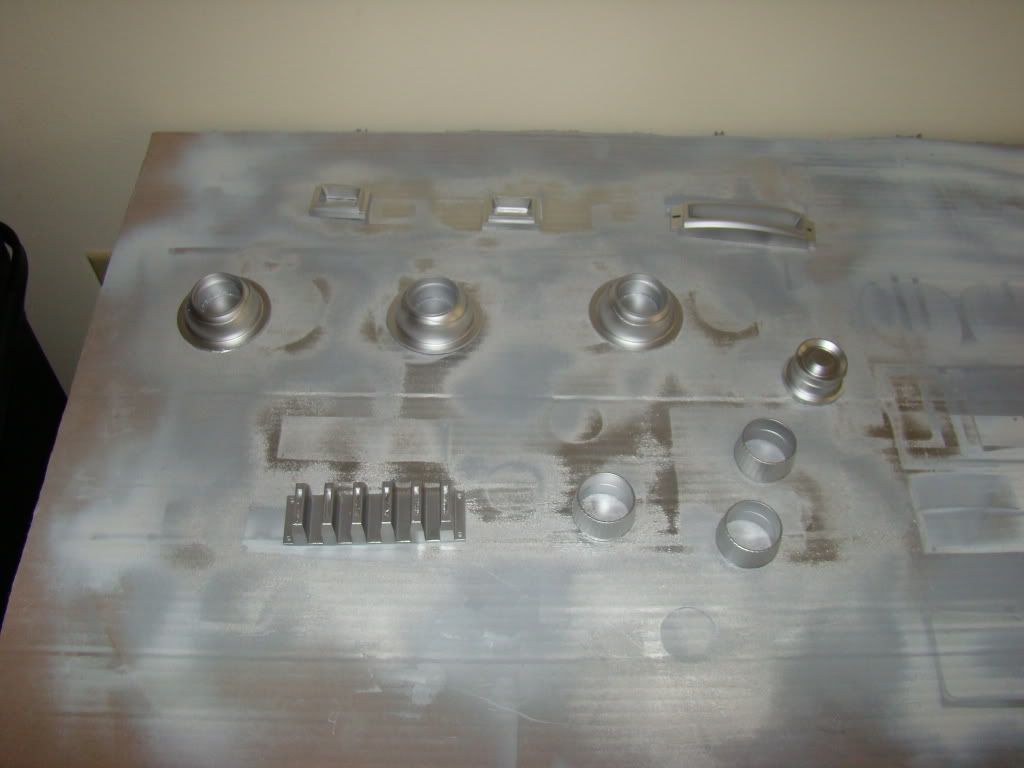
Also got some REAL goodies in today:
Start with Keiths KHFs...kind of wish they were threaded still...I can see where he taped them to mold them, and I know he had to to get them out of the mold, but I'll be able to use the Super Slim Threaded Plates that are on the way to take care of that.
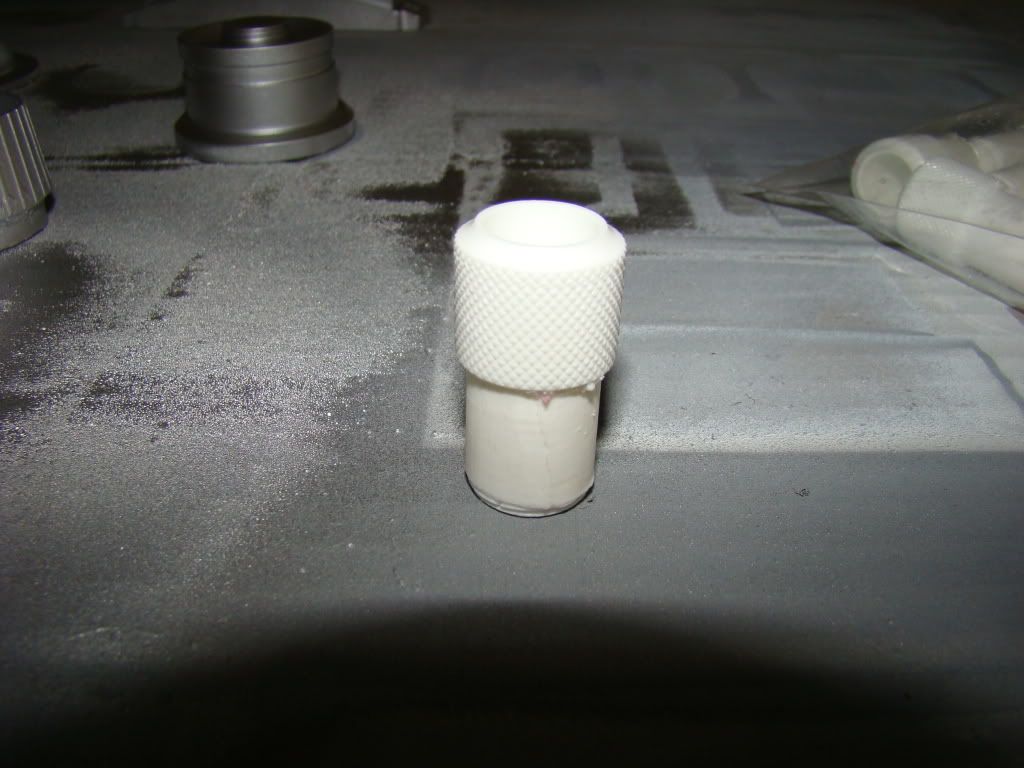
but here's the EXCITING stuff!!!
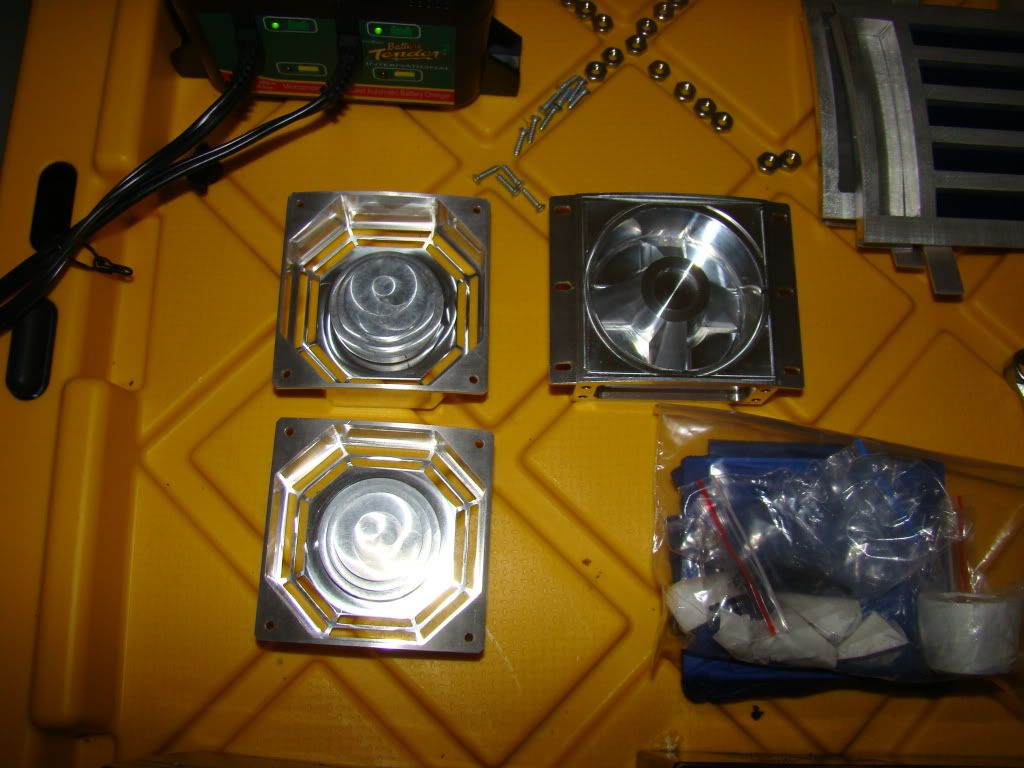
That's right! My David Shaw stuff finally arrived! and 2 days before I really expected it to...
Here's pics of me playing with the parts:
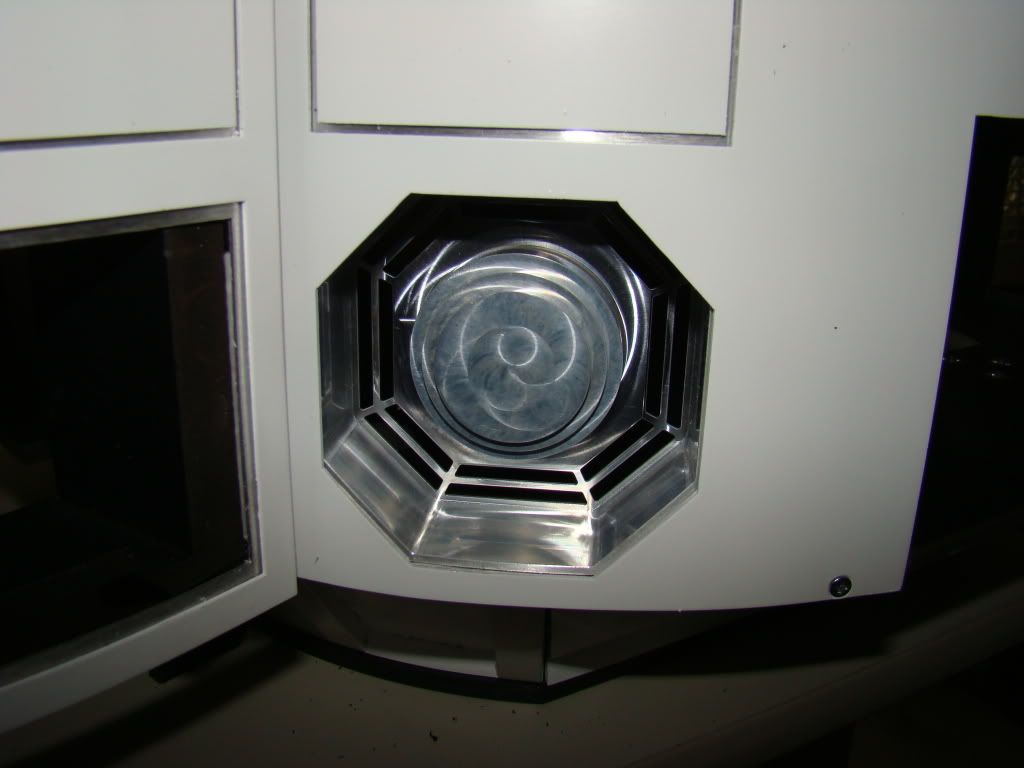
I already had to take the hacksaw out for the octo-port by the back door:
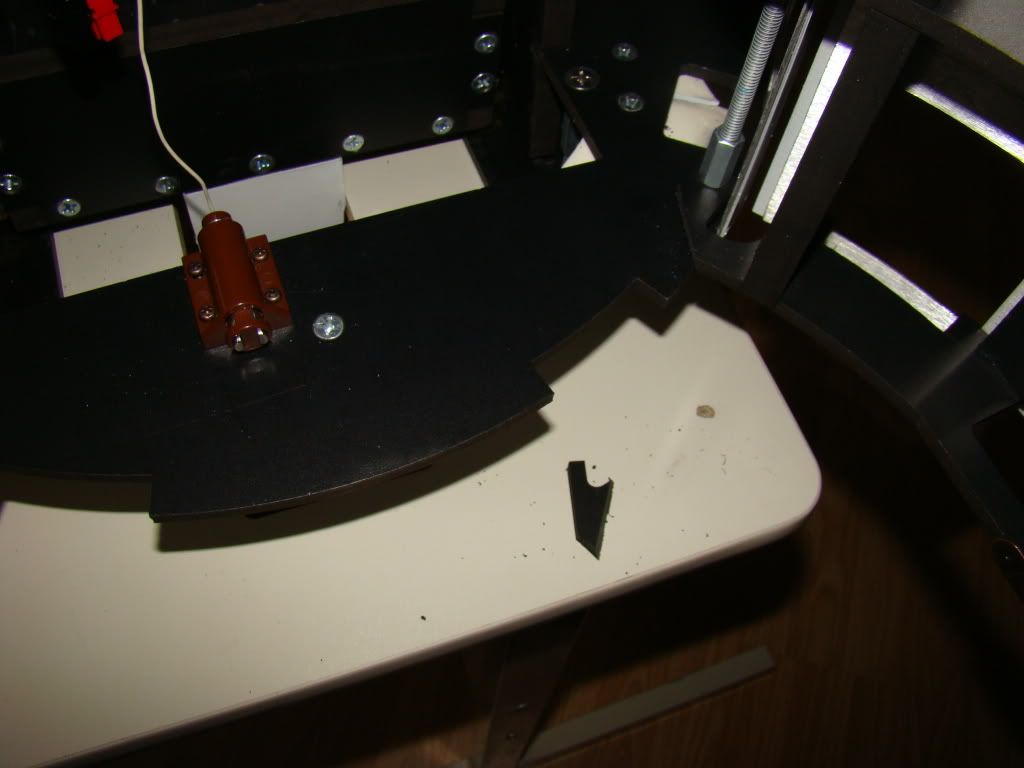
That doorstop wasn't hitting anything anyway. Well, not until the port was in.
And I'll have to mod the frame and the door for both power couplers:
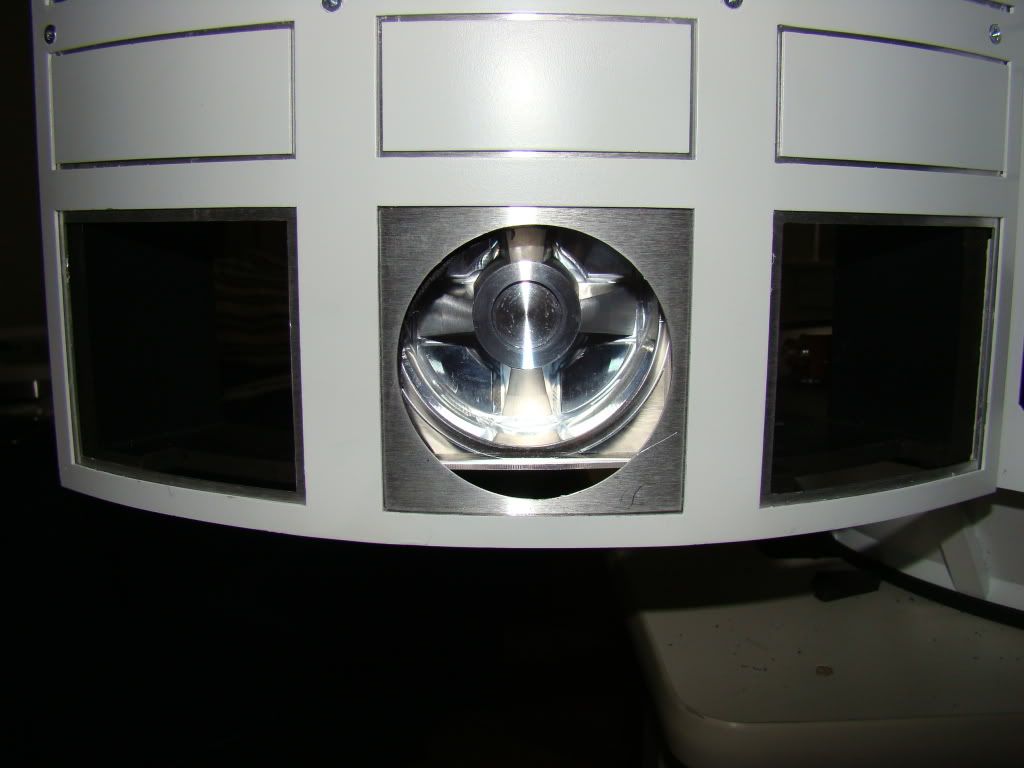
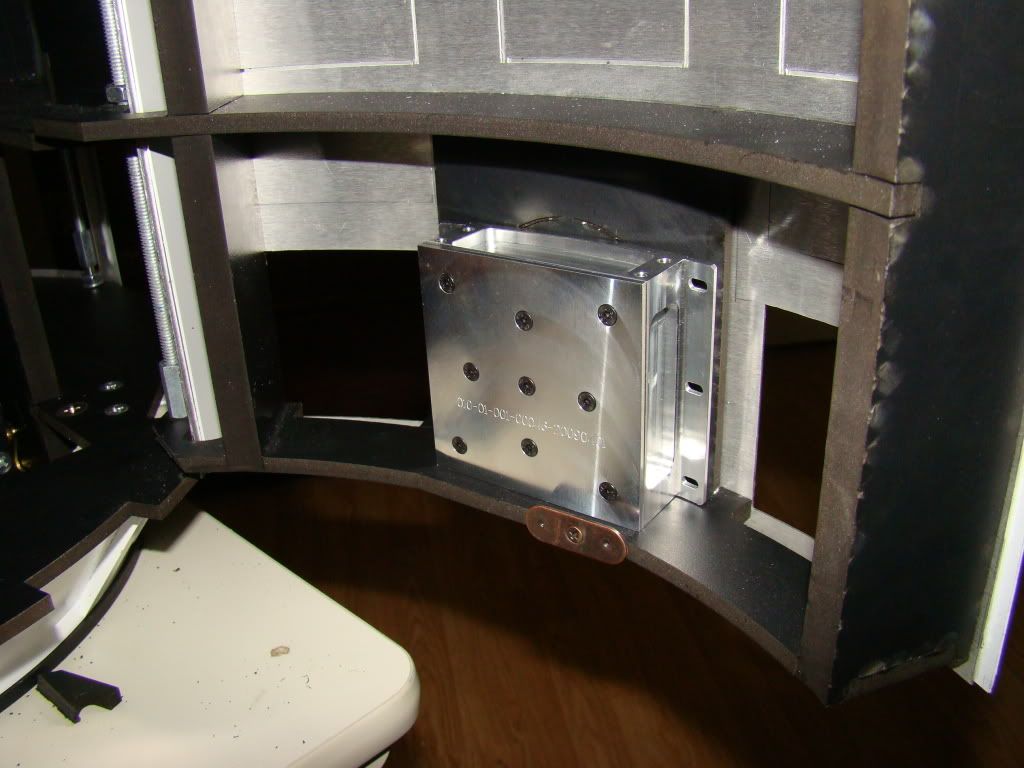
Although I used the word "mod" it'll probably be more like take the hacksaw (I seem be using that a lot these days...) and keep cutting until they fit...
And the skins need the silver area cut out in the power coupler openings as well. Got them all marked out, just have to wait until I go to Lowe's tomorrow and get more cutting disks.
I'm travelling to KS Sunday, and have to go to a party Sat evening, so I'll probably take half a day off work tomorrow so I can get something done.
So much yet to do....
No comments:
Post a Comment