Thursday, July 30, 2009

Wiring and painting

Breaking these huge posts down by category helps me while I'm typing them out anyway :)

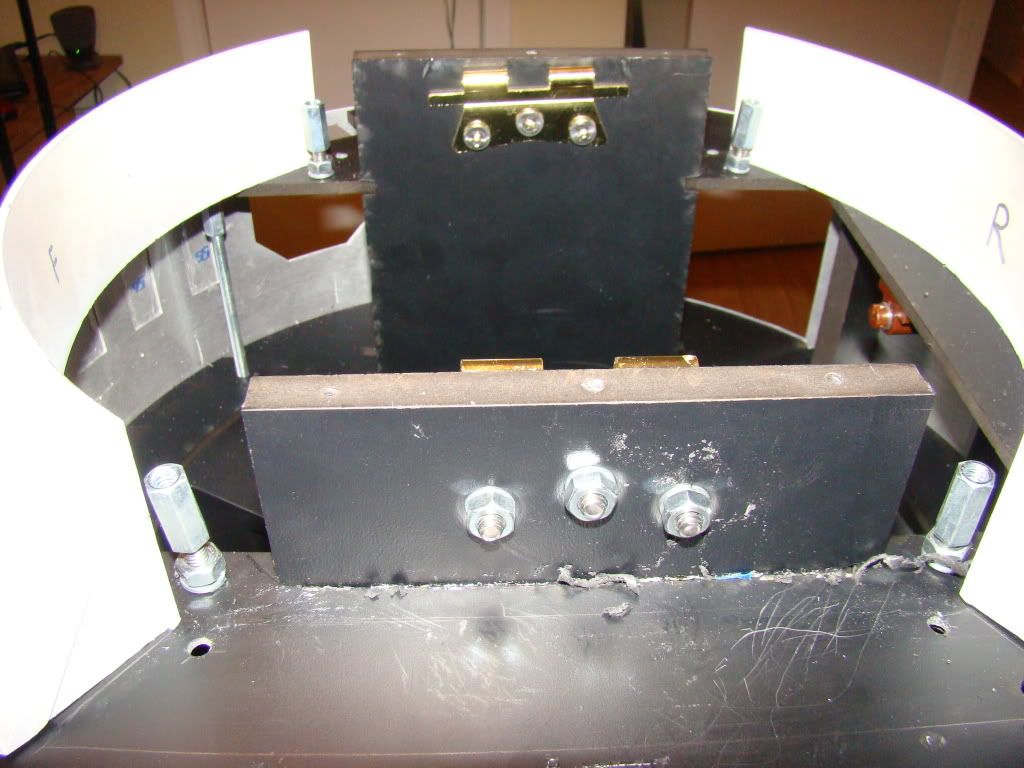
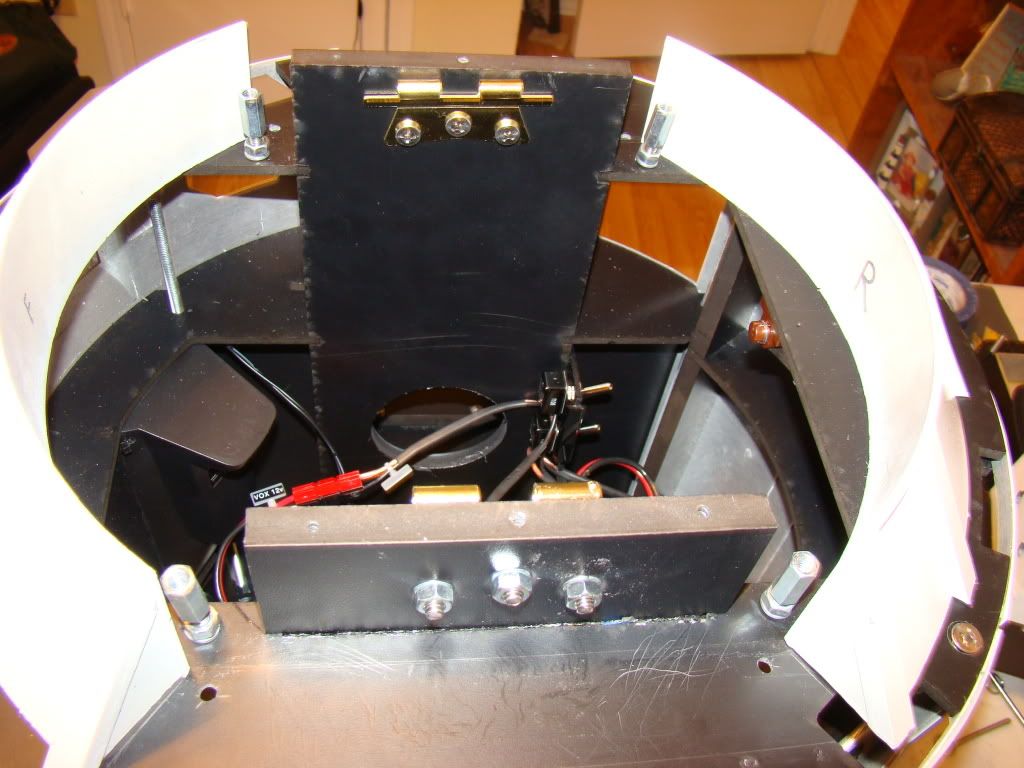
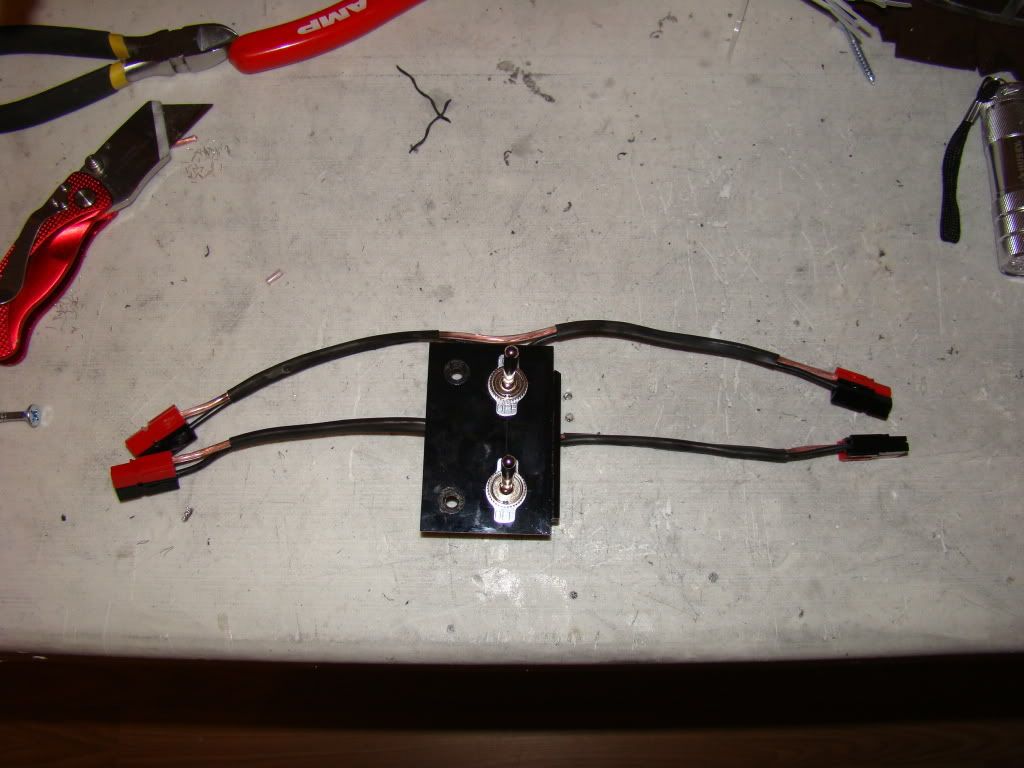
So wiring...previously my method of applying power was to plug the batteries in to the RIGRunners. I didn't like that idea, especially since one of them is in the front of the body, and not easily accessible without removing the head or something difficult. Here's my solution:
Photobucket

Pretty snazzy, eh? Those are extra long toggle switches from Lowe's, and some of the original wire I had used before getting the black and red zip wire. I couldn't see only using the red side of the zip wire and then having even more wire laying around that didn't match, so I improvised. It's 16ga speaker wire that I also used to rewire a lamp, so it's probably going to be ok with 12v.

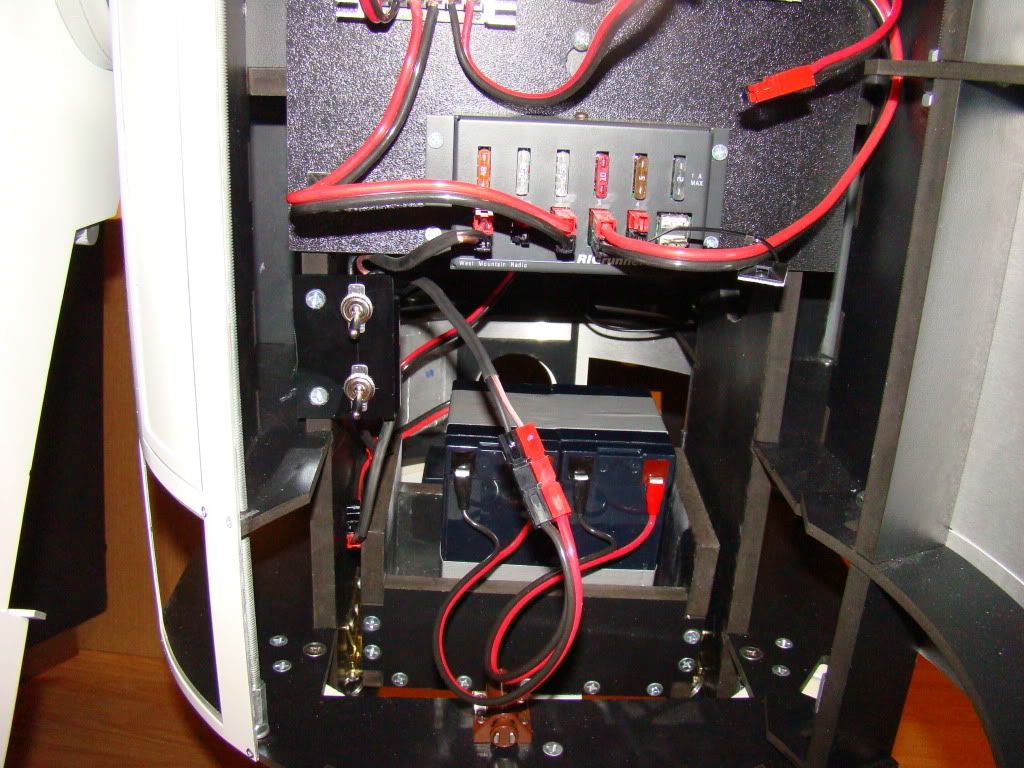
Anyway, here's a pic of it installed:
Photobucket

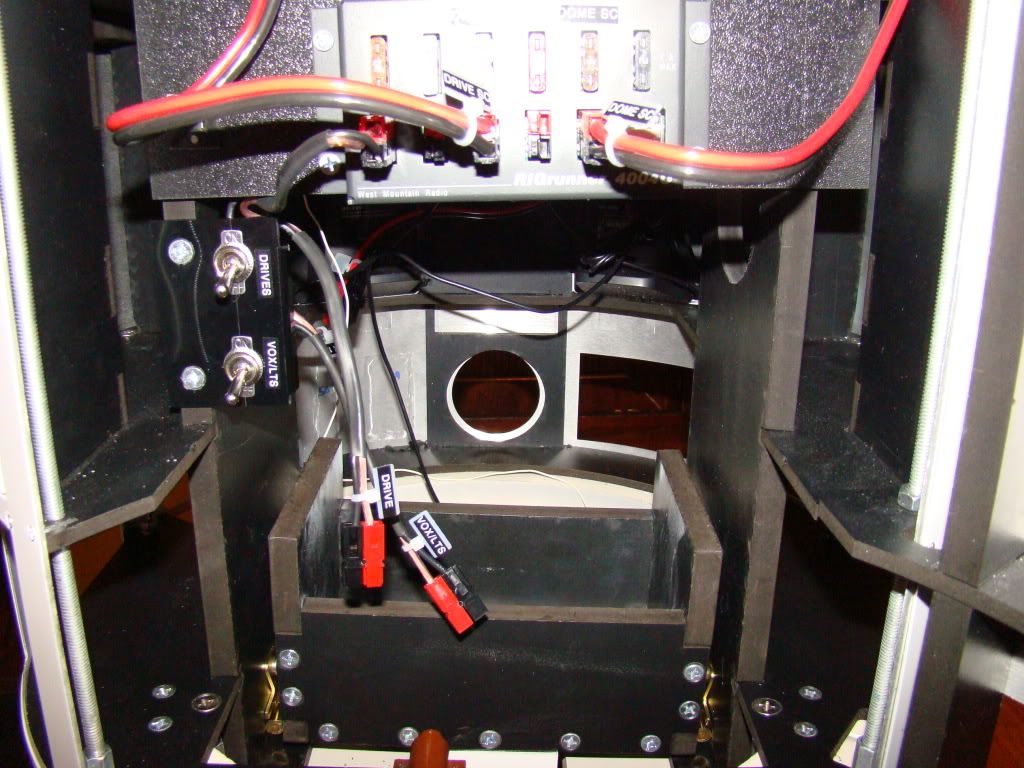
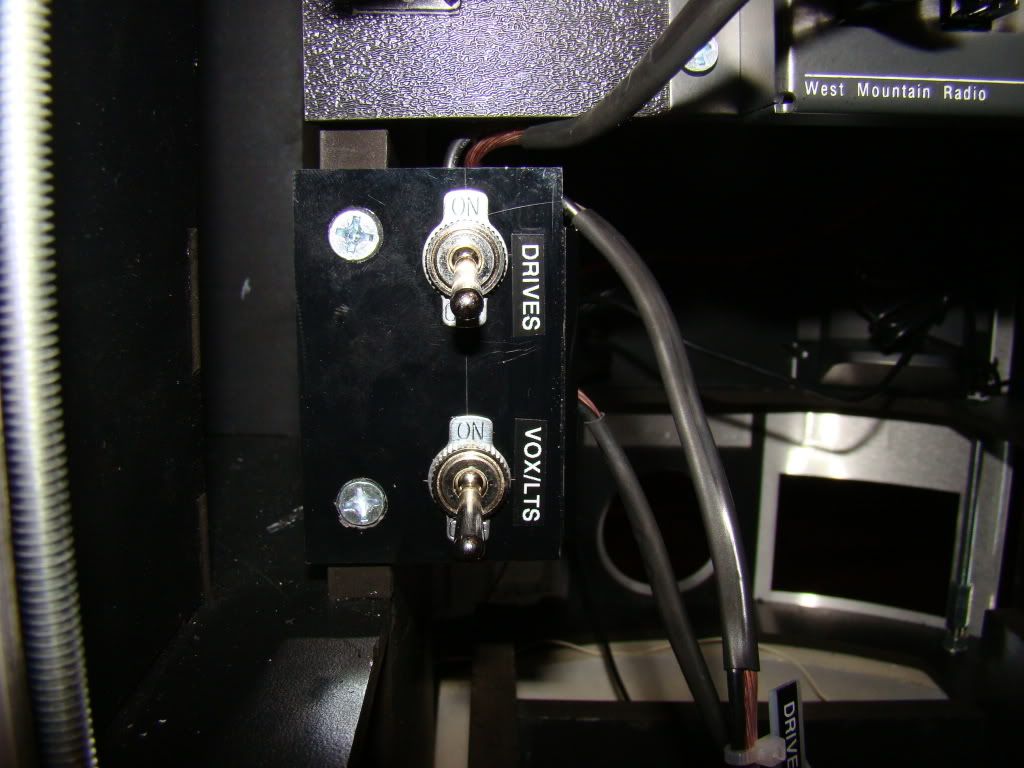
Just what the doctor ordered, I'd say...since then I've labelled the wires and switches like so:
Photobucket

Photobucket

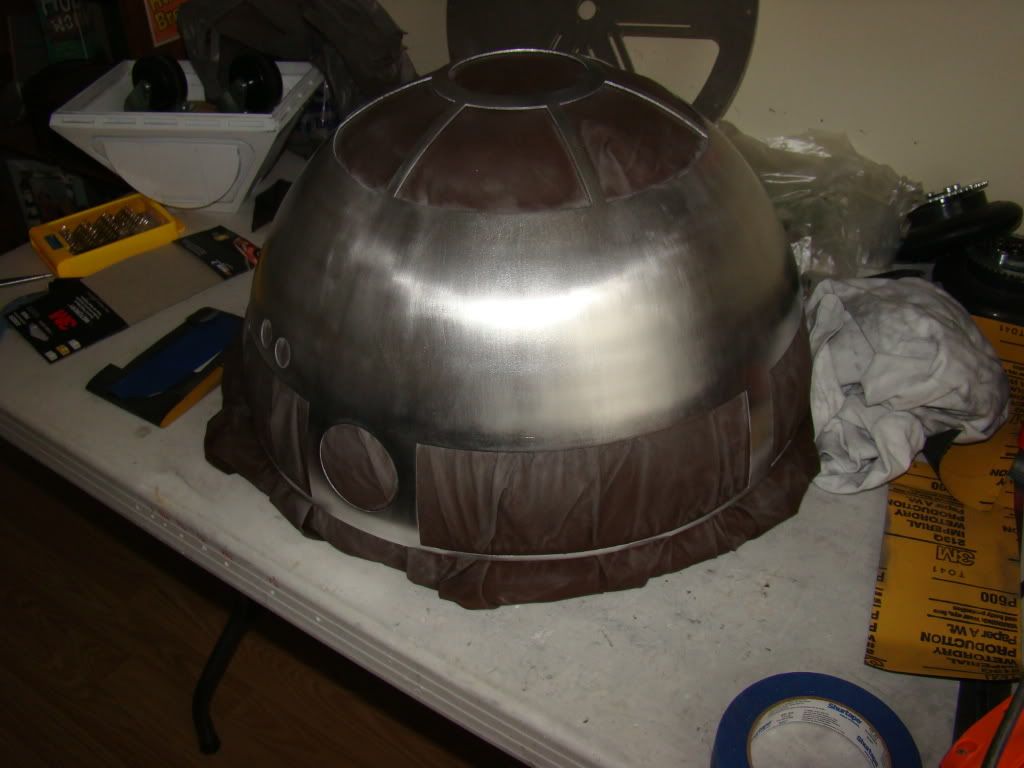
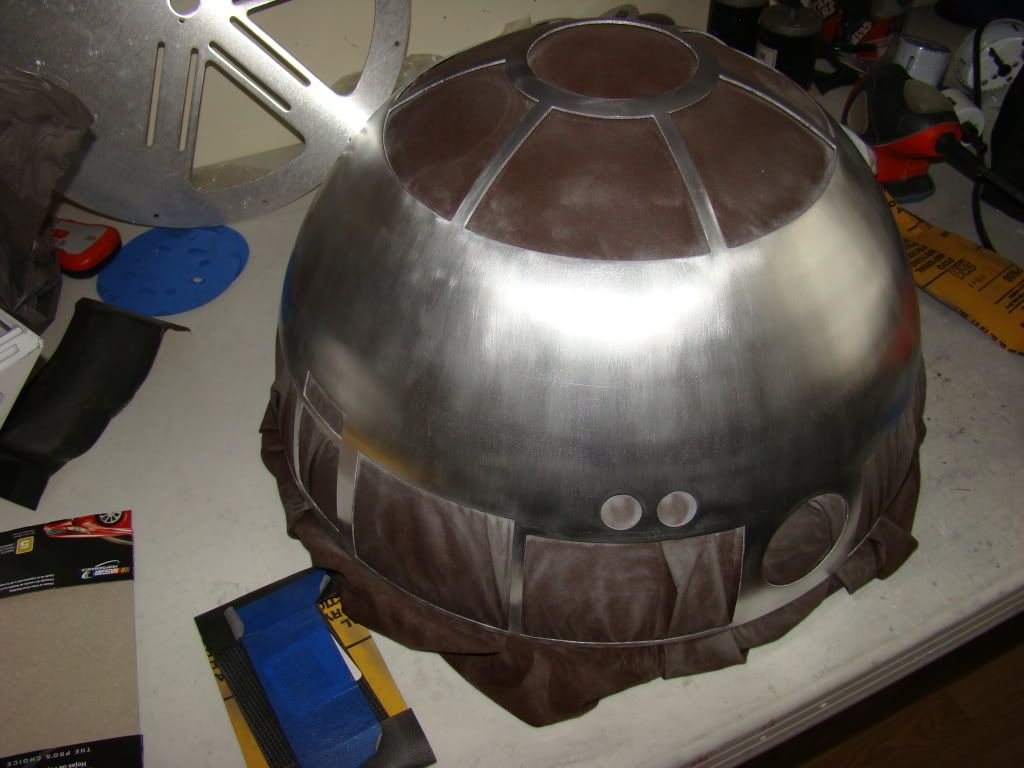
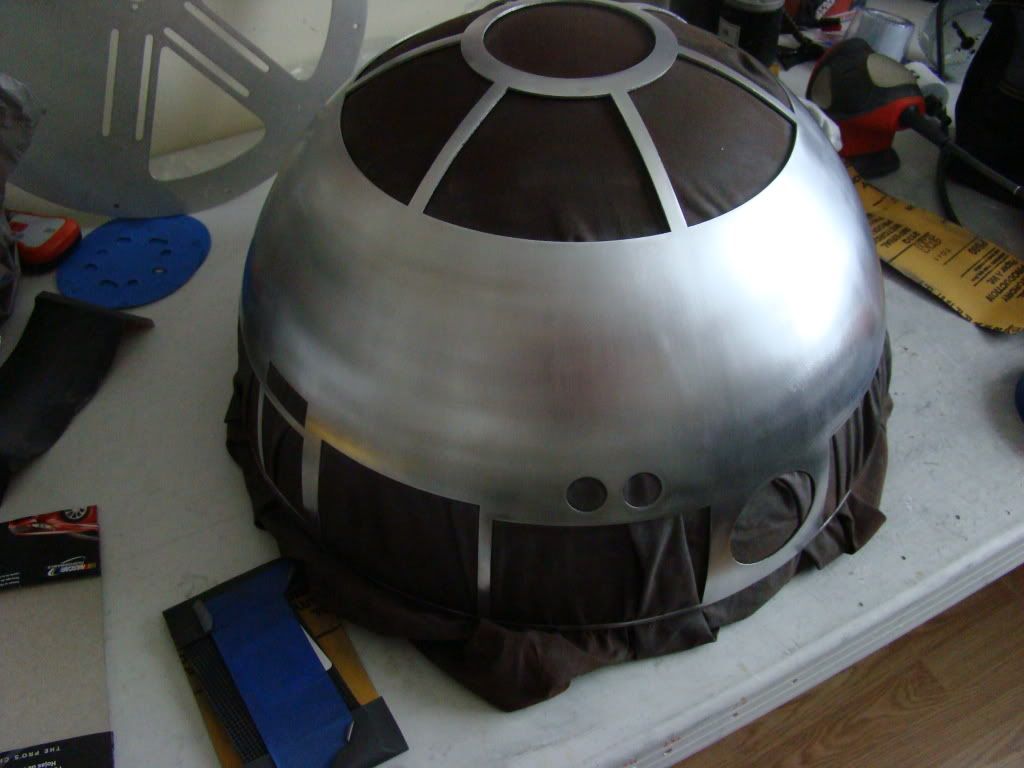
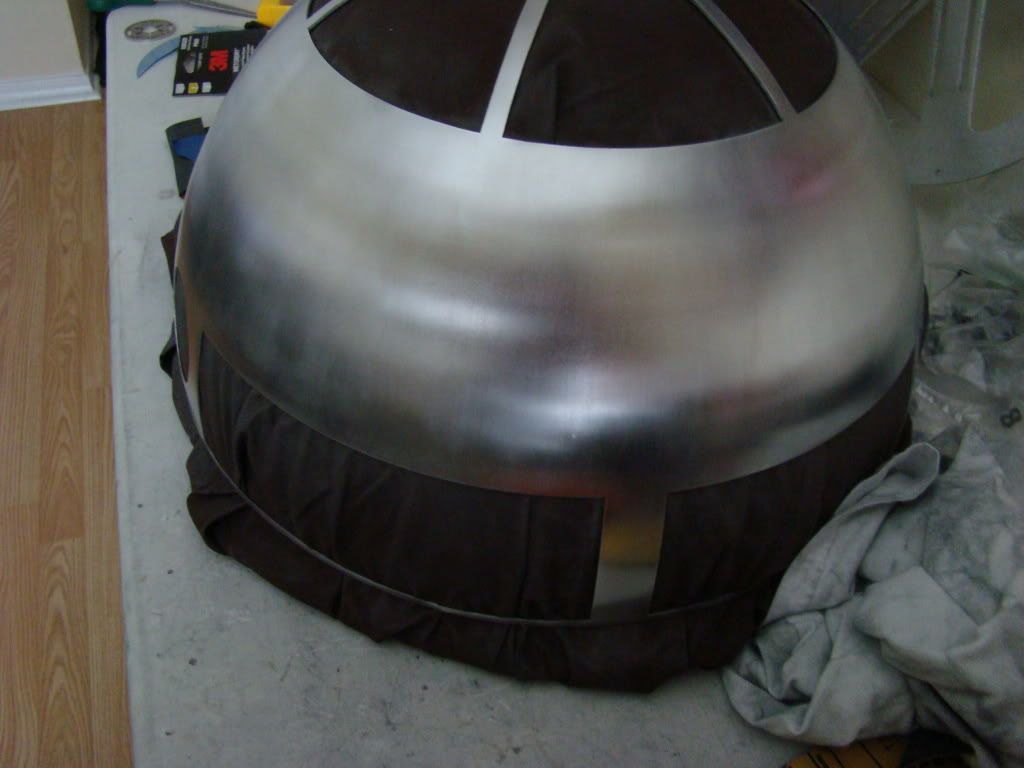
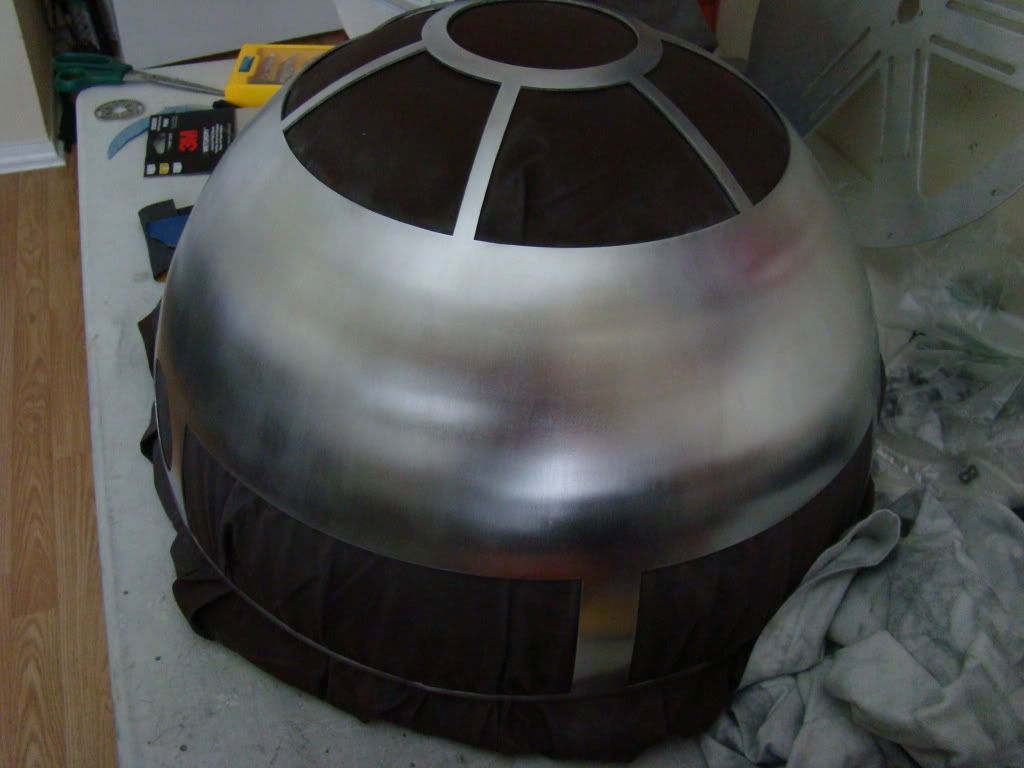
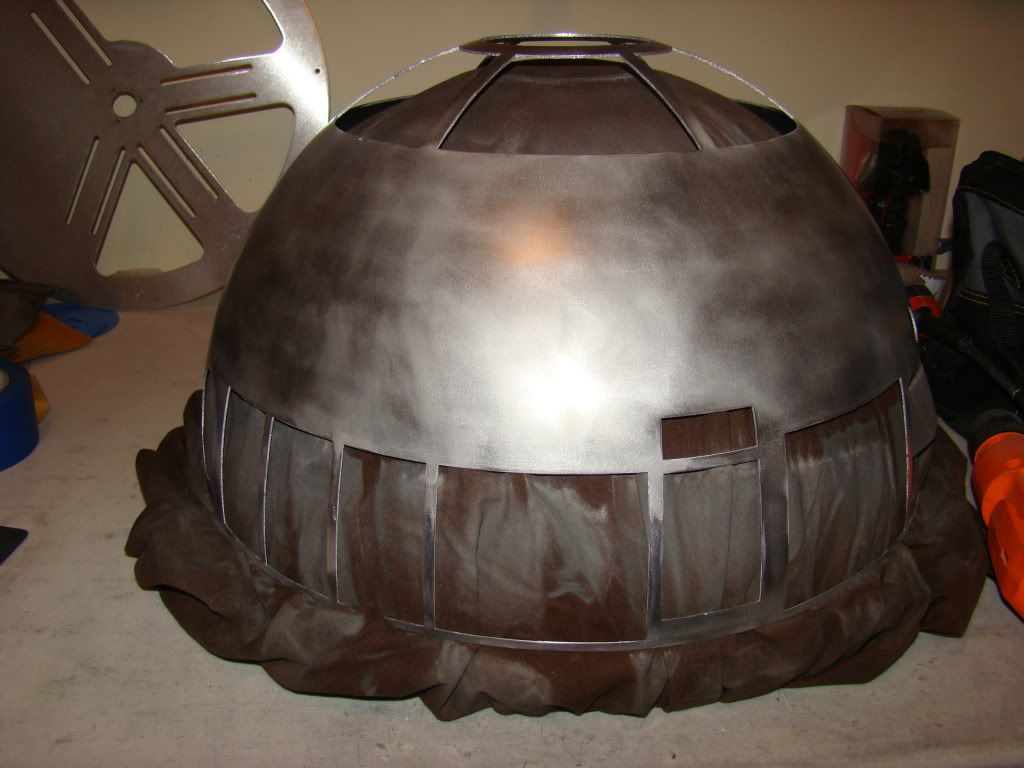
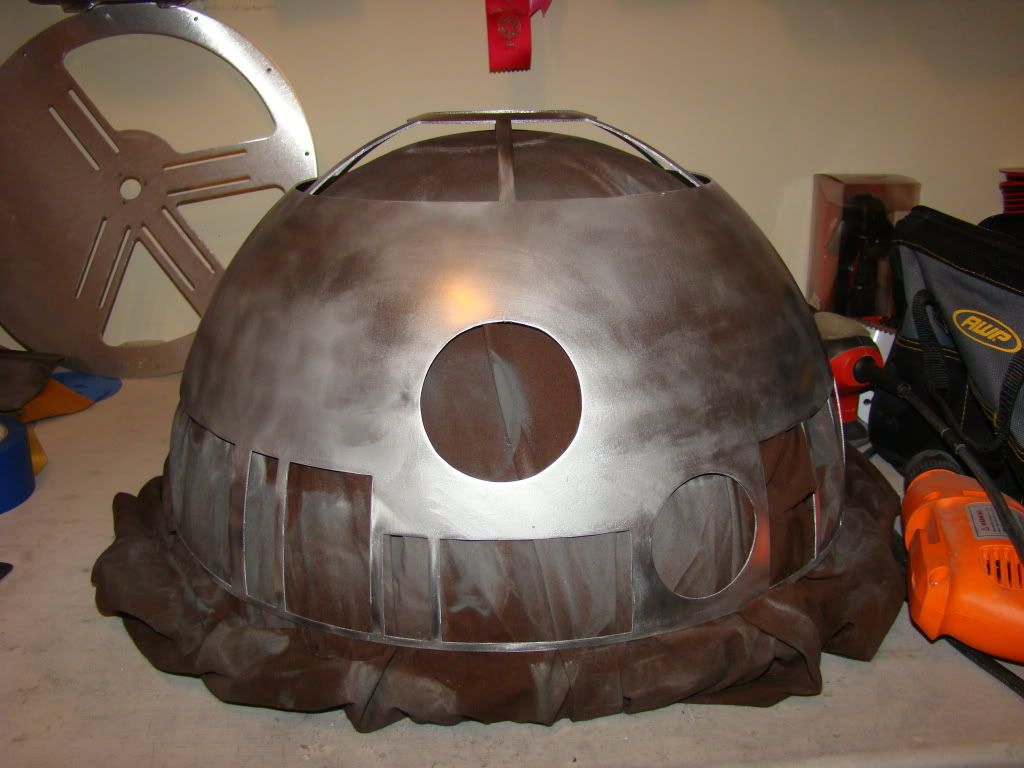
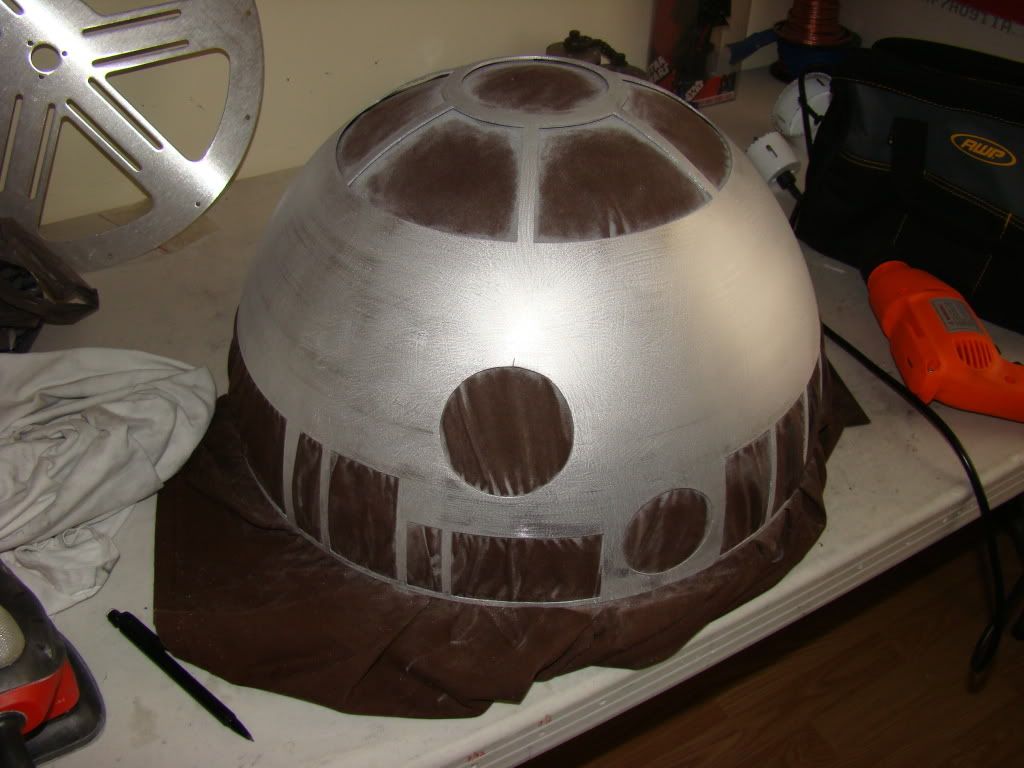
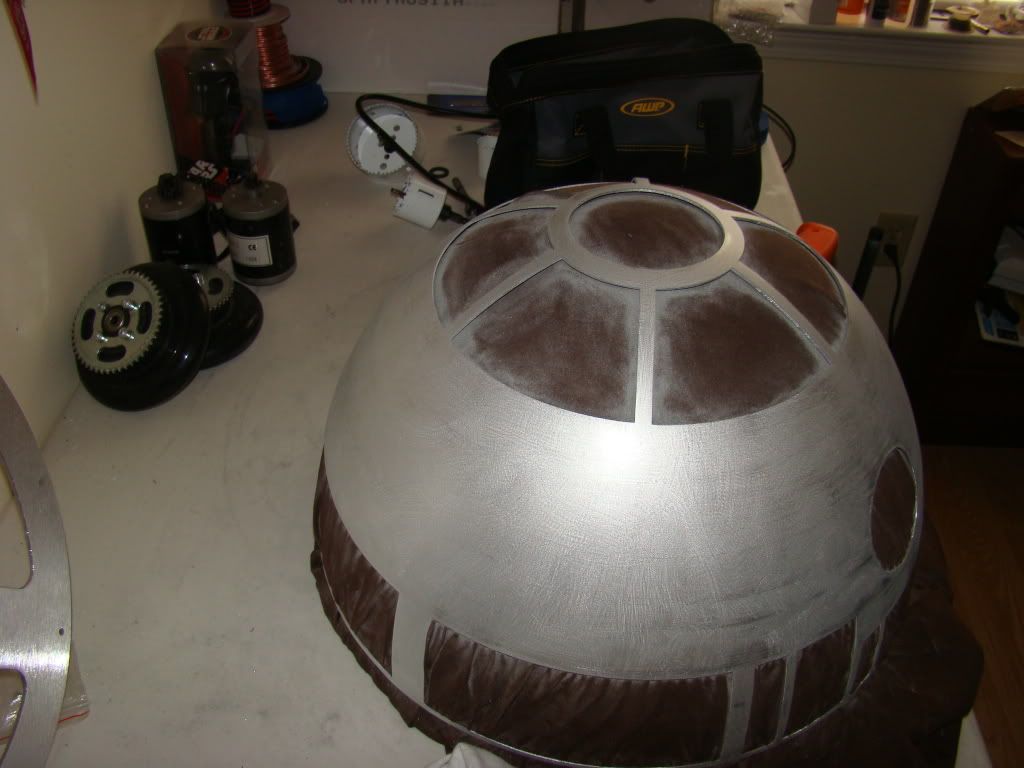
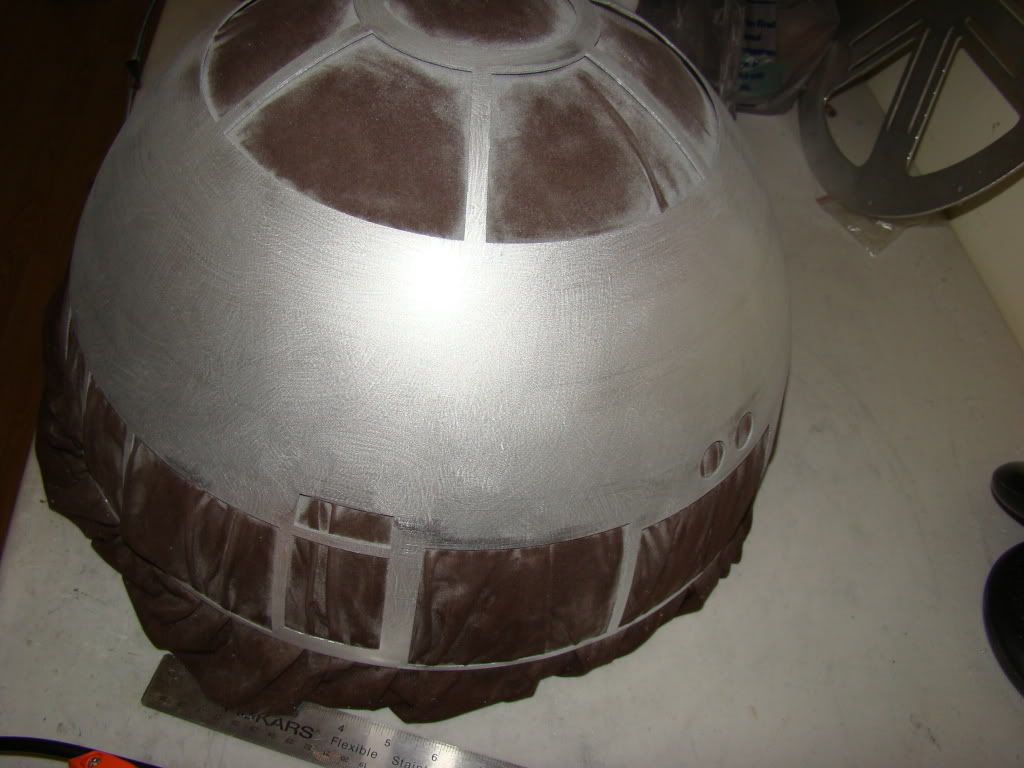
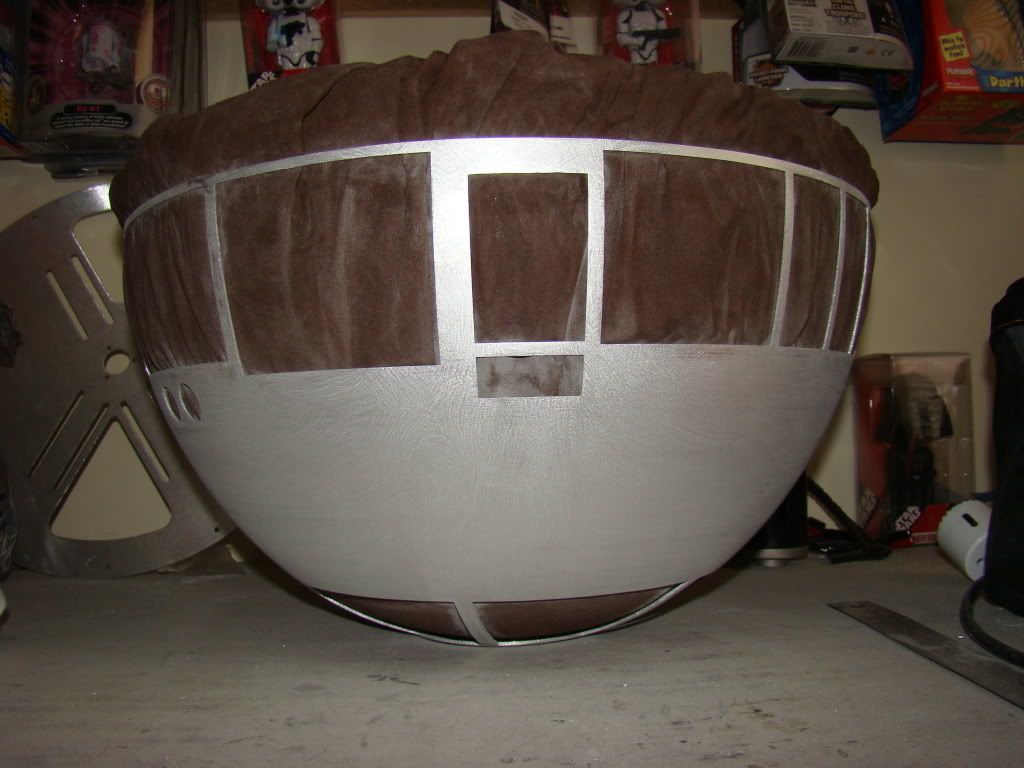
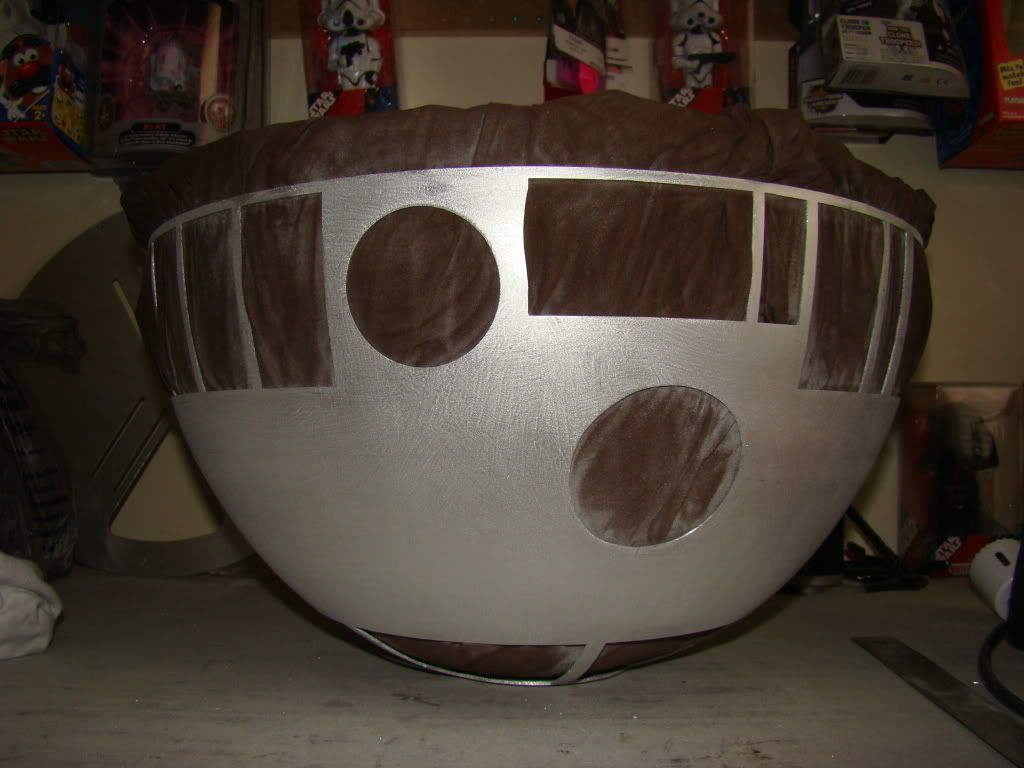
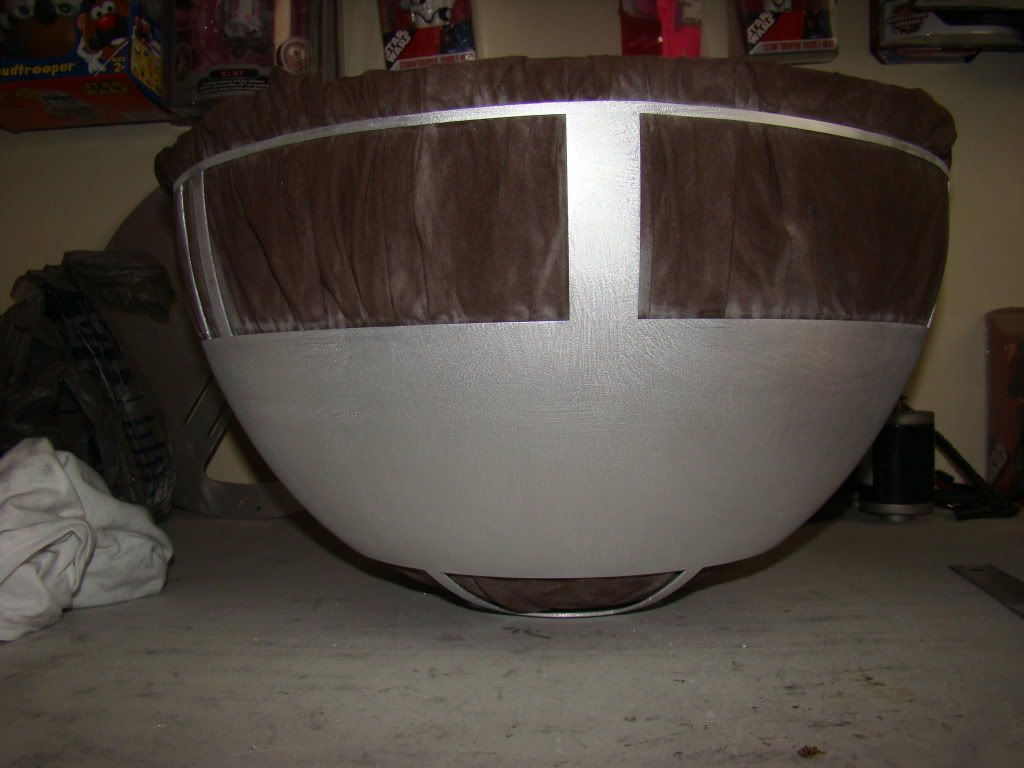
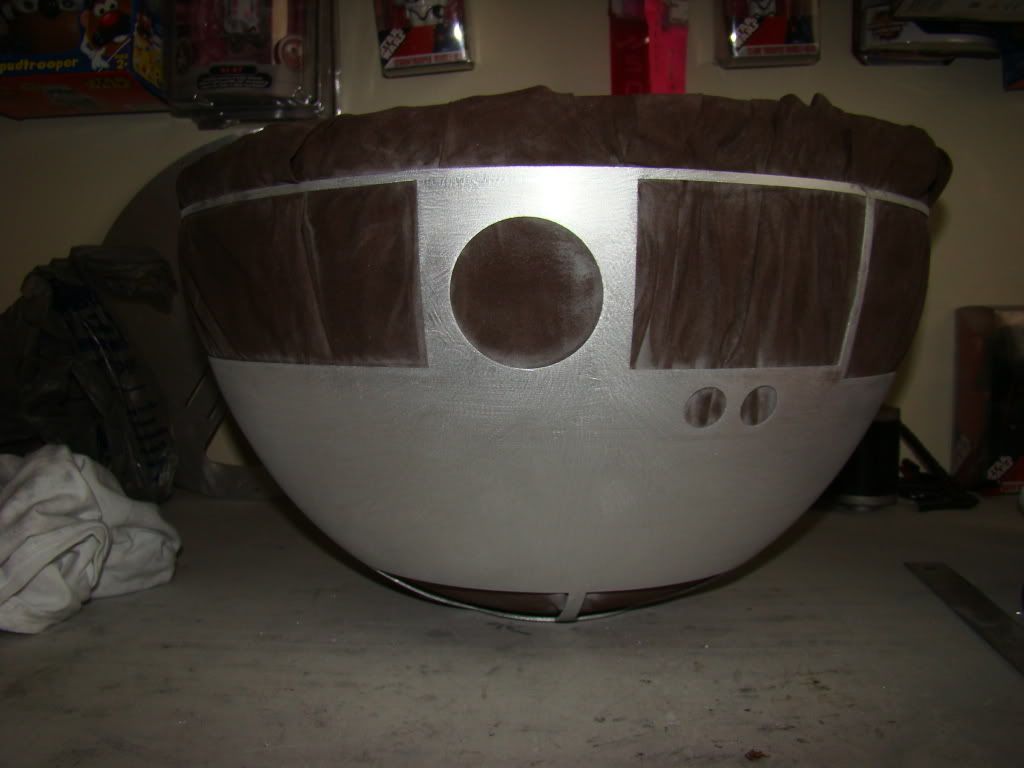
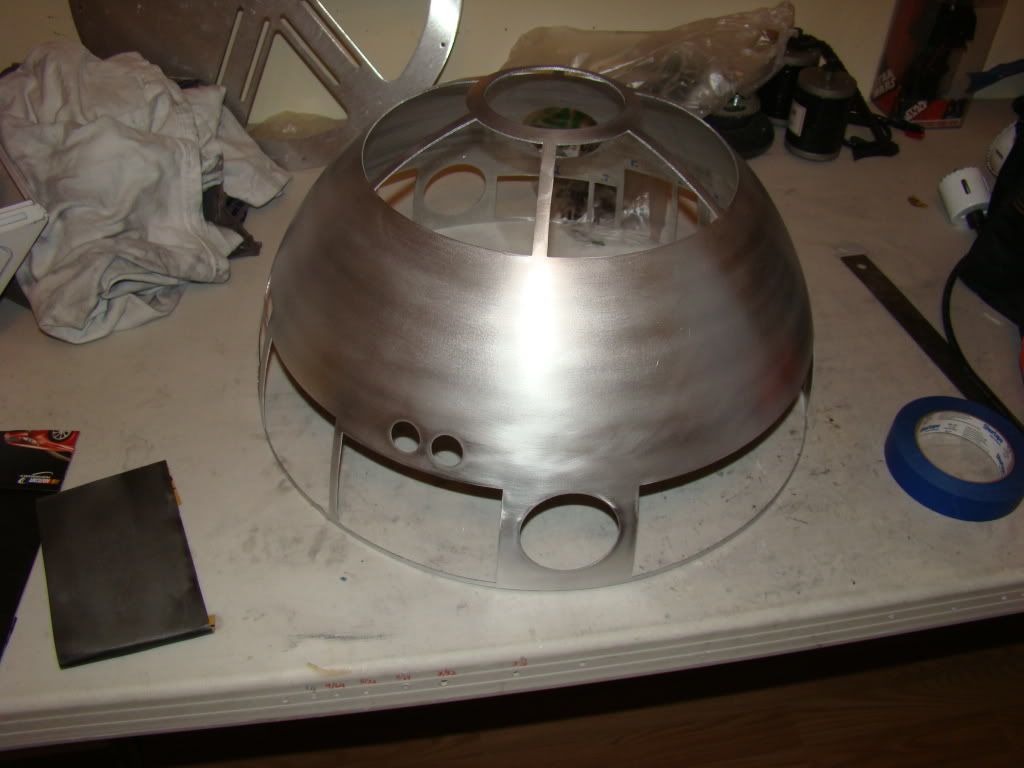
And painting, as I said, the silver stuff is silver now:
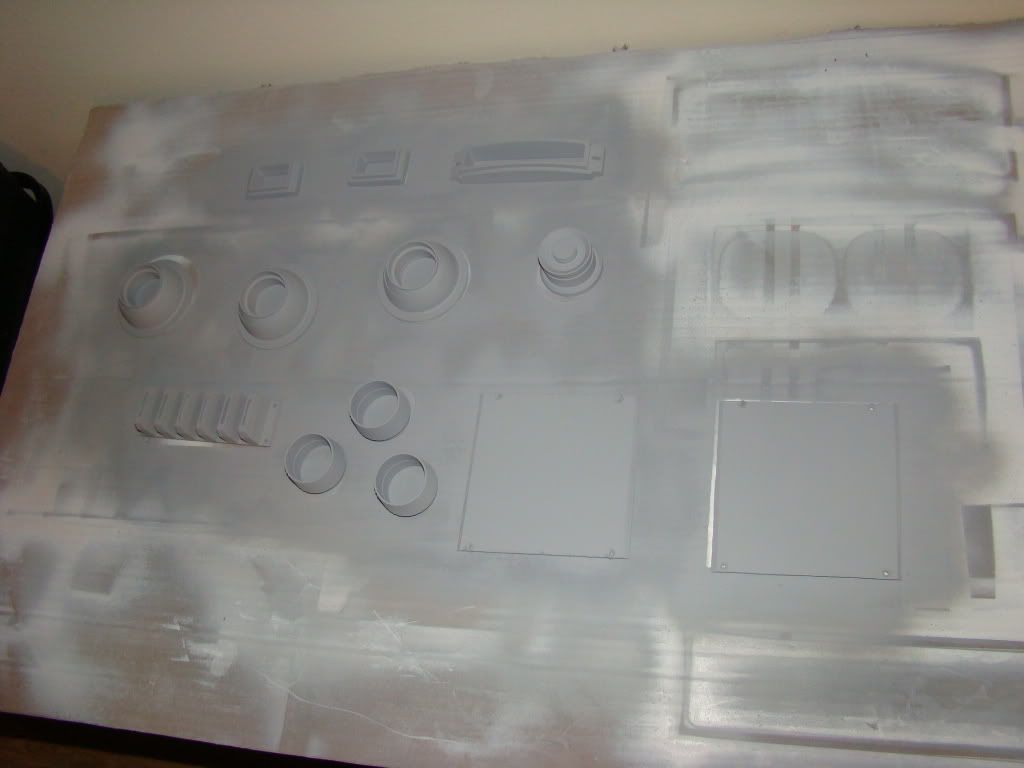
Photobucket

You'll also see the bottom side panels primered there.
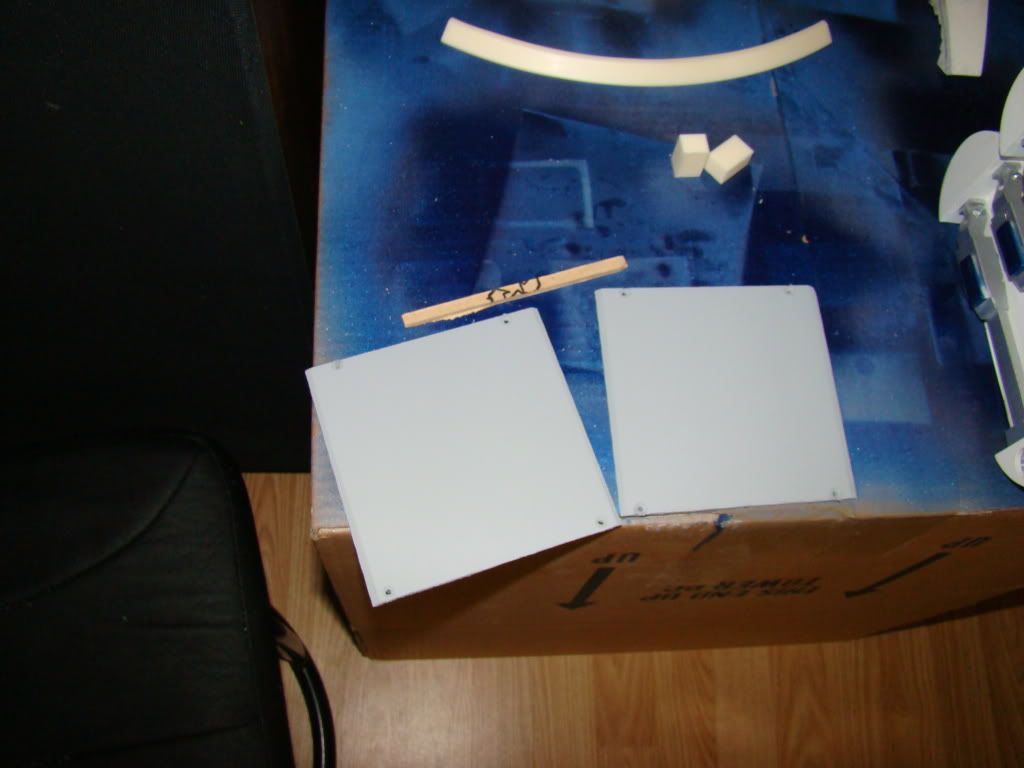
Photobucket

Found some 1/8" (maybe thinner) MDF at work and snagged a couple of pieces. Turns out they were exactly the right size, and only needed a bevel to slide right in. They are also pre-drilled and countersunk, with holes in the frame waiting and support blocks for the top ready to be attached when the skins are off. See, I HAVE been busy :)

Here's the silver stuff after being painted:
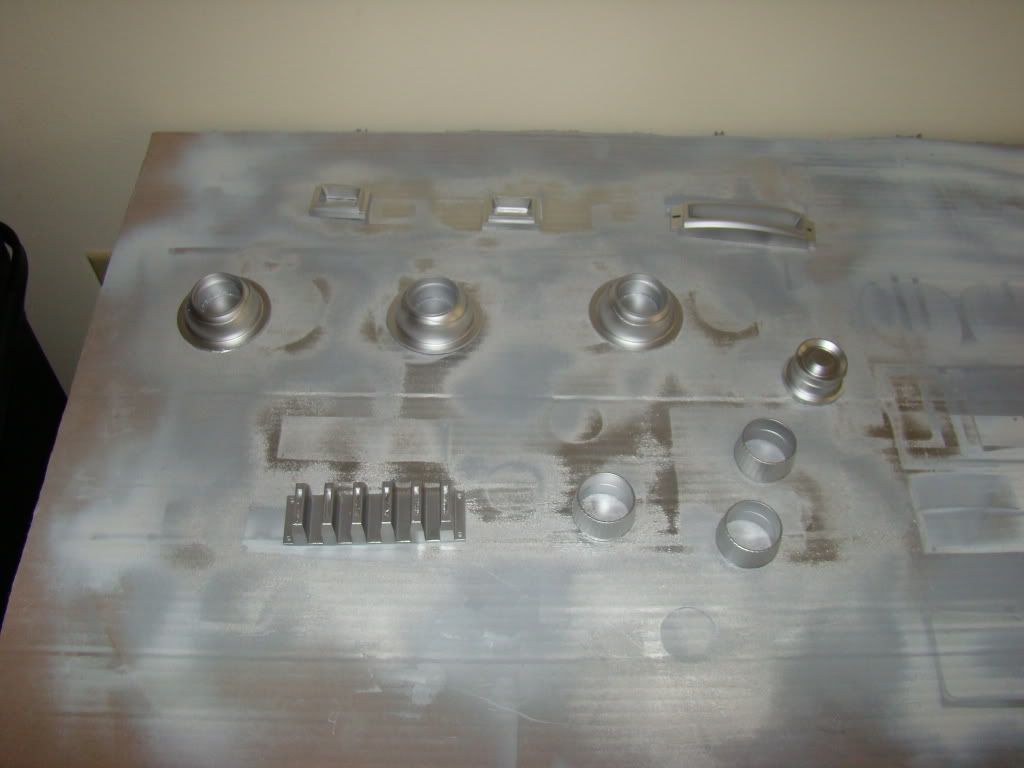
Photobucket

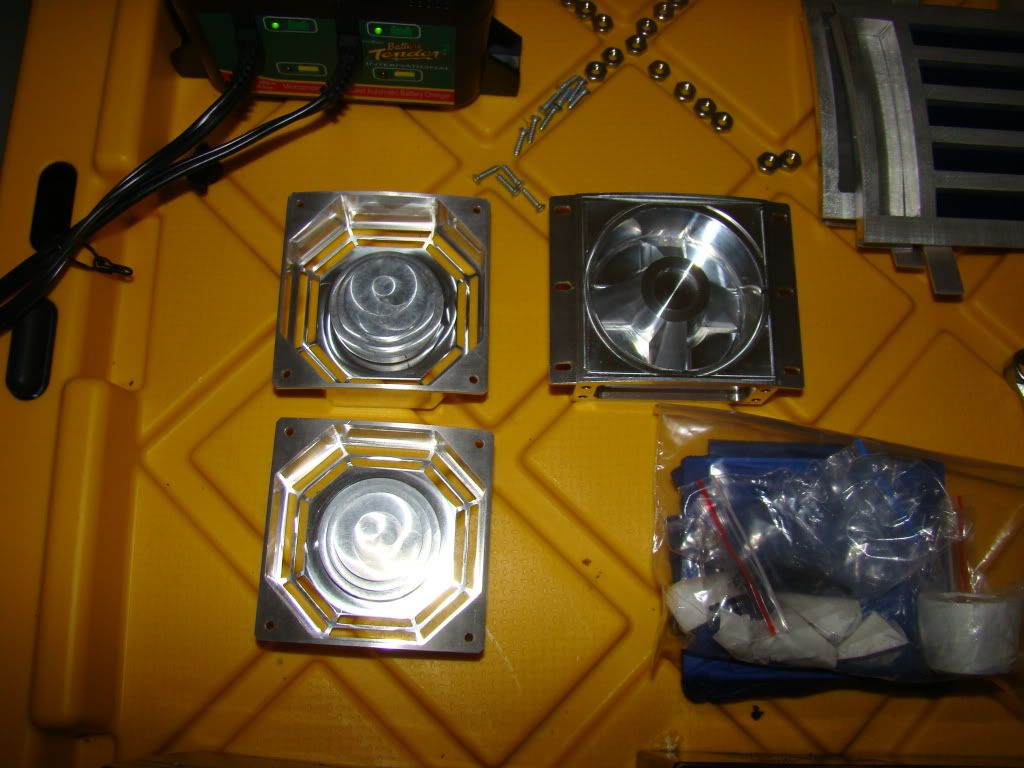
Also got some REAL goodies in today:

Start with Keiths KHFs...kind of wish they were threaded still...I can see where he taped them to mold them, and I know he had to to get them out of the mold, but I'll be able to use the Super Slim Threaded Plates that are on the way to take care of that.
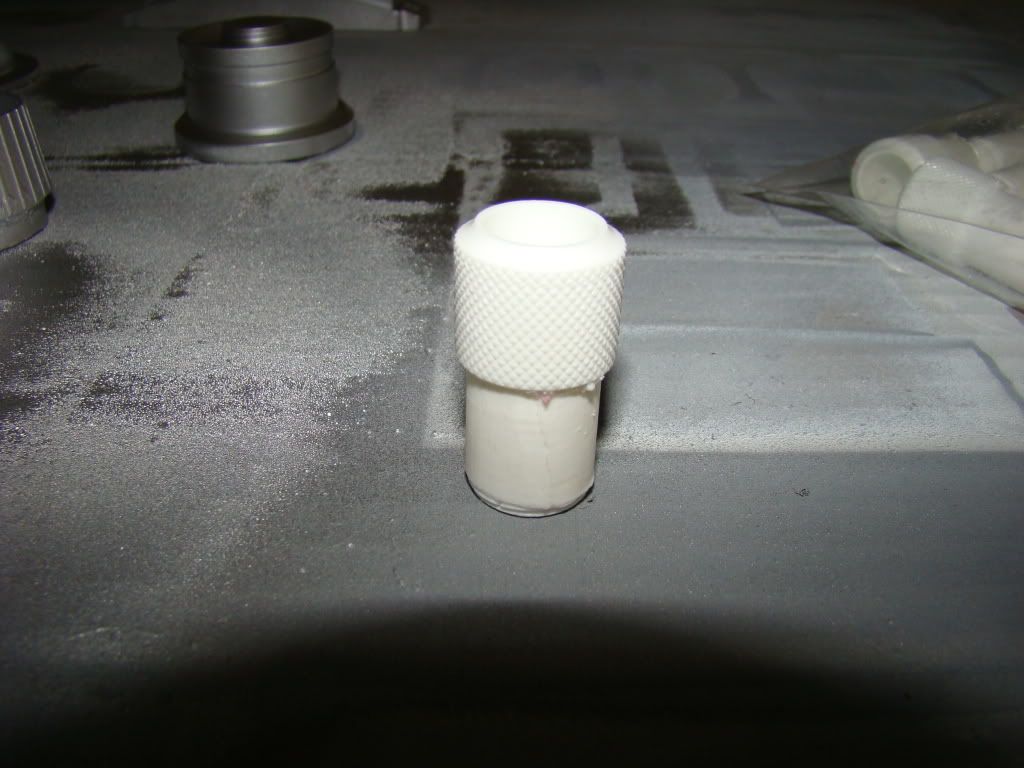
Photobucket

but here's the EXCITING stuff!!!

Photobucket

That's right! My David Shaw stuff finally arrived! and 2 days before I really expected it to...

Here's pics of me playing with the parts:
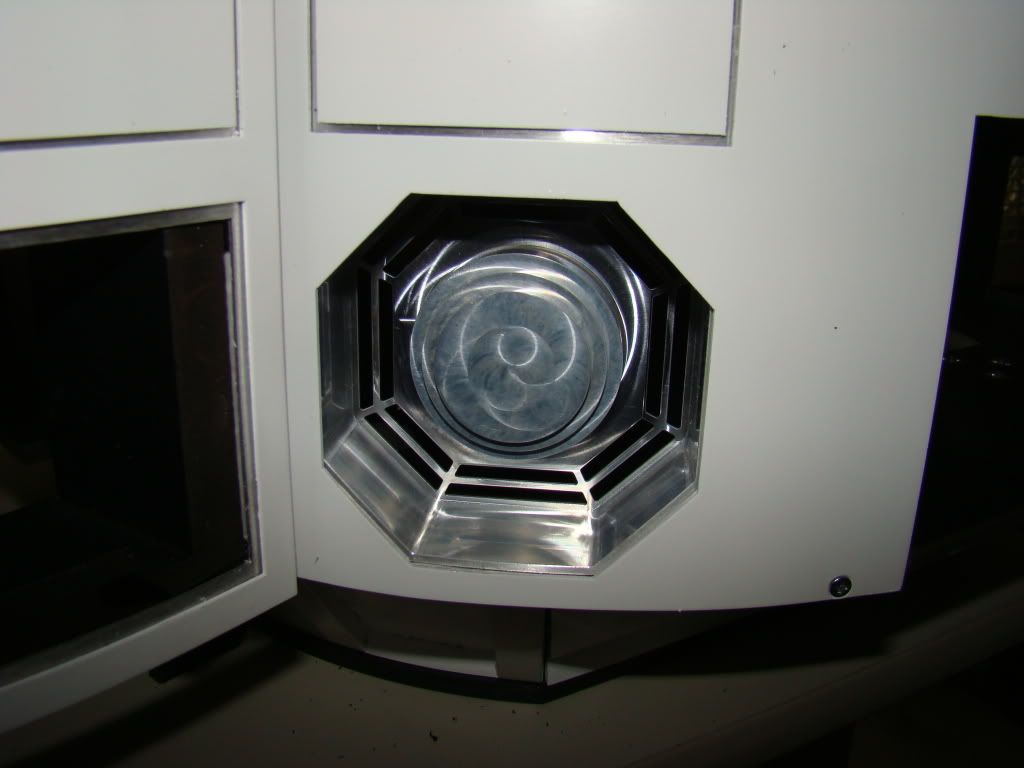
Photobucket

I already had to take the hacksaw out for the octo-port by the back door:
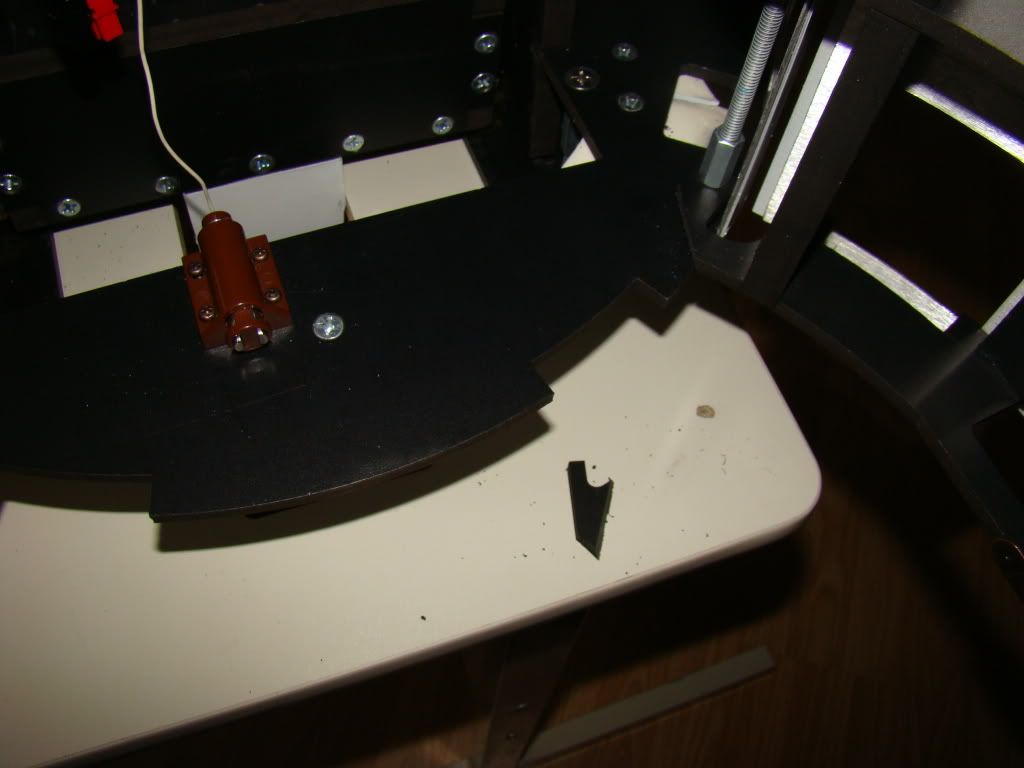
Photobucket

That doorstop wasn't hitting anything anyway. Well, not until the port was in.

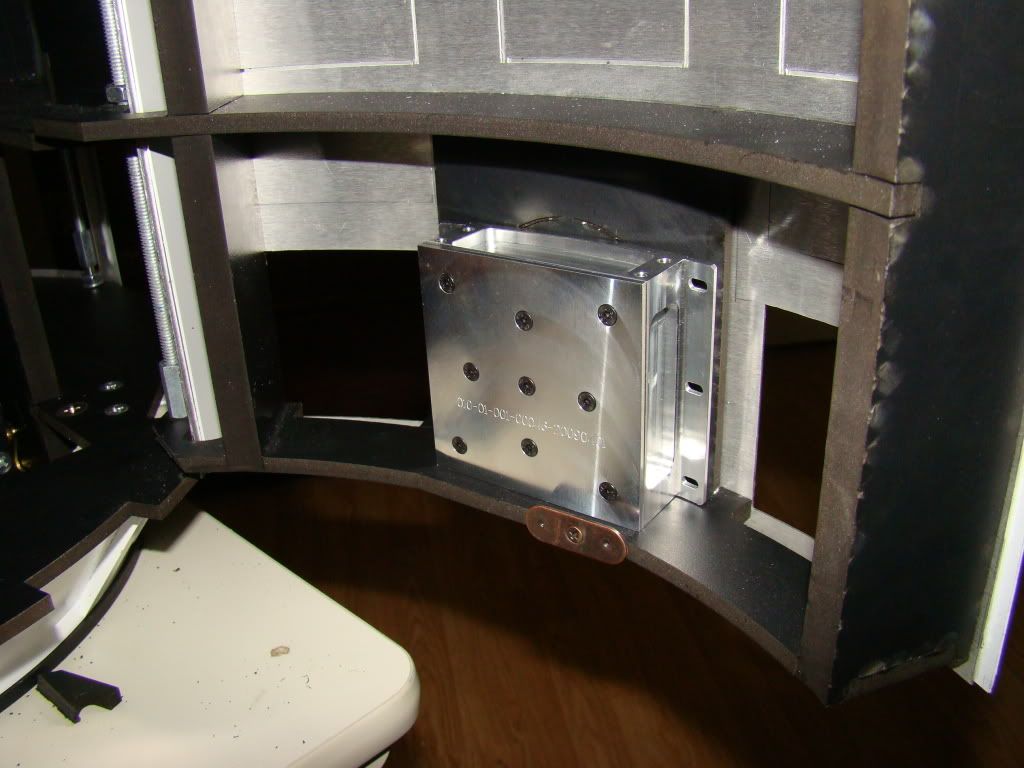
And I'll have to mod the frame and the door for both power couplers:
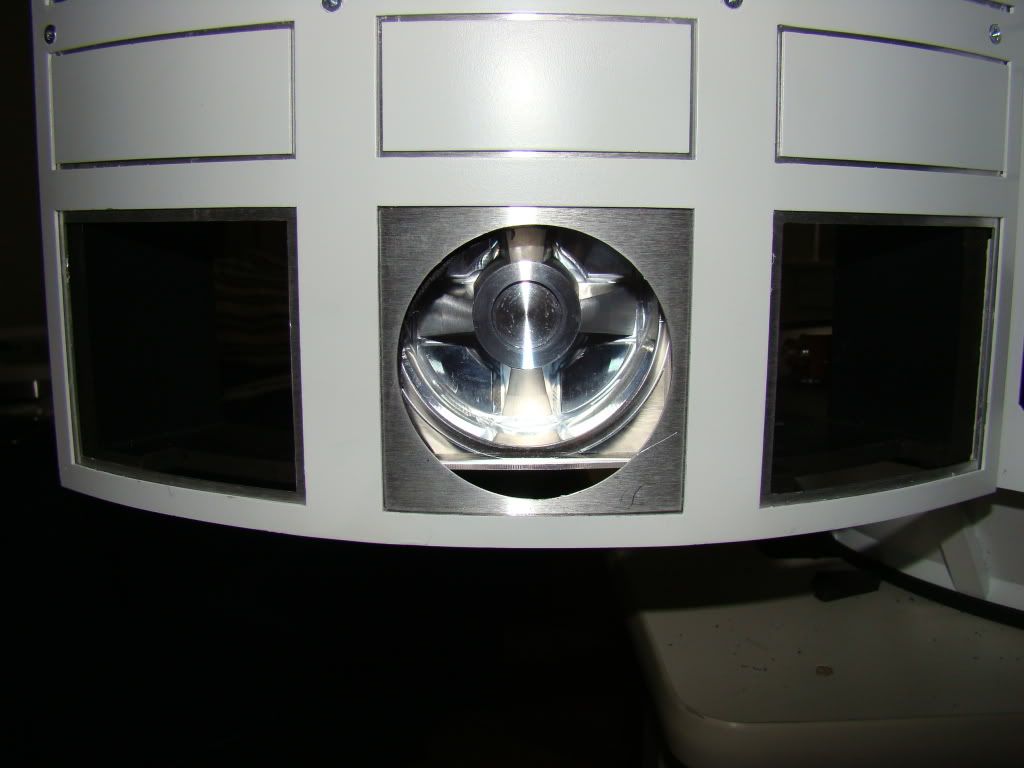
Photobucket

Photobucket

Although I used the word "mod" it'll probably be more like take the hacksaw (I seem be using that a lot these days...) and keep cutting until they fit...

And the skins need the silver area cut out in the power coupler openings as well. Got them all marked out, just have to wait until I go to Lowe's tomorrow and get more cutting disks.

I'm travelling to KS Sunday, and have to go to a party Sat evening, so I'll probably take half a day off work tomorrow so I can get something done.

So much yet to do....
Ankles and feet

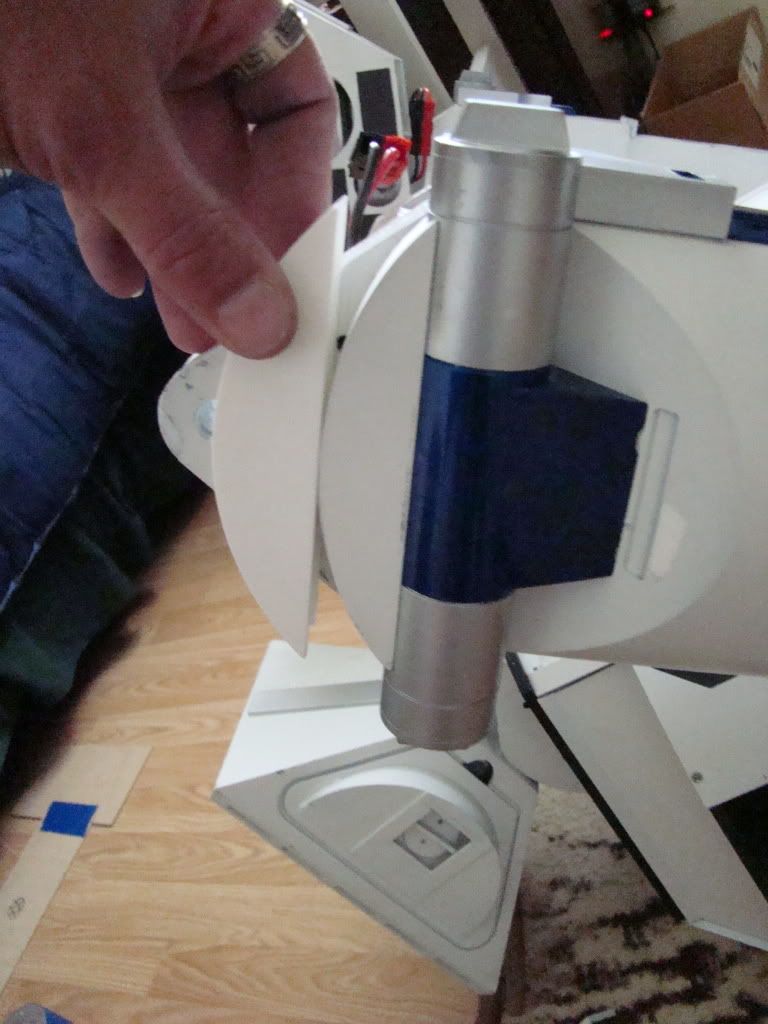
So if you watched the videos further down the page (YES, GO DO THAT NOW, I"LL WAIT :) ) you probably noticed that Artoo's feet weren't parallel to the ground.

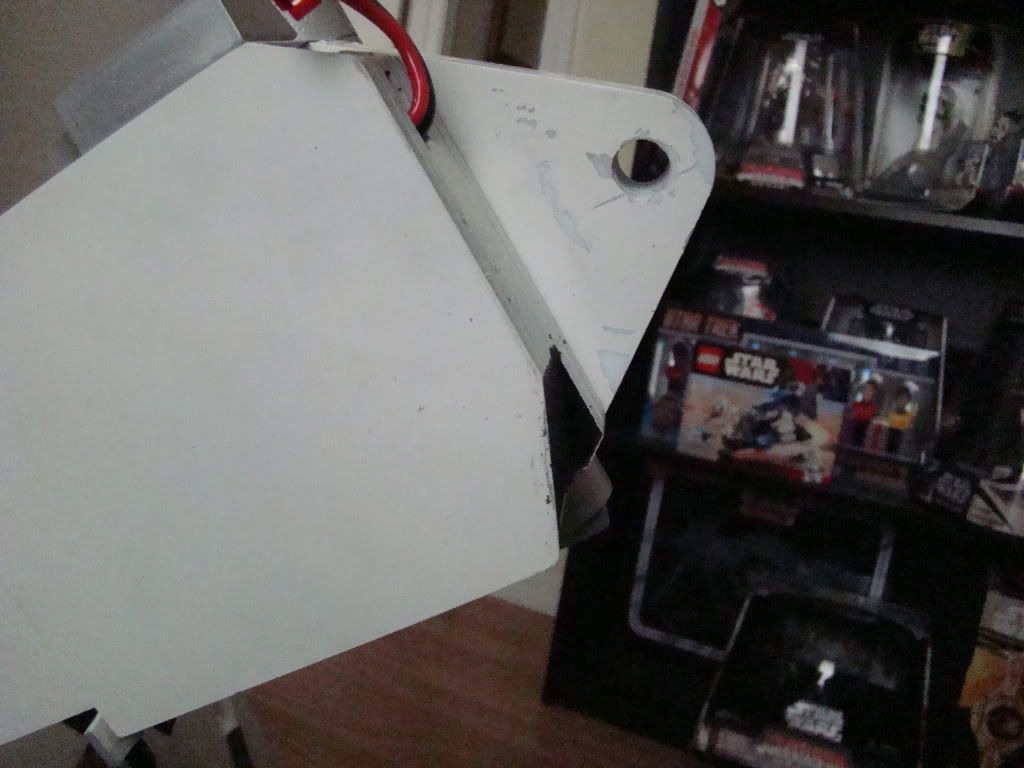
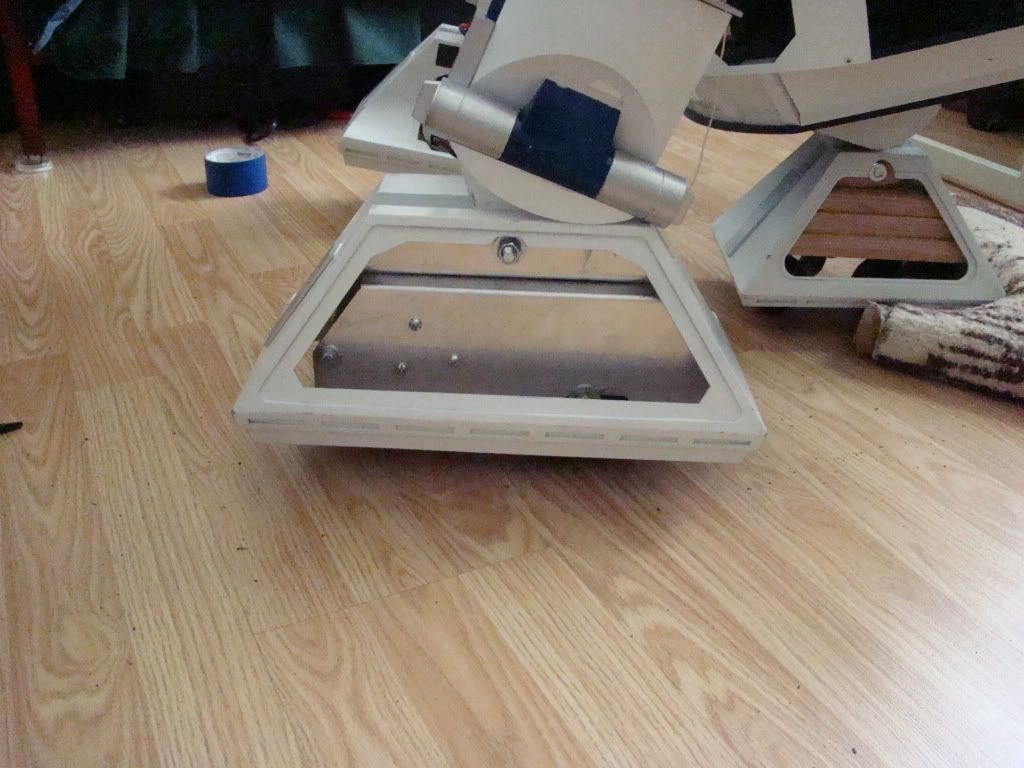
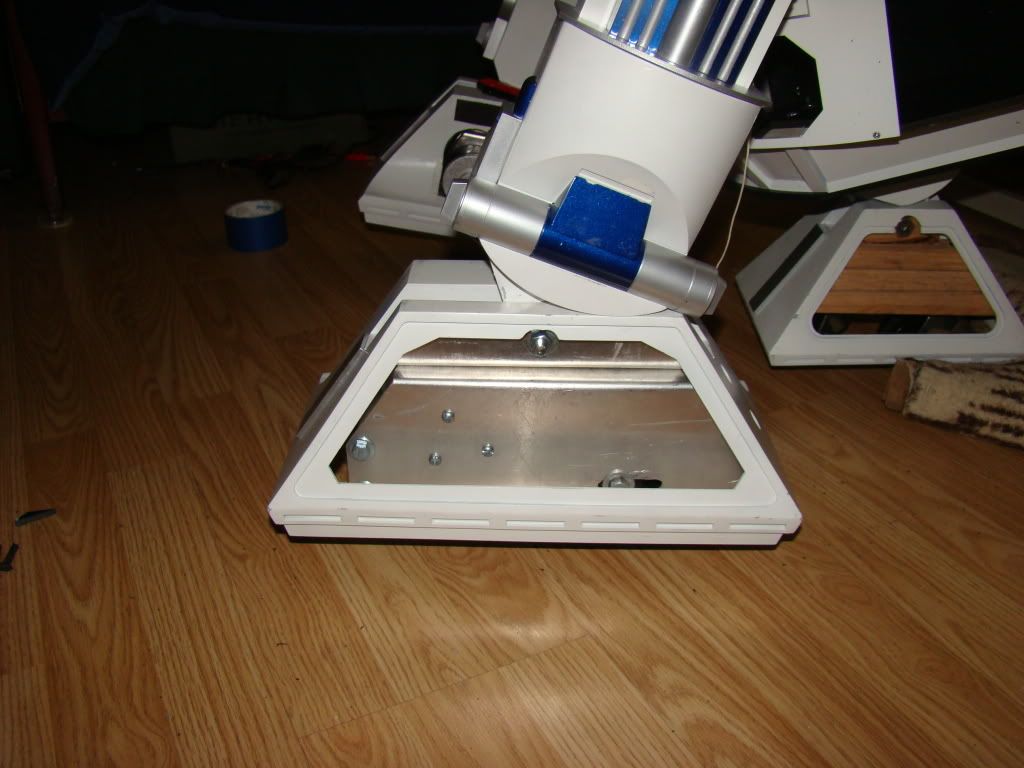
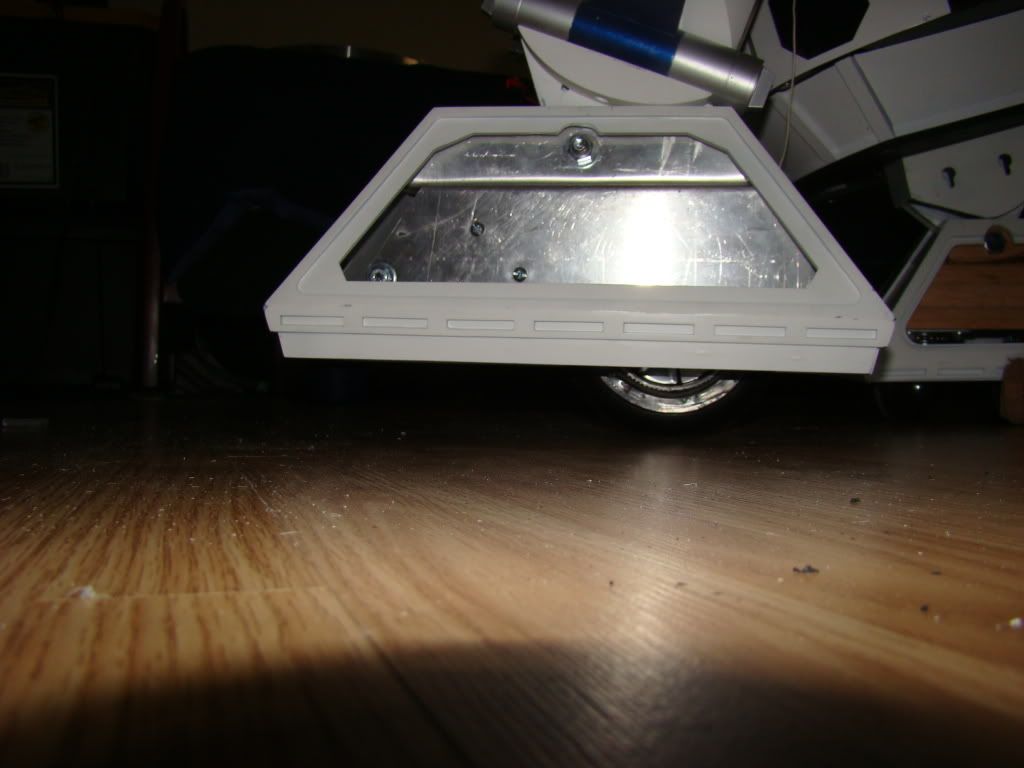
After some measuring, which turned out to be pretty useless, and then some eyeballing, I trimmed the corners of the ankles and the cylinder holders that were keeping the feet crooked.

Some table sander action on the holders, this is an unused one and the one I sanded:
Photobucket

And some hacksaw (I know...scary to even contemplate taking a hacksaw to Artoo, isn't it?) action:
Photobucket

Now they are pretty level, and they aren't getting any leveller, not without cutting the ankle cylinder to go further, and that just ain't gonna happen :)

Photobucket

Photobucket

Photobucket

I know the floor is dirty, gimme a break, that's right where I did all that cutting with the hacksaw. It's since been swept.

I also noticed that there was some wiggle in the center ankle, and figured something must be loose. Last night after getting the feet and legs off I took a look, and half the screws were about to fall out. They were just 3/4" wood screws, the kind that came with the hinges, so they came out and went in the junk box. I replaced them with the good old 1/4-20 1" SS Machine screws, lock washers and bolts.

Photobucket

Photobucket

The washers are pulled into the frame, so I doubt it's going anywhere now :)

When I finally put the legs and feet back on, I'll drill the locking pin-hole all the way through the ankle and lock them in place. that will help a lot. I just didn't think it wise to do that yet, just in case they didn't go back together exactly where they were when I locked 'em.

Ok, for clarity and searchability, post break :)

Fast update

No pics, typing quickly, gotta sleep :)

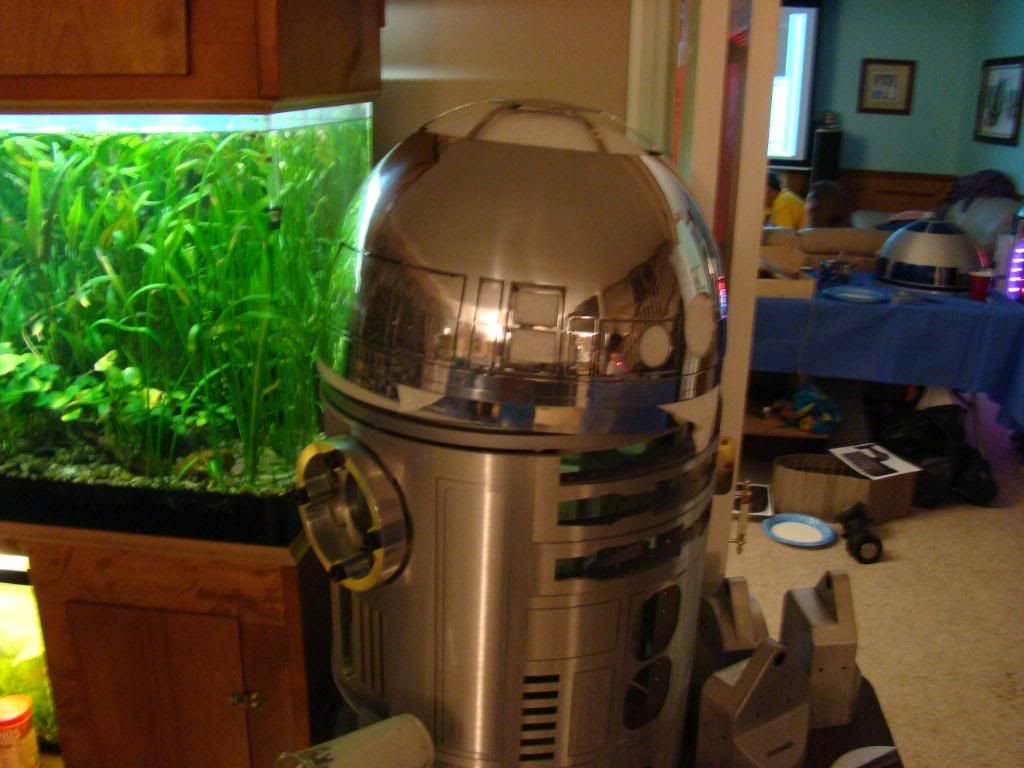
So I bought a "Mother's Polish Ball", the one for ALU, and it works wonders, but you gotta wash the dome after you wipe it down. Another 2 or 3 uses and all will be well.

I've also painted everything that's silver, and it is. Silver.

Artoo is sitting on the stand now, sans feet and legs, and I had to re-inforce the center ankle, the 1/2" screws just weren't doing it, and it's a wonder it didn't fall out.

I've also wired in a pair of switches, one for each battery, drive and what I call "vox", but is actually going to be voice and dome lights. Made a box for the single "vox" battery too, and mounted it in front of the center ankle.

Spent a little time making tags for the wires, so hopefully there will be no confusion when plug in time comes.

I have pics of most of this stuff, just not time to post them now. Maybe soon...

I'm thinking the skins might be off tomorrow...

oh, and now 1, 2, 3, and 10 from the list way down the page are done.

Thursday, July 23, 2009

Sanding, and sanding and...dare I say? More sanding...

Well, You've seen the dome sanding pics, and the newest ones aren't much different. The bright side is, I started wet sanding in the hall bathroom shower, and kind of learned what needed to be sanded next.

I'm still using 500grit, just because anything higher only makes the dome look worse. Bright side is, now I'm at least starting to see the beginnings of a uniform finish.

That's the point of this all, a uniform finish, not a high mirror gloss...although I might end up with that before I'm satisfied...

anyway, here's pics from 3 days ago:

Photobucket

Photobucket

And pics from yesterday:

Photobucket

Photobucket

Photobucket.

and pics from tonight:

Photobucket

Photobucket

There's going to have to come a time really soon where I just have to accept that it's as smooth as it's going to ever be, and live with it. I really do need to be moving past this stage, but can't seem to help myself. Once the spin lines disappeared, I guess this has been my goal, albeit subconsciously...

Photobucket

I really dont' want my dome that shiny, because every little thing will leave a mark. I'm half considering painting the damn thing to get a smooth finish right now....
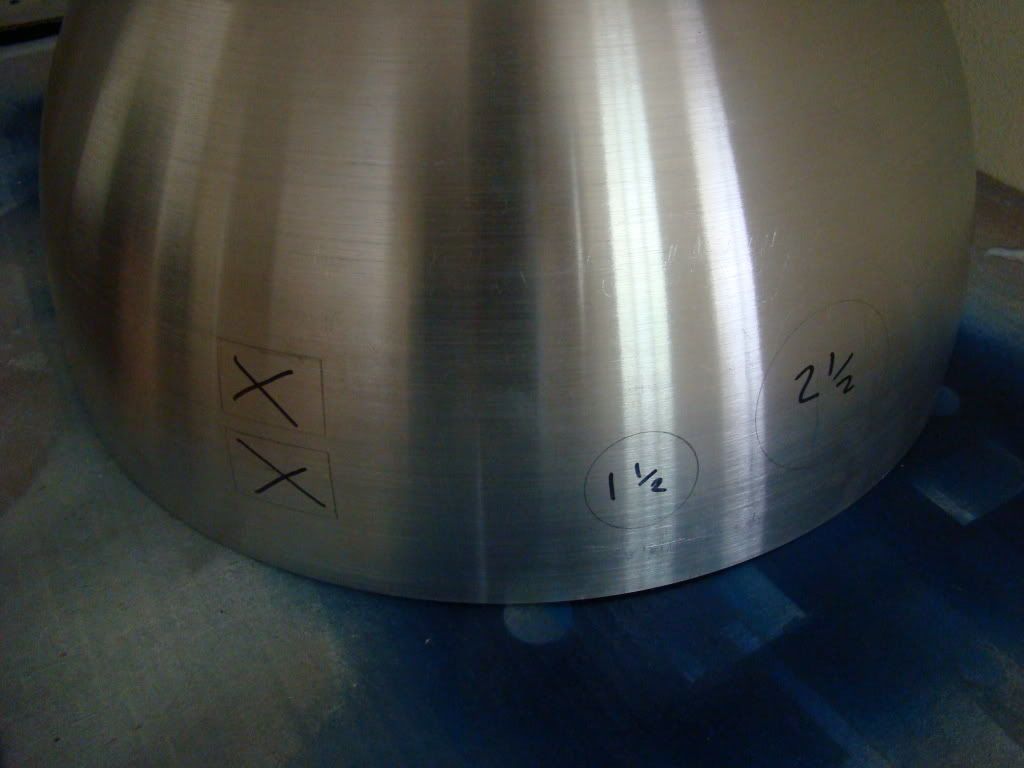
I guess technically there aren't any spin lines left ,but you can see the spin grooves that are still there. And with a light touch you can feel them as well.

Sunday, July 19, 2009

Dome sanding - Day 1

Ok, bit the bullet and started sanding today, as you probably guessed by the title.

Here's some shots after the 180 grit, which was most of the work so far, actually getting rid of the spin lines.

Photobucket

Photobucket

Photobucket

And some shots after the 220 grit:

Photobucket

Photobucket

Photobucket

Photobucket

After that, I ran to the auto parts store and picked up some 600, 1000 and 1500 grits. Shame Lowe's thinks 'Extra Fine' paper means 240 grit...sure would be nice to have the high grits in a hook and loop paper.

I picked up one of the rubber things you're supposed to use for this, to avoid finger marks and stuff too.

Here's some shots after the 600 grit:

Photobucket

Photobucket

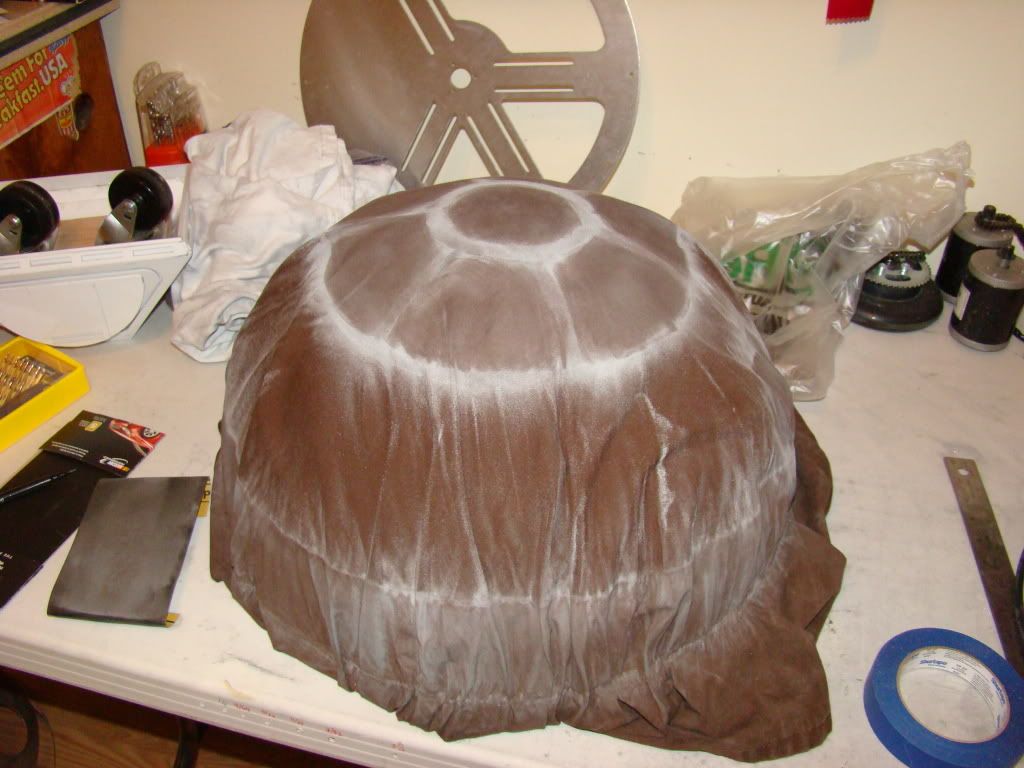
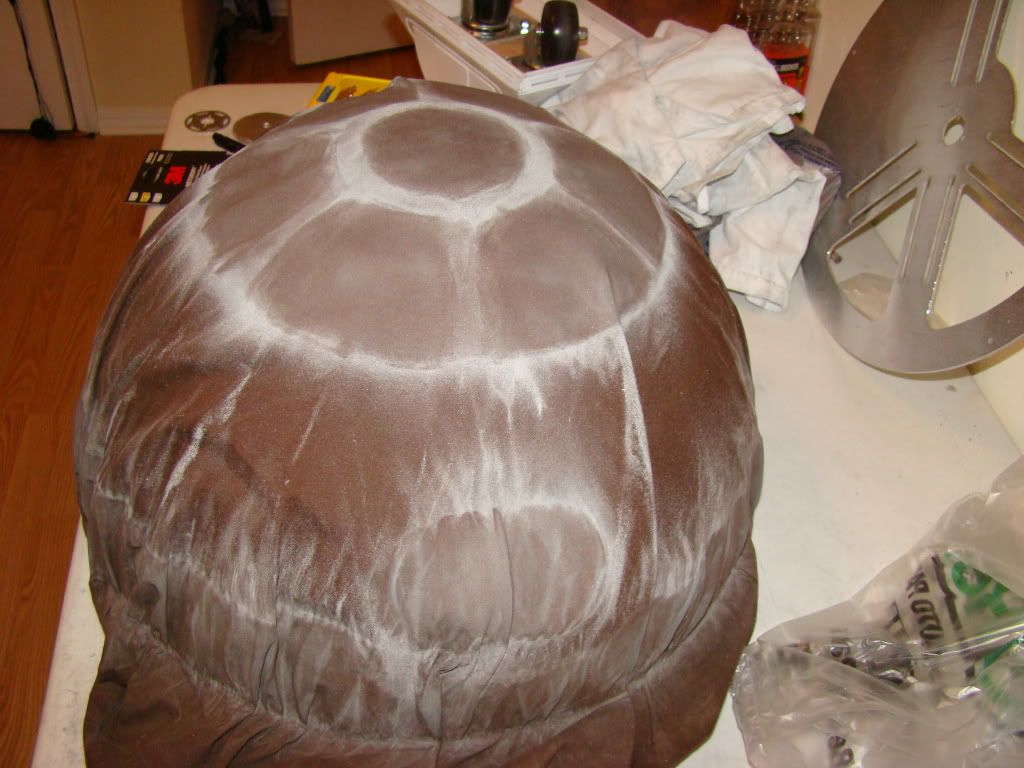
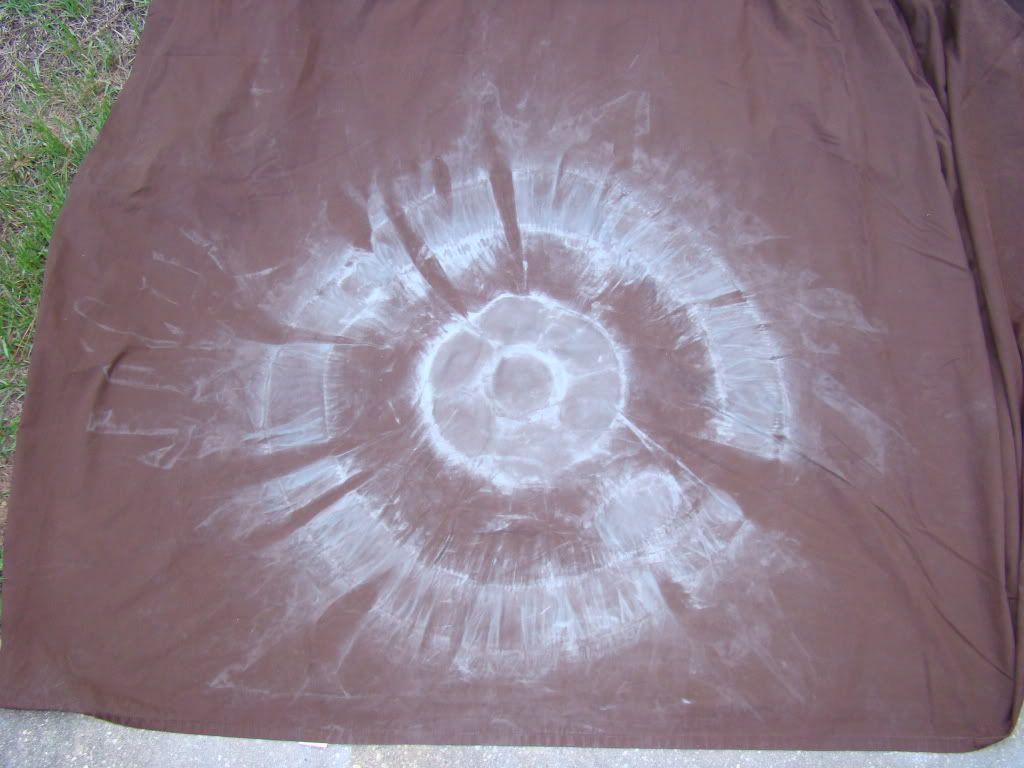
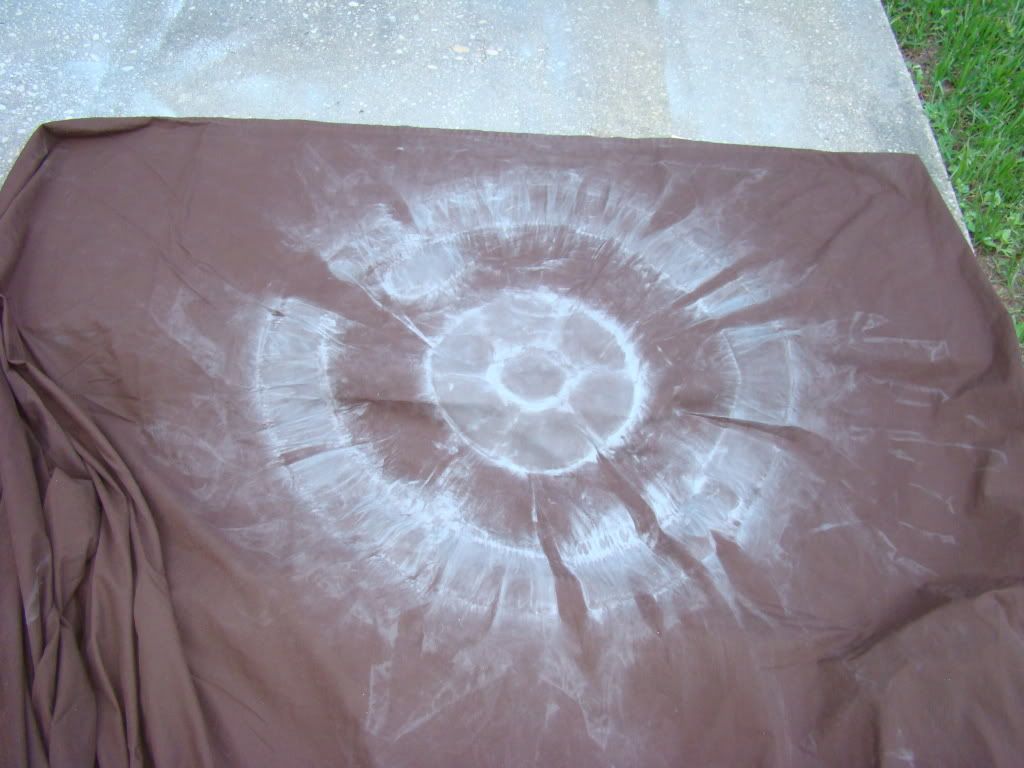
After the 600 grit I took the outer dome to the shower in the hall bathroom and washed it thoroughly, then noticed this:

Photobucket

Photobucket

And took it outside for a better look:

Photobucket

Photobucket

Pretty neat eh? Shame I can't figure out a way to make tie dye t-shirts with that on them :)

So as you can see, there's still a lot more sanding left to be done, and as mentioned before, I REALLY wish I could find some high grit papers for my mouse...
Saturday, July 18, 2009

So after more consideration (I seem to be pretty good at sitting around "considerating") I decided the time to paint is not here yet.

I'll want to paint as much as I can at once I think, and since the ALU stuff that's not here yet needs bluing, and since that one panel on the inner dome will get messed up if I paint it before I sand the dome, I'll be holding off for a bit.

Here's the pics mentioned in last night's post...
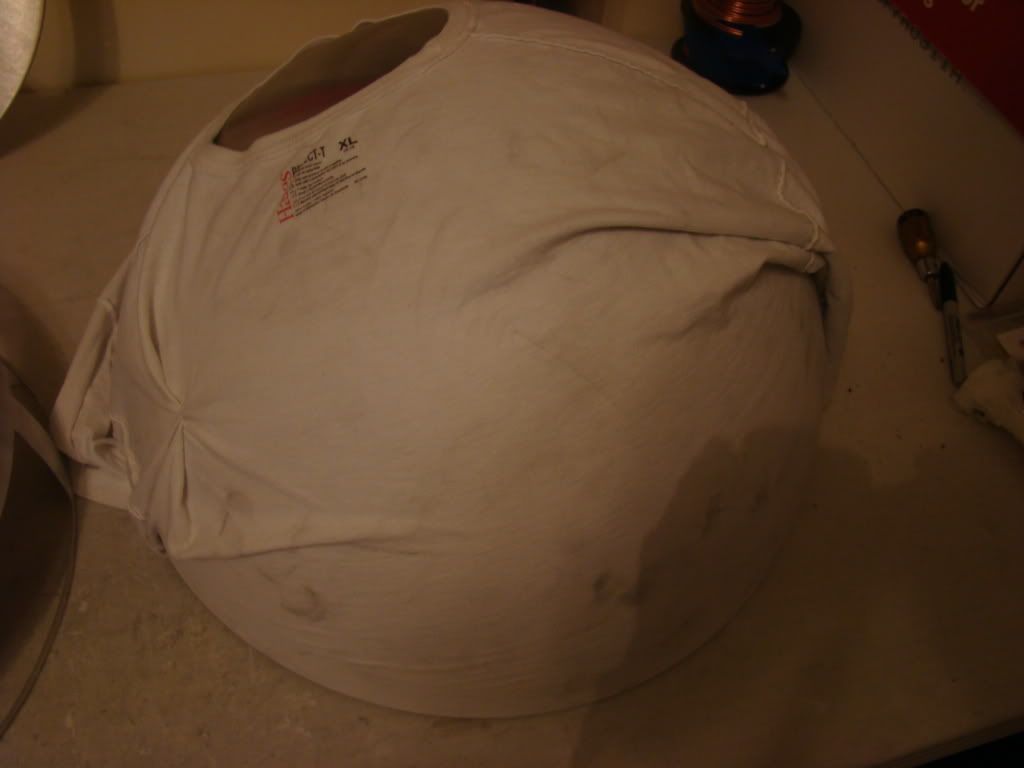
An early attempt at padding between the two for sanding:

Photobucket

Photobucket

It didn't work out because believe it or not the T-shirt is too thick, and the sleeves were in the way.
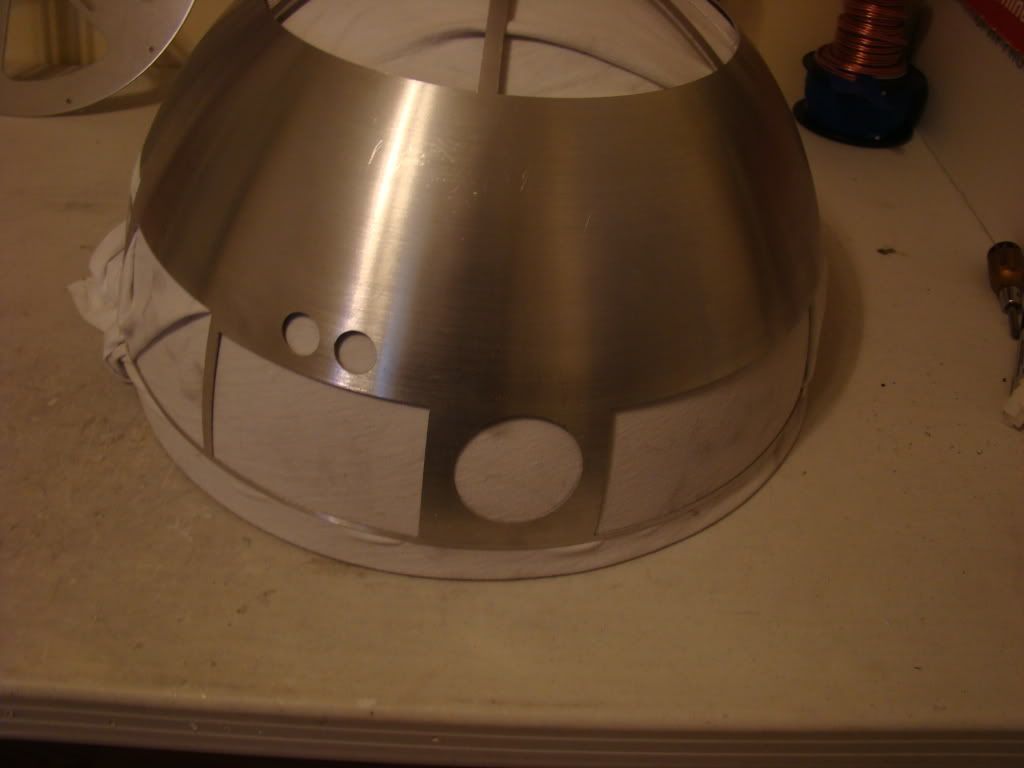
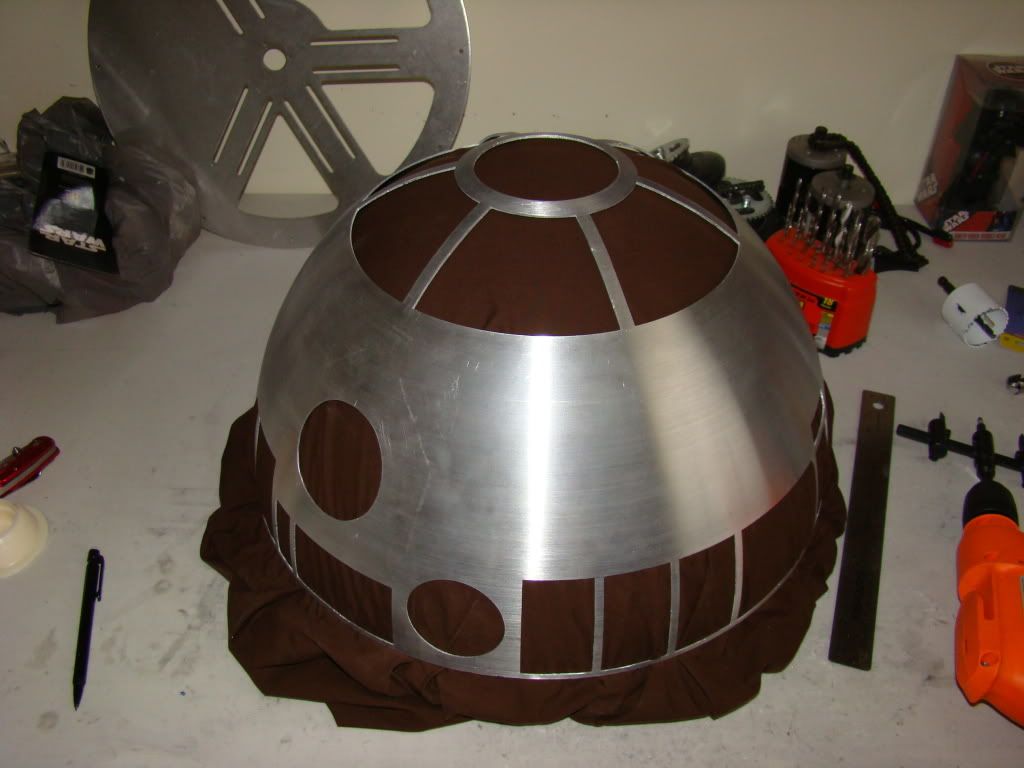
I decided to try a bedsheet instead, at my buddy Goose's suggestion:

Photobucket

I'm thiking I'll probably just wear through the sheet with the sander very fast and it won't really be useful, but we'll see.

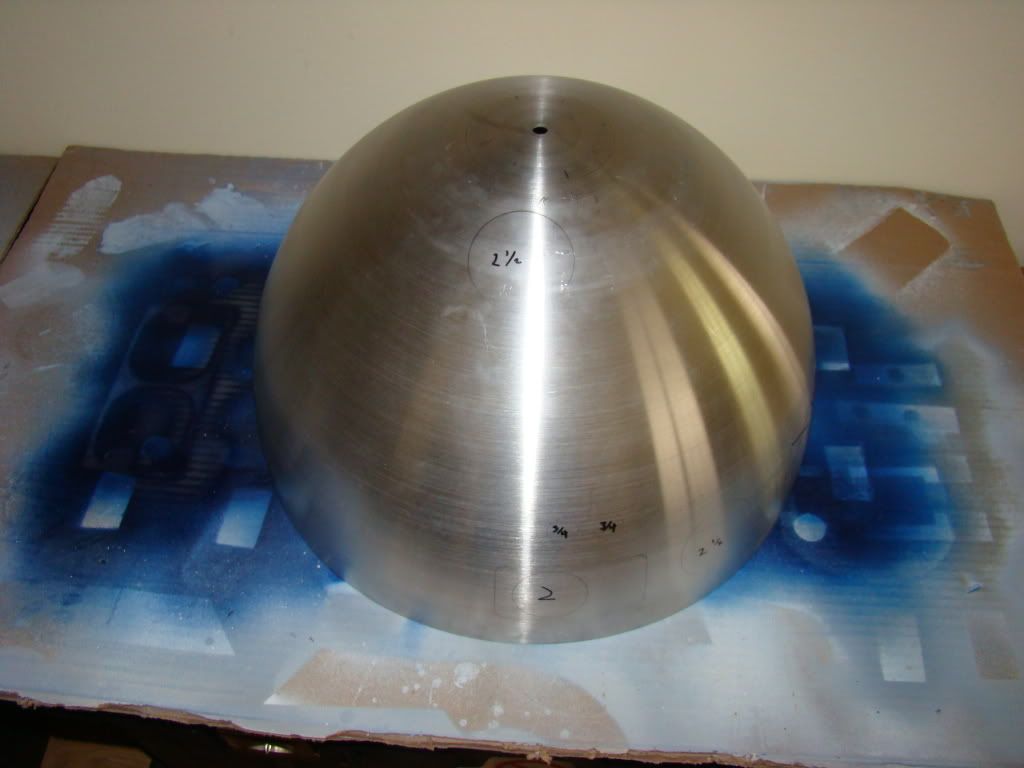
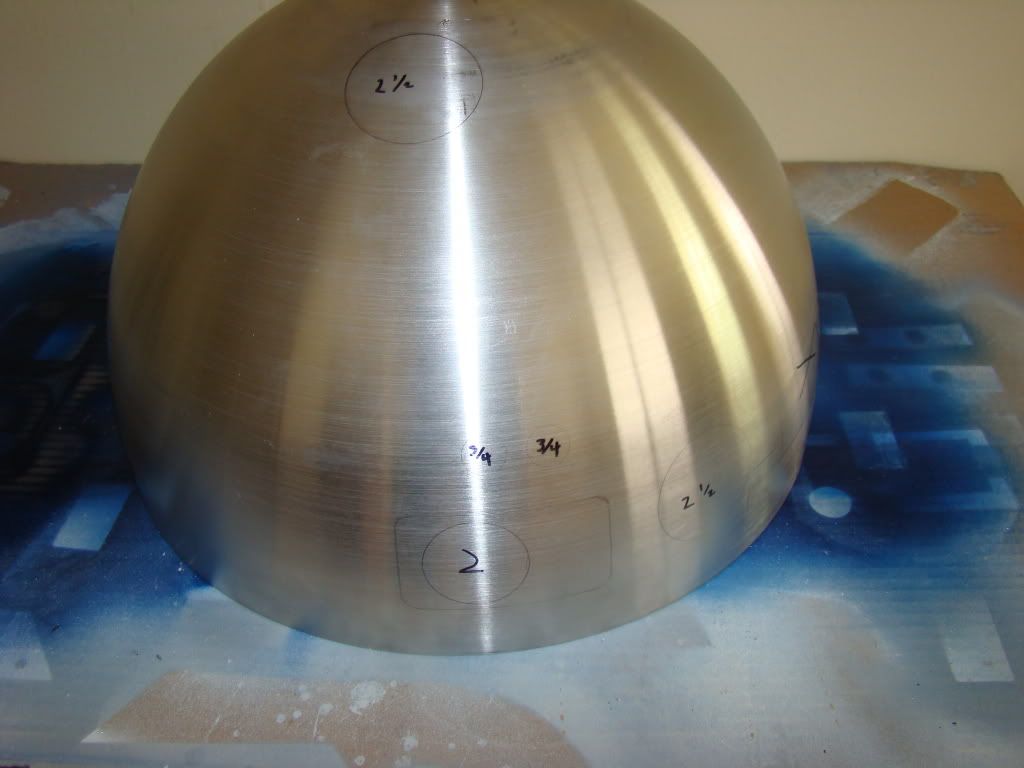
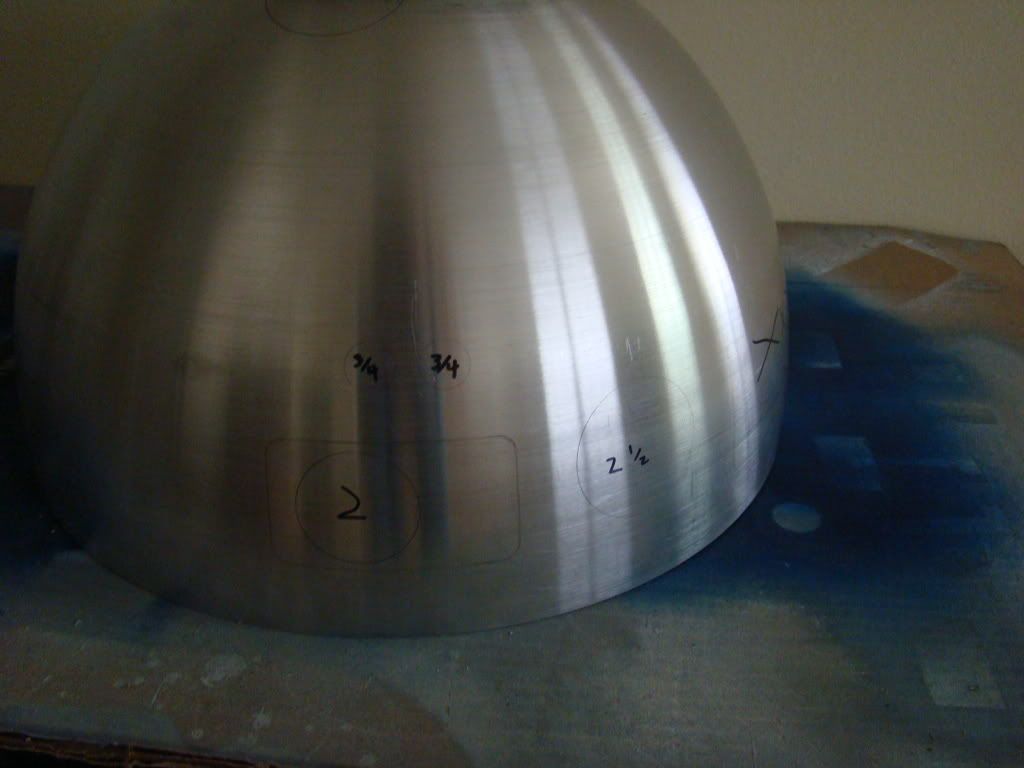
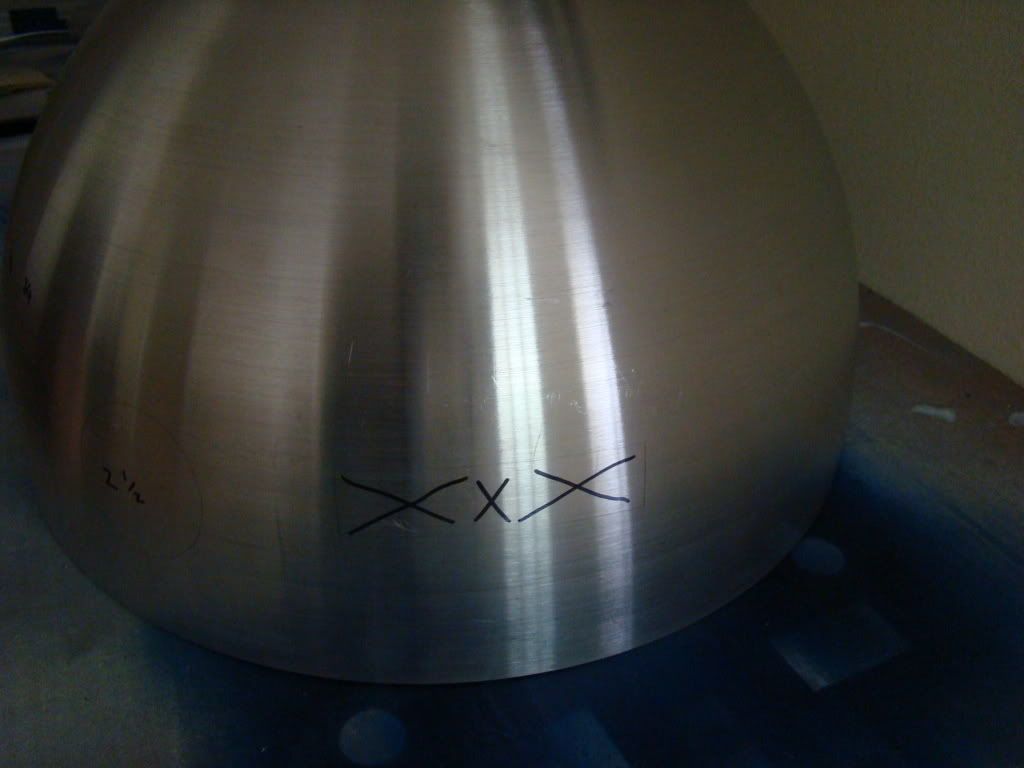
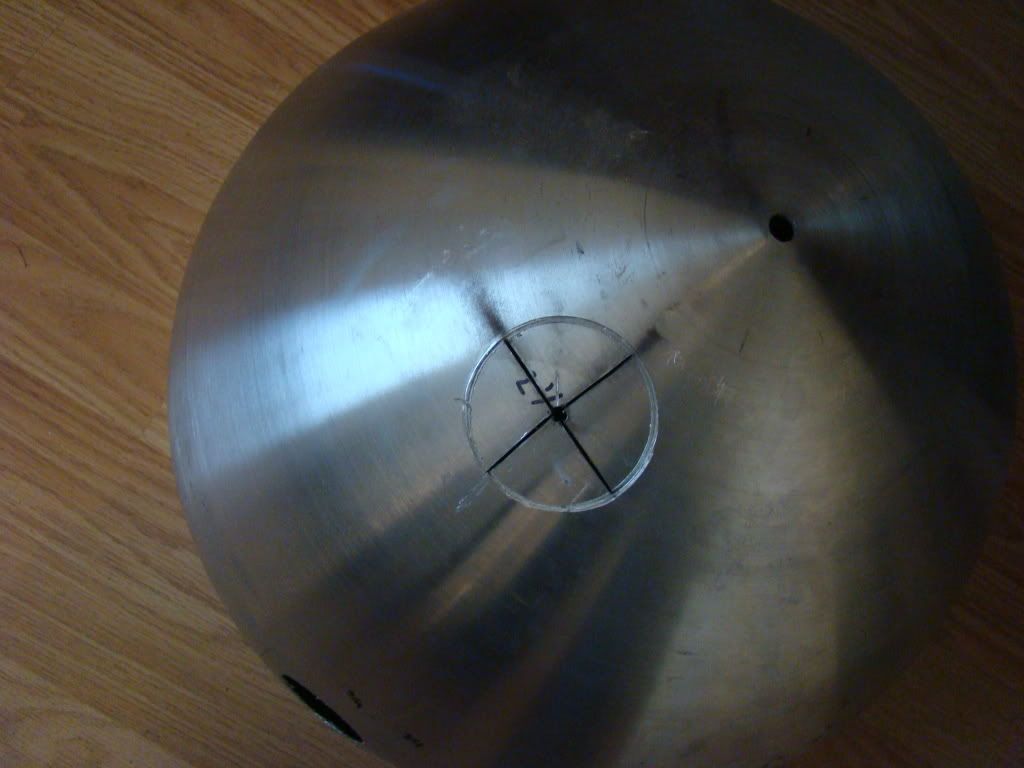
Here's pics of the inner dome marked:

Photobucket

Photobucket

Photobucket

Photobucket

Photobucket

I used a pencil to mark the cut lines, and a sharpie inside them to marke how big the circles were.

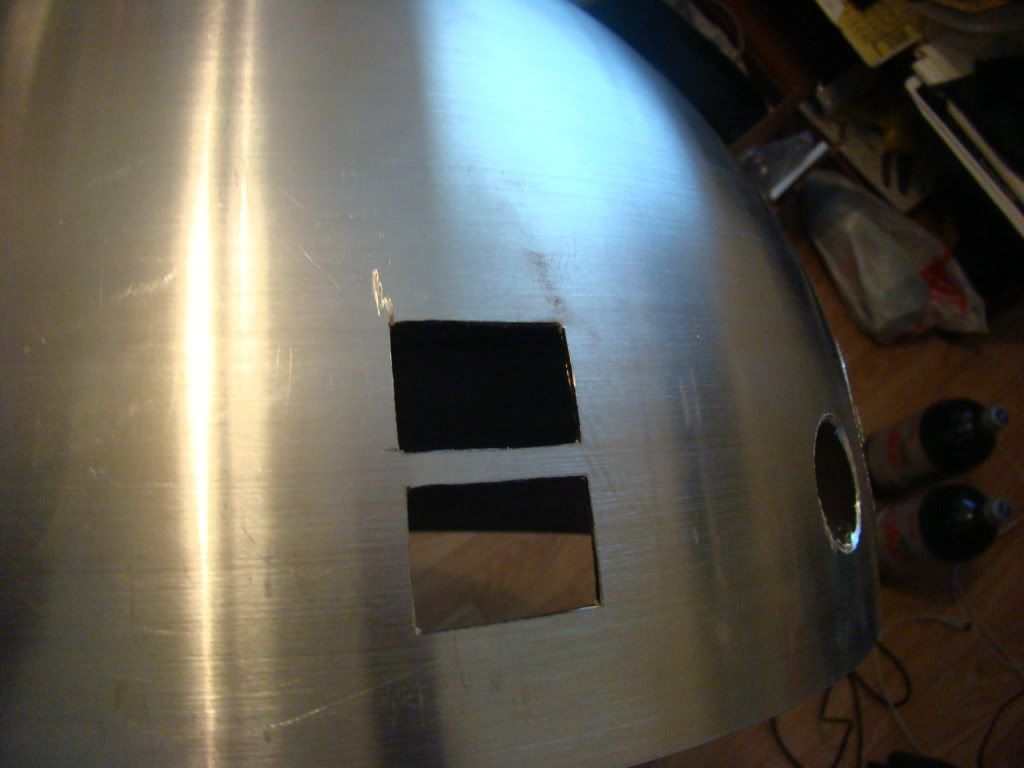
I used the EZ-lock dremel cutting wheels to cut the squares out, which worked like a champ, but I also used all 5 of them ($10) yesterday, mostly cutting the pie panels in the circles...

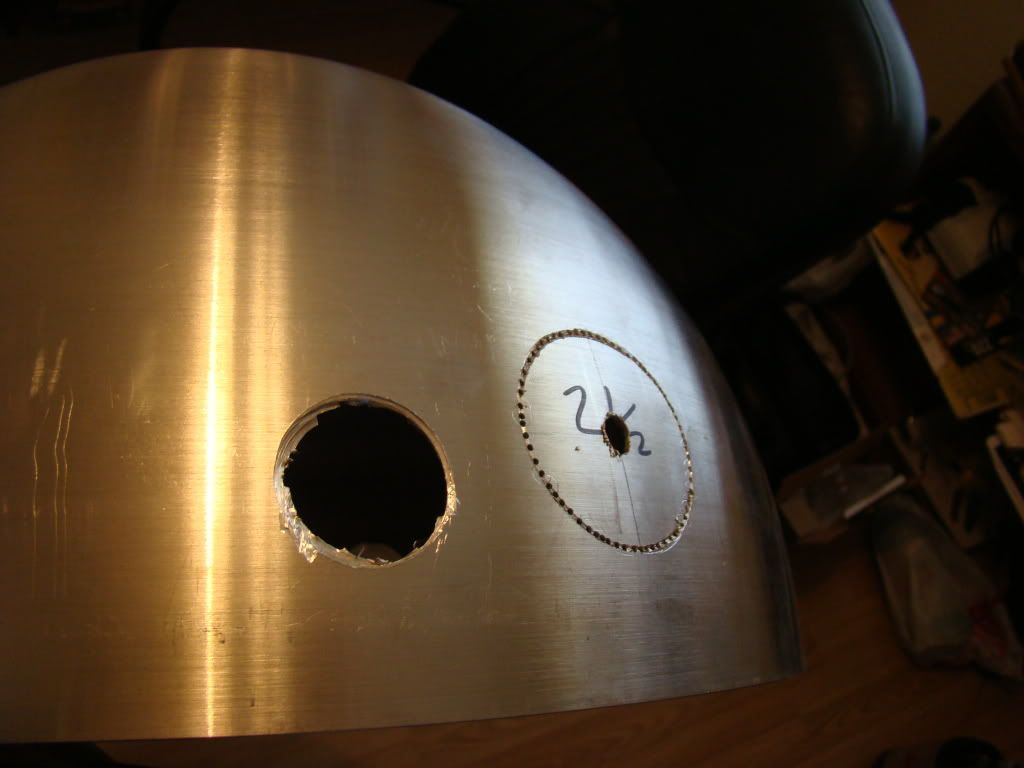
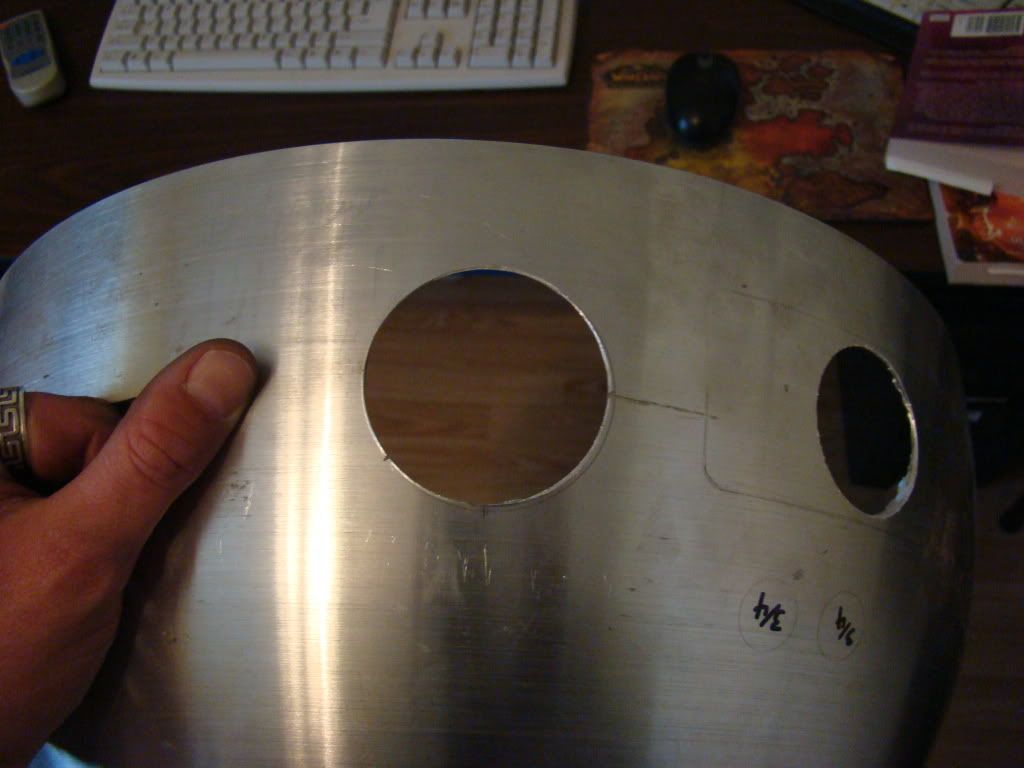
I pretty much used 3 different methods to cut out the round holes.
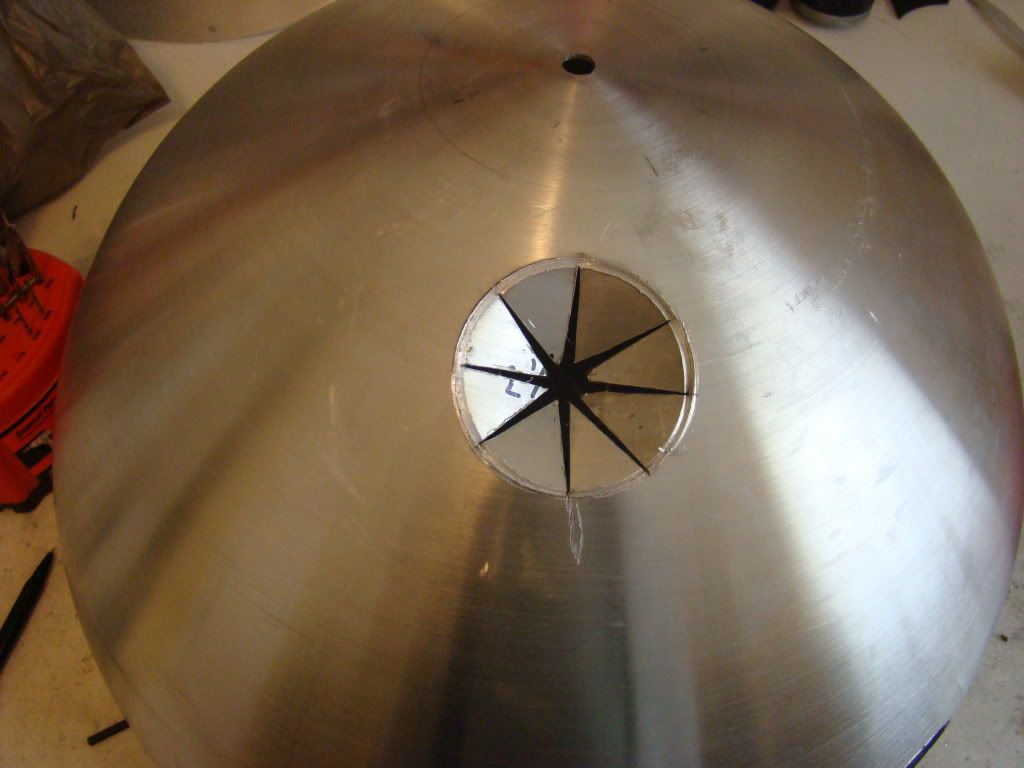
I used the widow-maker with both points to scribe the circle almost all the way through on some of the holes near the edge of the dome, then cut across to make the bend-out pie panels.

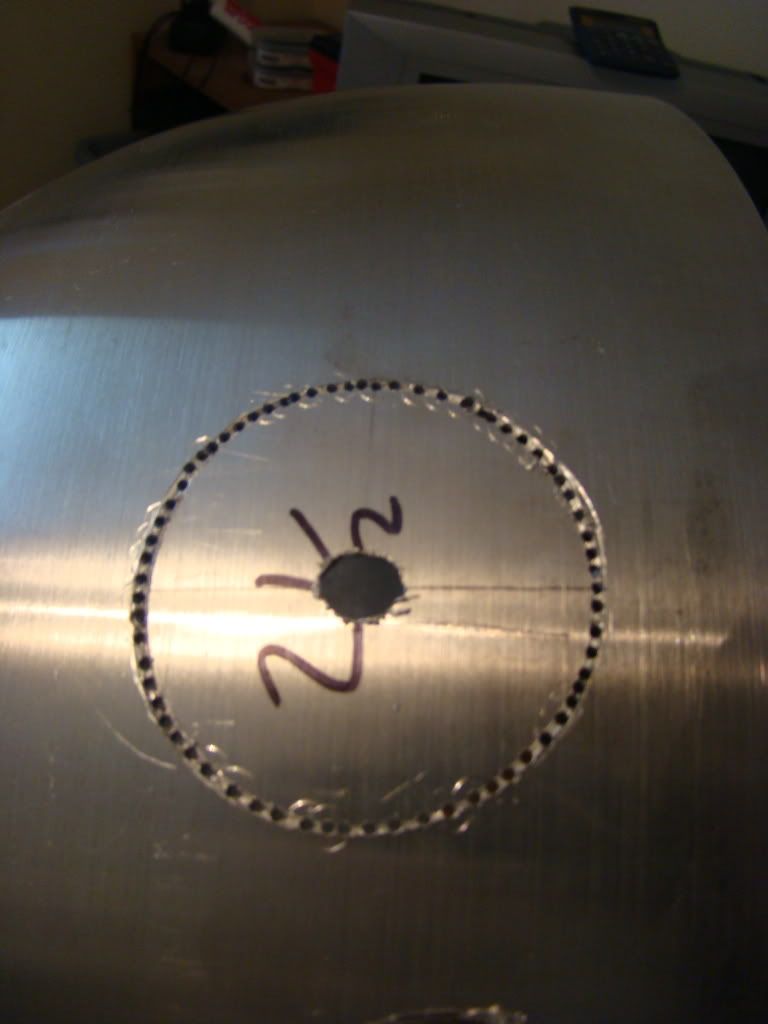
I also use the widow-maker to scribe, then drilled the tiny holes around the edge of the hole, and then made pie panels.

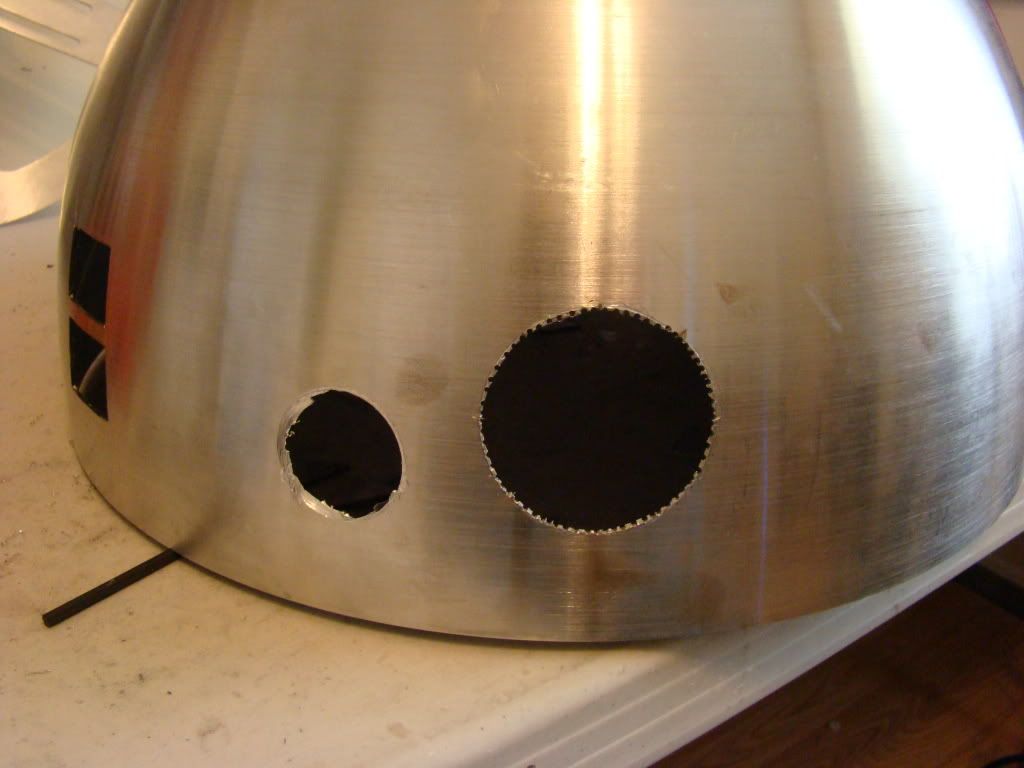
3rd I actually used a holesaw on the PSIs, but that didn't work well on one, because the bit ran sideways in the hole and I wound up with a mess, which you'll see.

Lastly, when Goose showed up last night I used the widowmaker all the way through the inner dome radar eye hole, since Goose was there to hold it and I could use both hands. the circle was sizzling hot...I burned my thumb on it, just enough where it feels funny but didn't blister.

Here's pics of the aforementioned...

Photobucket

Photobucket

Photobucket

Photobucket

Photobucket

Photobucket

Photobucket

Photobucket

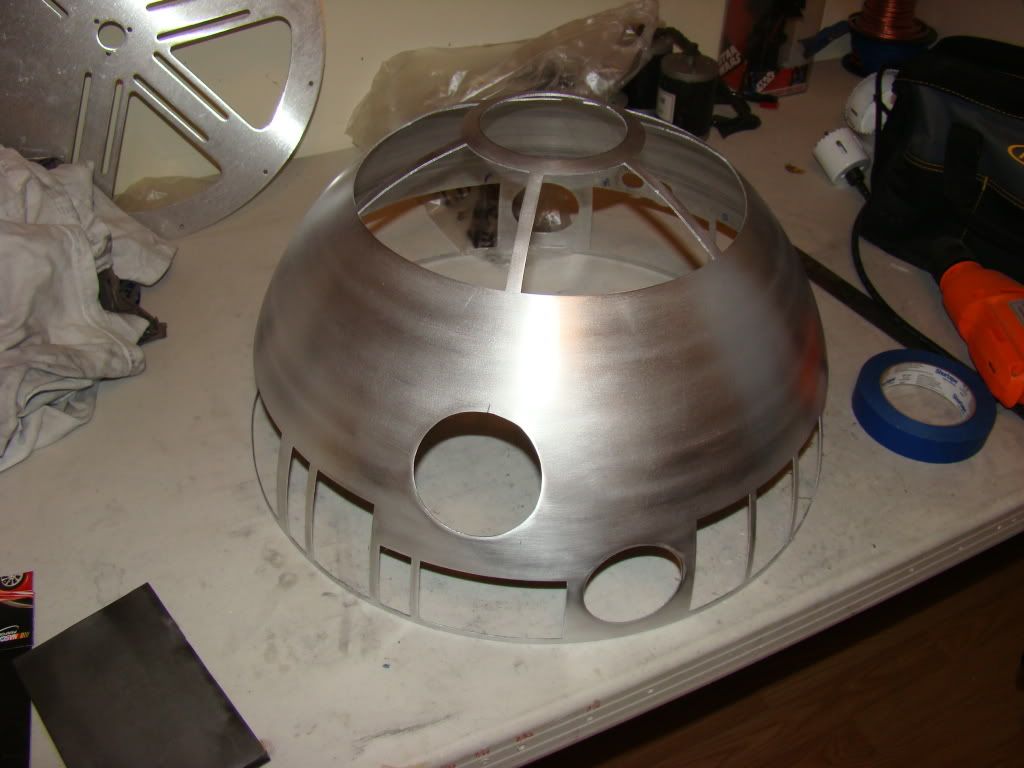
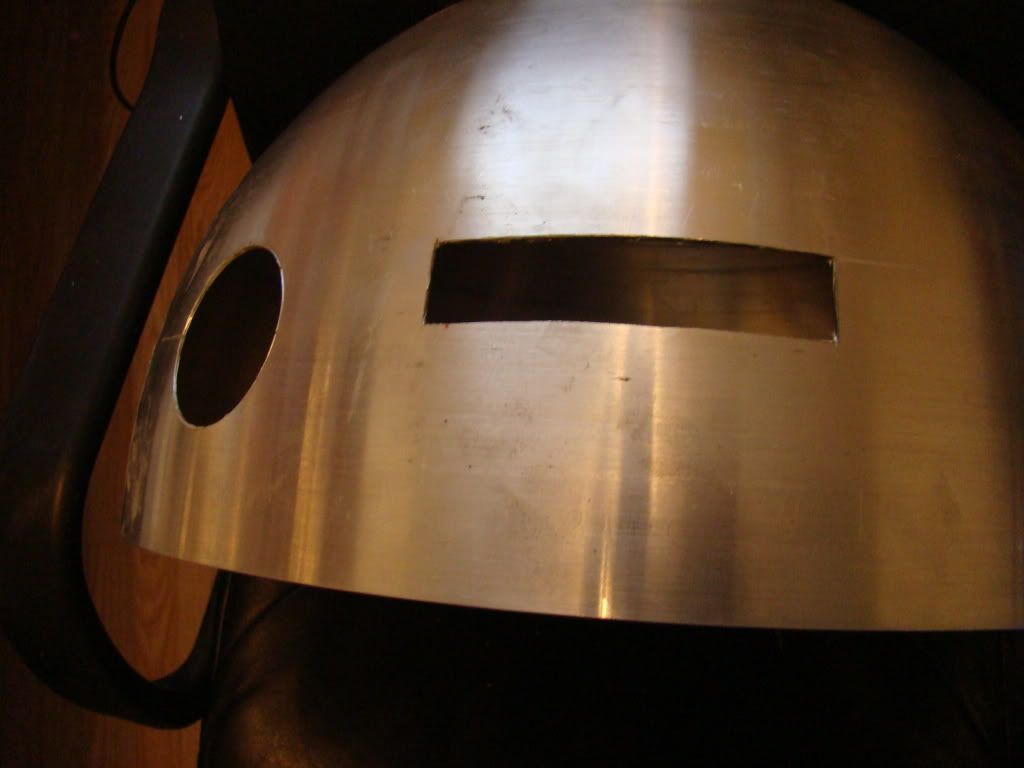
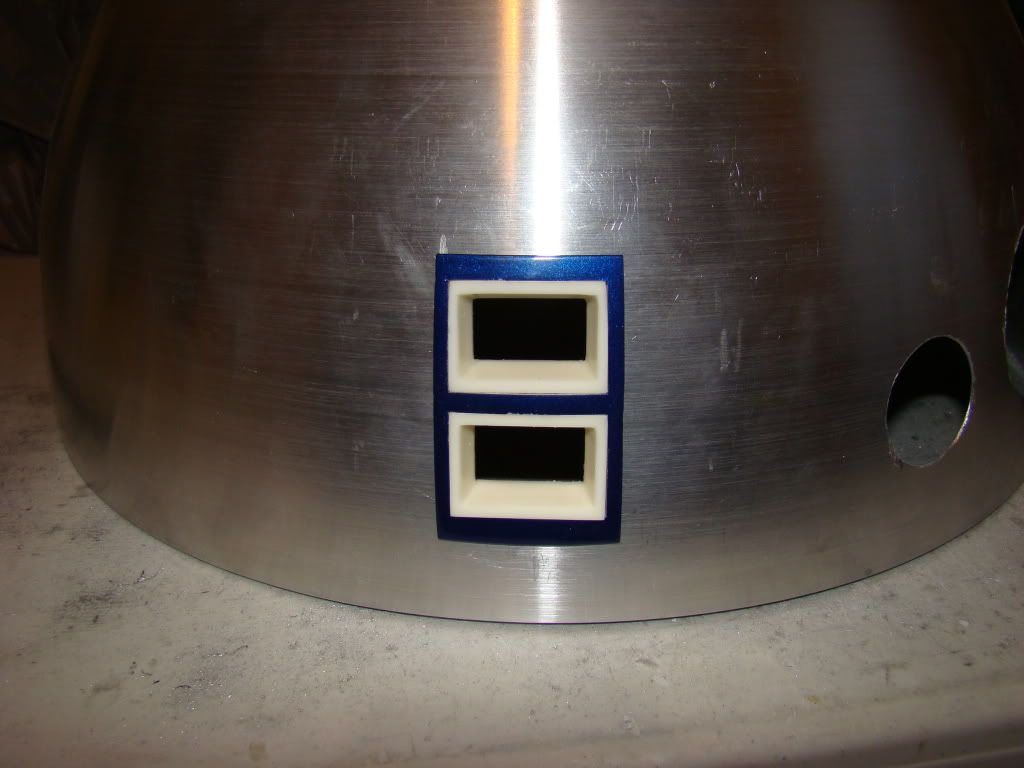
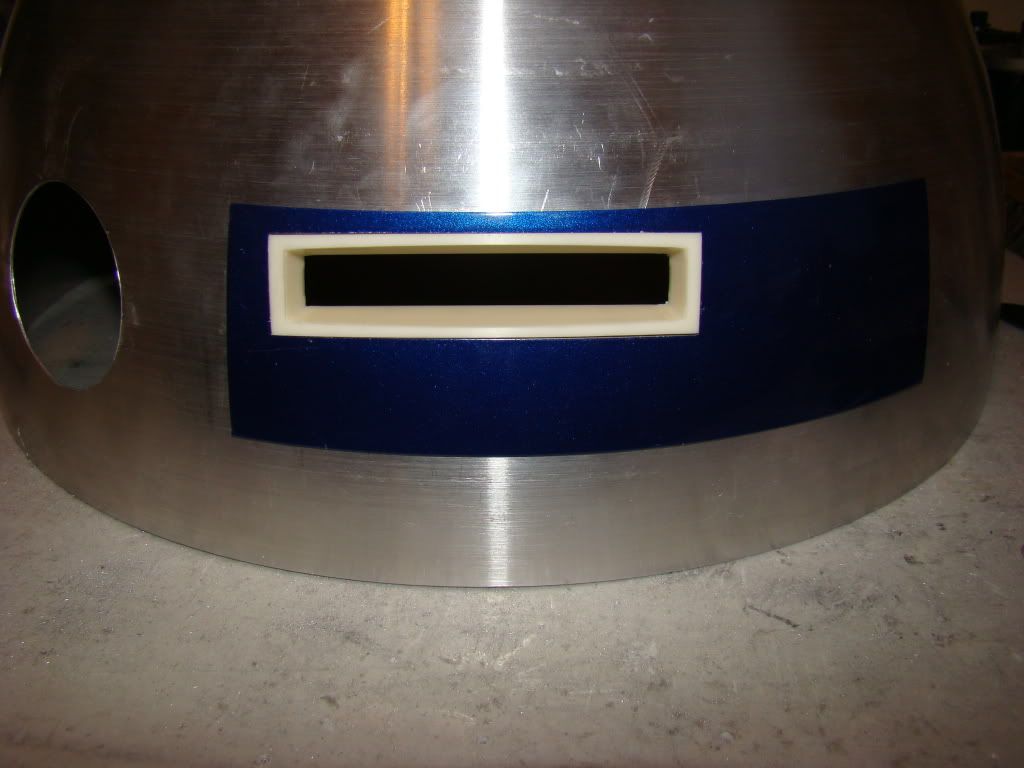
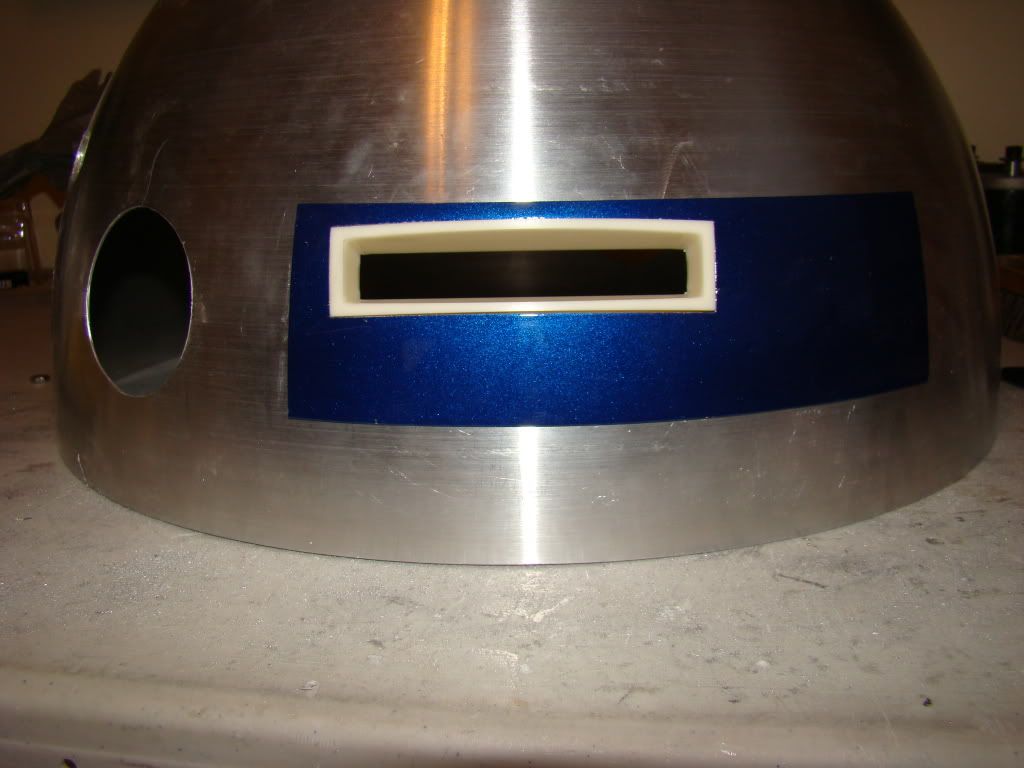
And finally some pretty shots, after much filing and sanding, followed by more filing and still more filing...

Photobucket

Photobucket

Photobucket

There ya go. All of the holes are cut in the inner and outer domes.

If I had to say which method of cutting the holes is best, I'd probably go with either using the widowmaker all the way through (requiring 2 people) or using it most of the way through and cutting the pie panels. The drilling takes a while (pick up some 10-packs of 1/16" bits at HF if you do this) and several bits, and then once you're done bending the pie panels out, you've still got a nasty edge to file.

OH, LAST BUT NOT LEAST, AND POSSIBLY MOST IMPORTANT, WHEN USING THE WIDOWMAKER, PULL THE DRILL BIT OUT AND USE THE POINT INSTEAD!! the drillbit will cut sideways, meaning your center moves, and thus you start cutting an oval instead of a circle!