If that's not enough of a clue, you'll catch on shortly.
If not, Google it.
So I ordered another A&A kit from Astromech.net , the droid builder's website. This time it's not an R2 kit. If you don't know, A&A makes ABS plastic flatpack building kits for robots.
Here's a shot of the glue I ordered from Amazon:
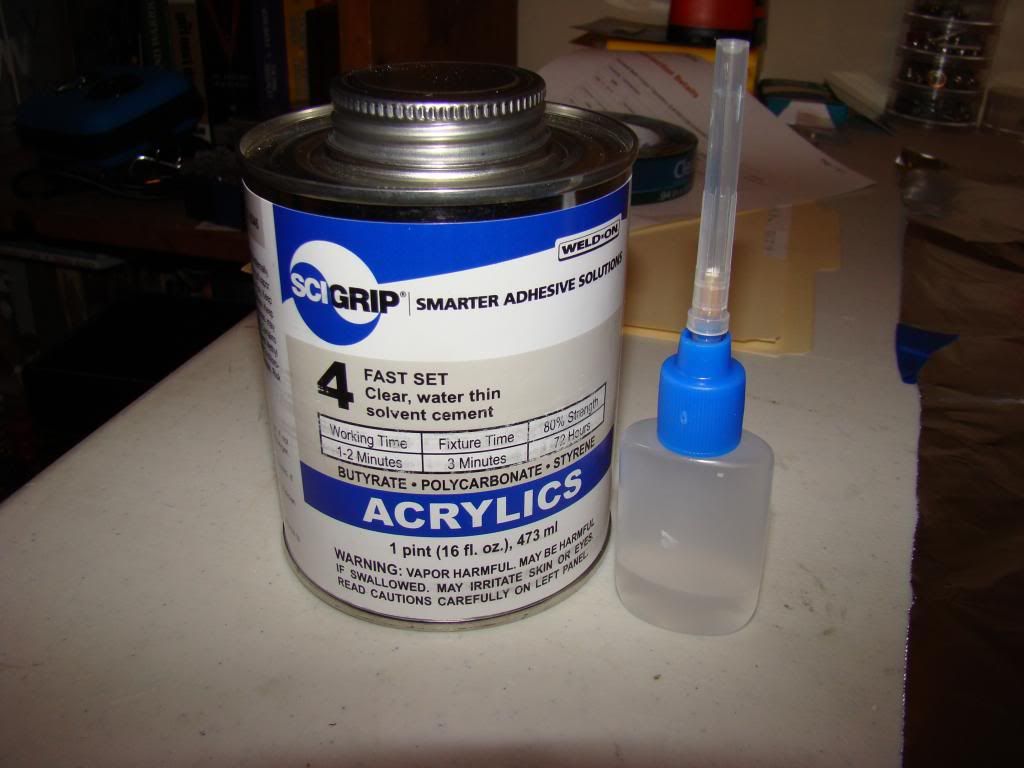
It's called Weld-on 4. The number 4 indicates that it's a liquid. They also make a Weld-on 16 that's more like a modeling glue as far as consistency, but for this build everything I read said that 4 is the way to go, because it's a liquid and it can get into the joints quickly.
Anyway, on to the production shots! Here's a pic of the lower rear piece taped and ready to be glued:
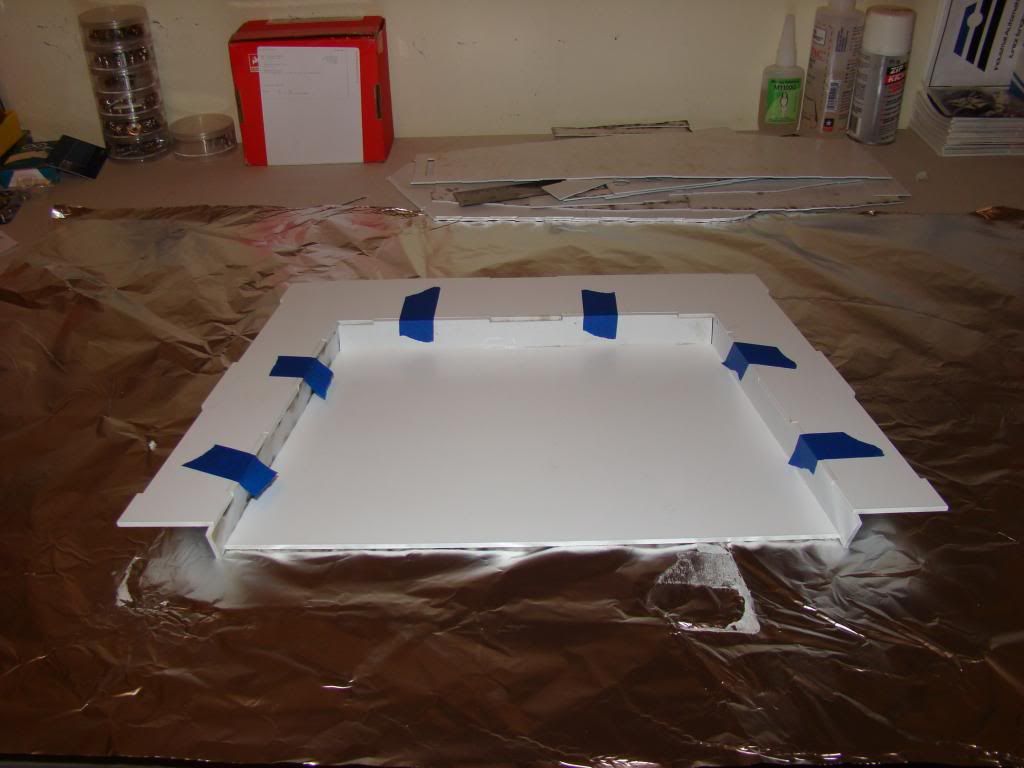
At this point I will mention that the table I'm working on is plastic. I wasn't sure how the glue would react with the table (apparently it doesn't near as I can tell) so I taped some aluminum foil together for a work surface. That's why the table is shiny.
I bought some blue painter's tape at the Wally world, since it was what was handy. Unfortunately it's "quick release" so I think maybe it doesn't stick as well as regular masking tape. Oh well, I bought two rolls of it, so it's what's getting used. You can see here that it really doesn't want to stick:
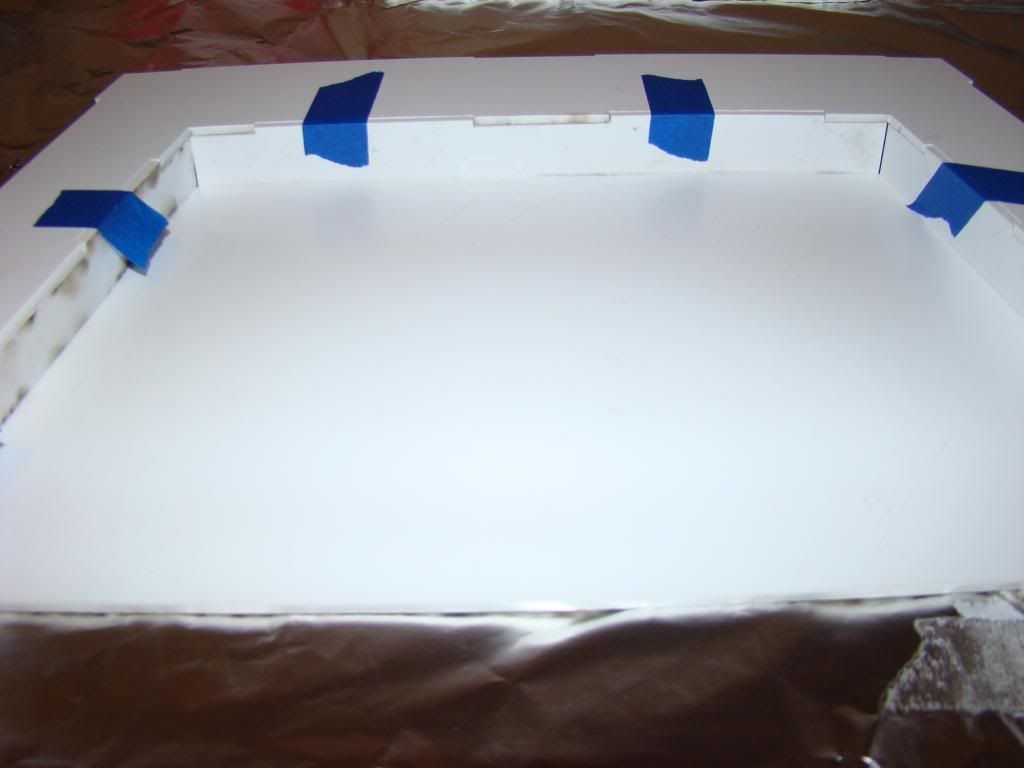
No matter, the tape sticks long enough for the plastic "welds" to set.
Here's a shot of what the joints look like after glue and tightening the tape:
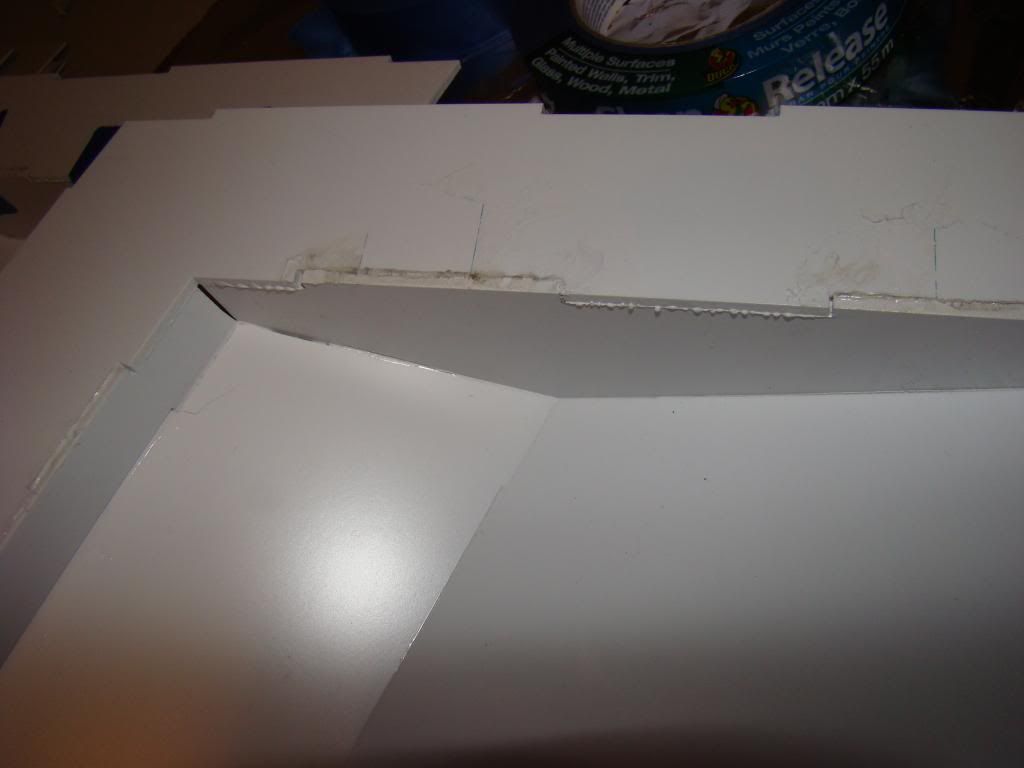
There's going to be some sanding required, as well as some filler that'll need to be sanded too.
Here's a shot of the lower side panels glued, in the process of tape removal:
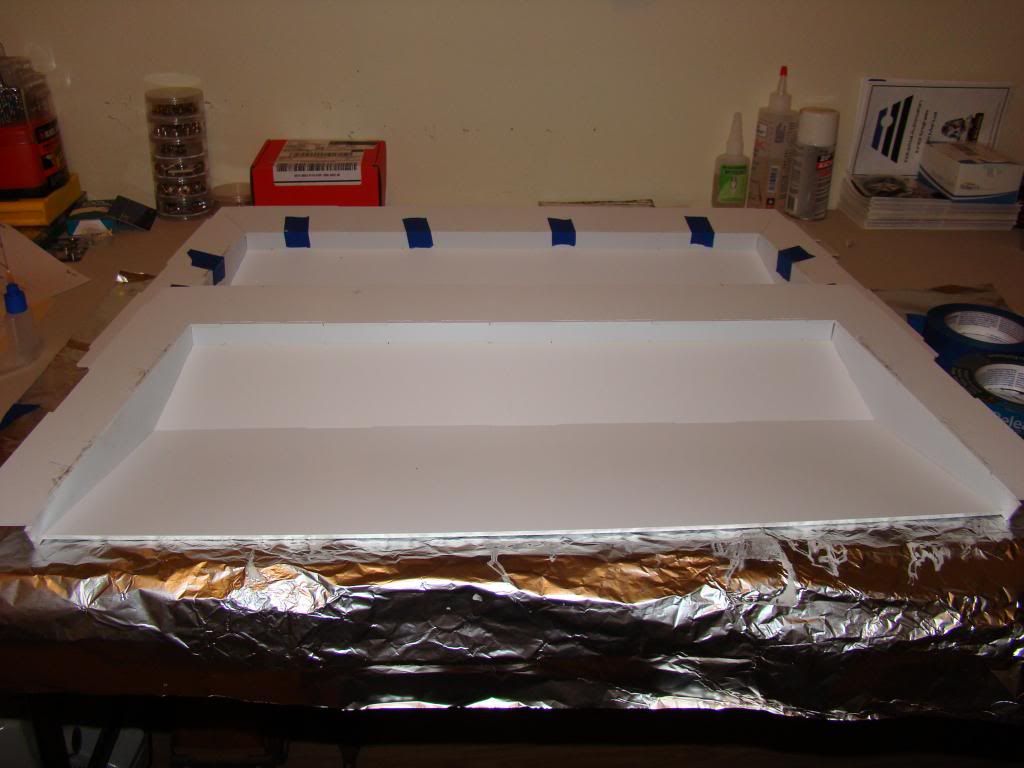
And here's a shot of all 4 lower panels after glue:
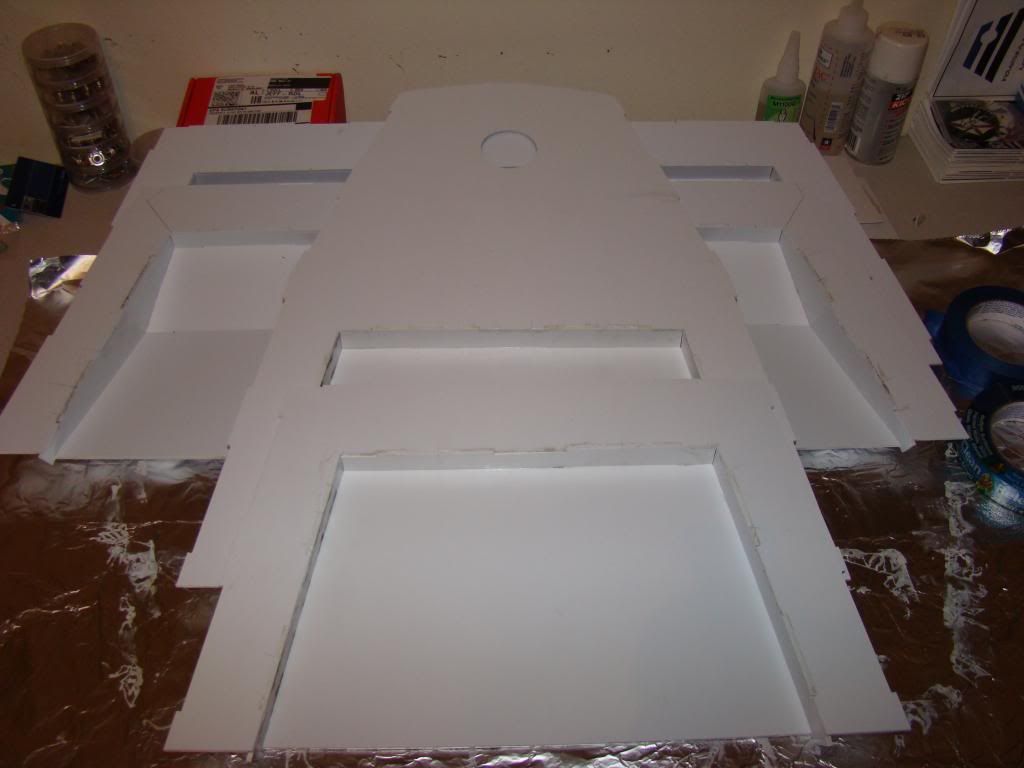
In that last picture you can see where the glue puddles on the foil after having run down the joints.
Next up, the 4 lower panels taped together before gluing:
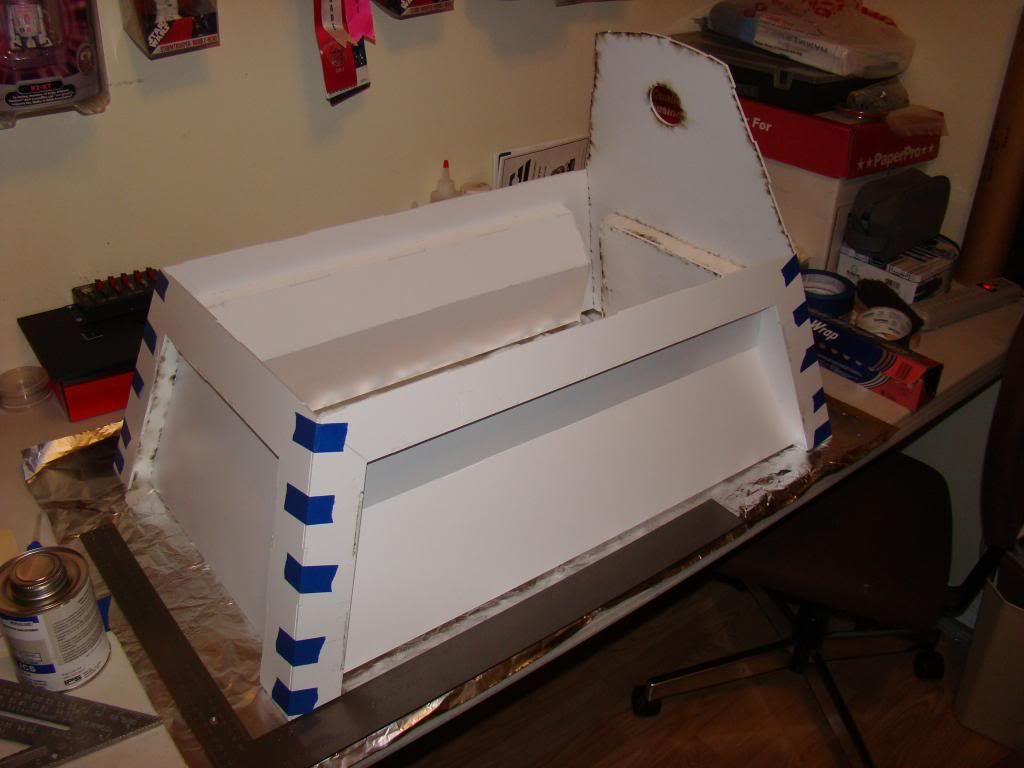
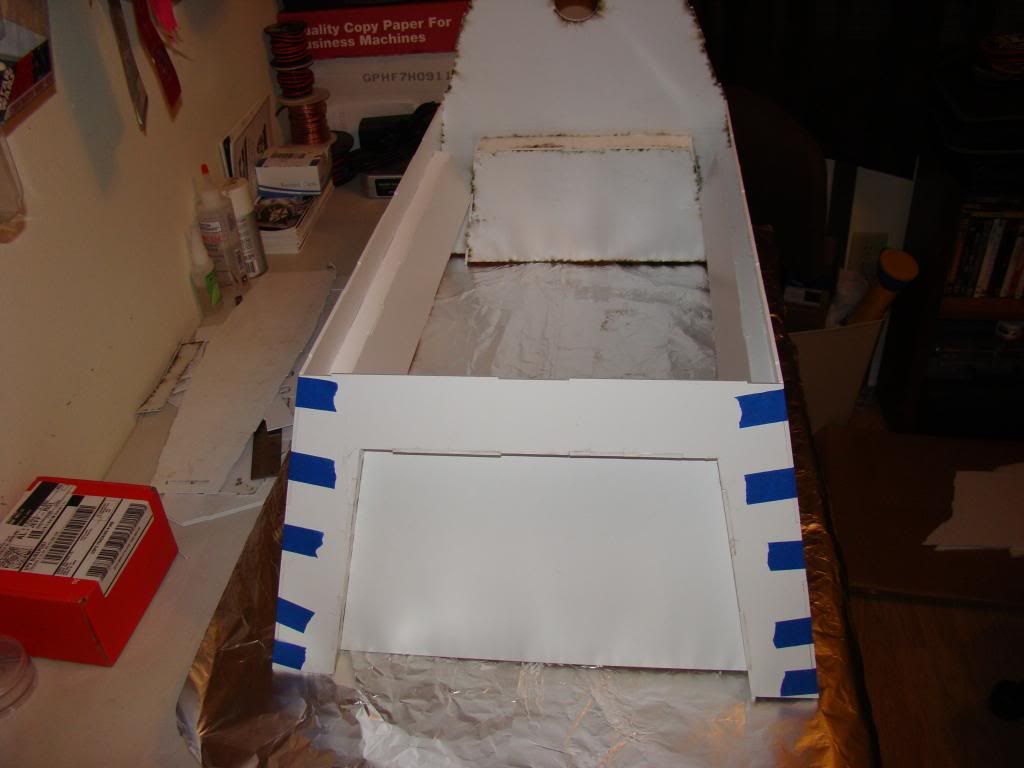
Once the lower panels were taped together, I realized that there was no way I could just glue them and hope that they'd be square, so this happened:
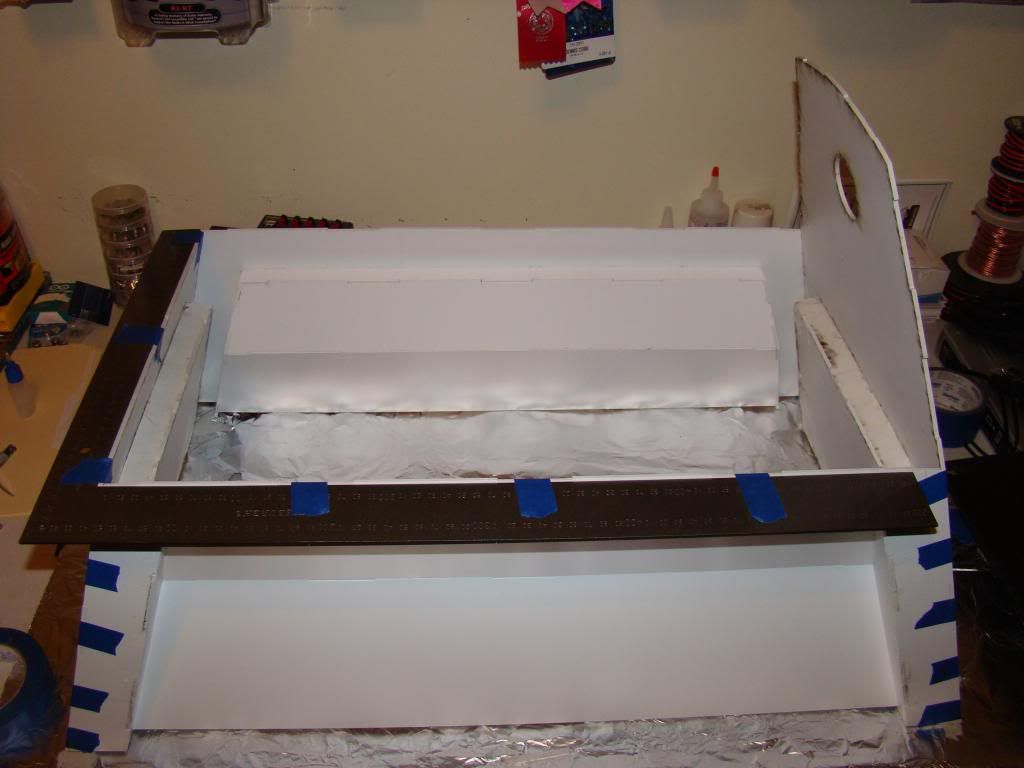
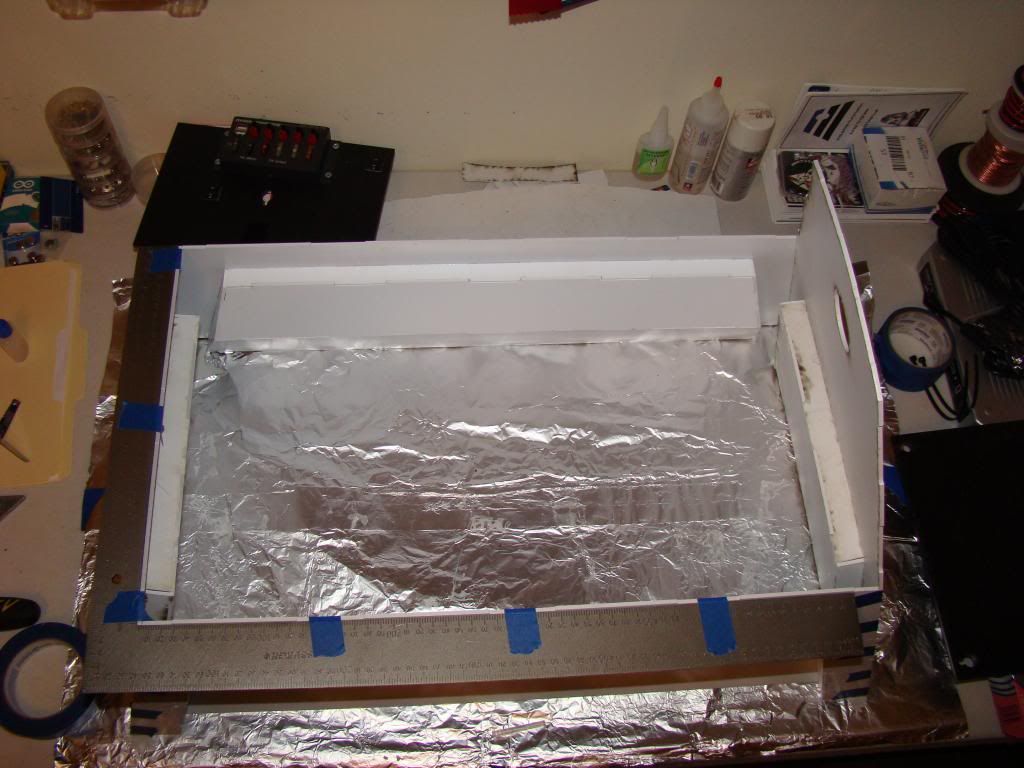
Hopefully that worked out. Looks like it has so far.
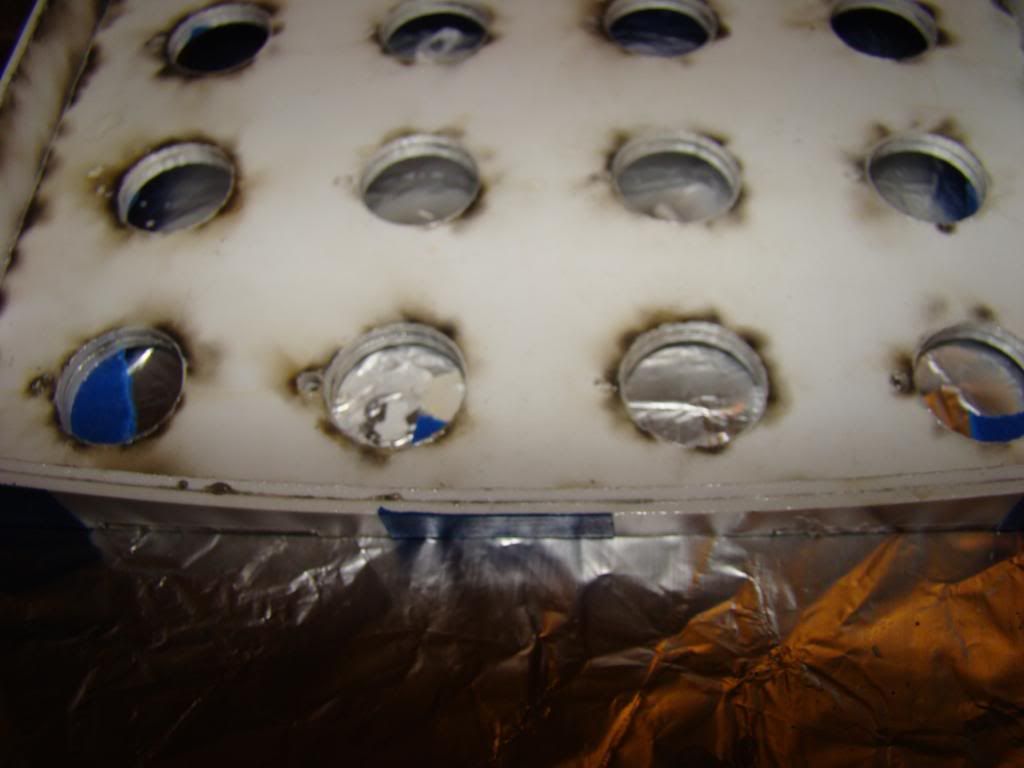
Also built the "control panel". Here's a shot or two. One of them shows the doubled up pieces that add strength to the thin ABS:
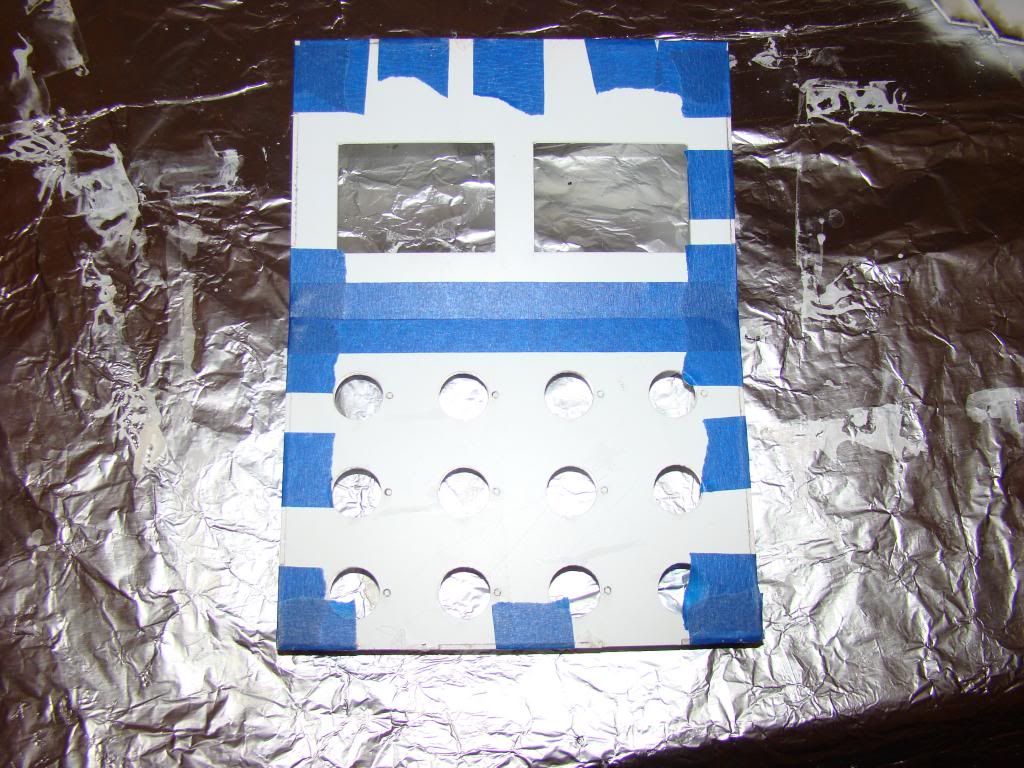
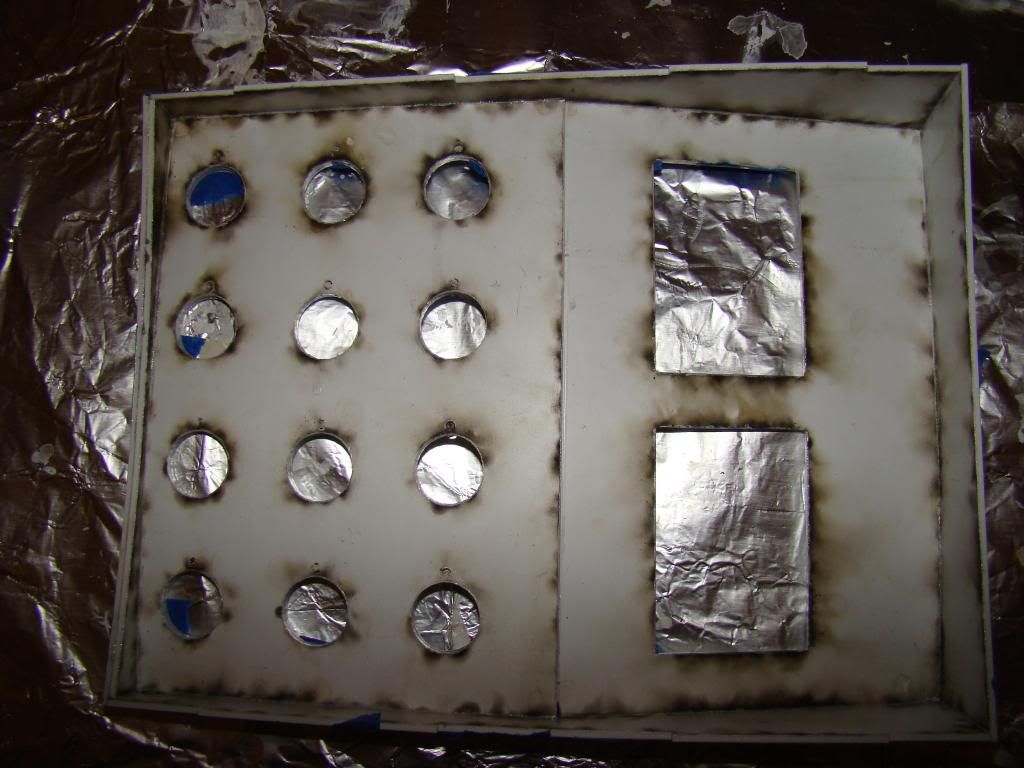
That's all the pics I have for now. If you haven't figured it out already, I'm building K-9 from Doctor Who.
After the success I've had with my R2 using the PlayStation 2 wireless controller, that's the direction I'll be going with K9 as well. Almost doesn't make sense to have a controller half as big as the robot.
So far, I've picked up a couple of Arduinos from SparkFun as well as as MP3 Trigger board for sound. I already have a RigRunner 4004U power panel from West Mountain , and extra 12V batteries from R2.
I'll post more soon!
No comments:
Post a Comment