It's done.
Seriously though, I've spent almost as much time upgrading the feet as I did building the whole droid the first time around.
Luckily I'm usually pretty good about grabbing my camera and snapping pics along the way.
Here they are.
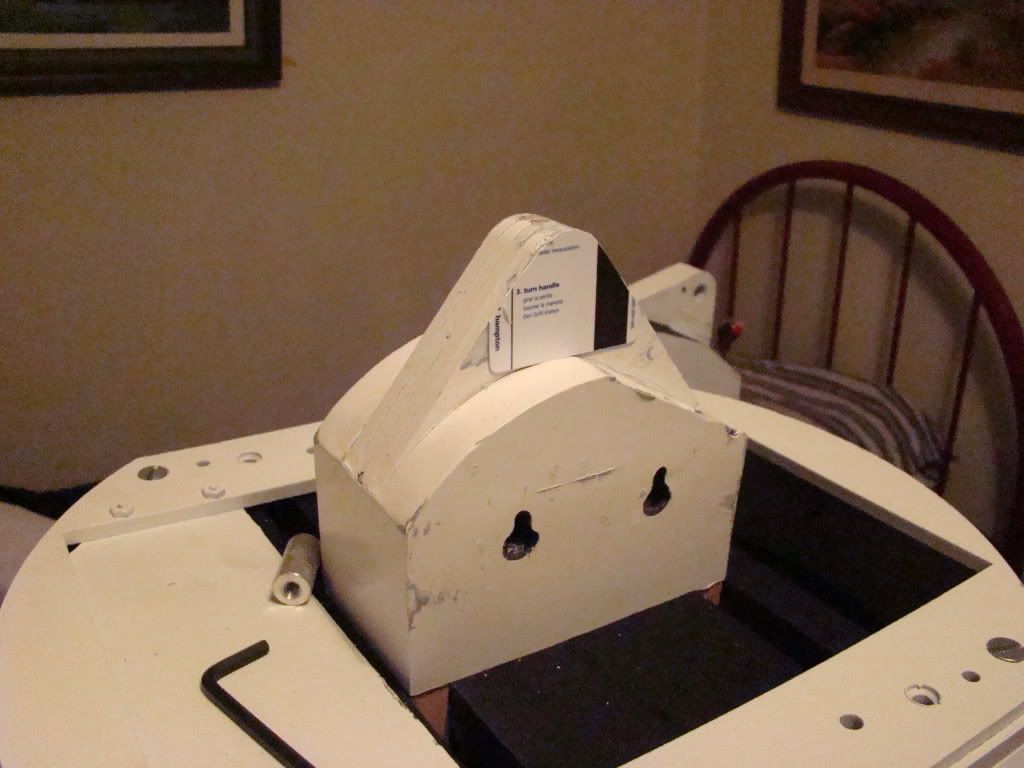
Had to thicken up the center ankle a little bit:
Drilling the KHF holes with the step bit:
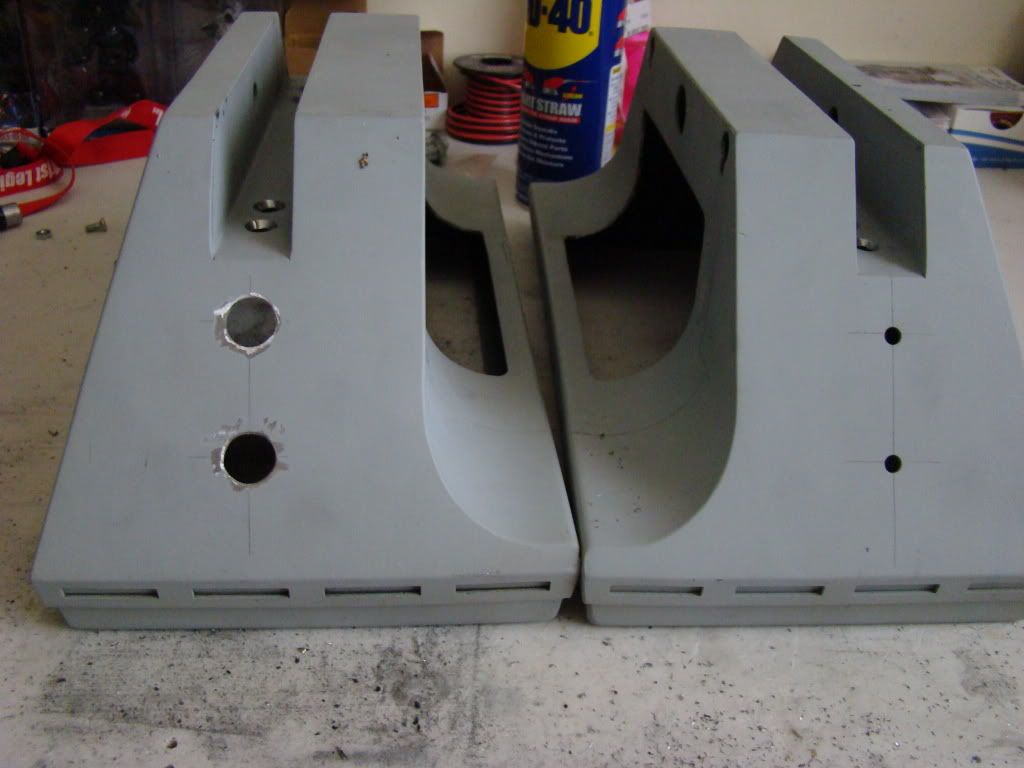
Holes for the power wires to pass through:
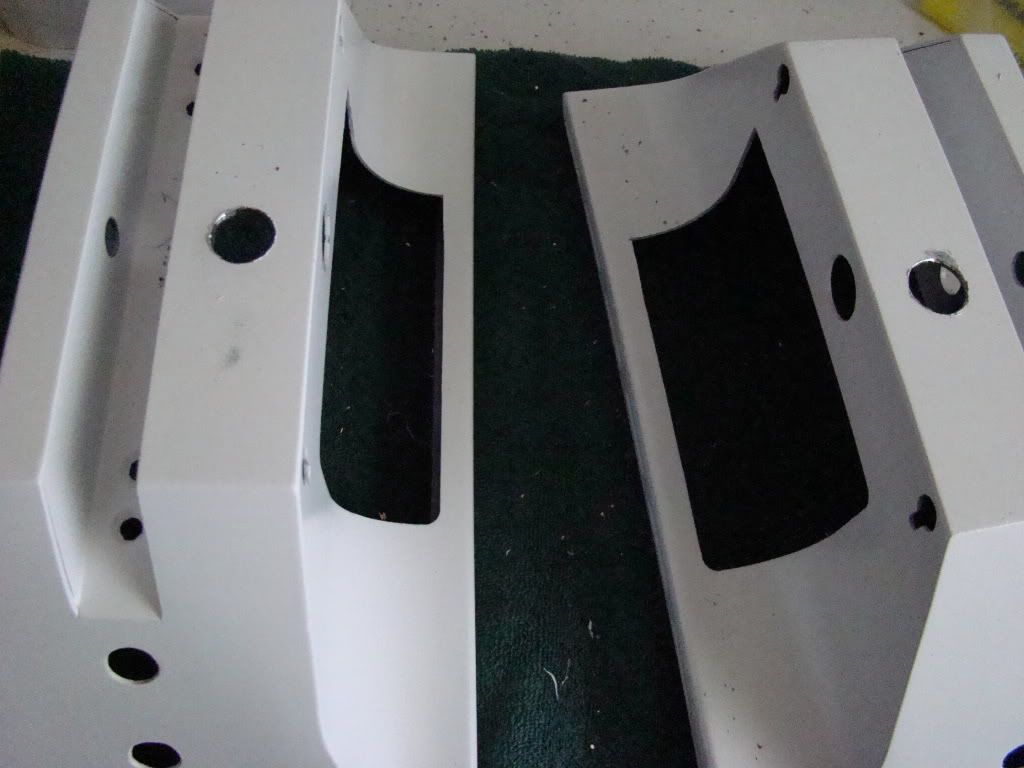
Center Foot detail strips applied:
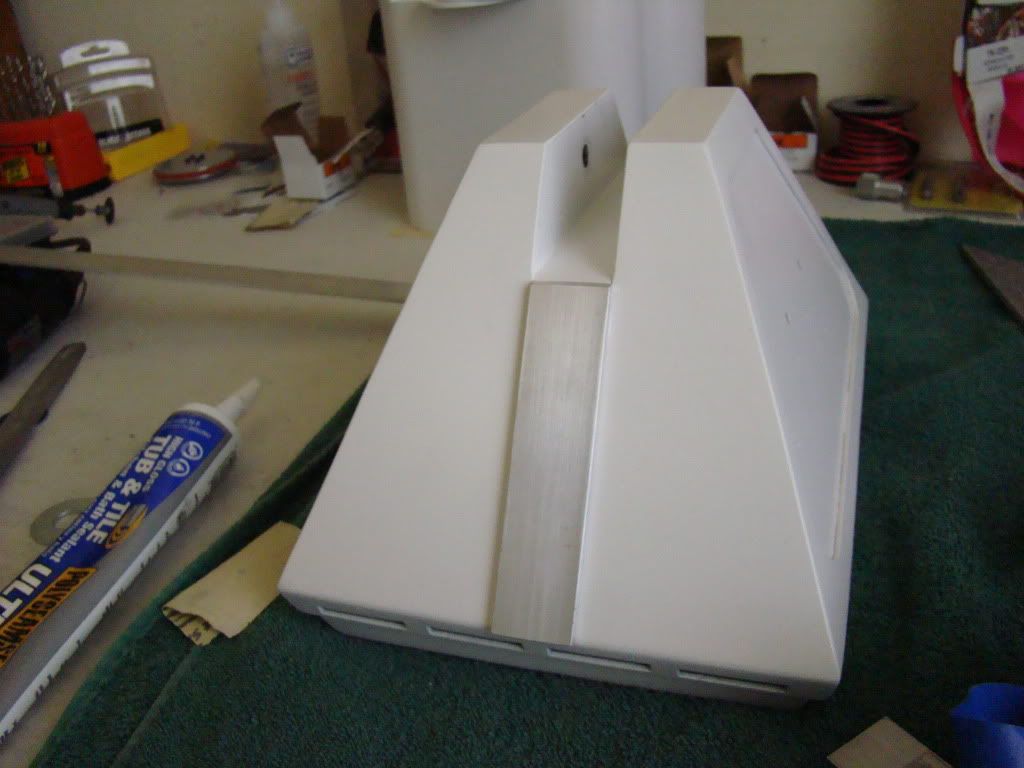
Outer feet foot strips:
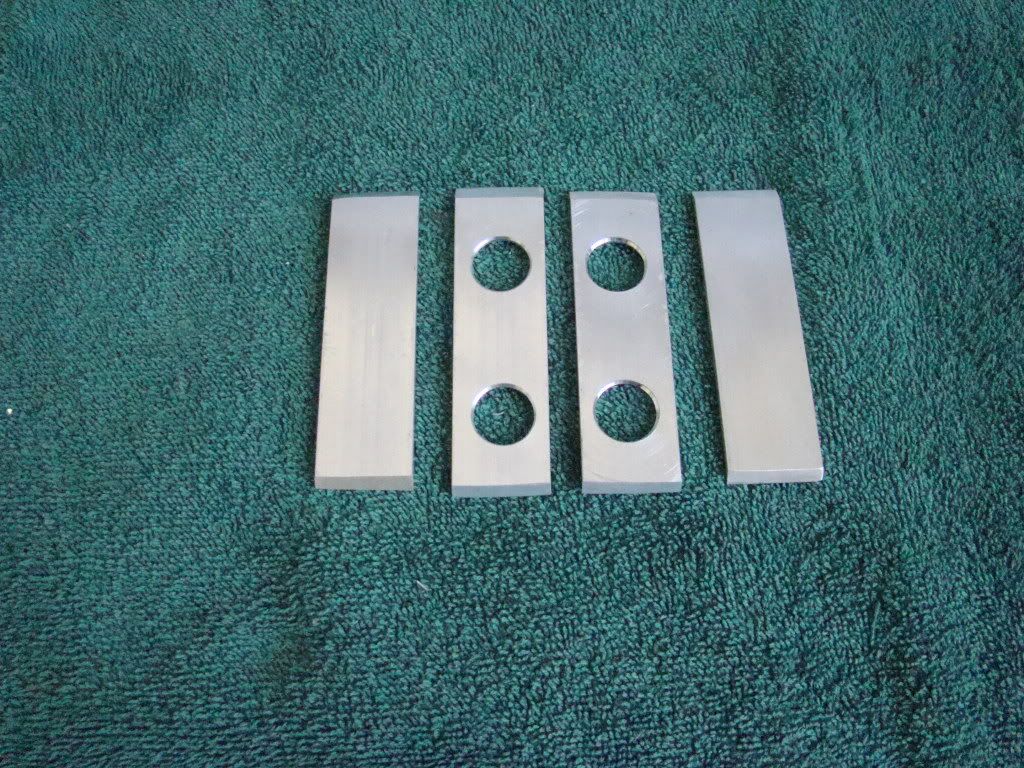
The foot strips are homemade, from a piece of 1"x1/8"x36" aluminum stock from Lowe's. Cut to length with the dremel, ends angled on the table sander, and holes drilled with the drill press and the step bit.
A couple of painted and detailed feet shots:
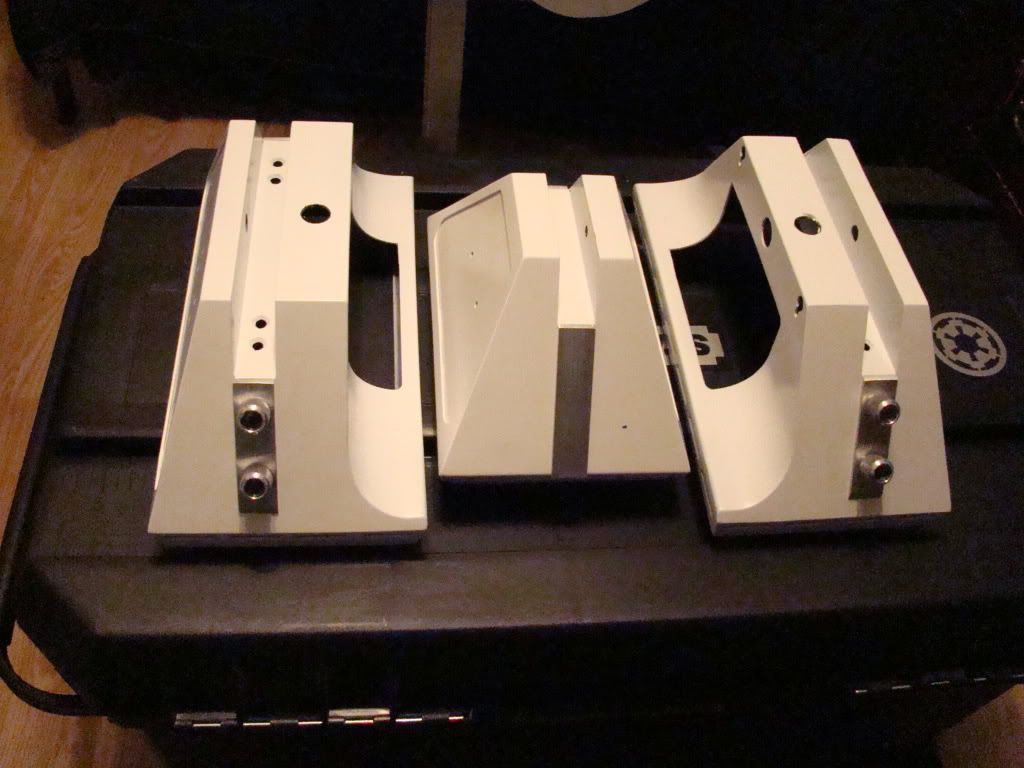
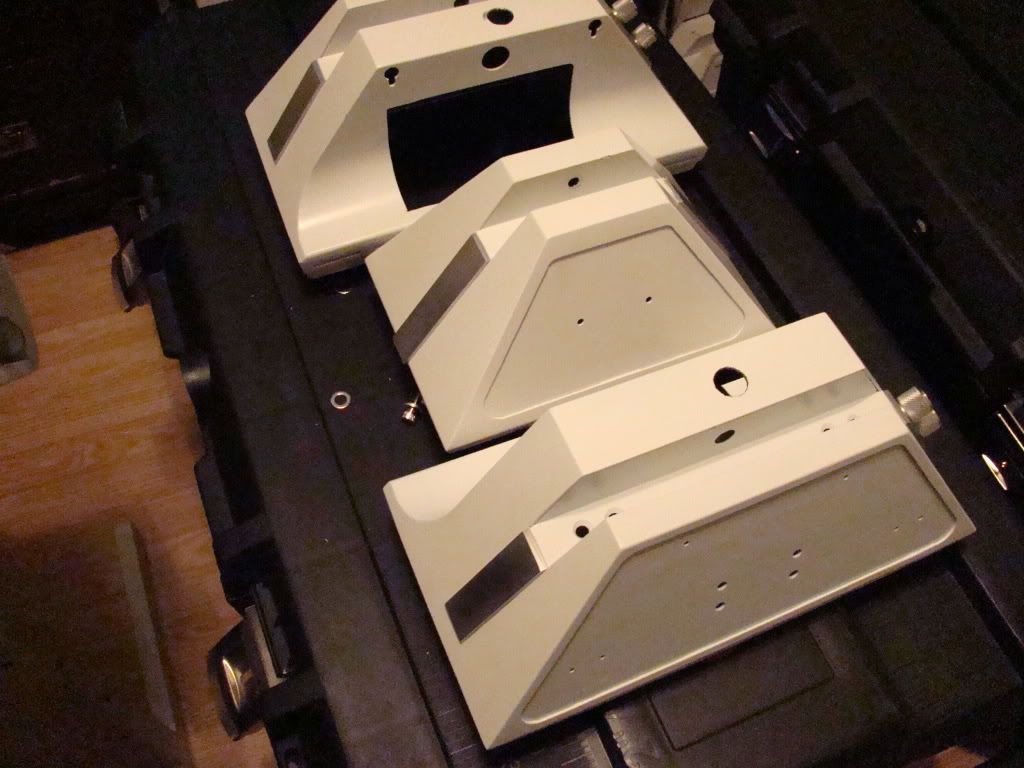
Center Foot mounted:
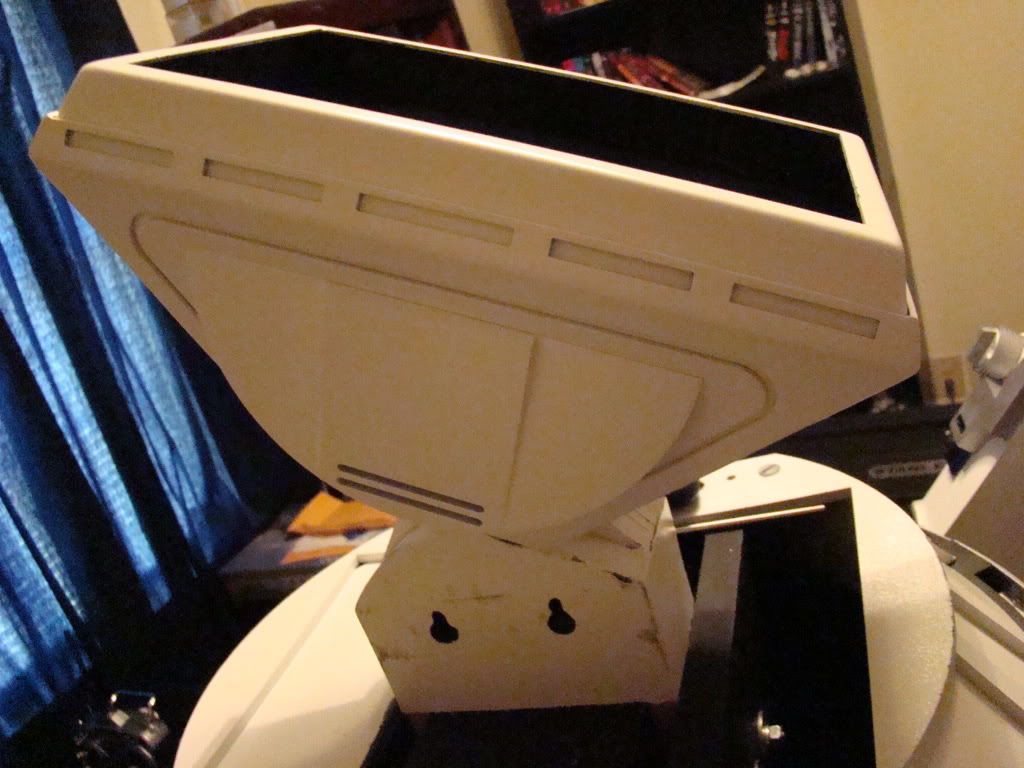
Center foot completely assembled:

Outer feet mounted:
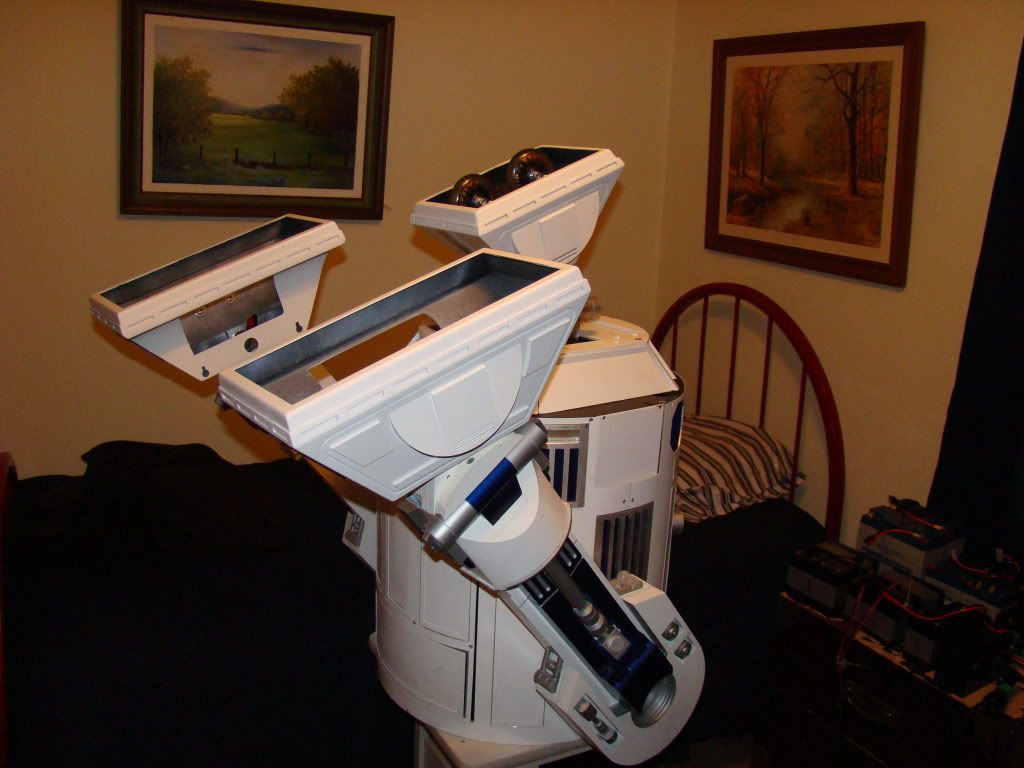
Outer feet completely assembled:
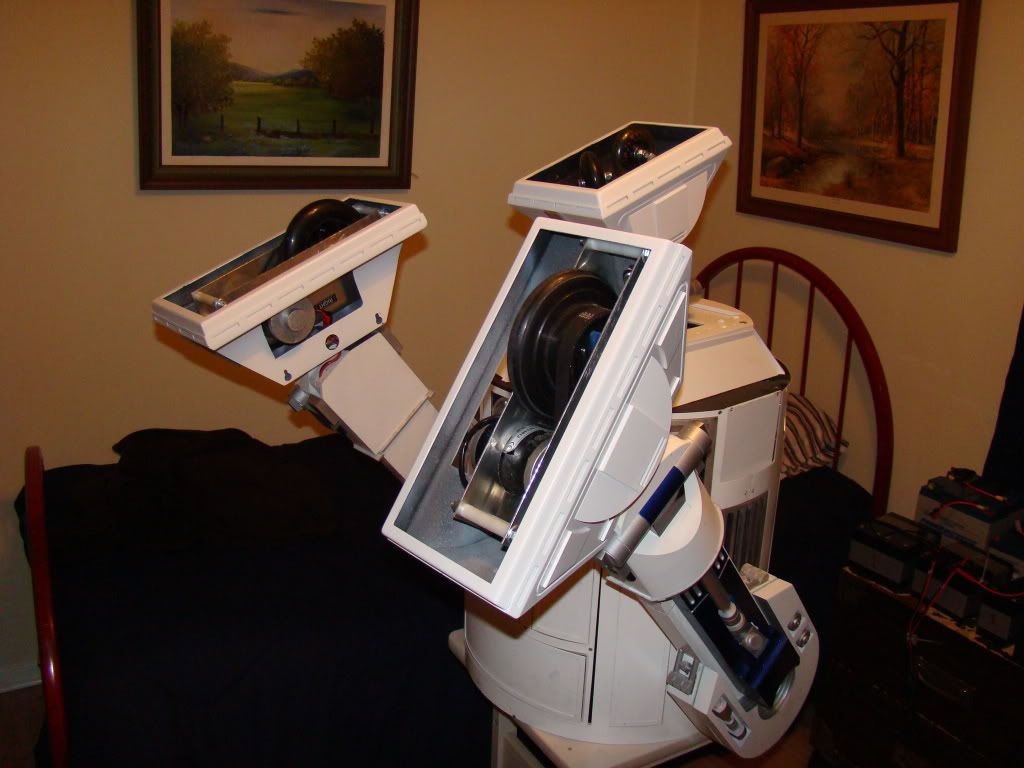
You can see that the foot channels aren't tight on the ankles, mainly because when the bolts are tightened, the metal doesn't squeeze together like the plastic ones did...
To remedy that, I brought in some bricks from the backyard and used them under the front and back of each foot to level them out so I could add a locking screw through the foot and ankle next to the mounting bolts.
Thing is, I only brought in 2 bricks, and did each foot separately. And the bricks were 3/4" taller than the finished foot, meaning that the whole angle I secured the feet at was wrong. The feet sloped towards the ground in the back.
Luckily there was just enough wiggle for me to level out the feet and put some creatively made spacers in place to hold the foot level:
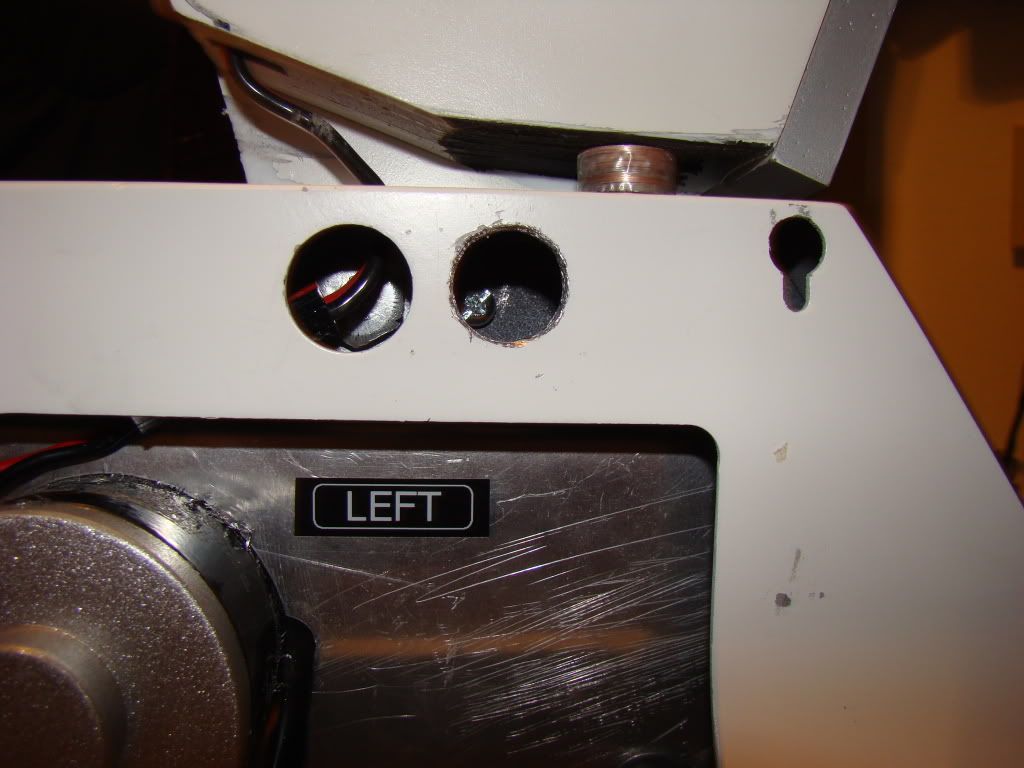
In that shot you can see both the "spacers" and the locking screws. The good thing about those spacers is, other than the small drops of superglue and the 4 inches of tape, they only cost 13 cents :D
That should just about cover it, although it's in much less detail than I'd normally go into, mainly because it's 8 months worth of work crammed into one post.
All that's left to finish before DragonCon now is putting on the battery boxes and the hoses, which are ready to go. Silly thing is, it'll take 3 minutes to do the work, and an hour to document it...
No comments:
Post a Comment