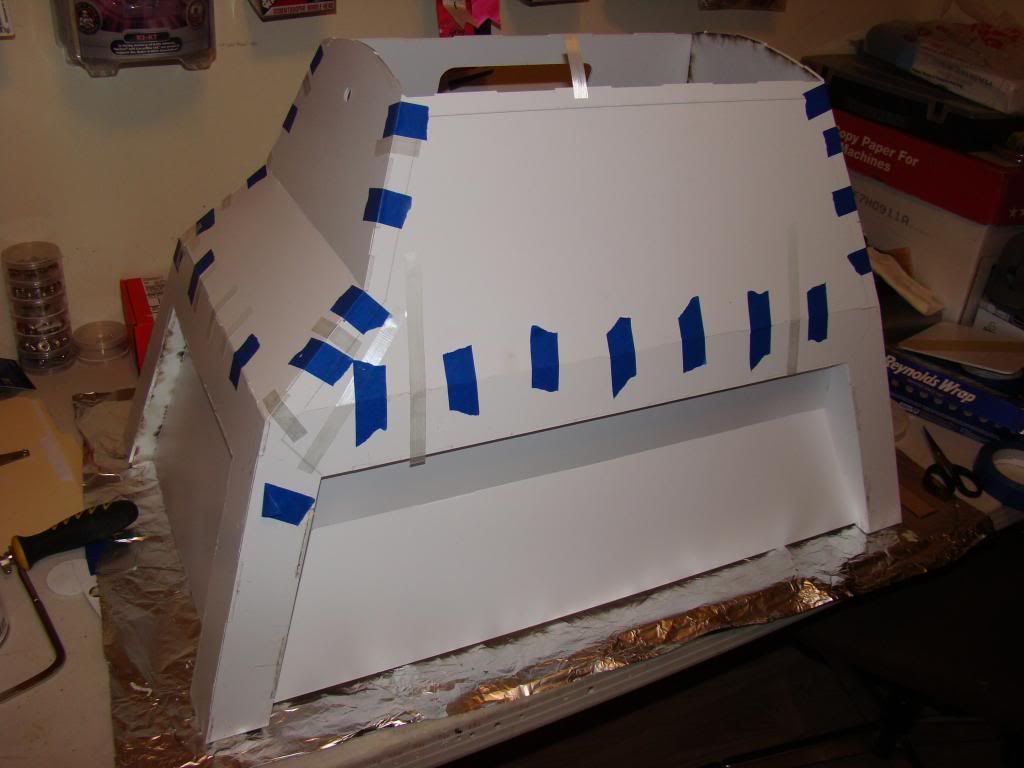
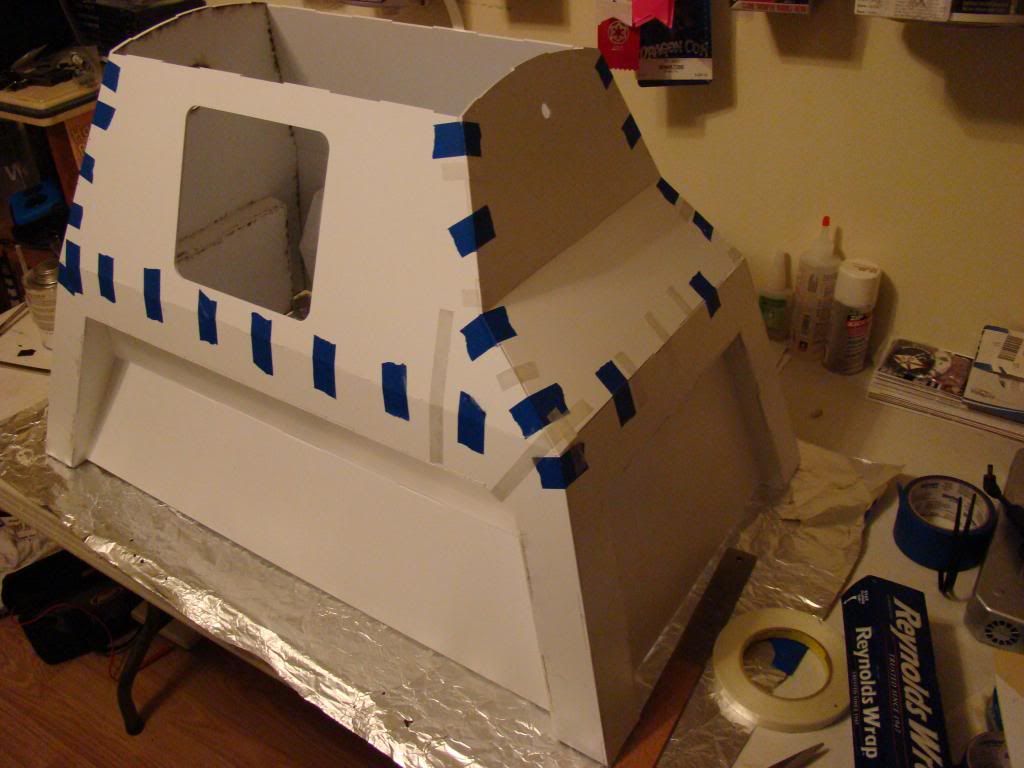
I built and glued the sides first, then the back, since it had the angles and such.
As you can see, I used some packing tape in several places where strength was needed to pull some of the pieces together. That's the tape I used when I was "stretching" R2's aluminum skins around his frame. It doesn't tear, and doesn't let go by itself.
I also hit Lowe's today and bought some aluminum angle pieces. A couple of 1/16" 1/2"x3' angle pieces for the bottom side supports, which I saw another builder do, to keep the bottom of the body from flexing too much, a 1/16" 1"x3' for inside support to attach the handles to, and for neck tube support. I also picked up a 1/16" 1" square tube for the neck and some other inner support, as yet to be determined.
And, if that weren't enough, I picked up a couple of drawer pulls that look a lot like the ones in the reference photos I've been checking out. Only problem with them is that they are chrome and not brushed stainless. I'll probably look around at a couple more hardware stores before I actually use them.
This evening I decided to add some curved ribs across the top of the body, to support the top, and to assist with curving the top piece, again like I've seen another builder do.
Started off with some ABS donated by R2, from his old A&A feet. At the top is the paper template I cut out for the curve.
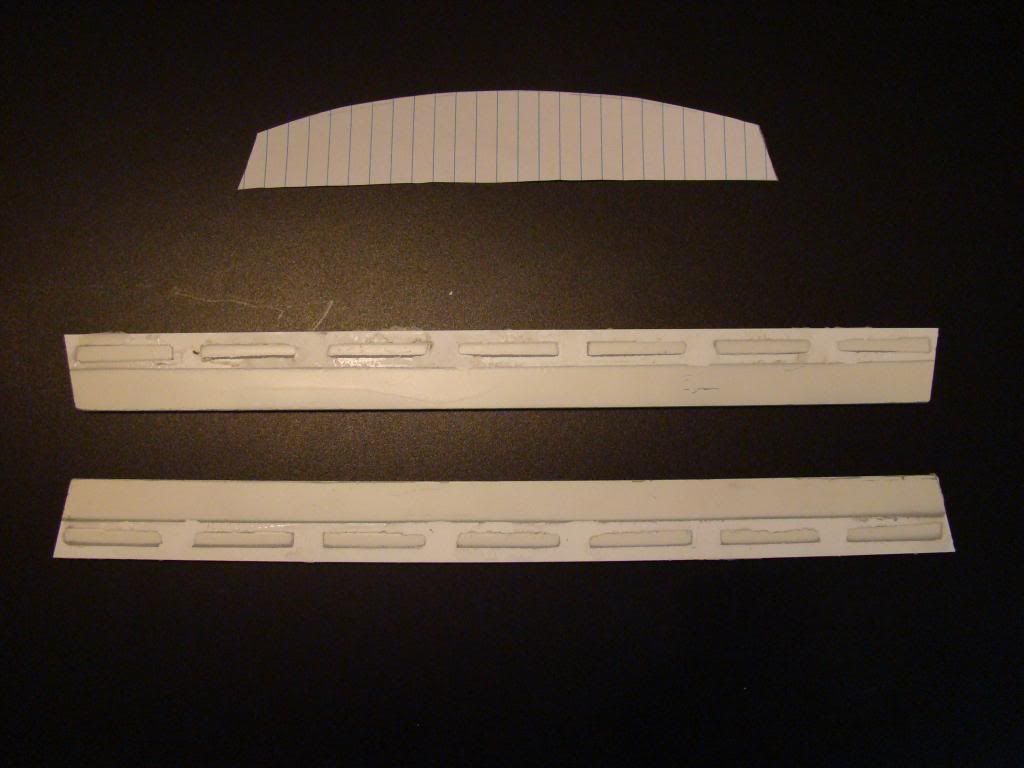
And, after using the belt sander, which hasn't seen much use in several years:
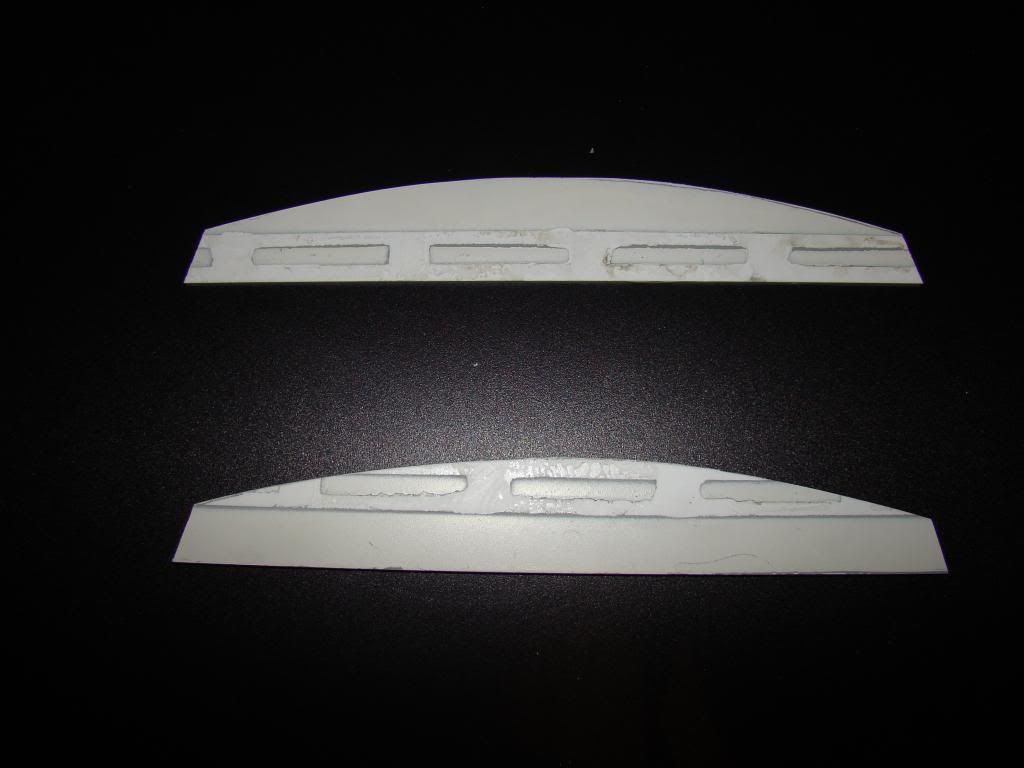
And here's the "blocks" that the ribs will sit on, to add support and make it easier to glue:
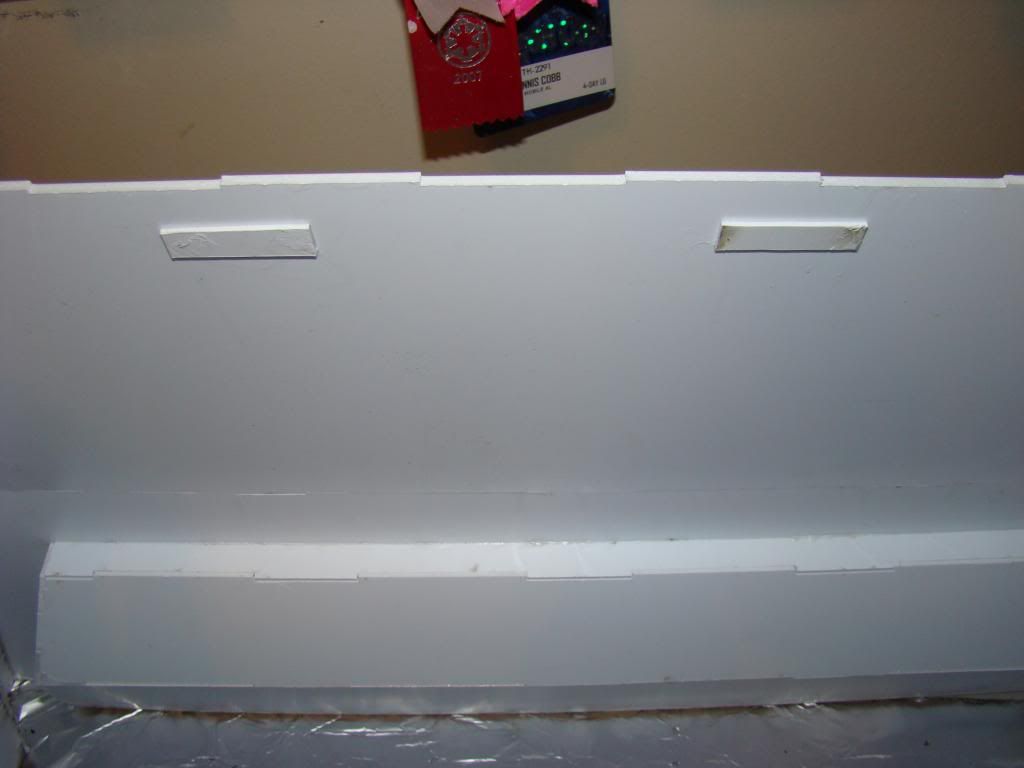
I used small spring clamps to set the blocks, but was afraid that, being plastic, they'd wind up glued in there as well, so I removed them after a couple of minutes.
After a couple of hours, I decided it was time to add the ribs:
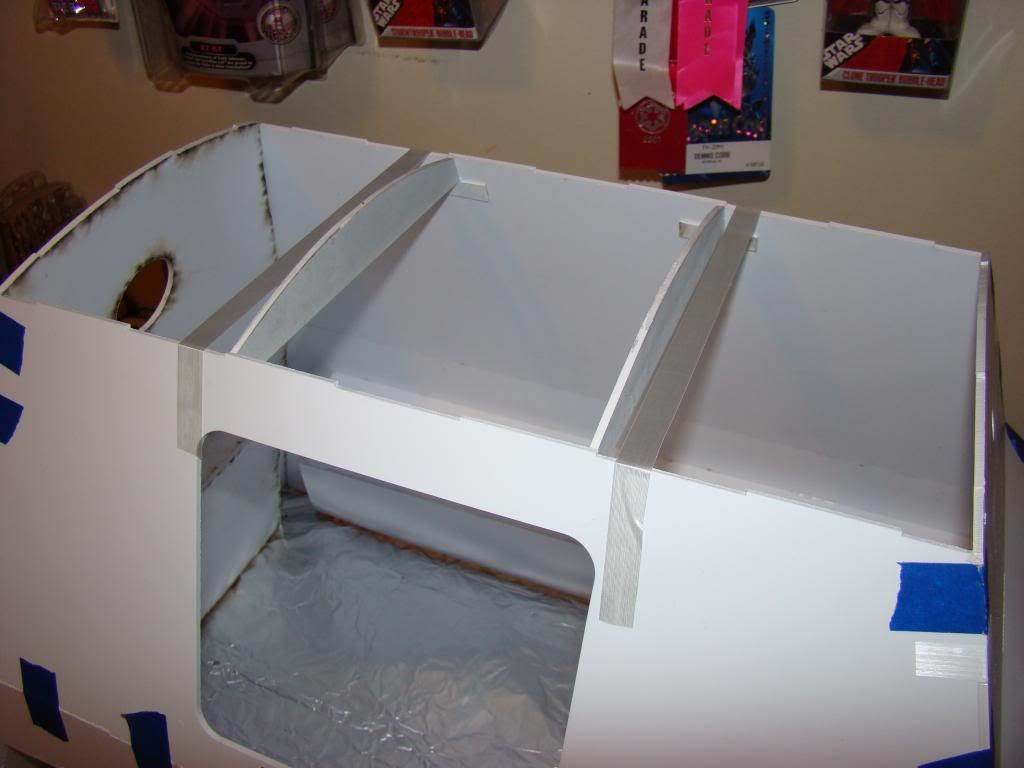
And, that's all the photos for today.
Been doing some thinking about how much movement I want K9 to have, besides driving around and head up and down. I've checked out the schematic for making a moving tail and another builder's diary, and I never even considered some of the things his build can already do. Guess I need to start learning how to drive servos with my arduinos...
No comments:
Post a Comment