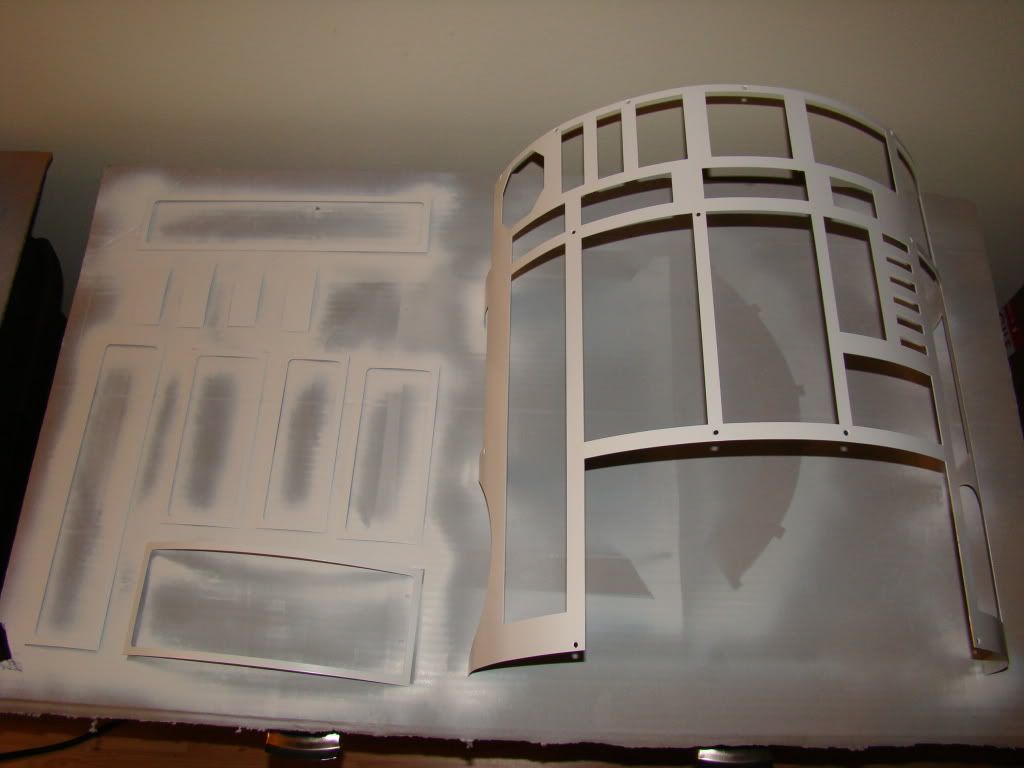
Start off with painting the outer skins. Forgot to snap a shot of the front ones just primered, so here's one all white:
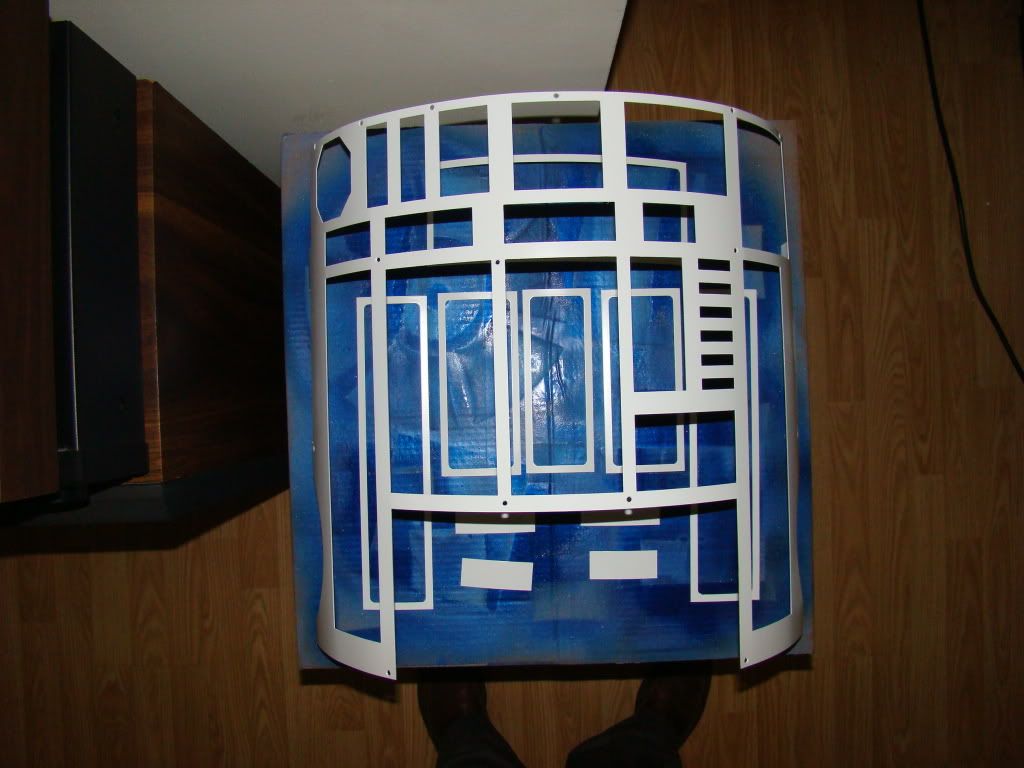
And the front ones on the "blue box" for better contrast:
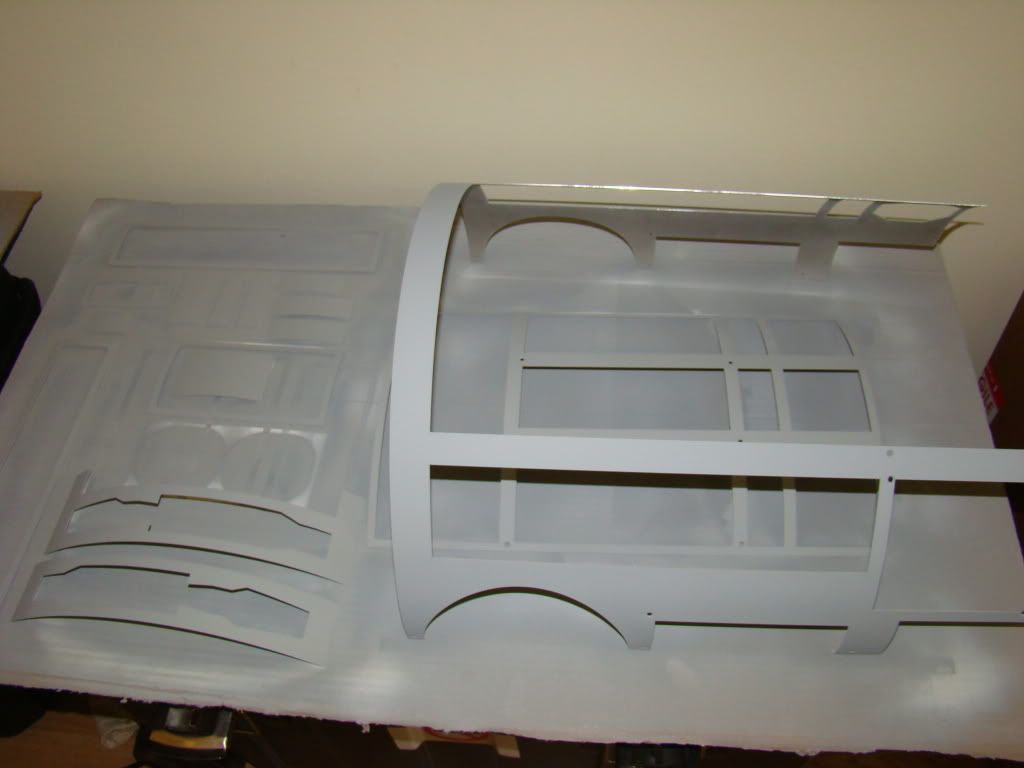
Here's the rear skins primered:
After paint, here's the rear inner and outer skins mounted to the frame, with the detail skin pieces taped in place:
I did the rear pieces over 2 days, tested by starting with the smaller panels across the bottom:
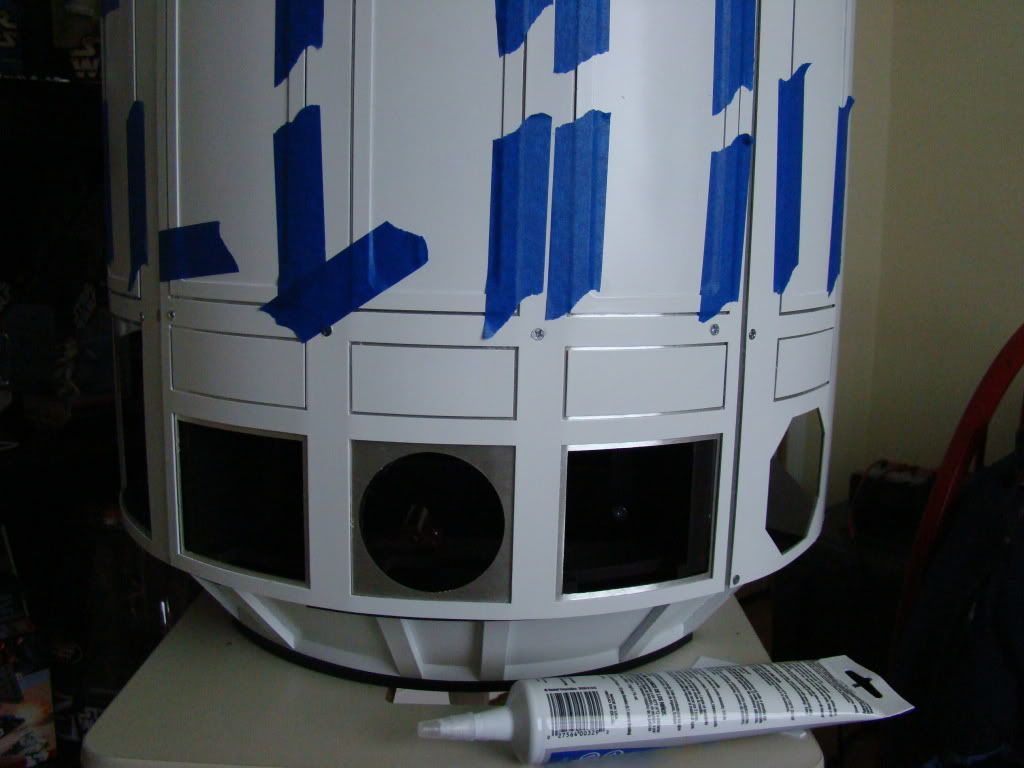
Here's what the rear skins look like with all the skin details in place:
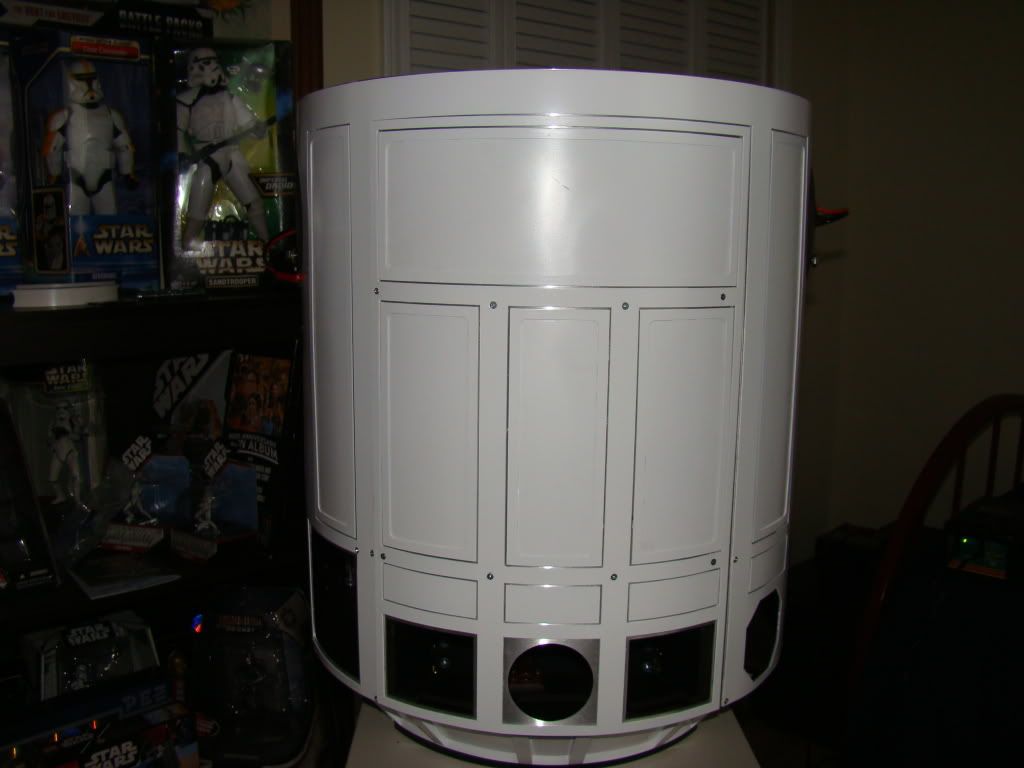
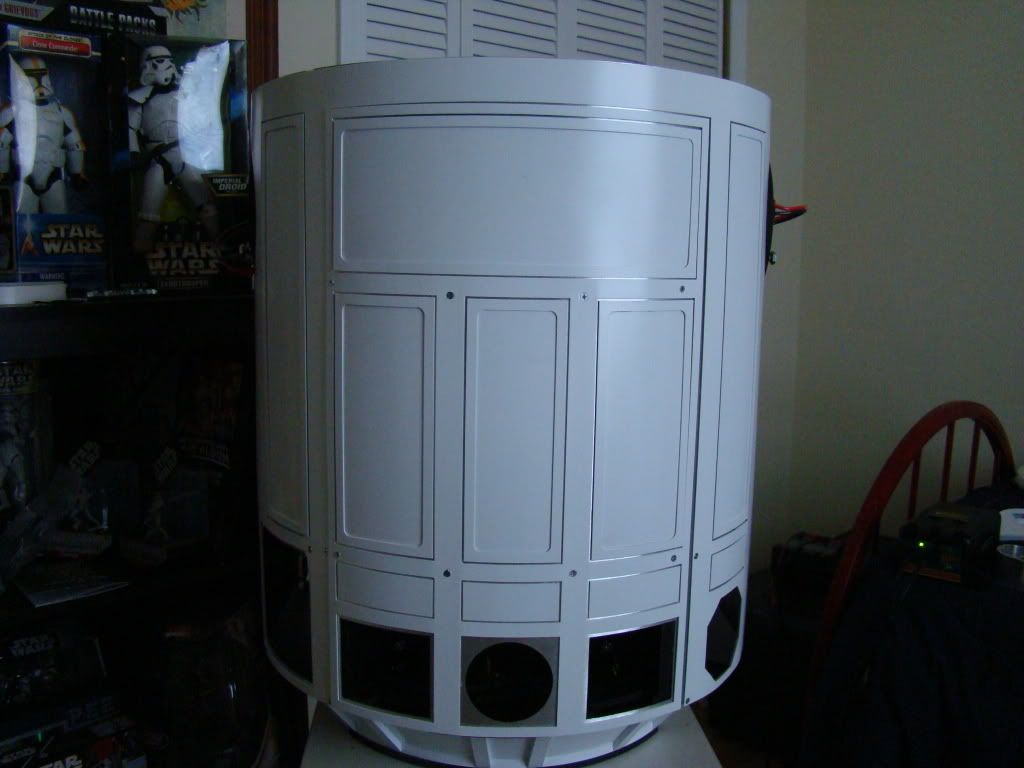
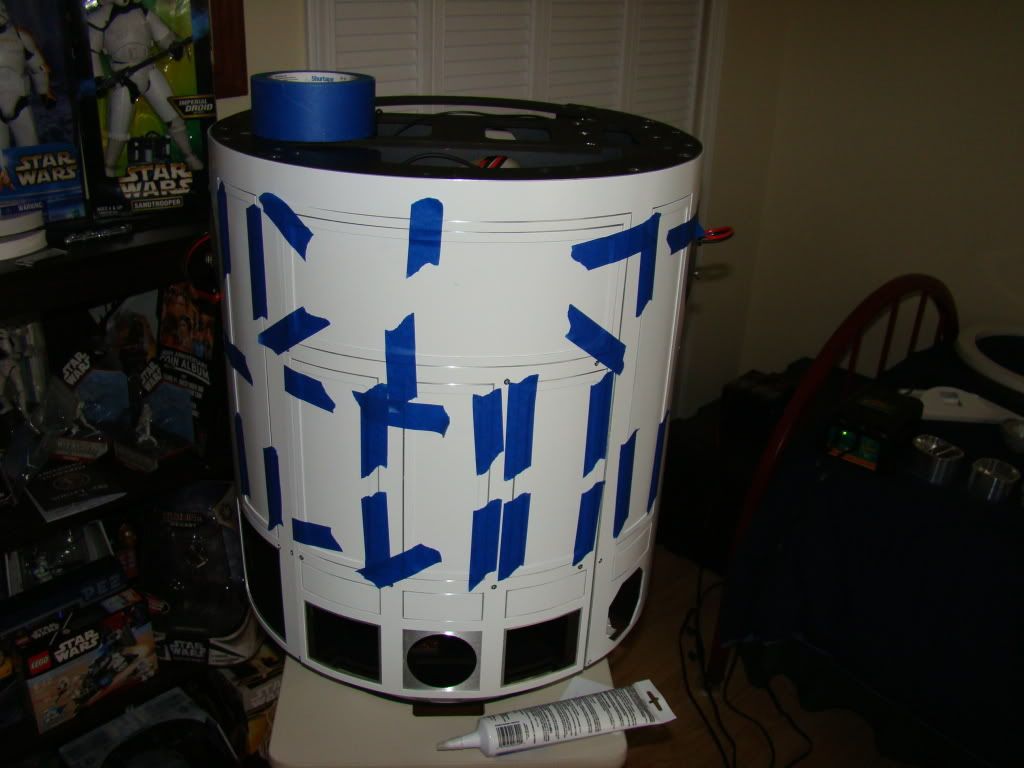
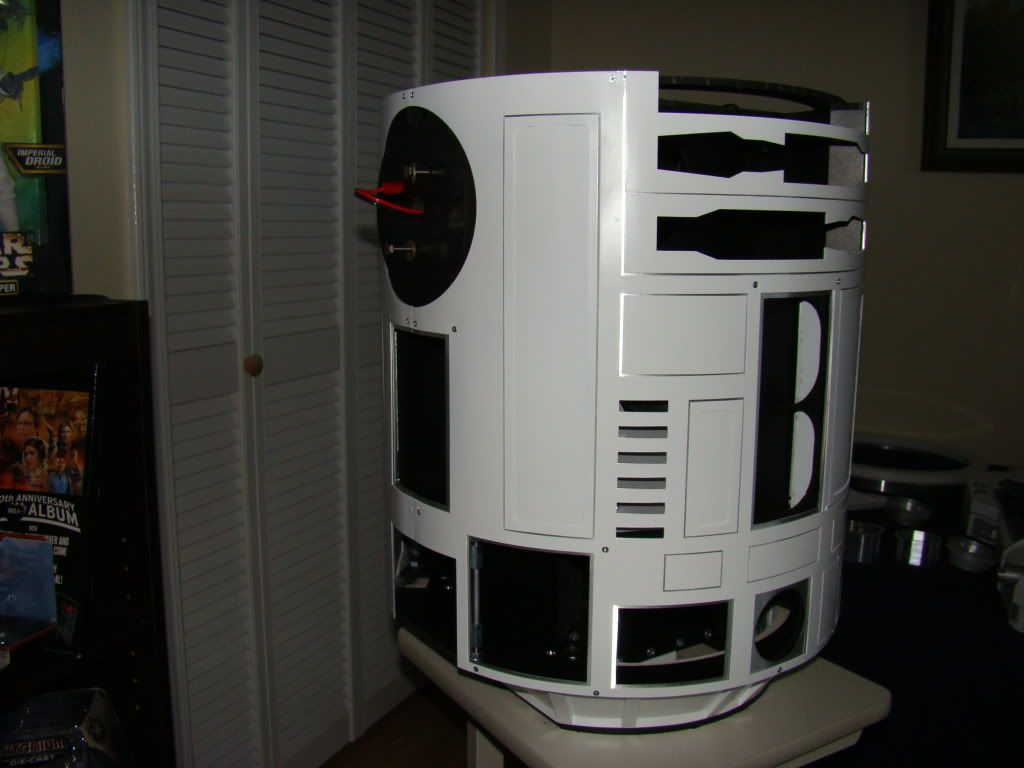
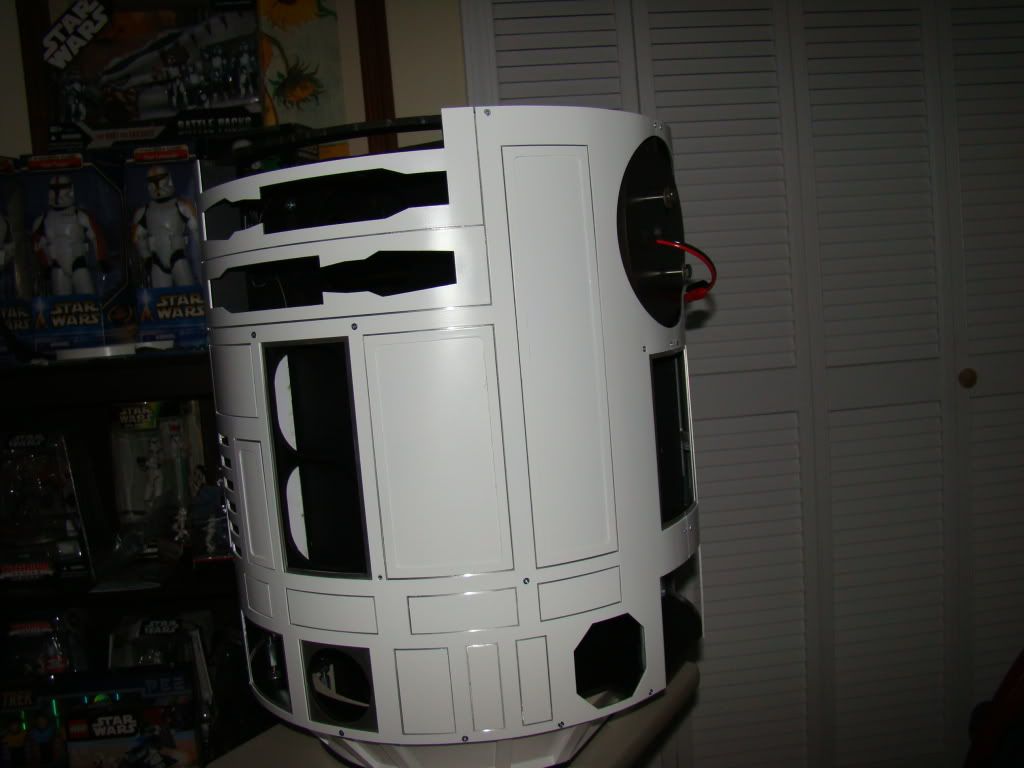
Here's a shot of the front inner and outer skins mounted, and all the skin details taped in place:
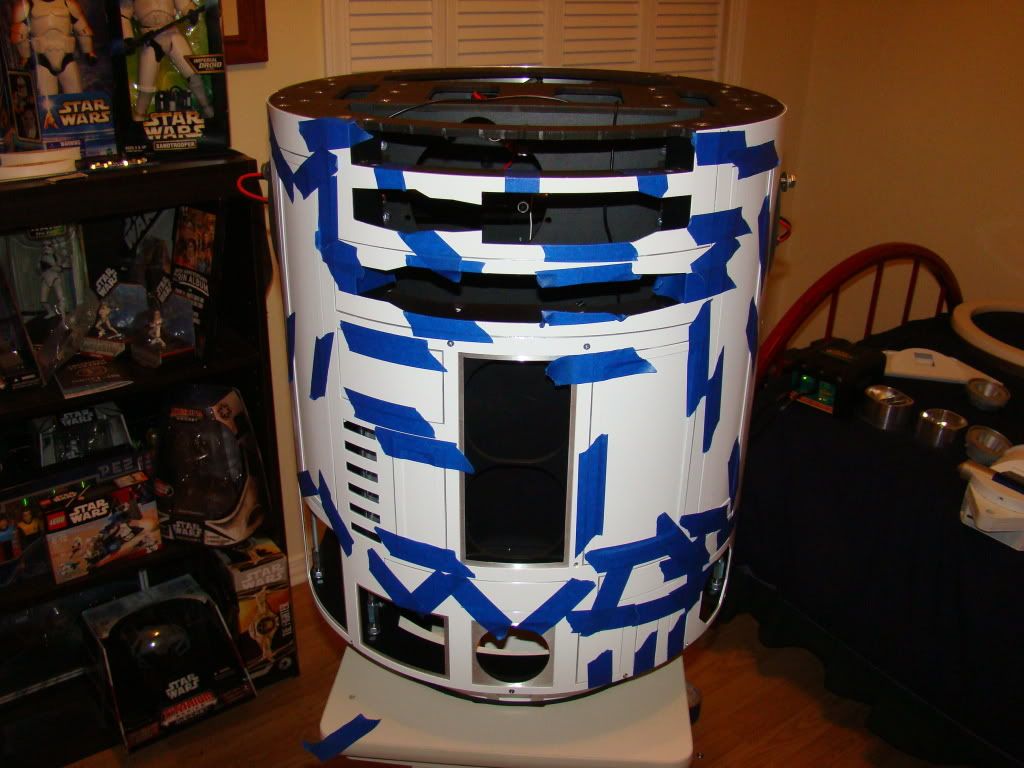
And without the tape:

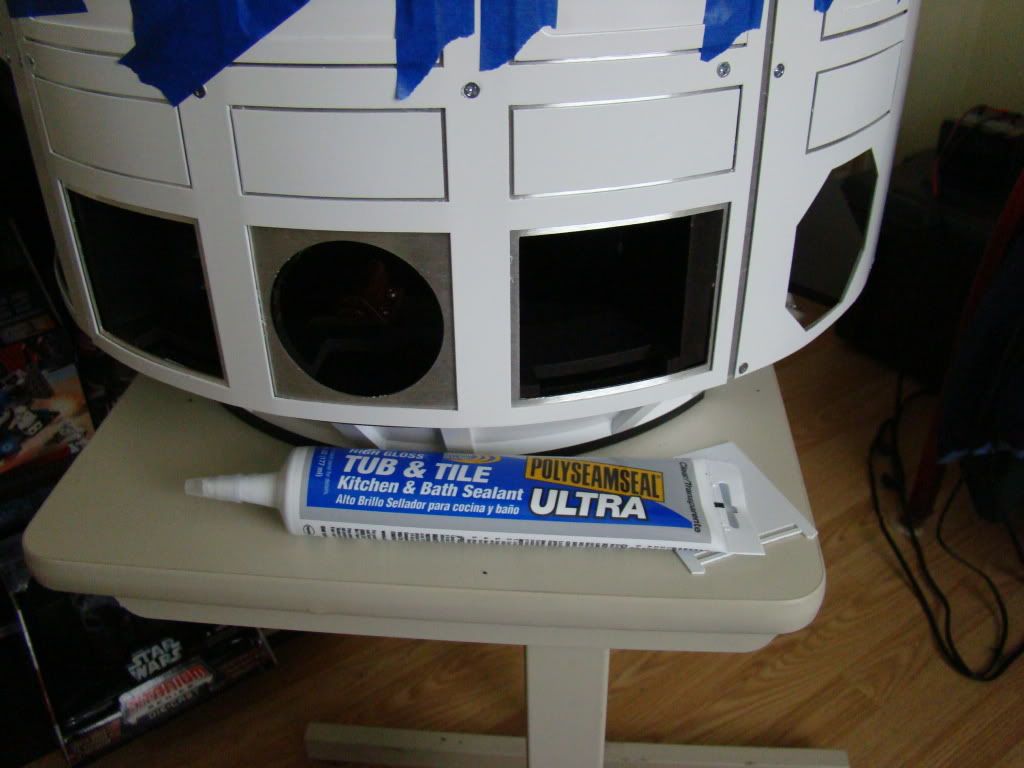
Here's a shot with the brand of silicone I used. I remembered it being really good at sticking stuff from when I used to make cabinet tops. We used it to stick backsplash to the walls, and sometimes sinks to the underside of the tops. Figured if it could hold a sink in place, it'd hold a little aluminum:
I decided how to mount the utility arms in the carrier without having to build it up with washers or blocks:
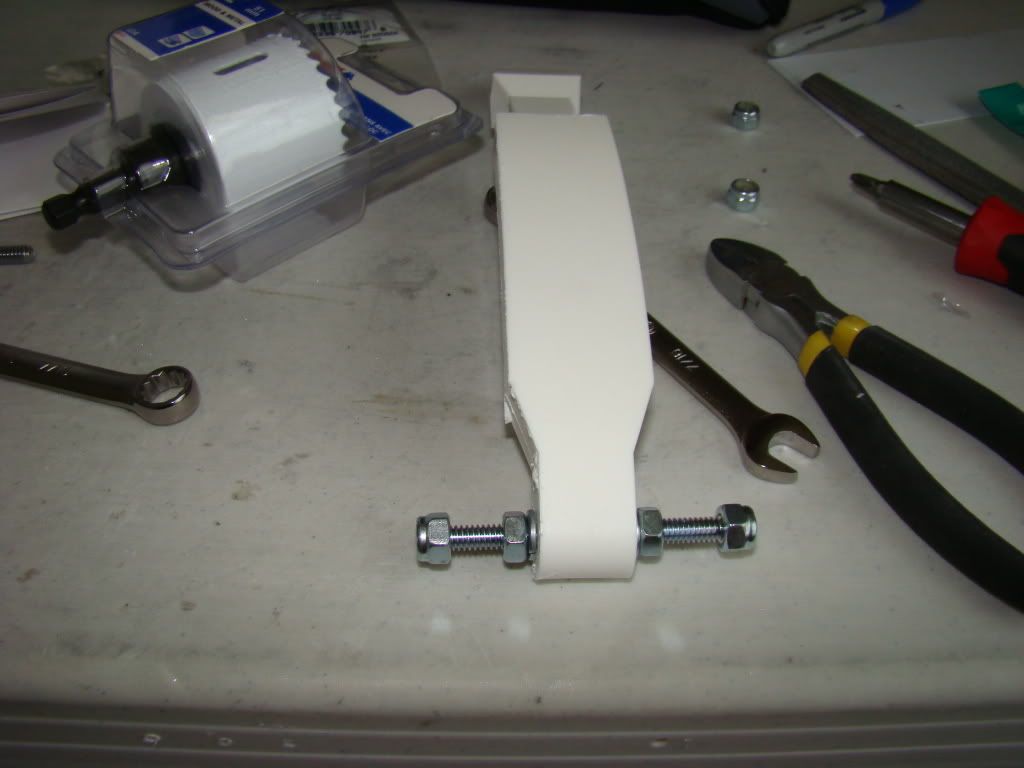

The bolts and washers will hold the arm snug, and can be used to raise or lower the arm. The outer bolts will hold the threaded rod in place in the carrier. Kinda proud of that one :)
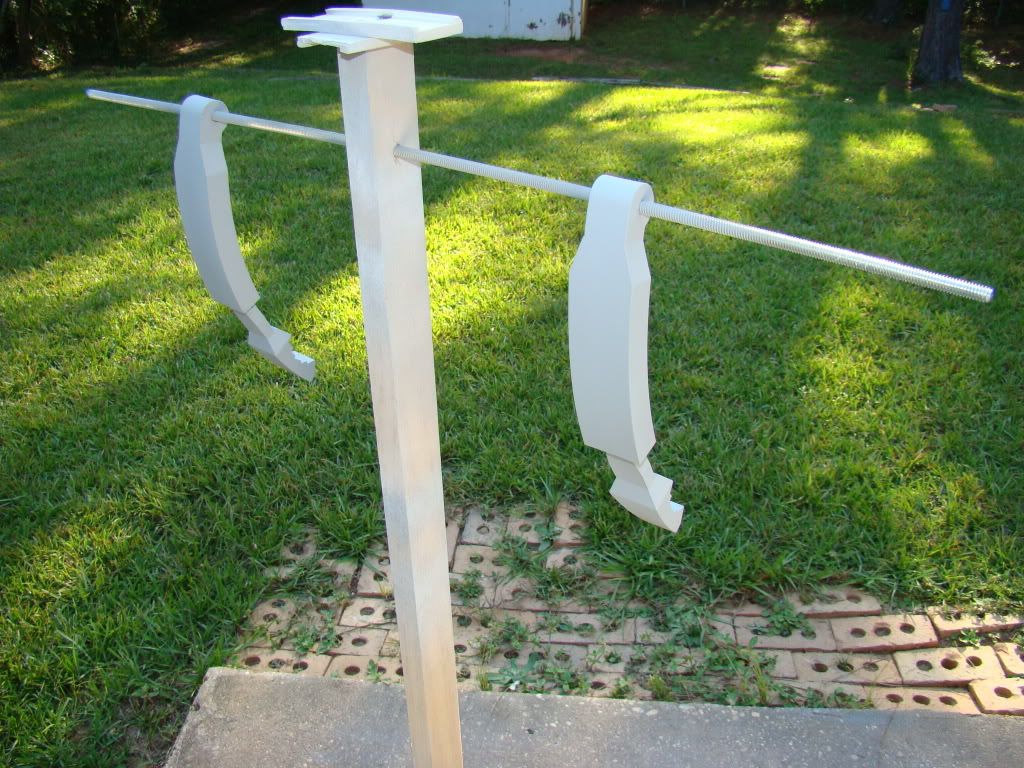
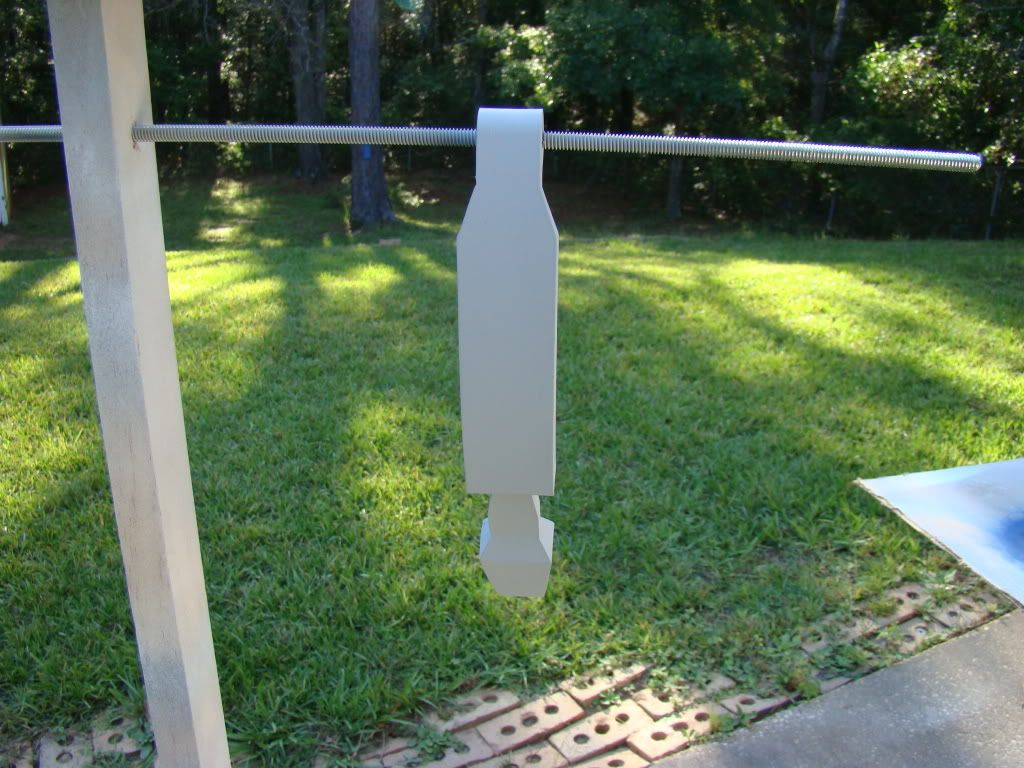
Here's the arms hanging on the leftover threaded rod from building the frame, ready for paint:
and the center vent surround primed, since it gets blued like the arms:
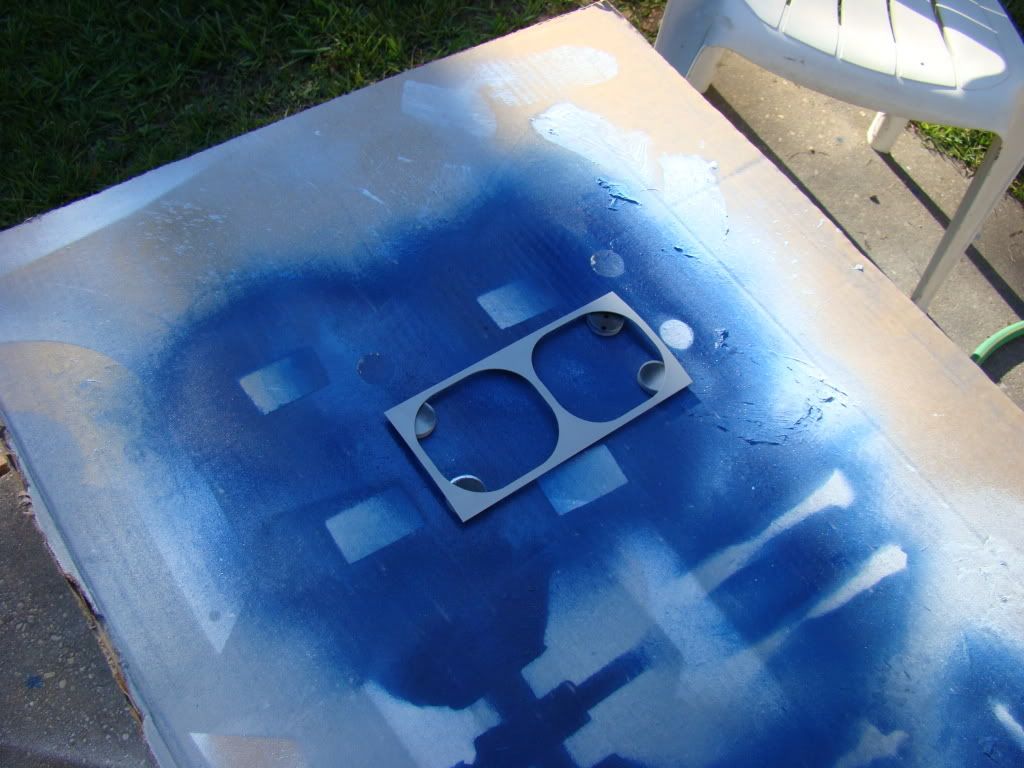
Apparently there was too much humidity when I painted the utility arms and center vent surround. That's the only reason I can think of that they came out the way they did, since I painted them exactly the same as the rest of the parts from the same cans:

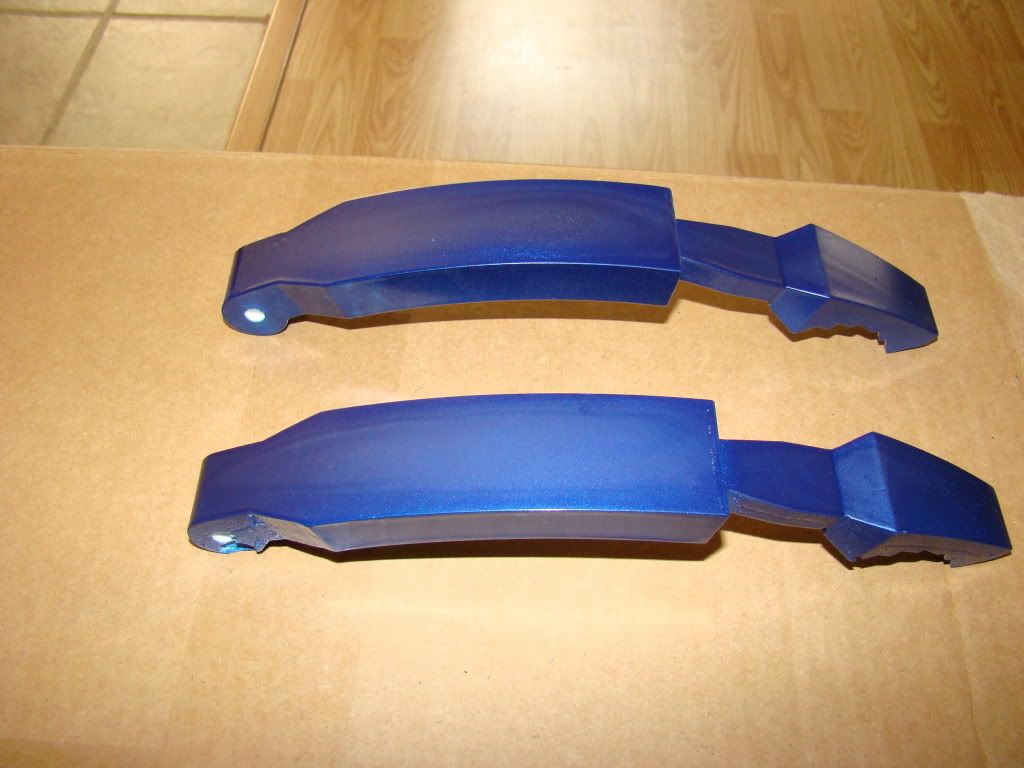
the clear coat was extremely cloudy, and in most light looked milky. It was hard to get pictures of how bad it looked.
There were two choices, replace the arms entirely, or this:

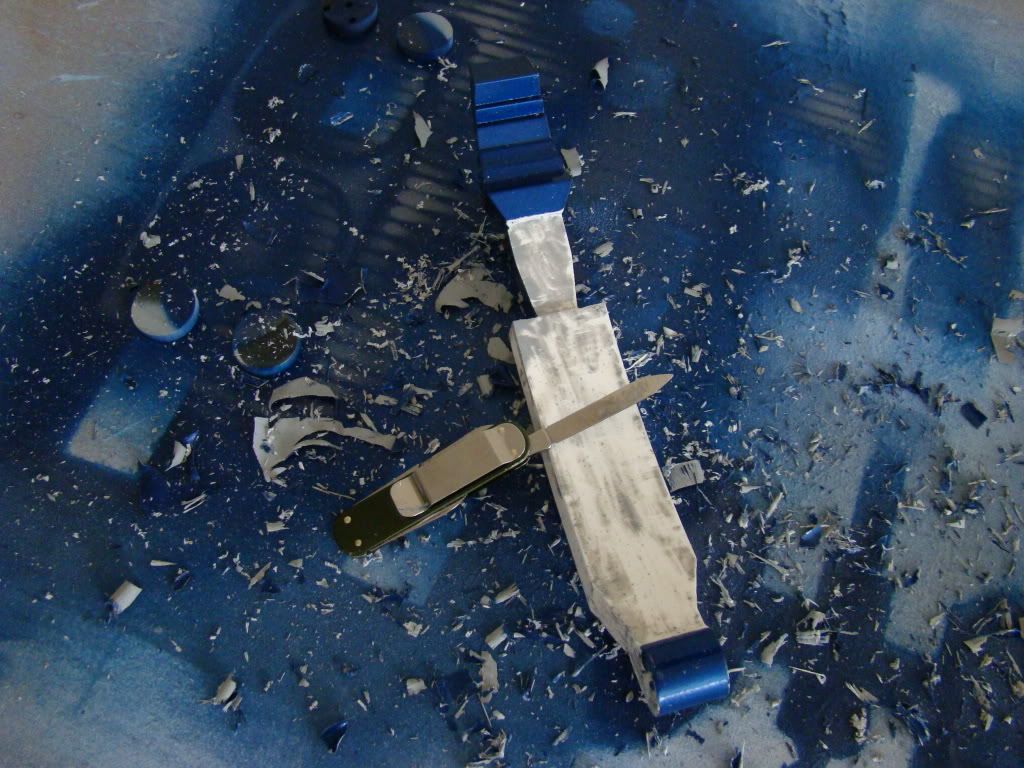
they look ugly, but I'm taking my time, so there are no scratches or gouges. Once they are primed again, you'll never even know they were painted...
Since I couldn't replace the vent surround, I had to strip it too:
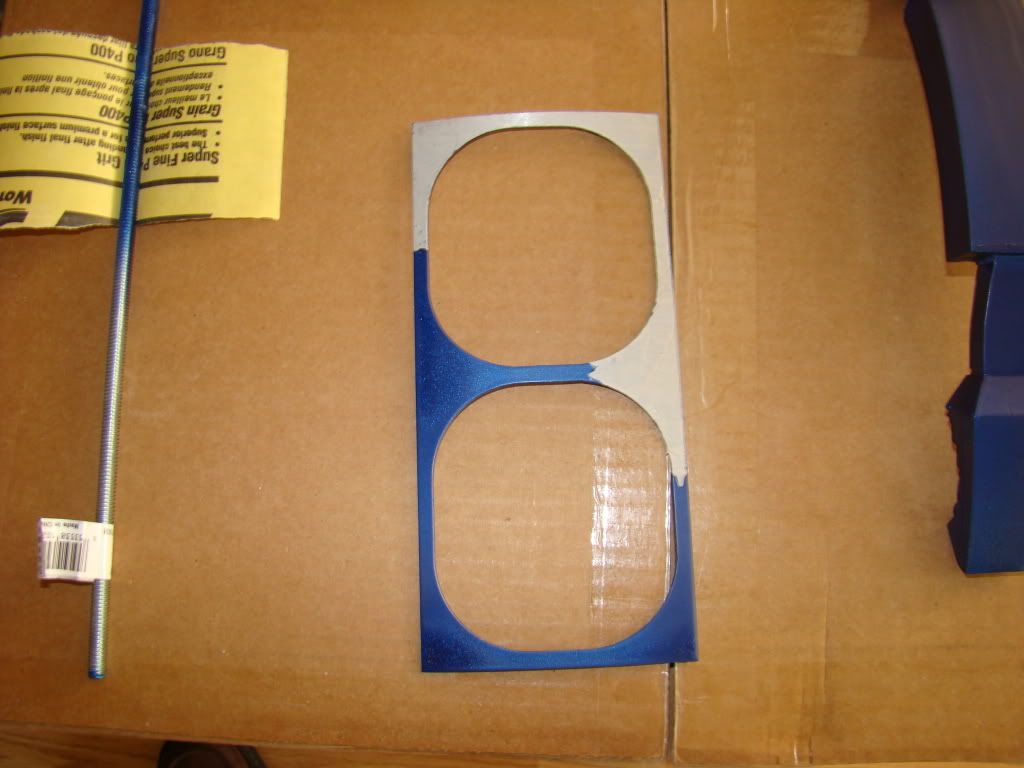
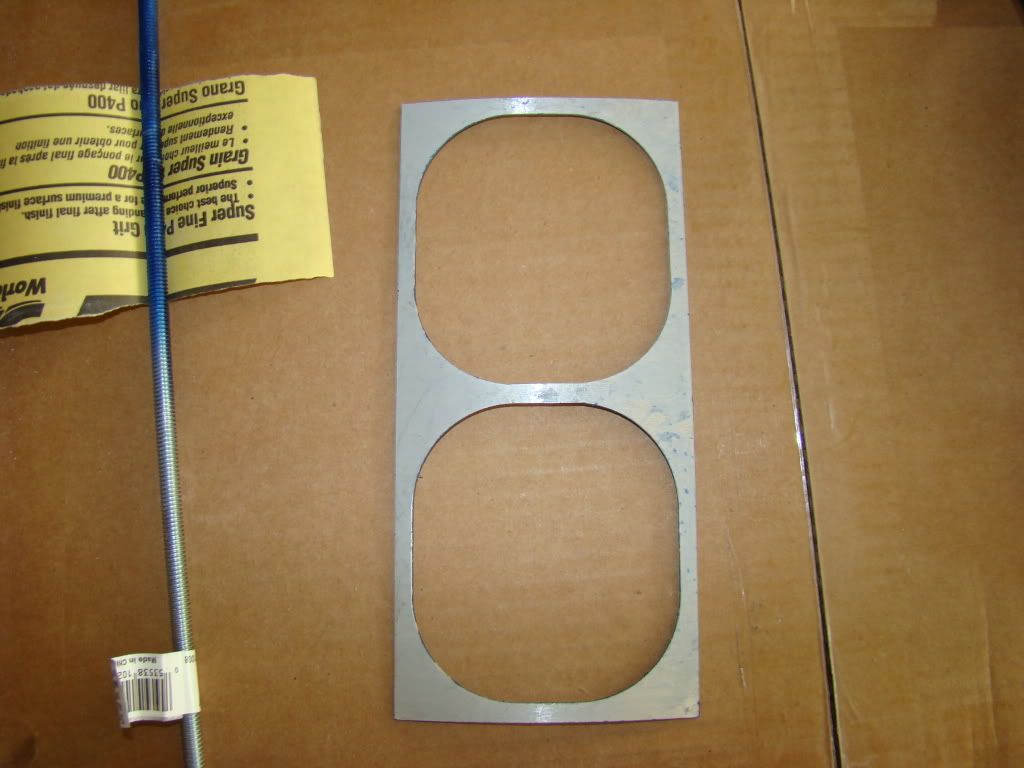
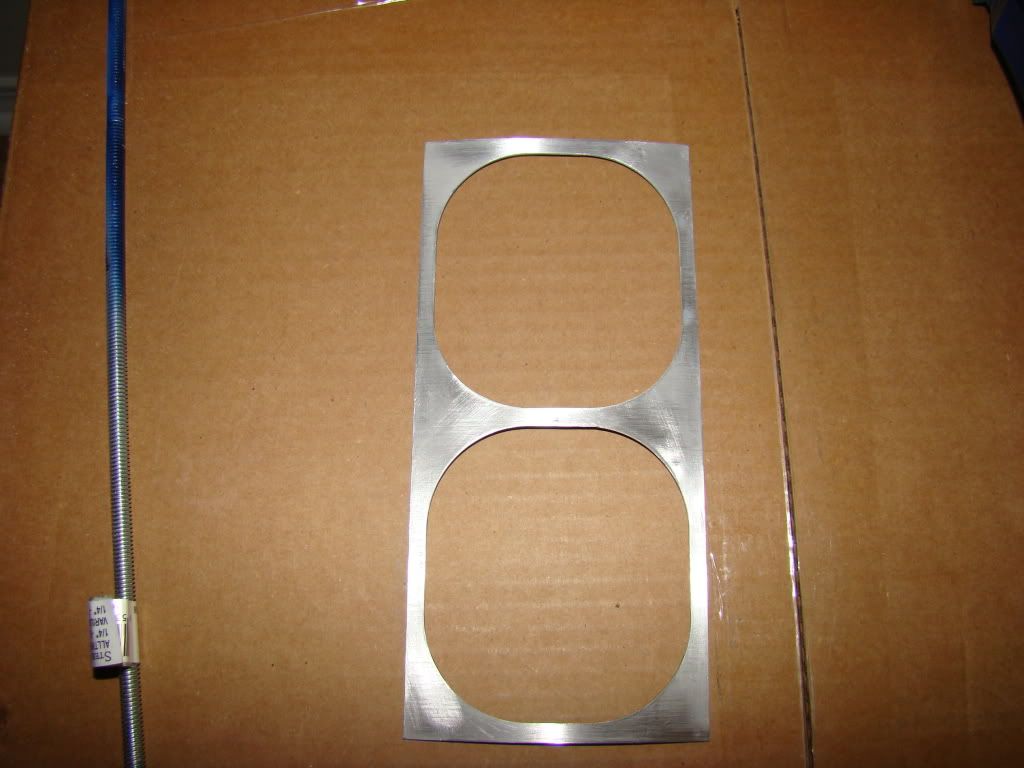
I'm probably going to hit the W-Mart and buy several showers curtains and get some cardboard from work and build myself a paint-booth in the house, probably in the foyer where I usually do my dremel work.
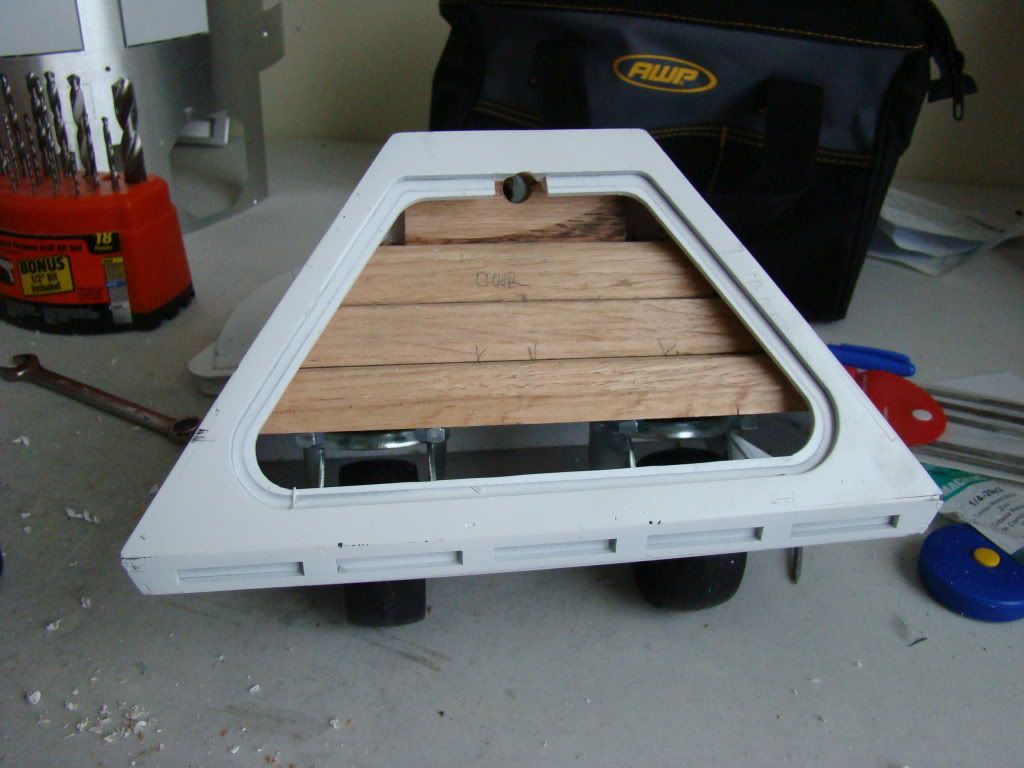
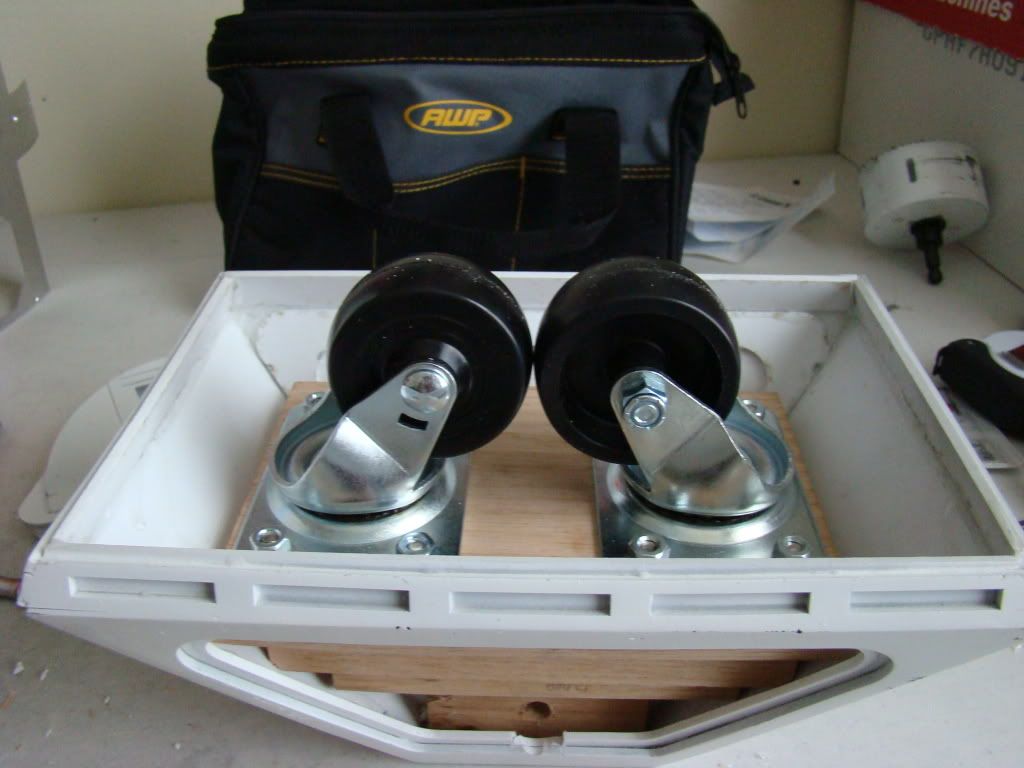
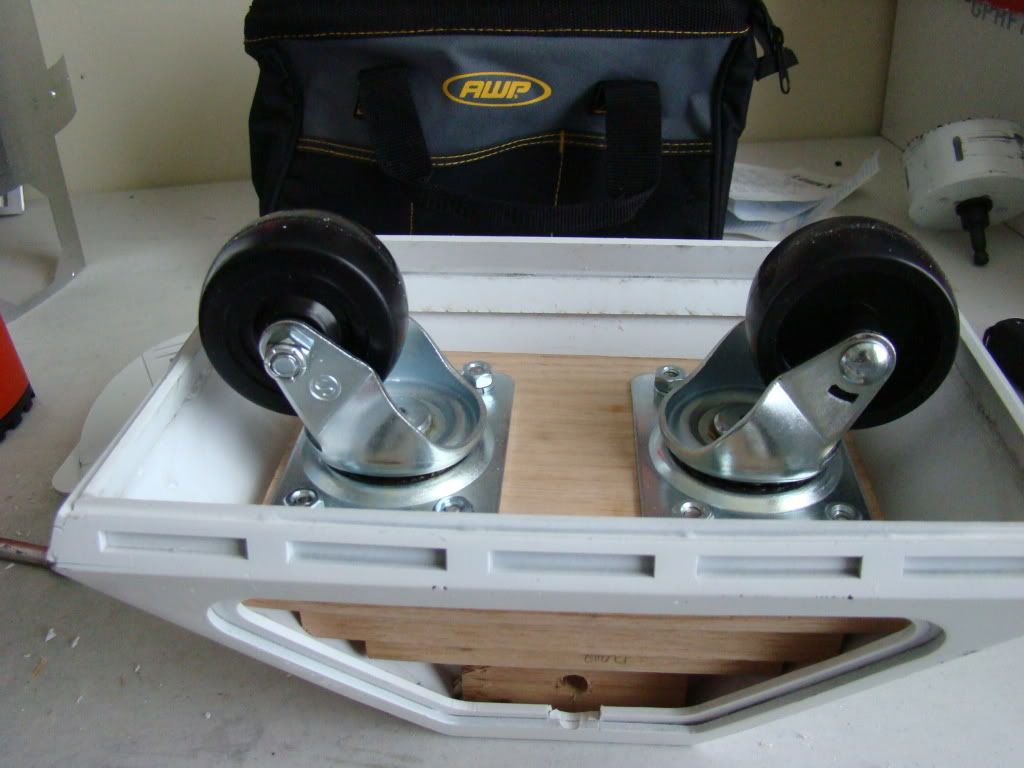
I also paid a visit to my youngest brother again. You may remember he helped with the foot motor mounts. We built the center foot wheel mounts:
Lastly, but certainly not least, last week it turned out to be R2KT day at my house:
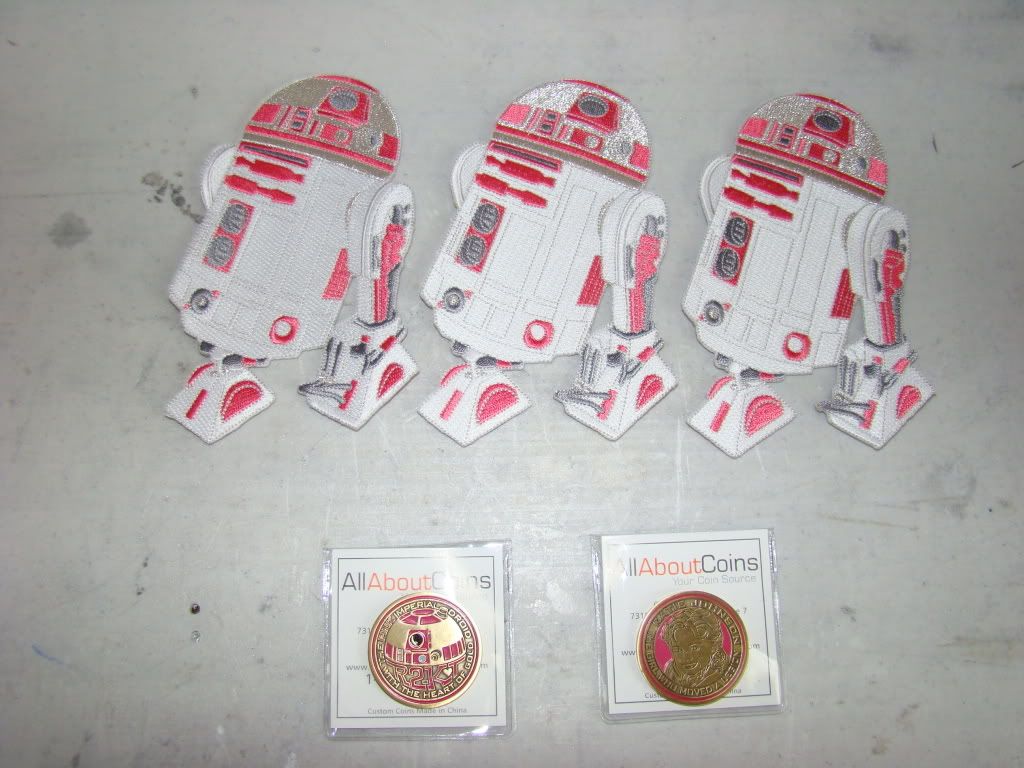
Lots of stuff happened in the last 10 days, wouldn't you say? Hell, it took me an hour and a half to organize the pics and write this there was so much to choose from :)
No comments:
Post a Comment