On the way home from work I picked up one of the new style razor knives, to cut the pieces out with:
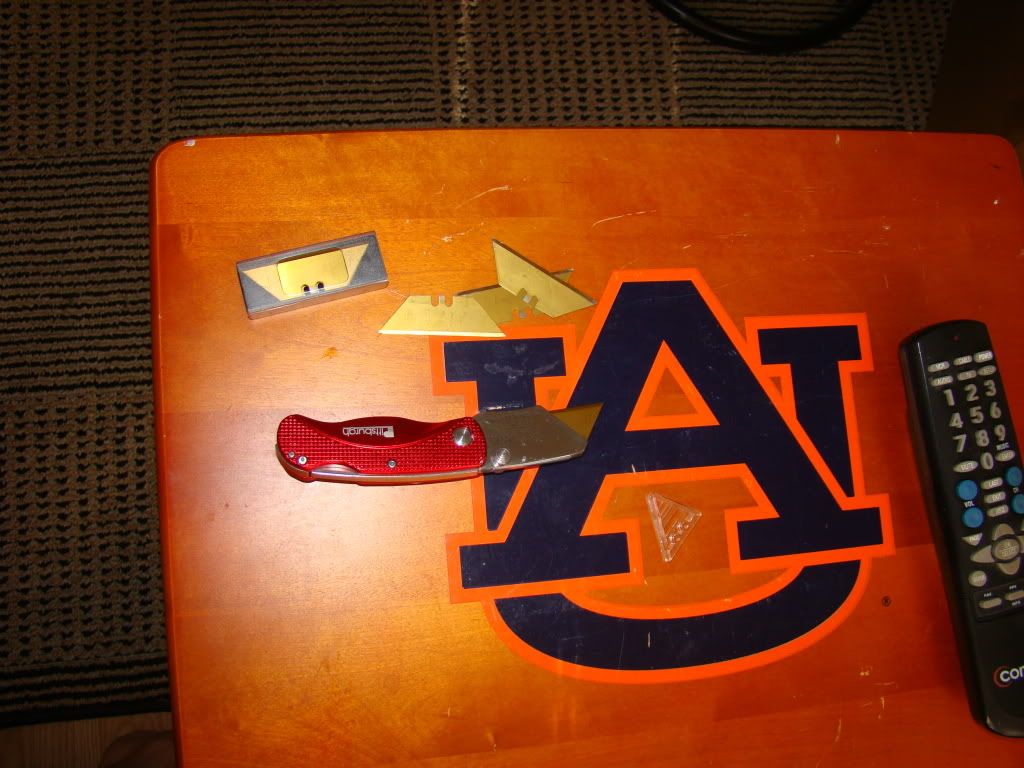
Harbor Freight, naturally. I opted for the titanium coated blades, but they didn't make that much of a difference when cutting aluminum.
So I started off by taping the inner fron skin to the frame, using the front vent holes as a guide, since they were the surest method I could see for getting the inner skins centered:
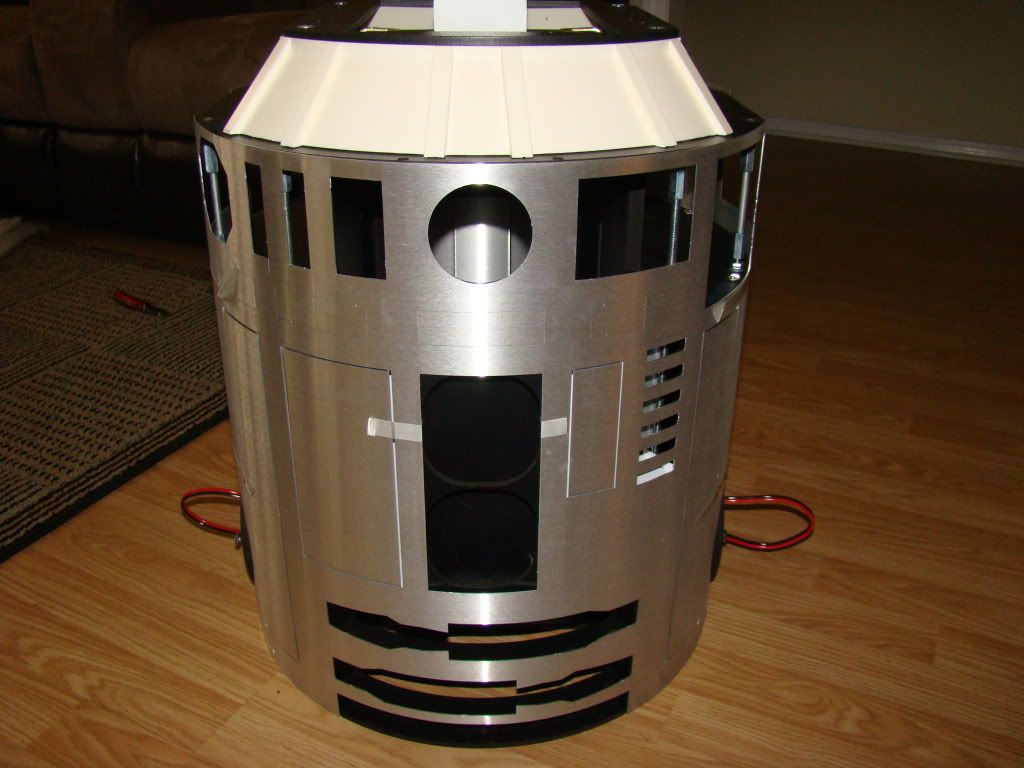
I then taped one side, using the packing tape with strings, since it's strong stuff, and doesn't tear:
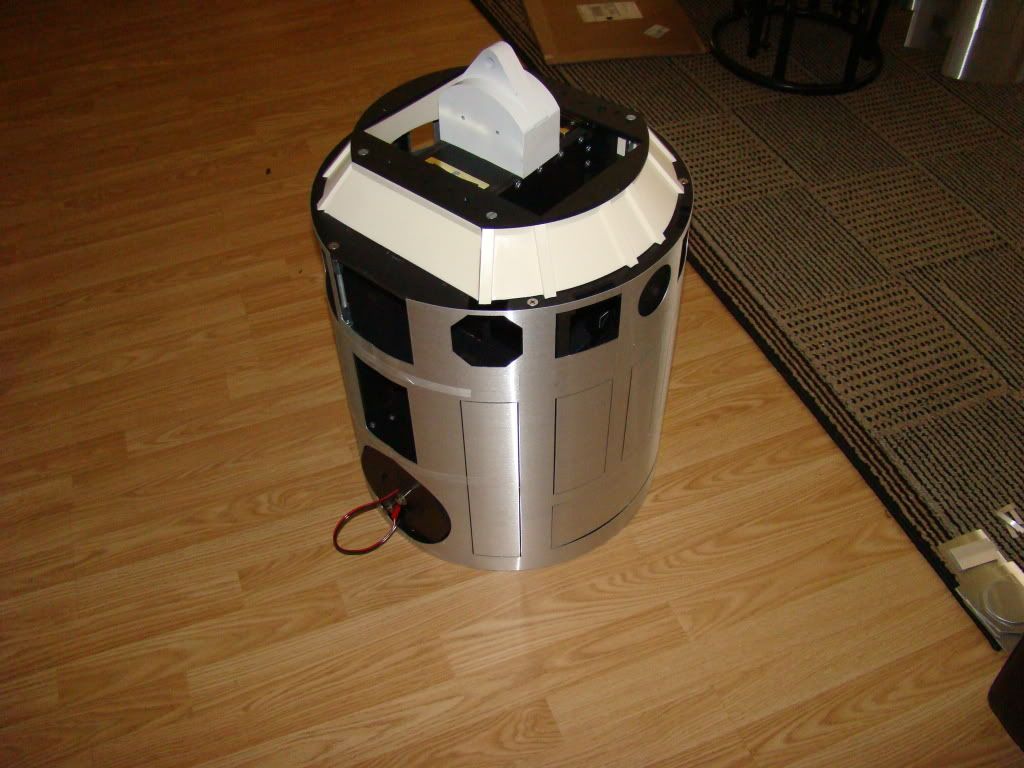
and pulled the other side (another pair of hands would have been useful) tight and taped it as well.
I then took the frame to my work table, flipped it upside down so it would be flat, and placed it on my rockler, with the JAG dome base plate sitting high on the bolts as mentioned in the previous post, and was able to spin it and mark my screw holes.
I drilled 1/8" holes, to fit my #4 3/4" screws in places that I thought I wouldn't use on the outer skins.
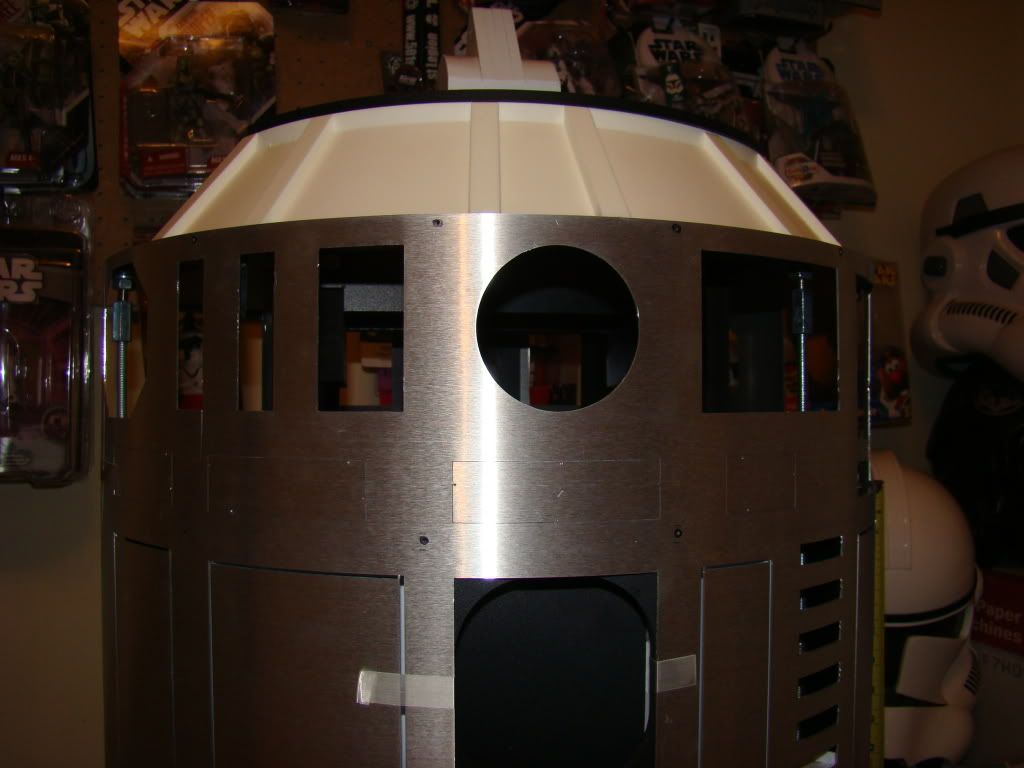
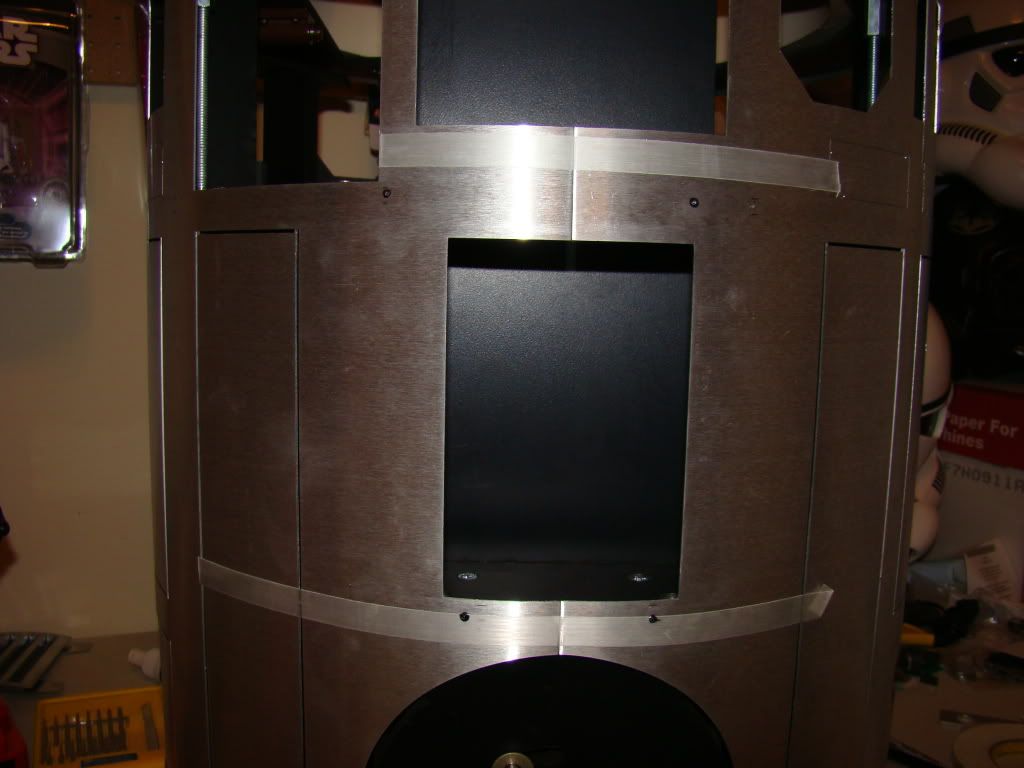
I then countersunk until my drill was dying (hadn't been charged in about a month).
Saturday I resumed the countersinking with a freshly charged drill, and finished the inner skins, then screwed them to the frame and removed the tape.
Next up, I set the frame back on the living room floor and taped the outer skins on:
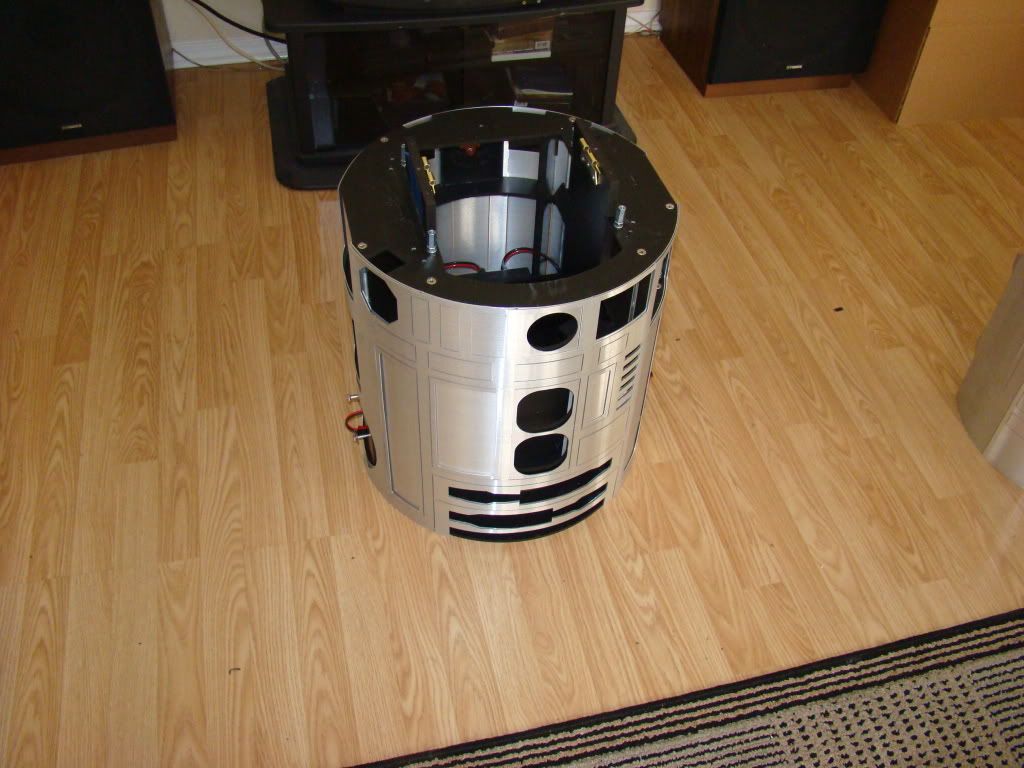
I proceeded to drill more holes, countersink and screw the outer skins to the frame:
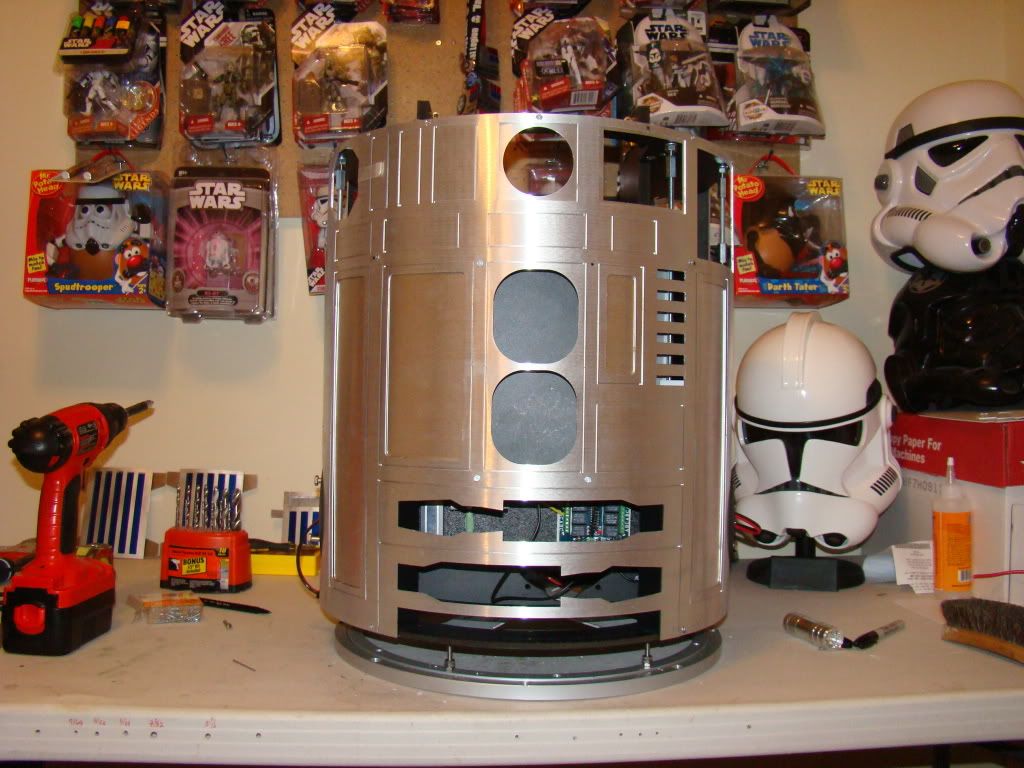
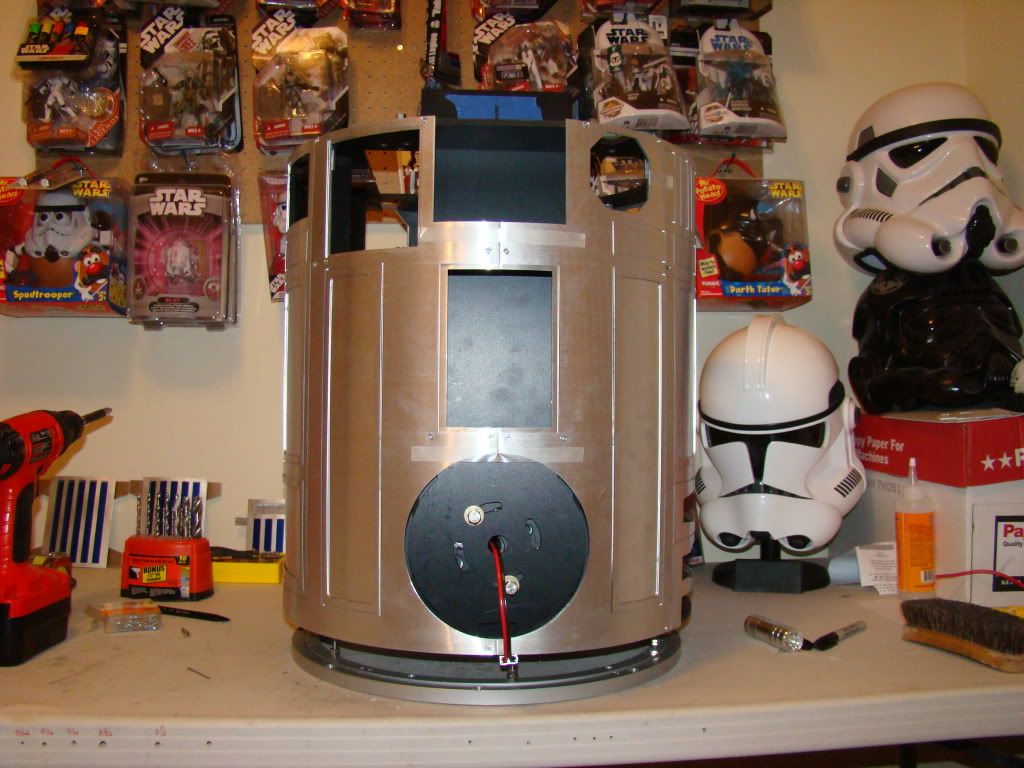
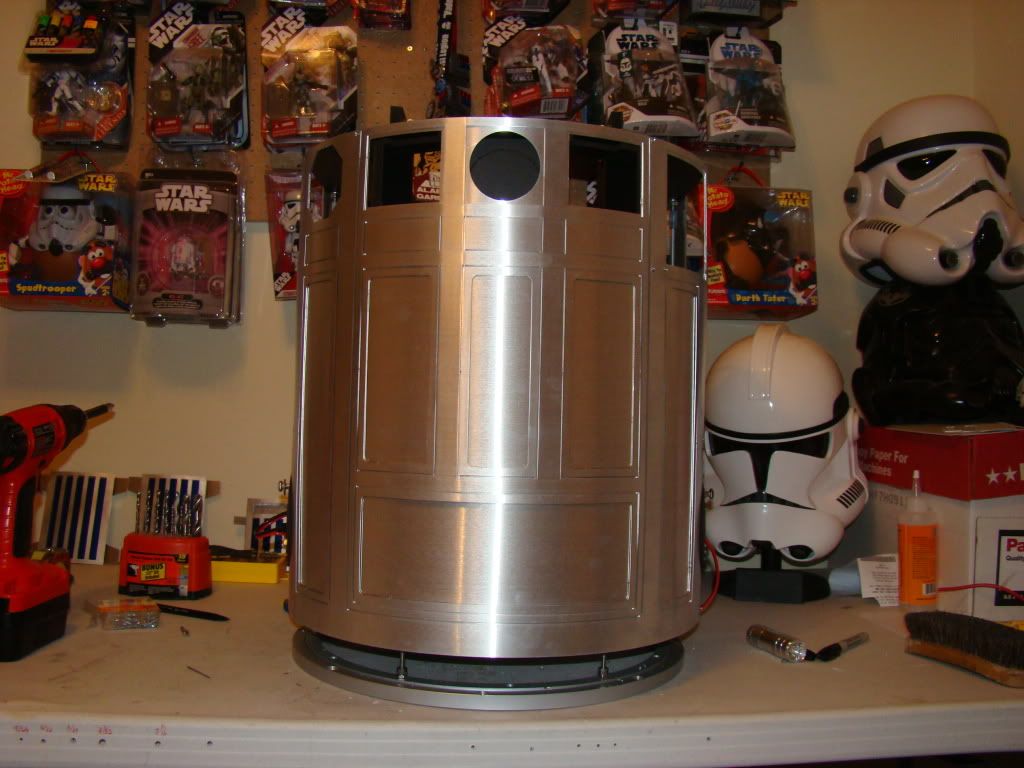
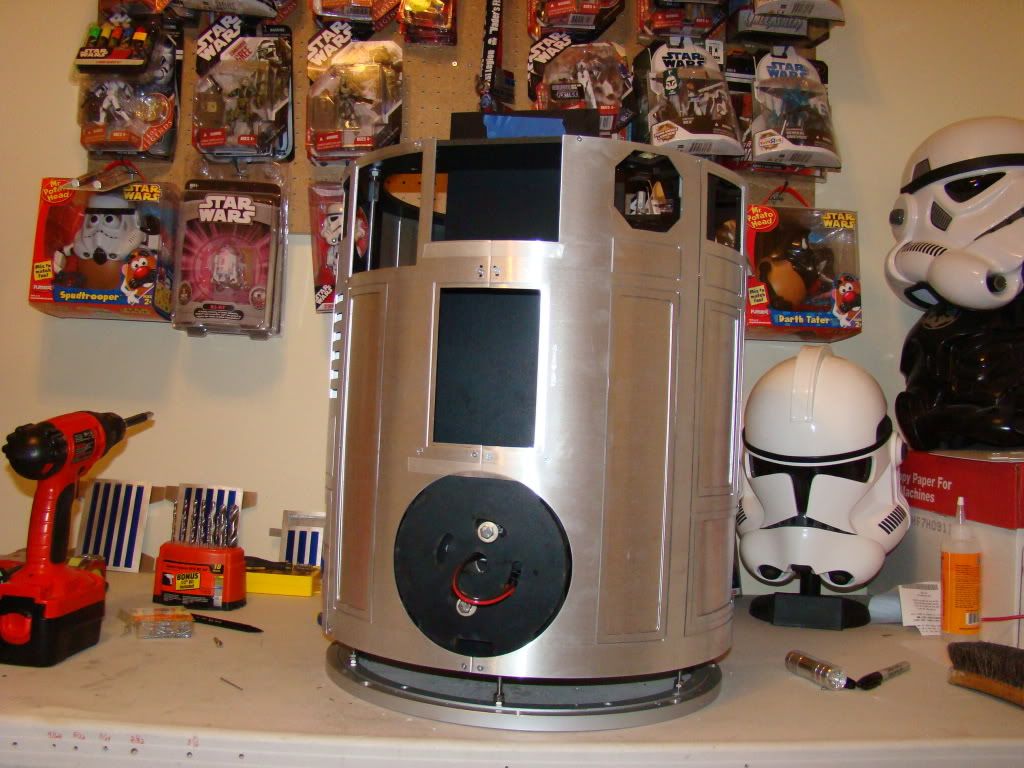
During this time, I marked the location of the still attached rear door with a pencil.
Next I removed all the skins from the frame, and here's what the line for the rear door looked like:
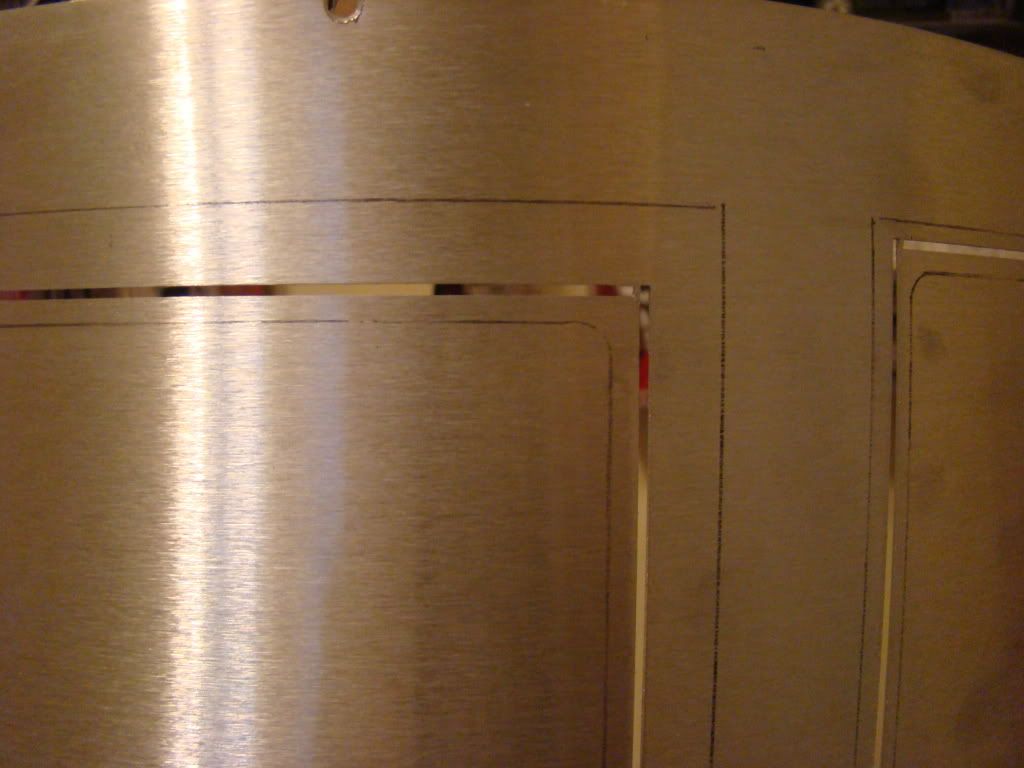
Then, folling what I read in Victor's Blog, which also references Chris' blog, I moved the line inside 1/8".
Sorry there are no pics, but it's well documented on those other two blogs, and I was moving pretty quick by this time...I did it almost exactly like they did.
When I realized my pics were falling behind, I had already taped off the inner skins for painting:
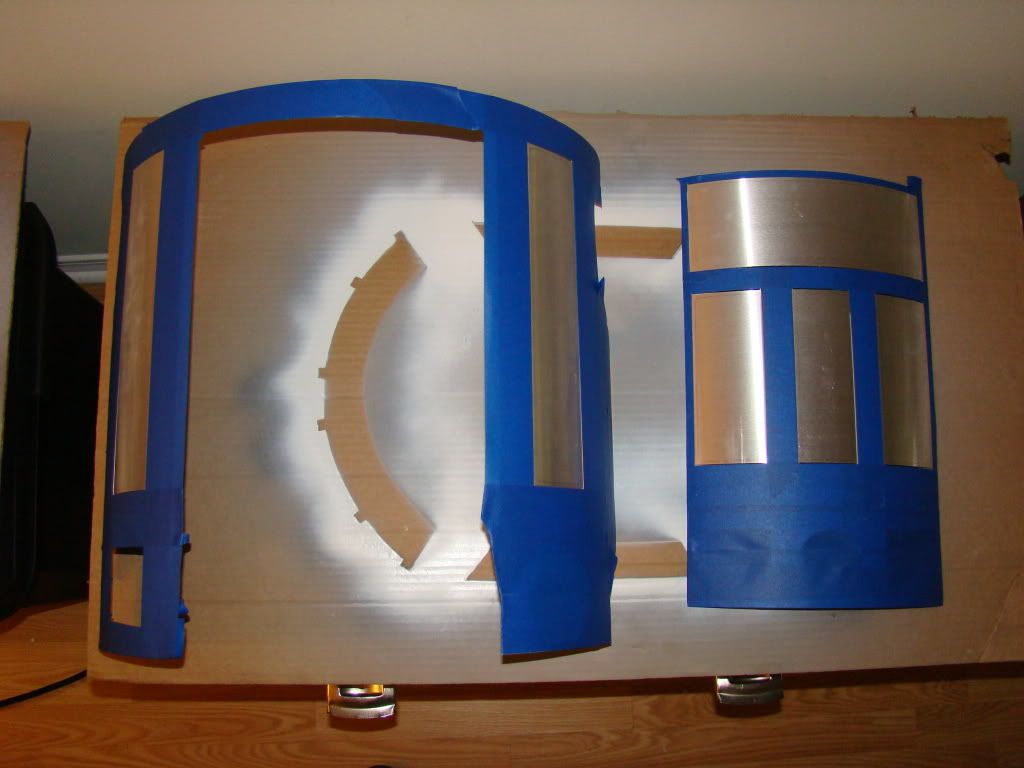
I also figured that the easiest way to paint the inner skin panels that could be doors if I chose, was to mask off everything except those panels, which I am not removing, since I don't plan on having doors that open.
since then, the inner skins have been painted and primed, and I think look very nice:
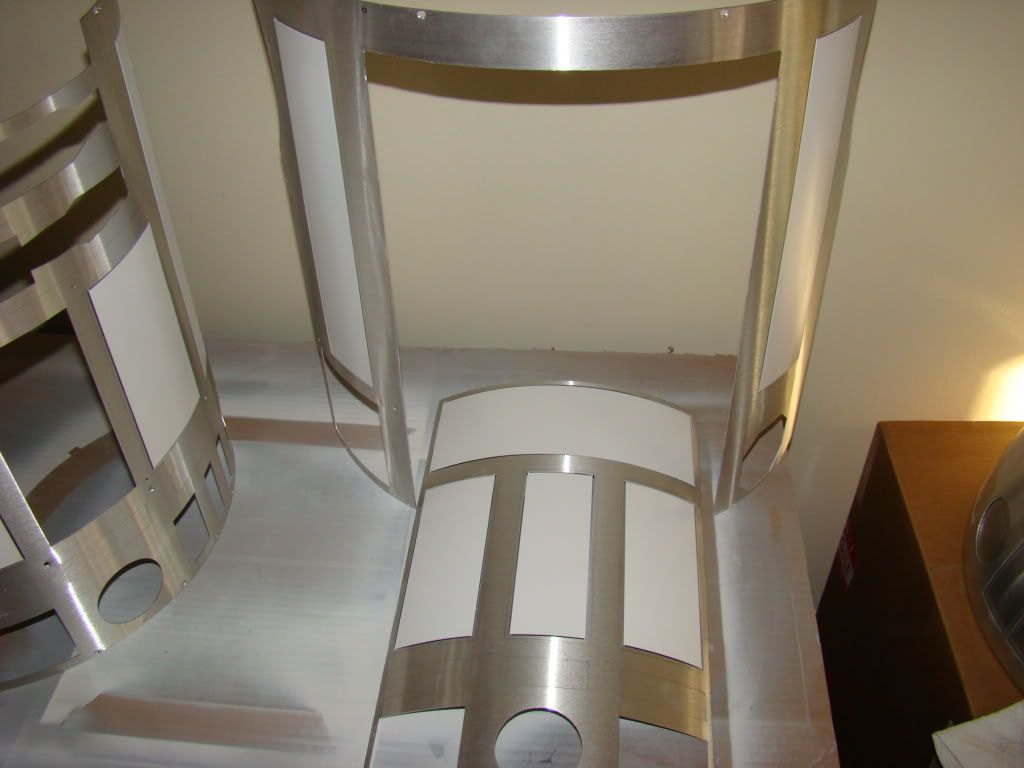
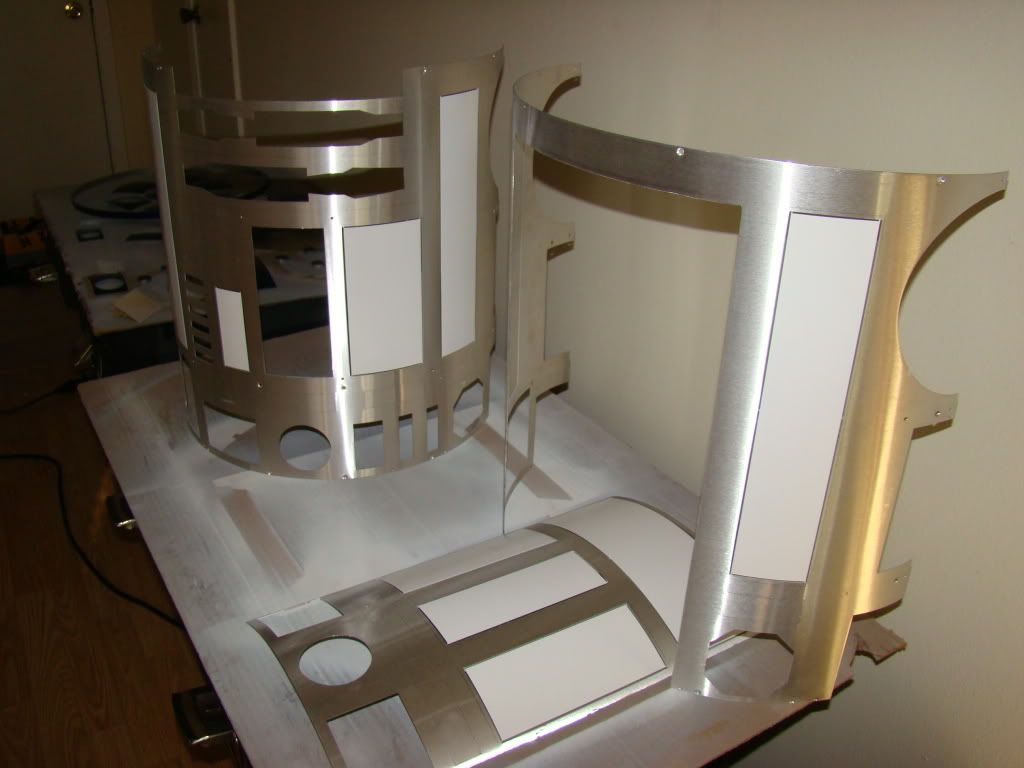
More to come...next post!
No comments:
Post a Comment