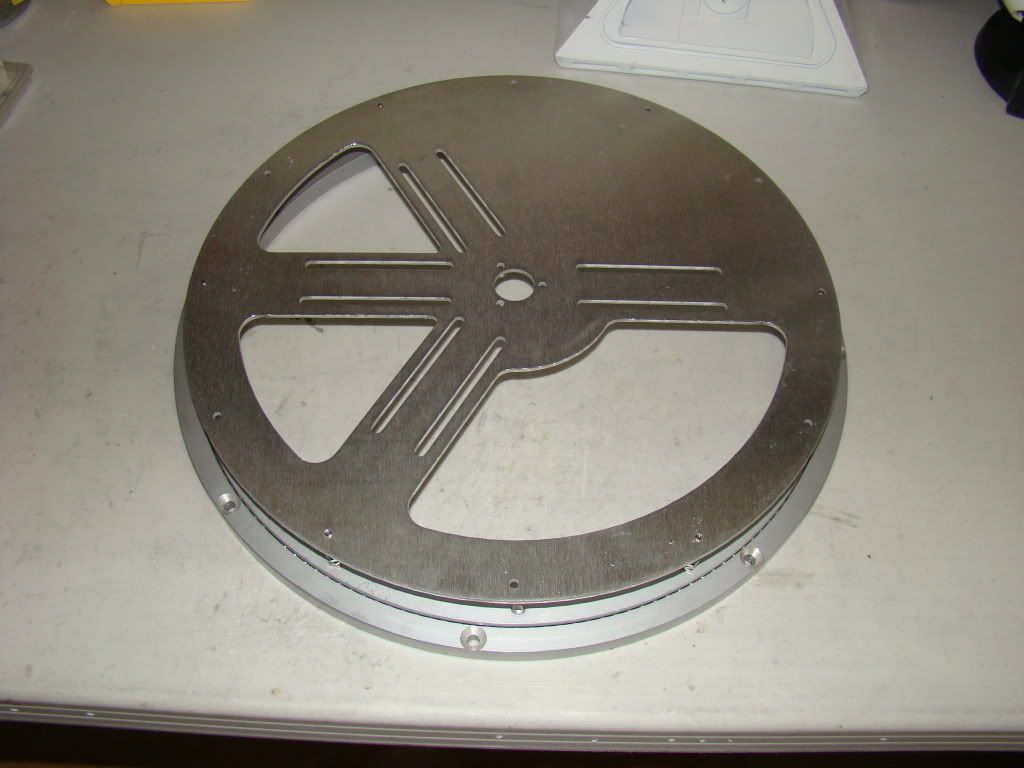
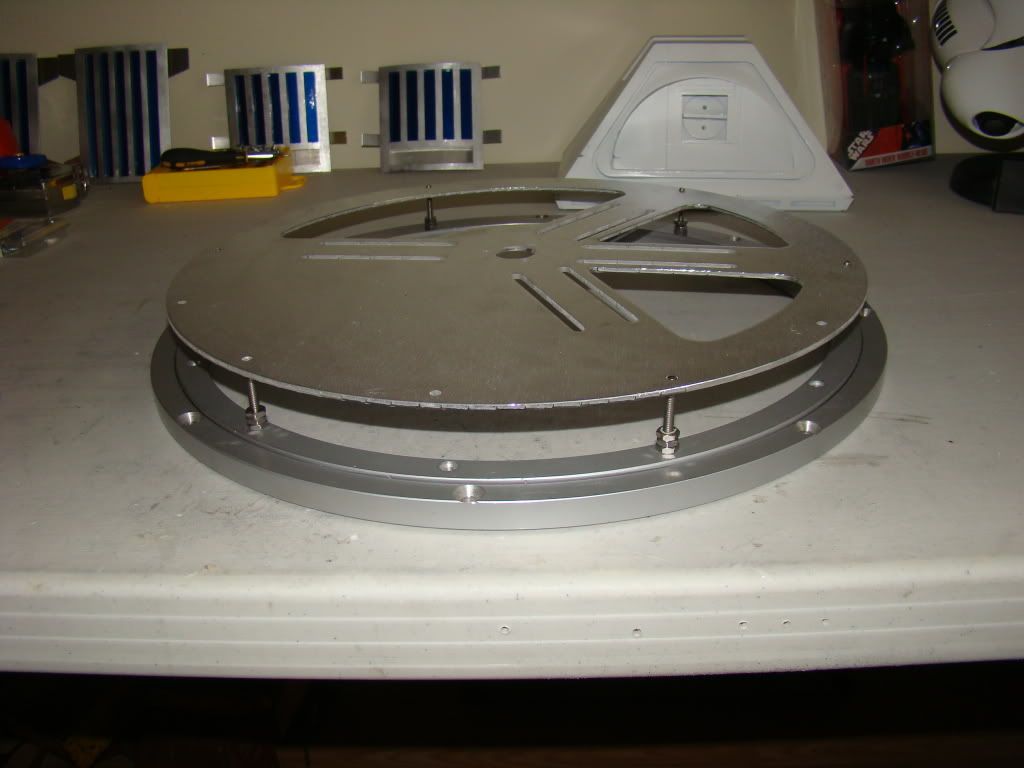
Here's a couple of shots of it:


As you can see, it doesn't slide right down the bolts as I'd thought it might. I didn't want to force it yet, so I left it barely on, which turned out to be a helpful thing, as you'll see in probably the next post.
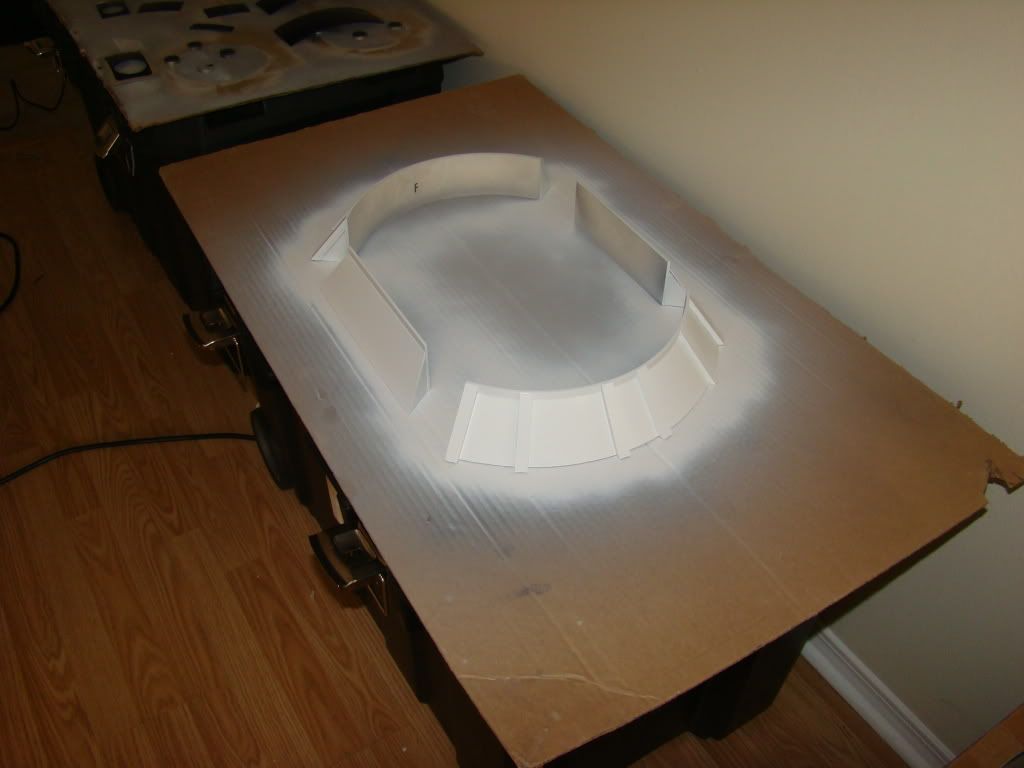
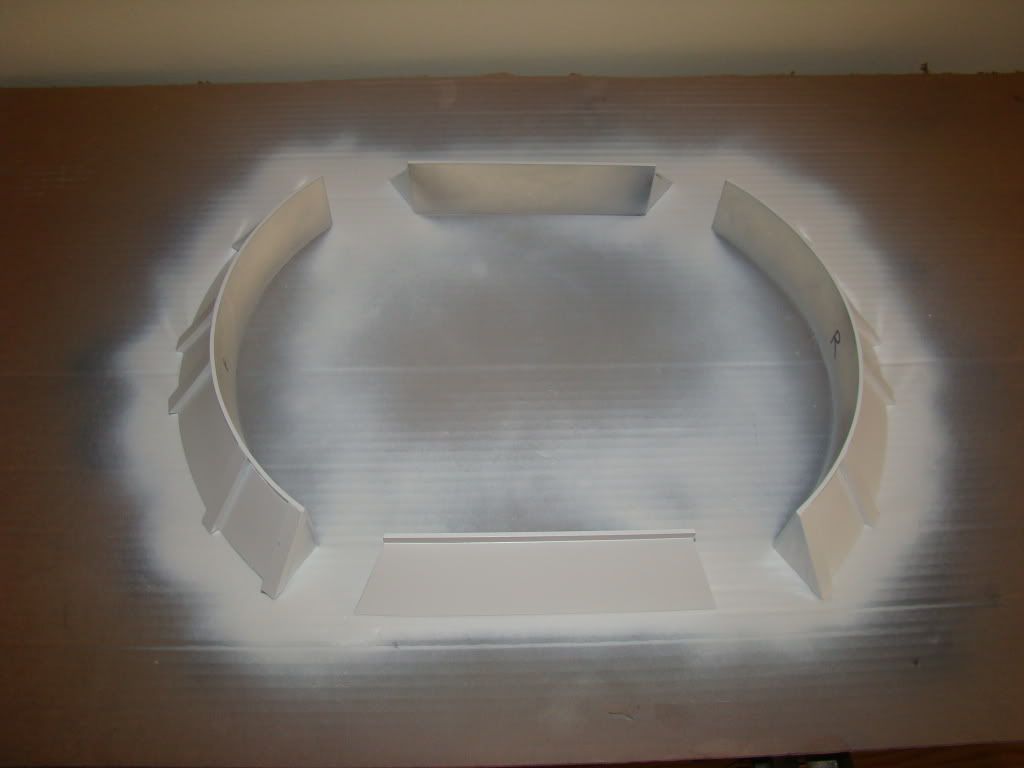
I also decided it was time to paint my awesome resin skirt from Marco in Europe...


You'll notice the sharpie marks inside to note which piece fits which set of holes, F, R, 1, 2...a little masking tape as I removed them marked it on the frame.
I also forgot that I'd used the grey 3M double sided tape to hold it on while I drilled...stuff was a PITA to get loose, but I managed.
No comments:
Post a Comment