First up, the legs were ready to paint! I used my helmet painting stand, along with the extra piece of pipe that I won't be using in the shoulder pipe connection, since it was a perfect fit when threaded into the center holes.
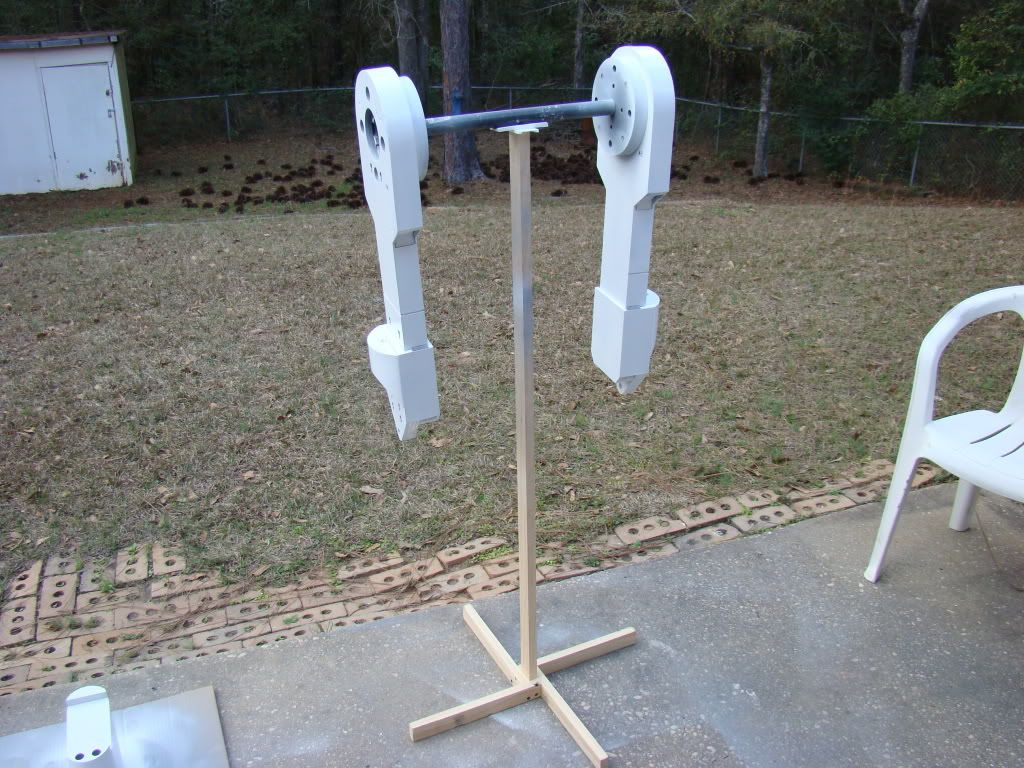
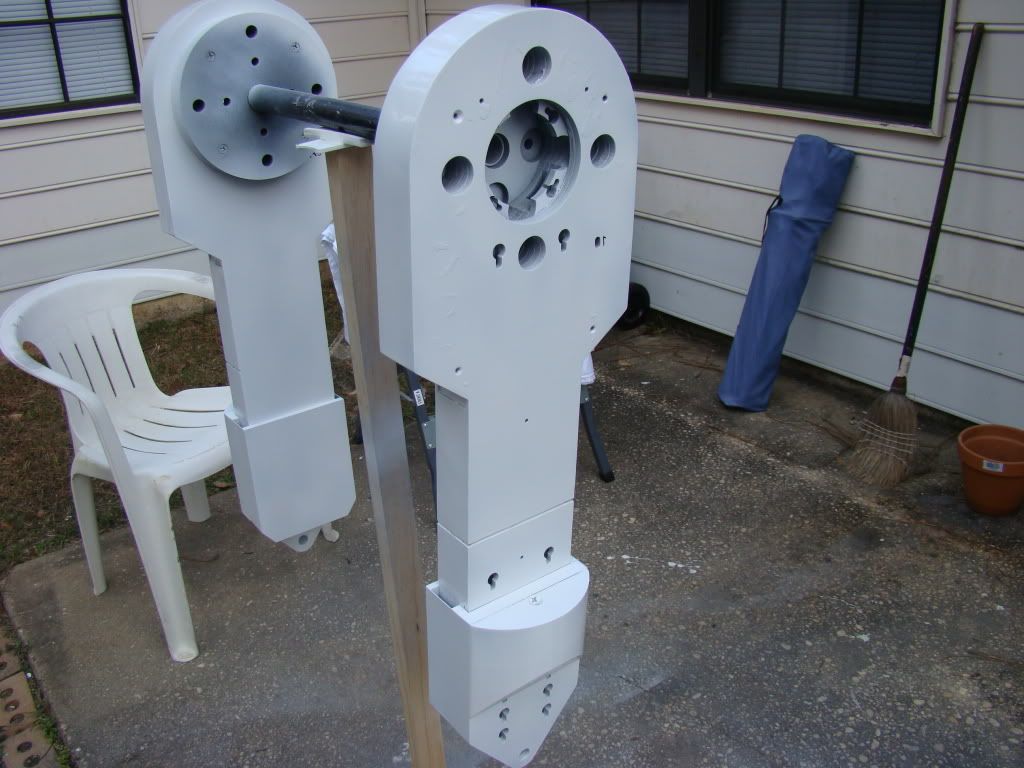
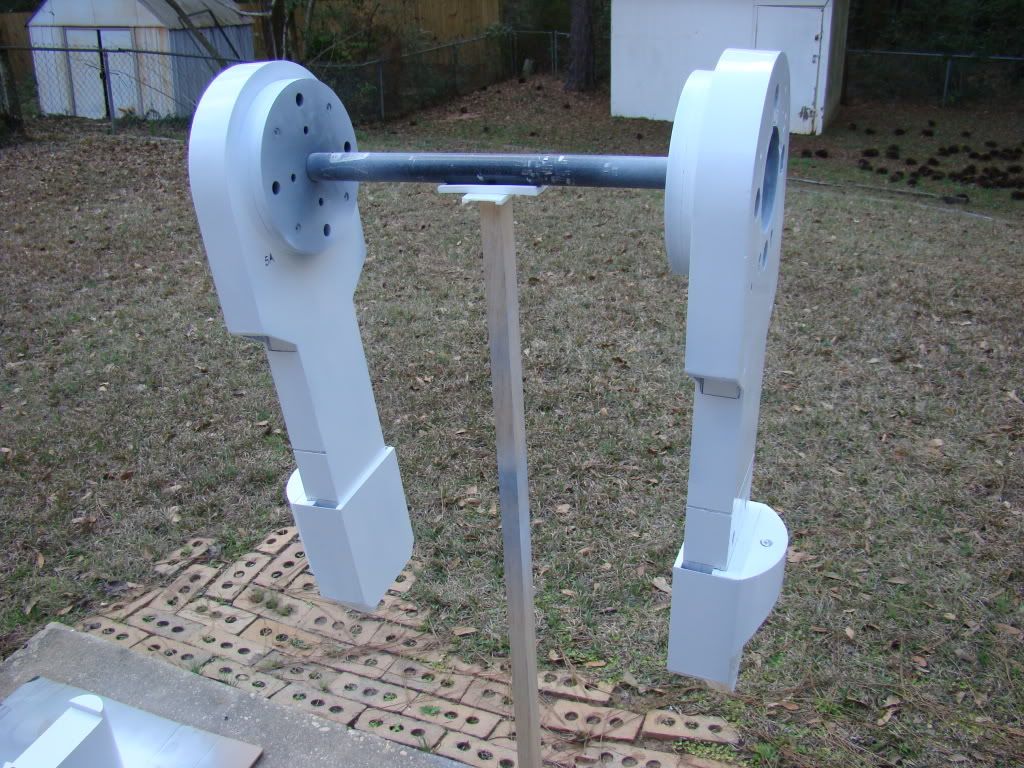
Also ready, the horseshoes, and "how I did it":
*The can in the picture is actually the white for the legs, not the metallic*
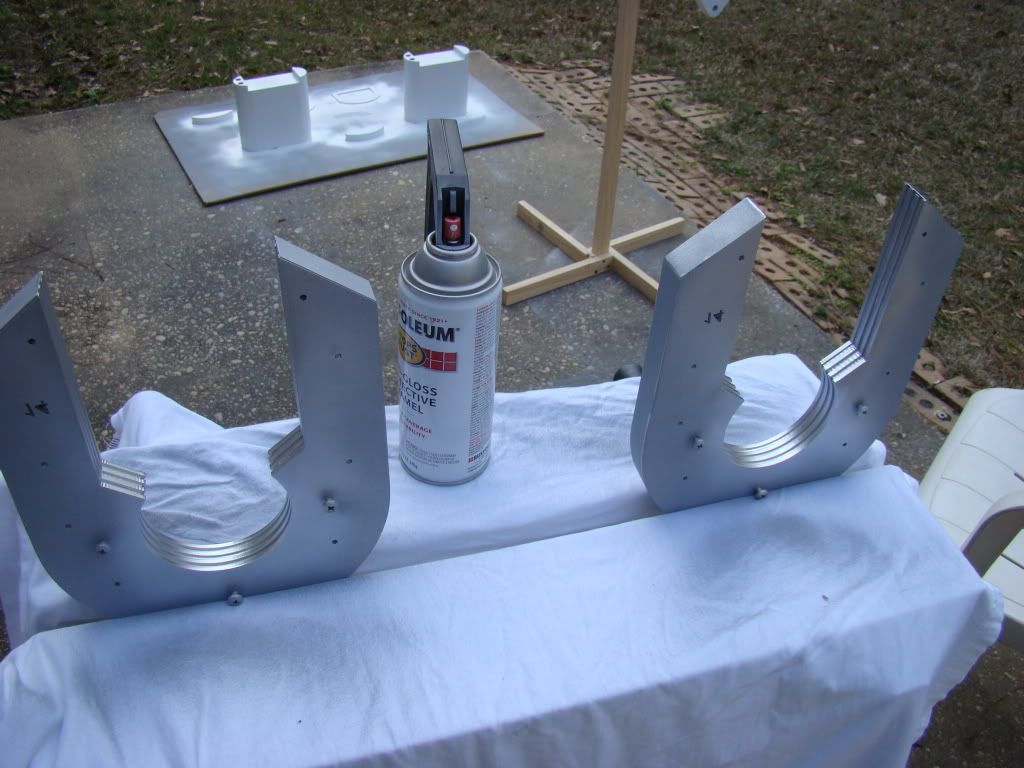
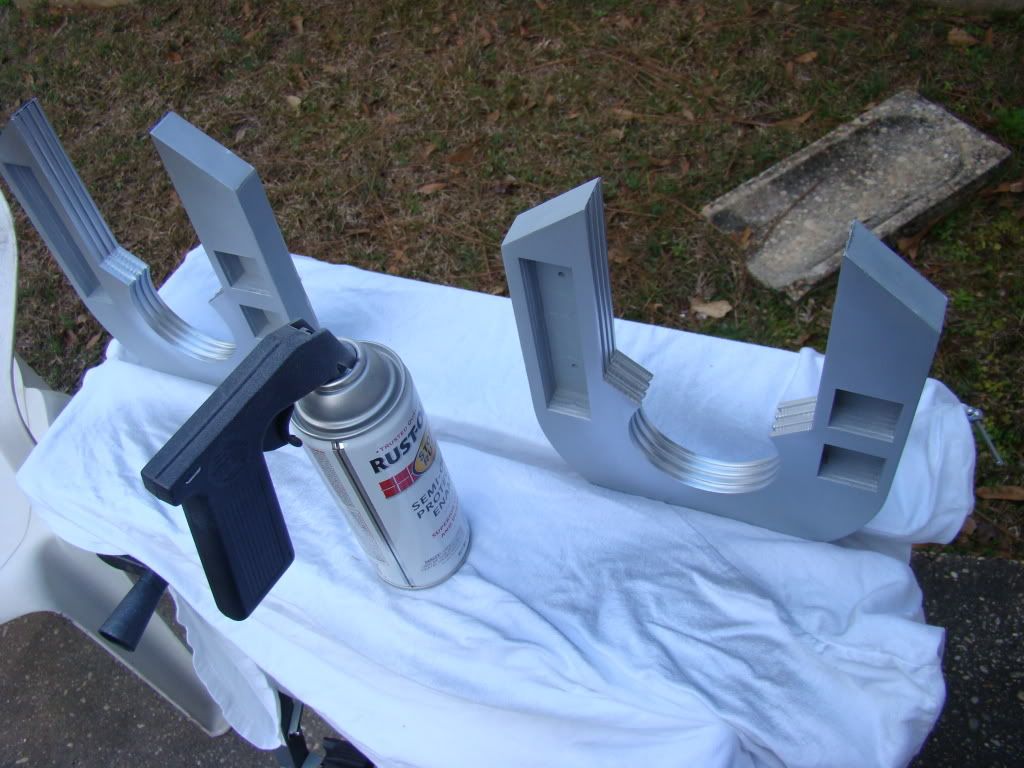
I'd had my doubts about doing it this way, since I have ALWAYS had paint seep under the tape whenever I've masked something off, but it appears to have worked this time!
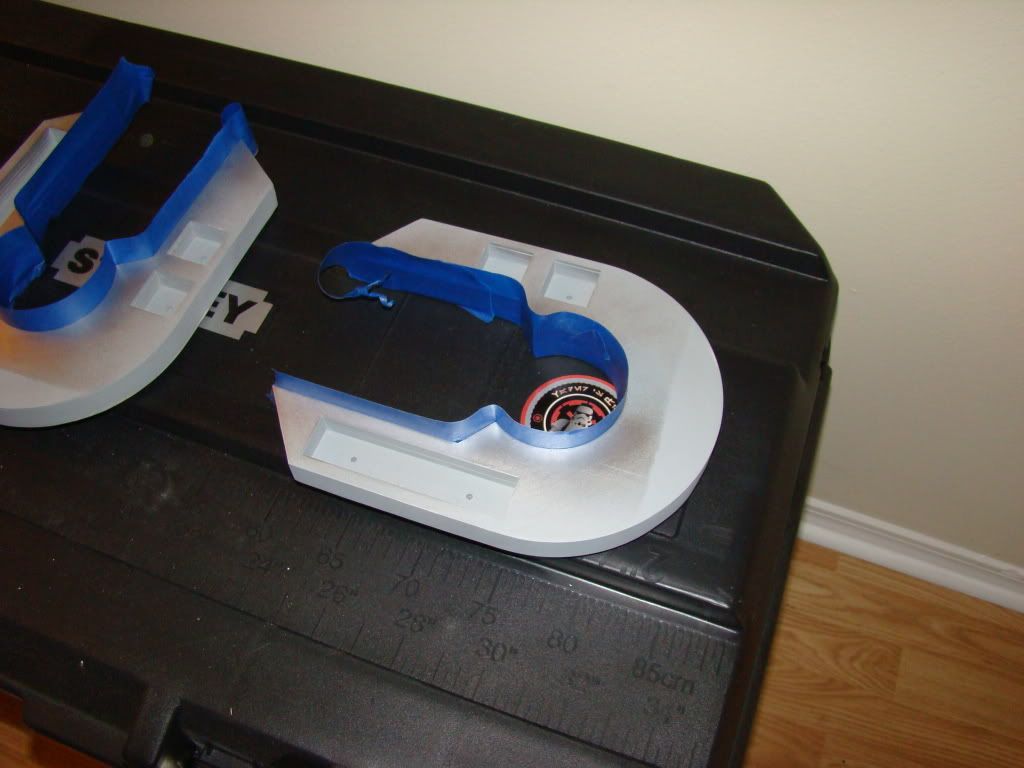
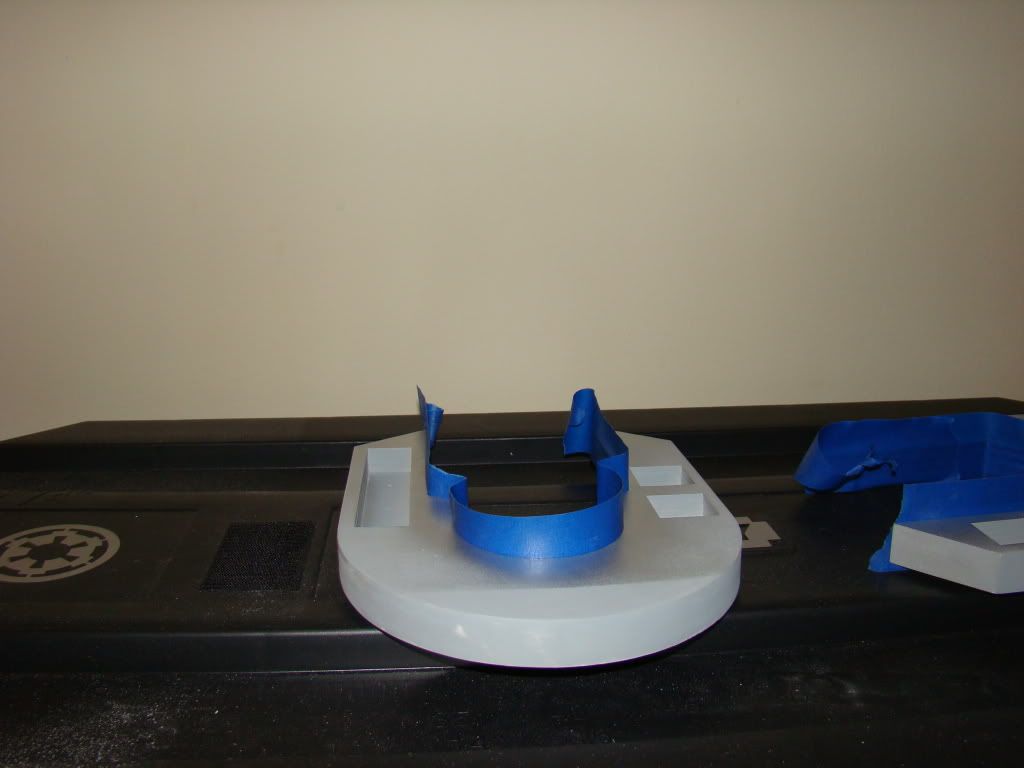
A slight addition to the helmet stand:
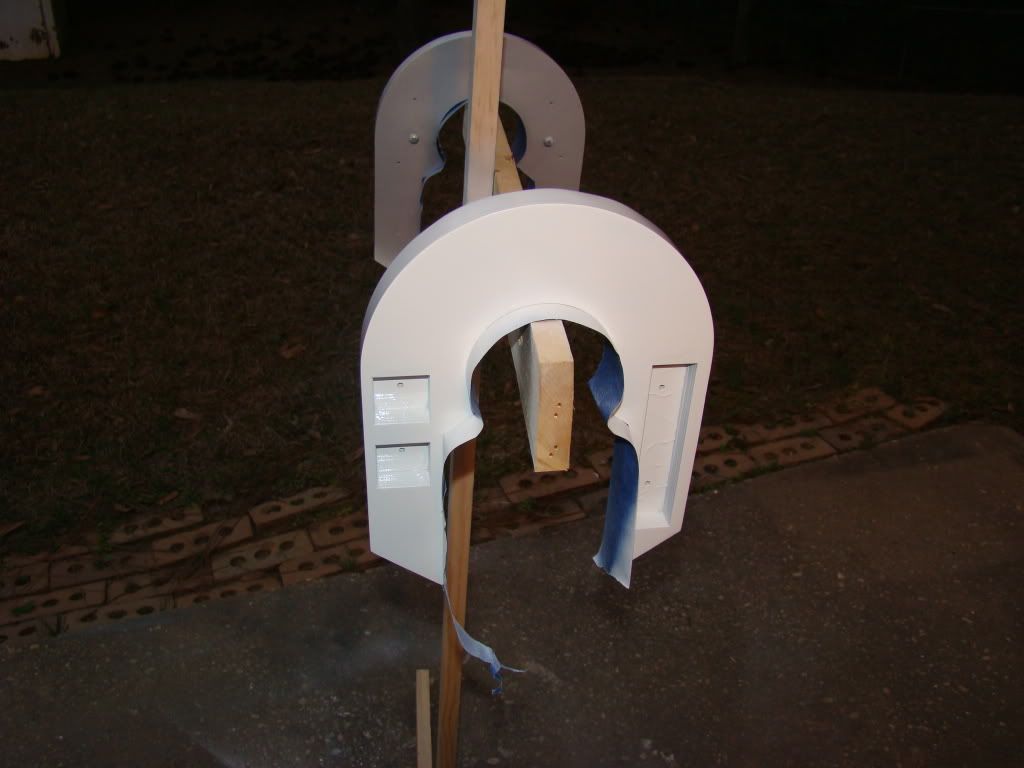
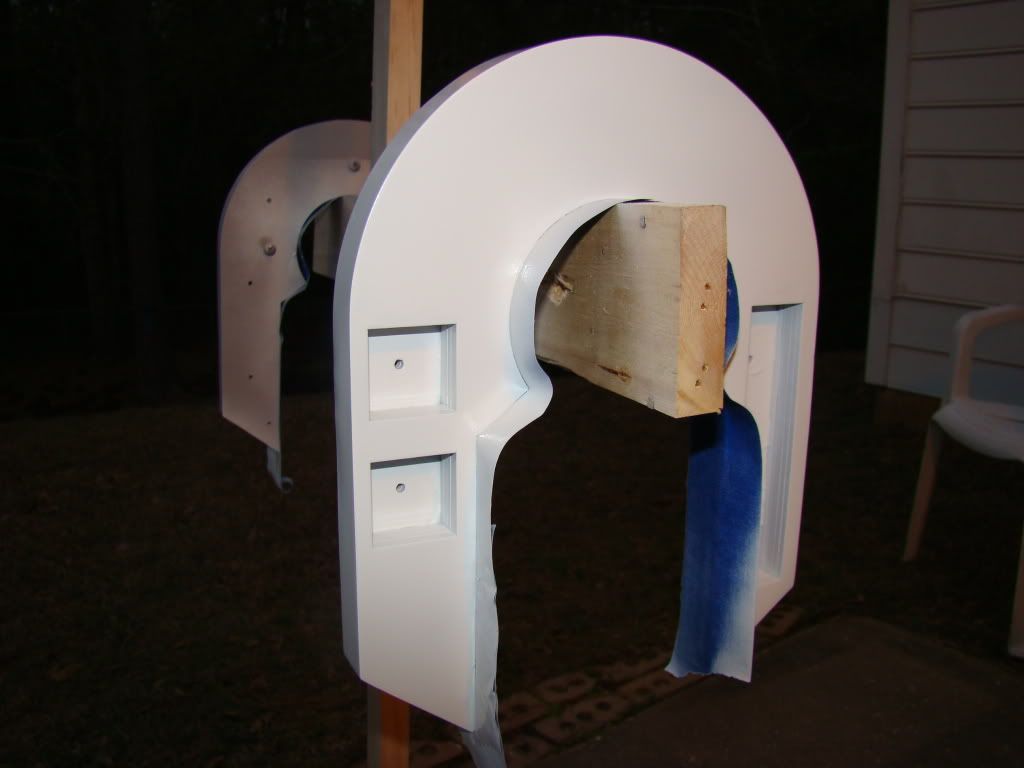
Also got some other stuff painted white:
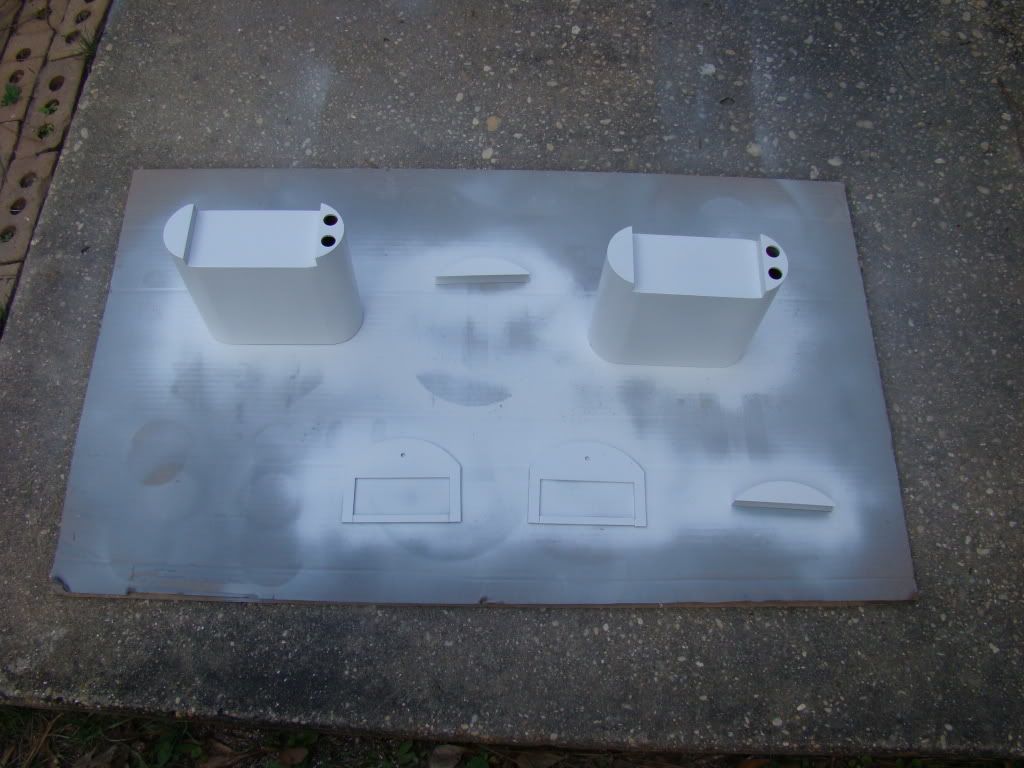
Yeah, yeah, I know...the ankle bracelets aren't supposed to be white. I had a brain fart, that's all.
They show up again in this picture:
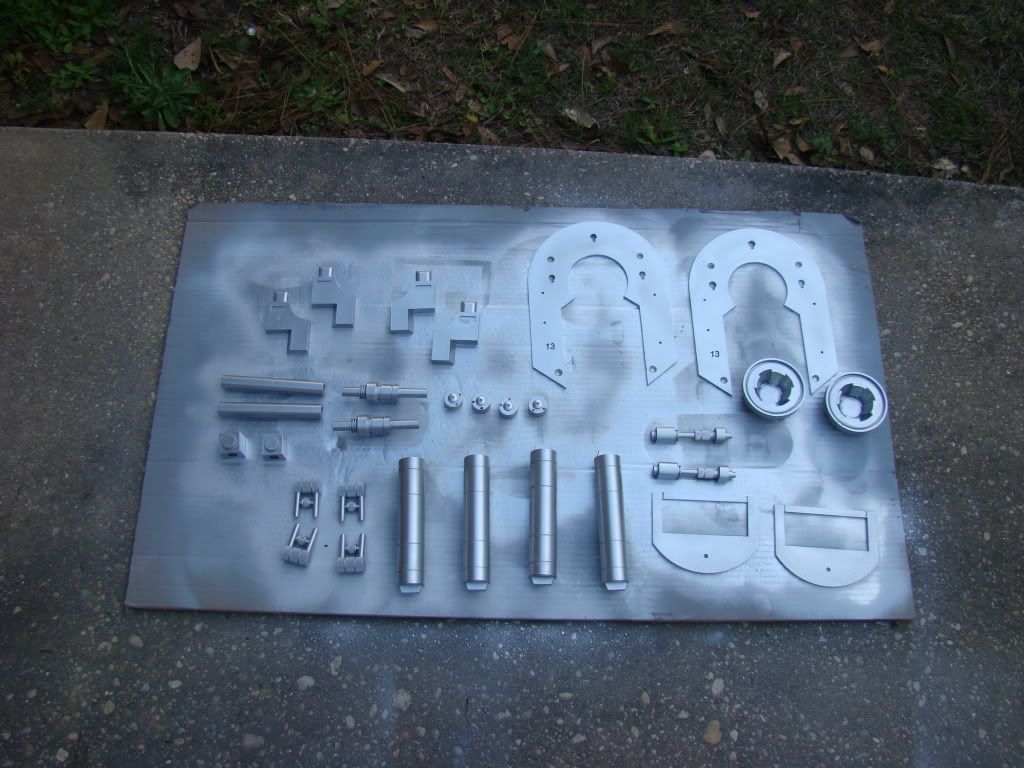
Unfortunately, I didn't realize I'd painted them the wrong color until, you guessed it, more than an hour had passed. Here's the result:
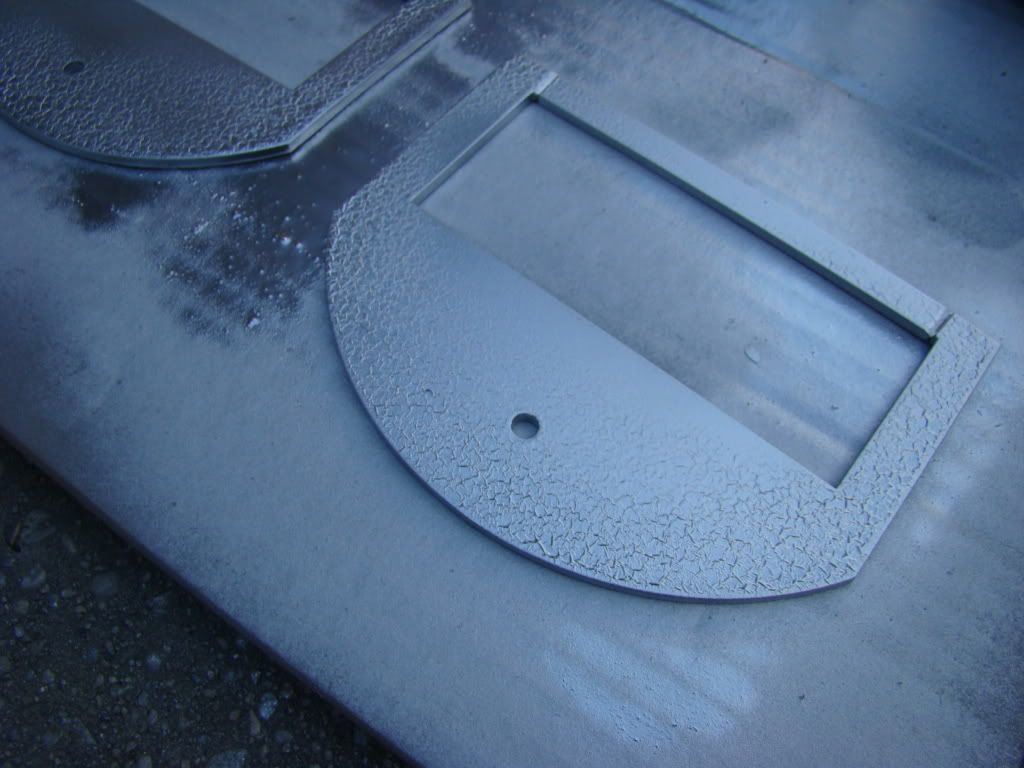
That meant another 3 days for them, 1 to let the crackle cure some so I could sand it off easier, 1 to sand them all the way down and prime them again, and another to repaint them. Oh, guess that makes 5 days, since I always let a finished coat sit for at least 48 hours before I play with it. Moral of the story: READ THE CAN!
~
~
~
~
~
All the things I painted over the weekend finally finished their 2 day waiting period, so today I got to start putting it together. Here's the results:
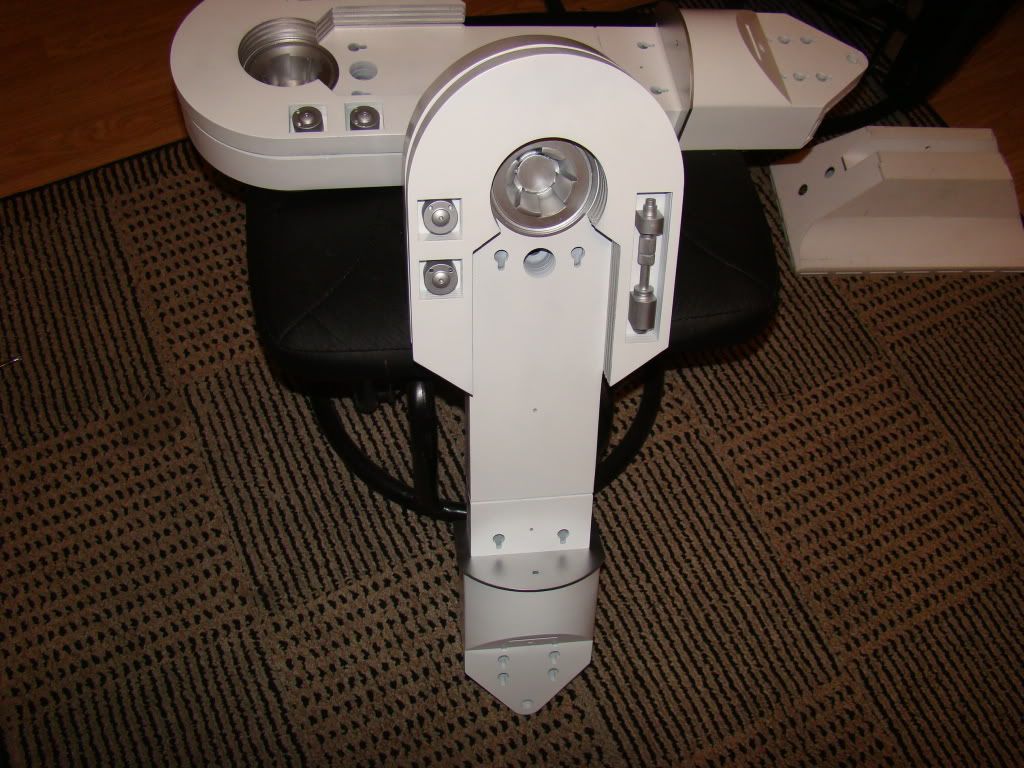
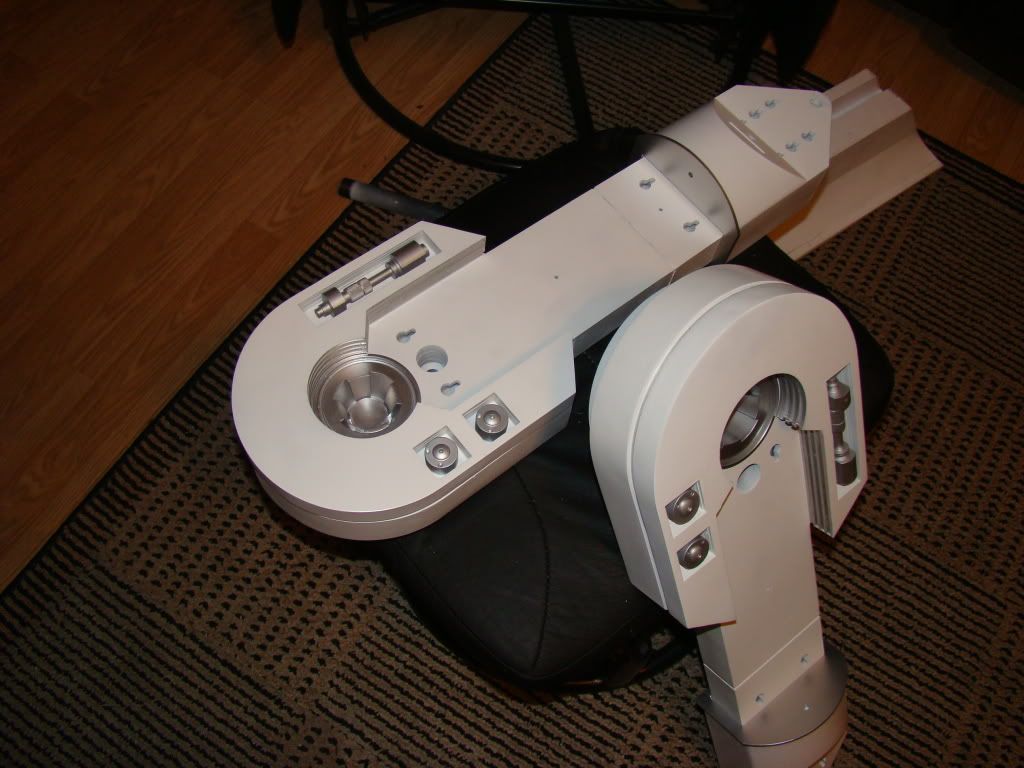
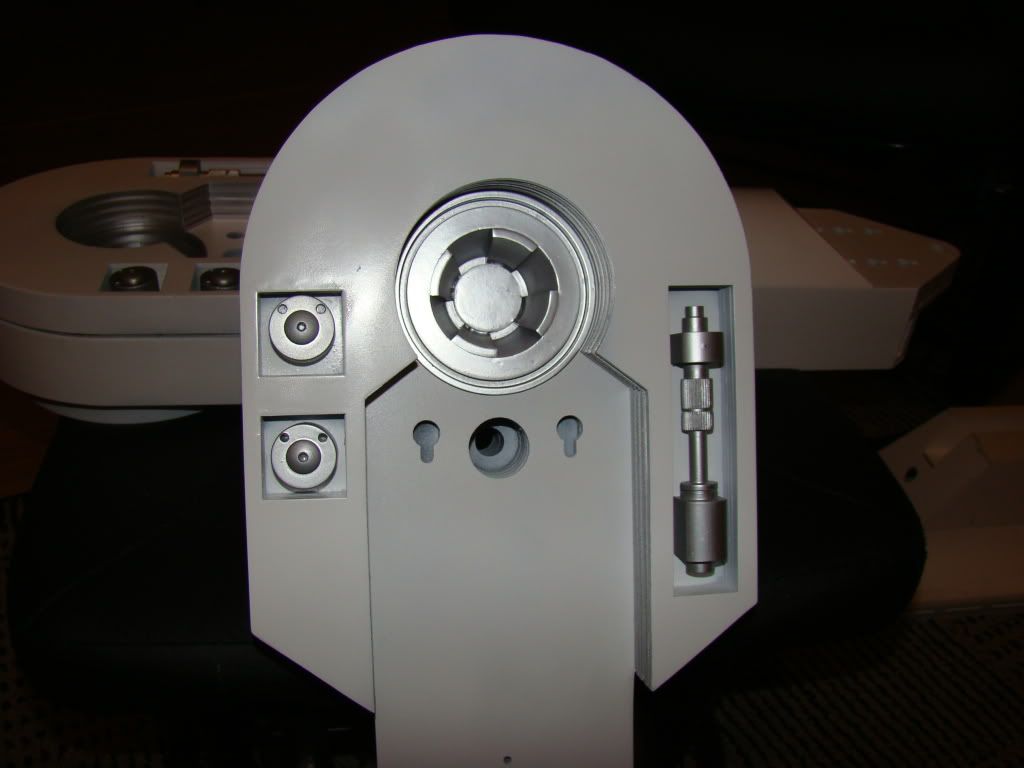
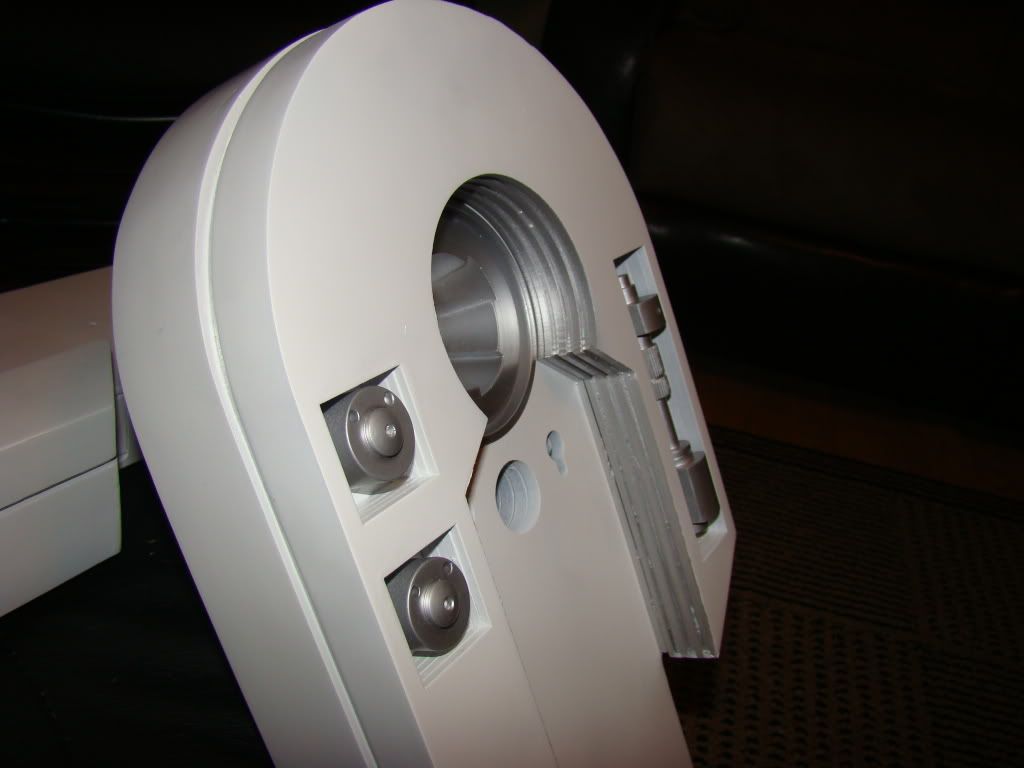
I don't think you can tell, but I remembered someone having mentioned that the top button was tilted ~5 degrees up. I tried to come up with a way to measure than then eyeballed it, using a small scrap of sintra under the bottom side of each top button to make it tilt slightly. I don't think it's quite 5 degrees, but people who know to look for it will at least see that I tried :P
No comments:
Post a Comment