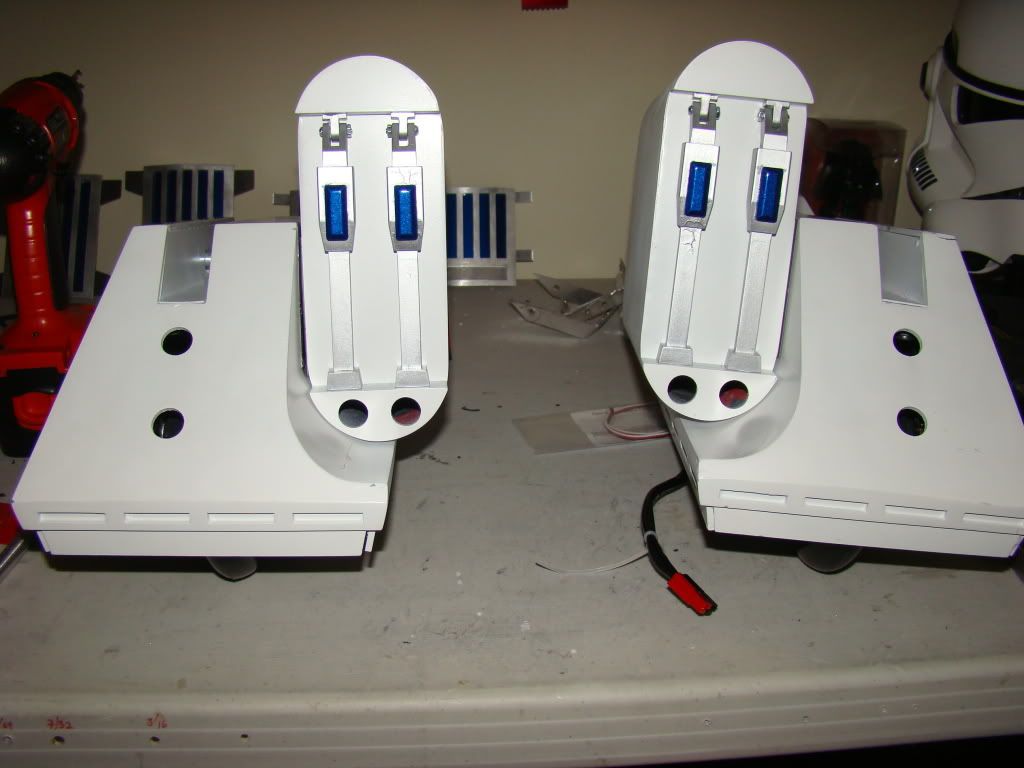
the title describes how things have seemed lately. I'll just tell you everything and let you decide what's what in that statement...
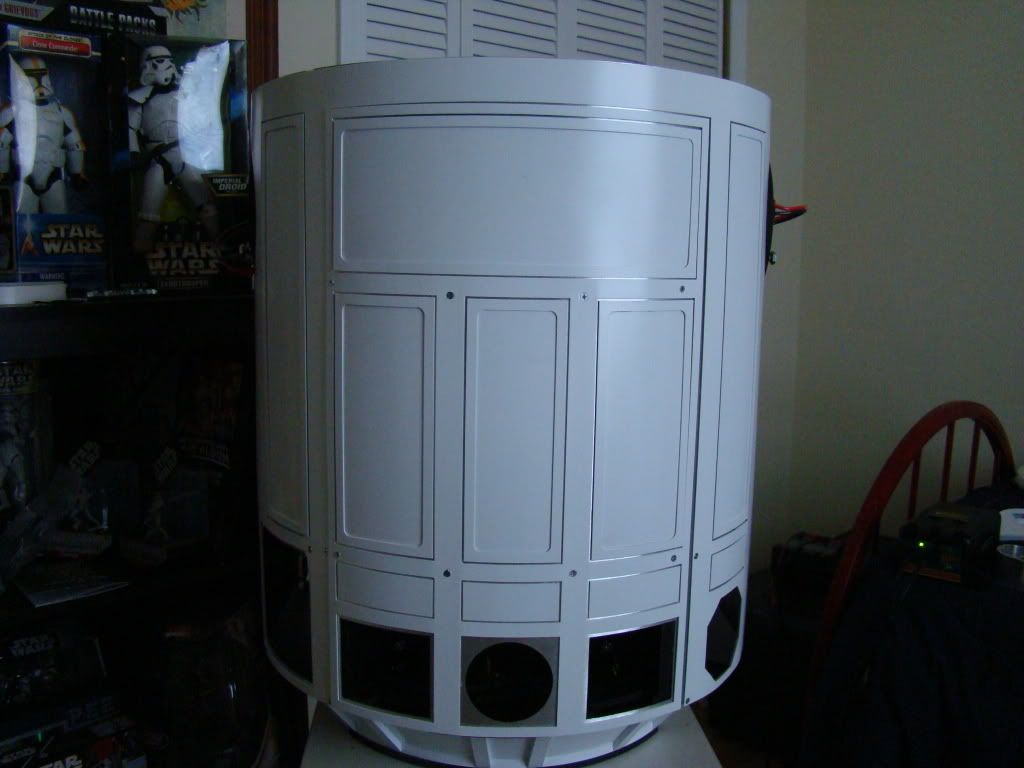
Start off with painting the outer skins. Forgot to snap a shot of the front ones just primered, so here's one all white:
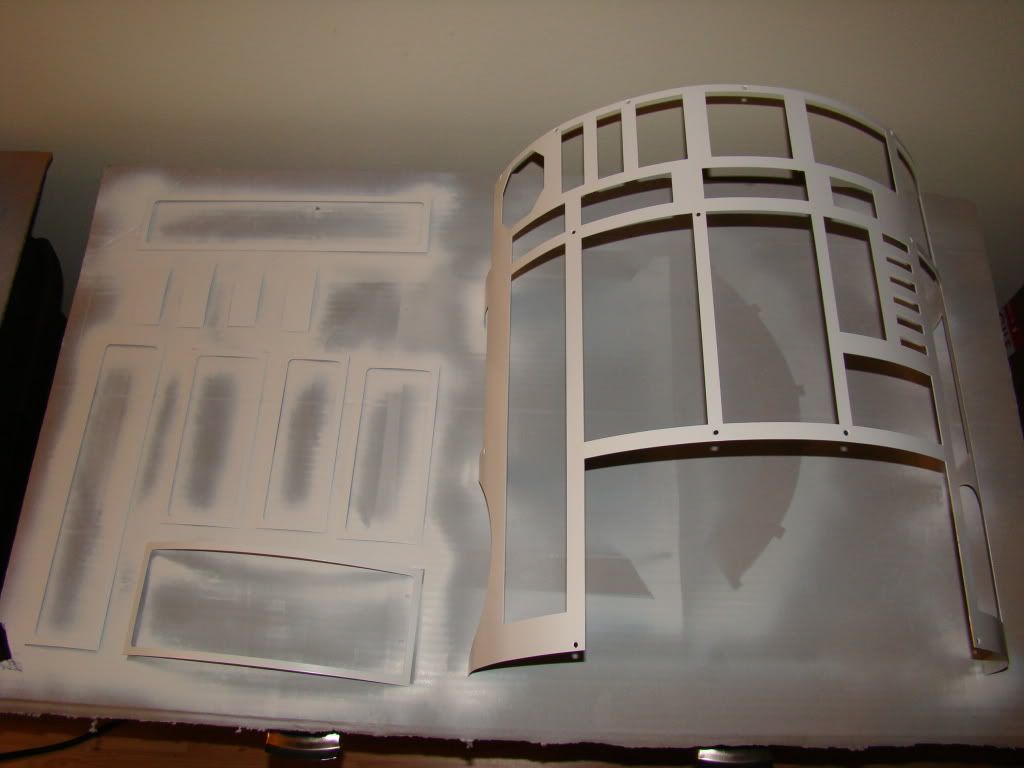
And the front ones on the "blue box" for better contrast:
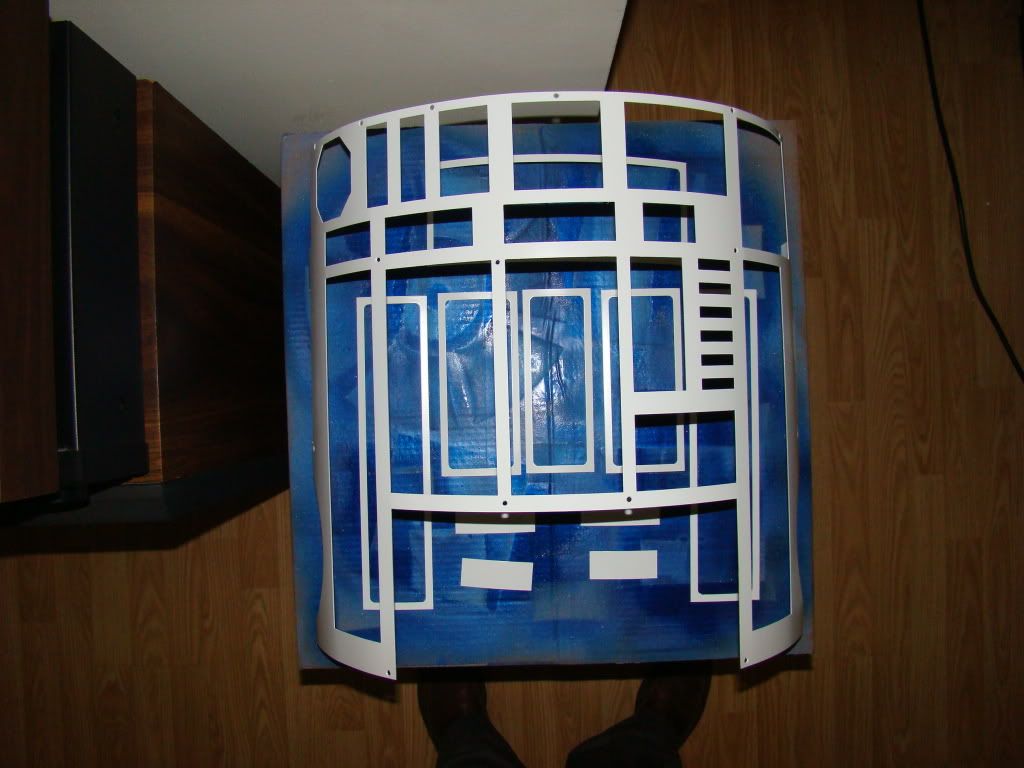
Here's the rear skins primered:
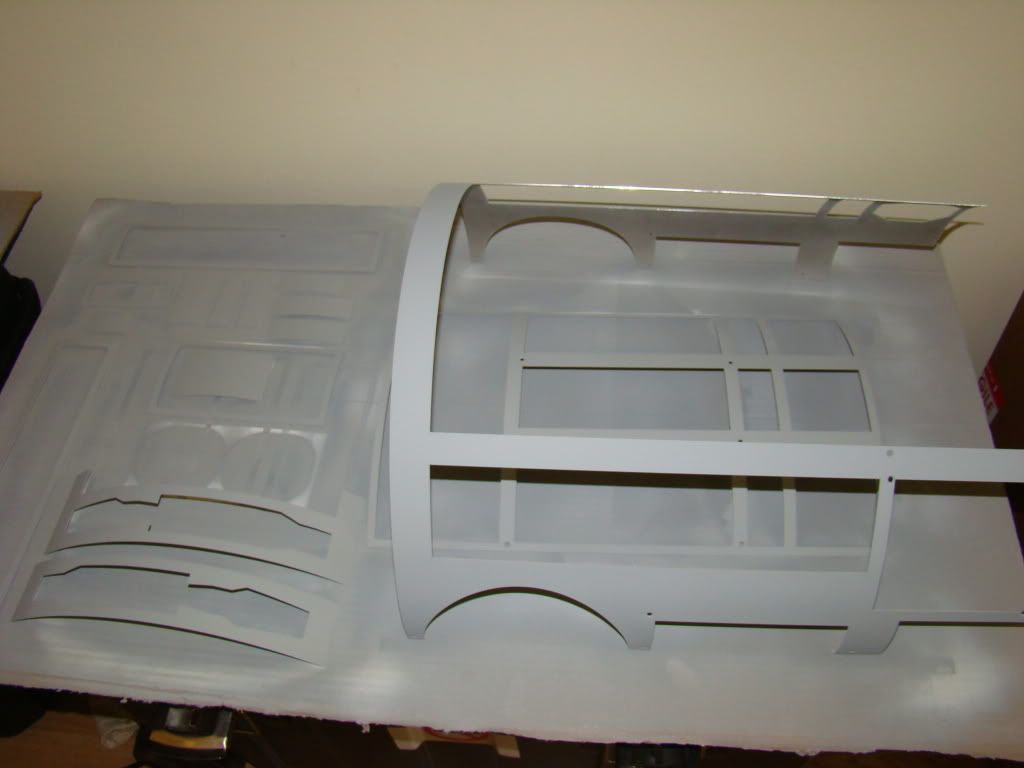
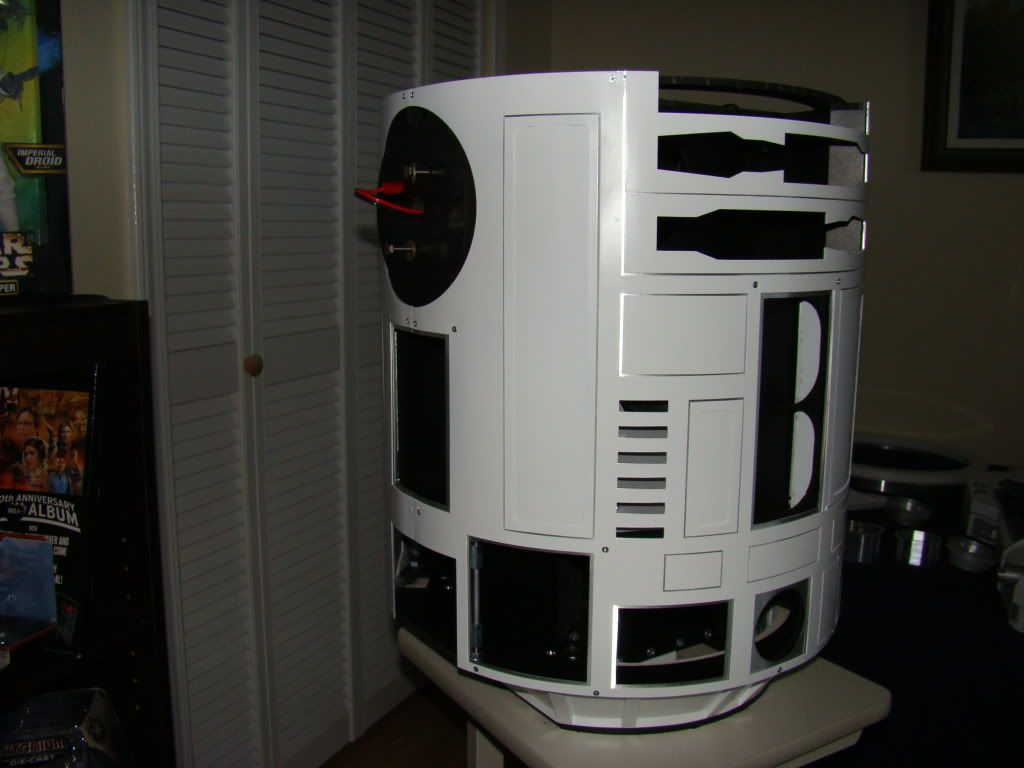
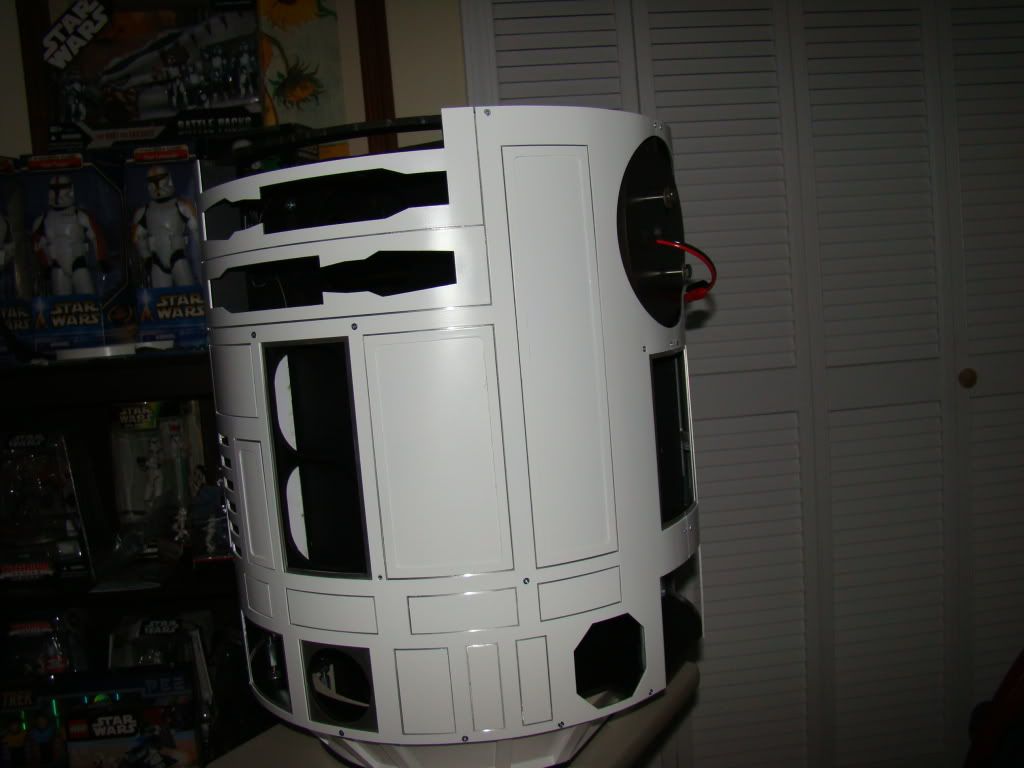
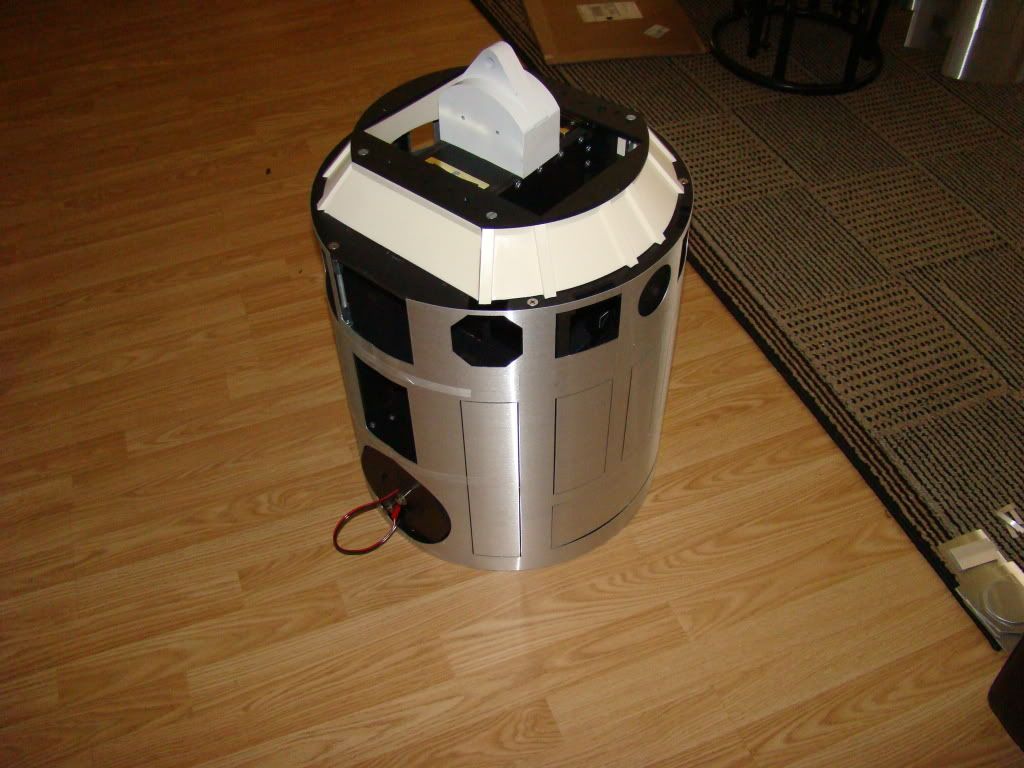
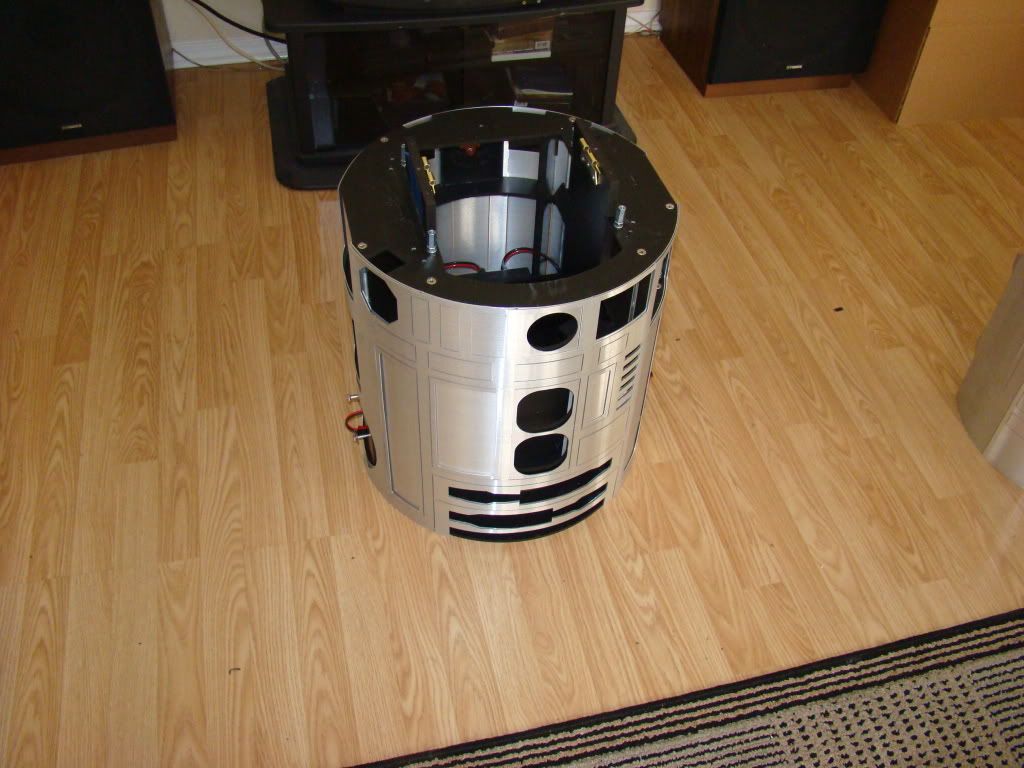
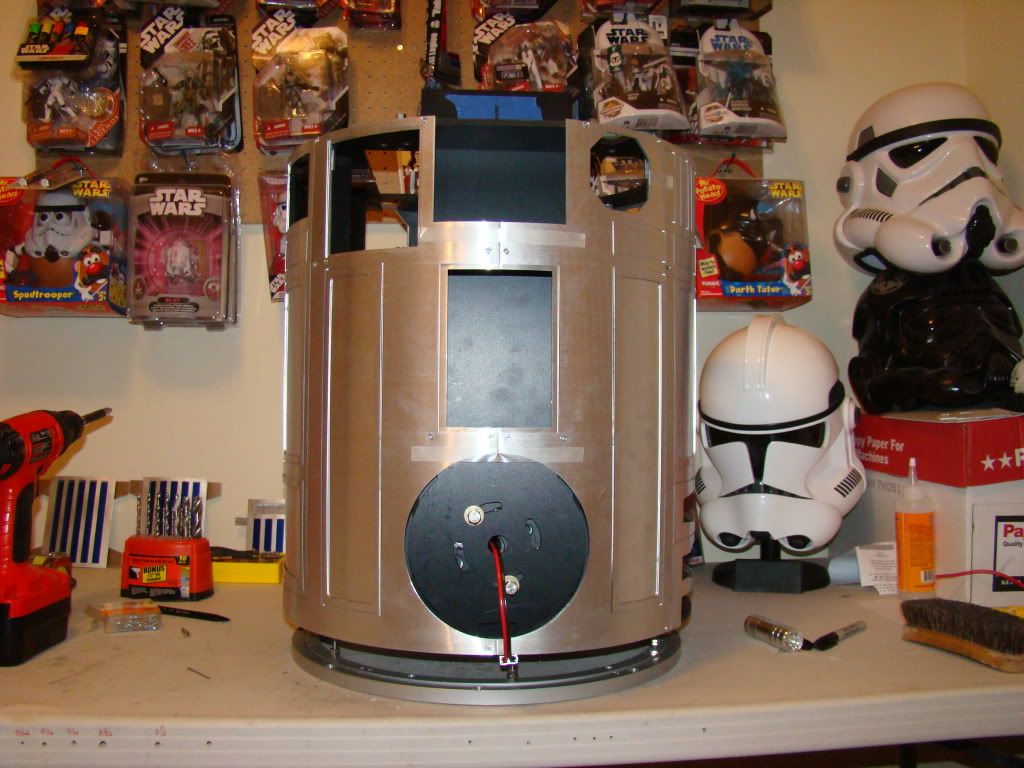
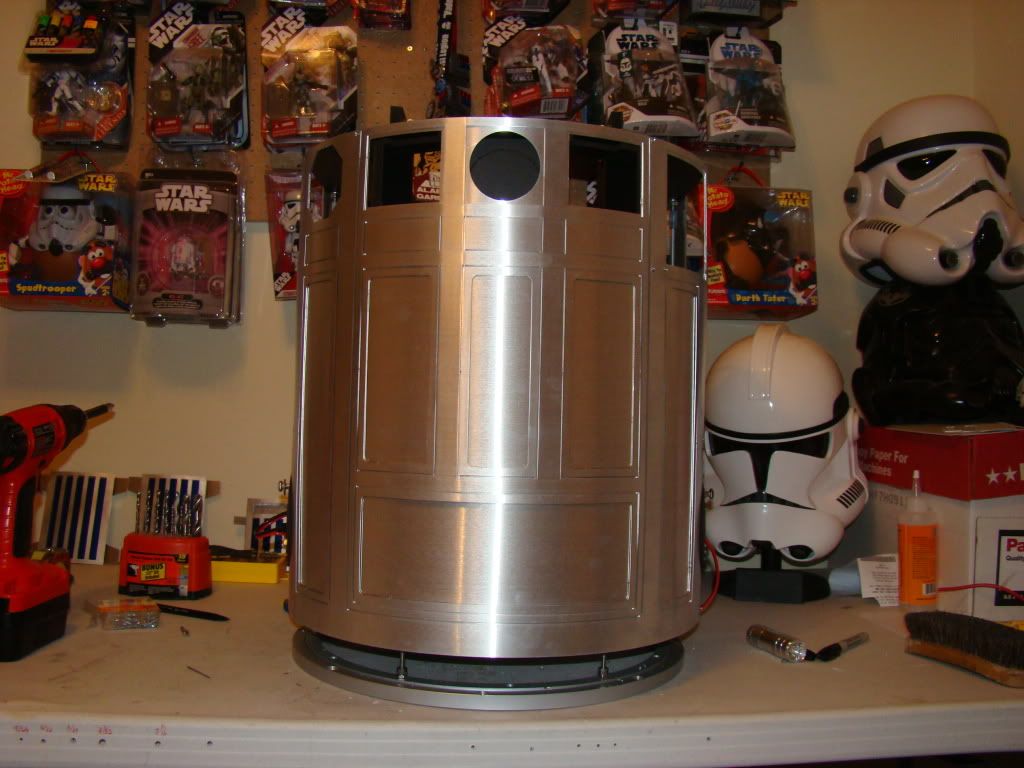
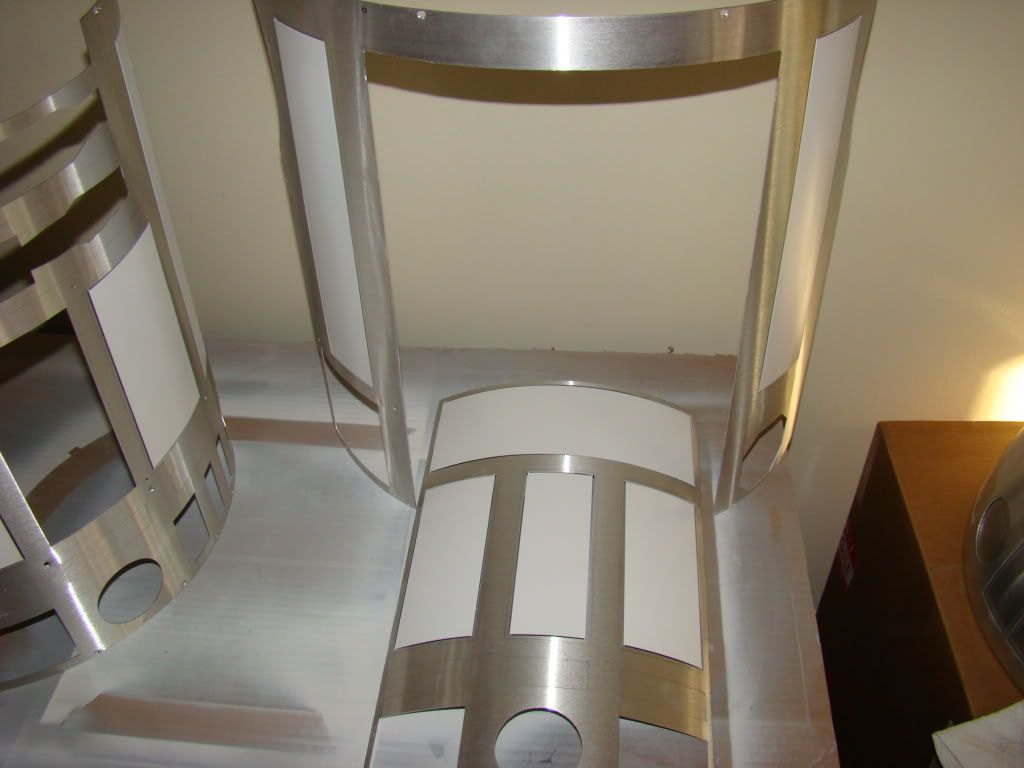
After paint, here's the rear inner and outer skins mounted to the frame, with the detail skin pieces taped in place:
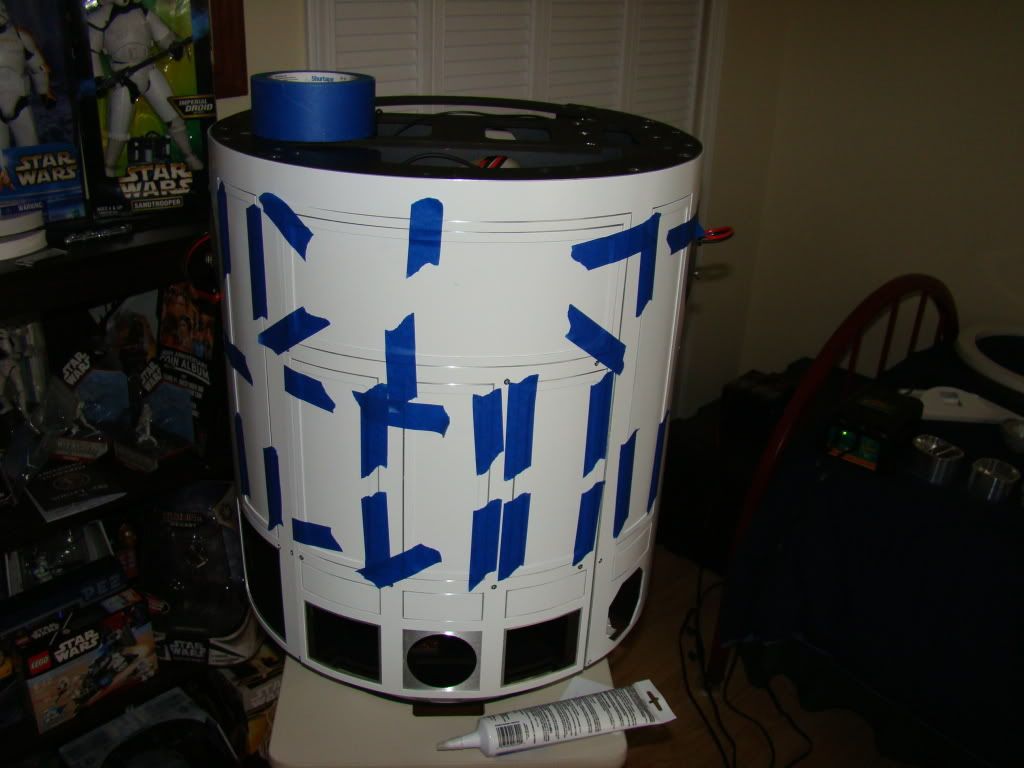
I did the rear pieces over 2 days, tested by starting with the smaller panels across the bottom:
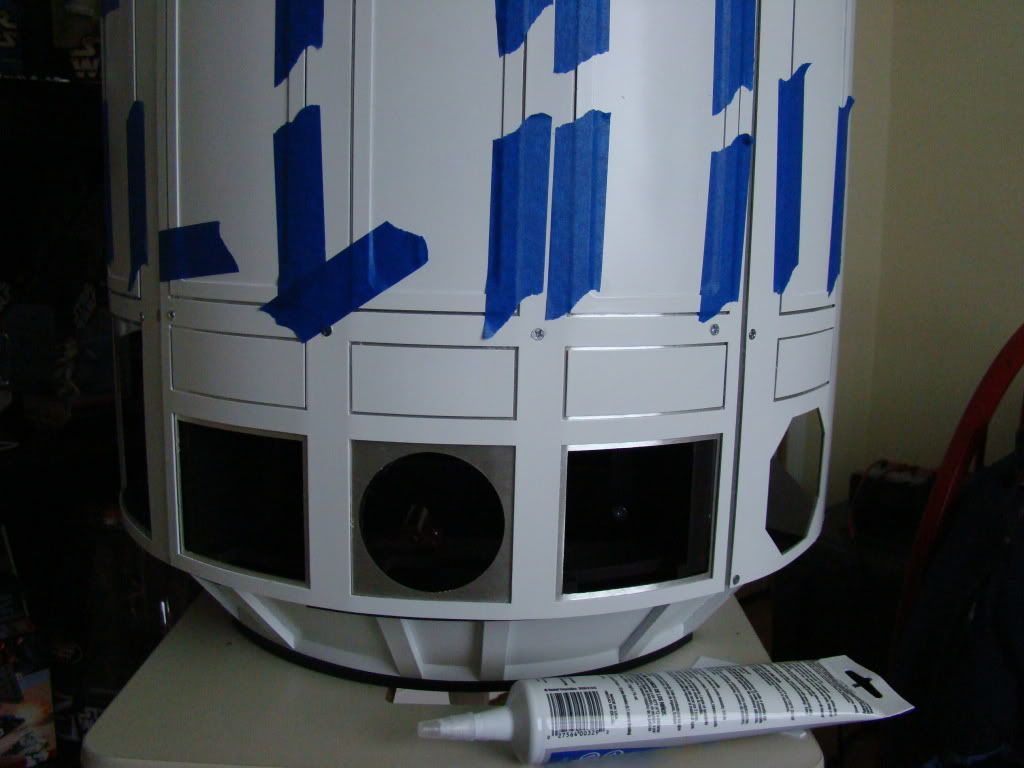
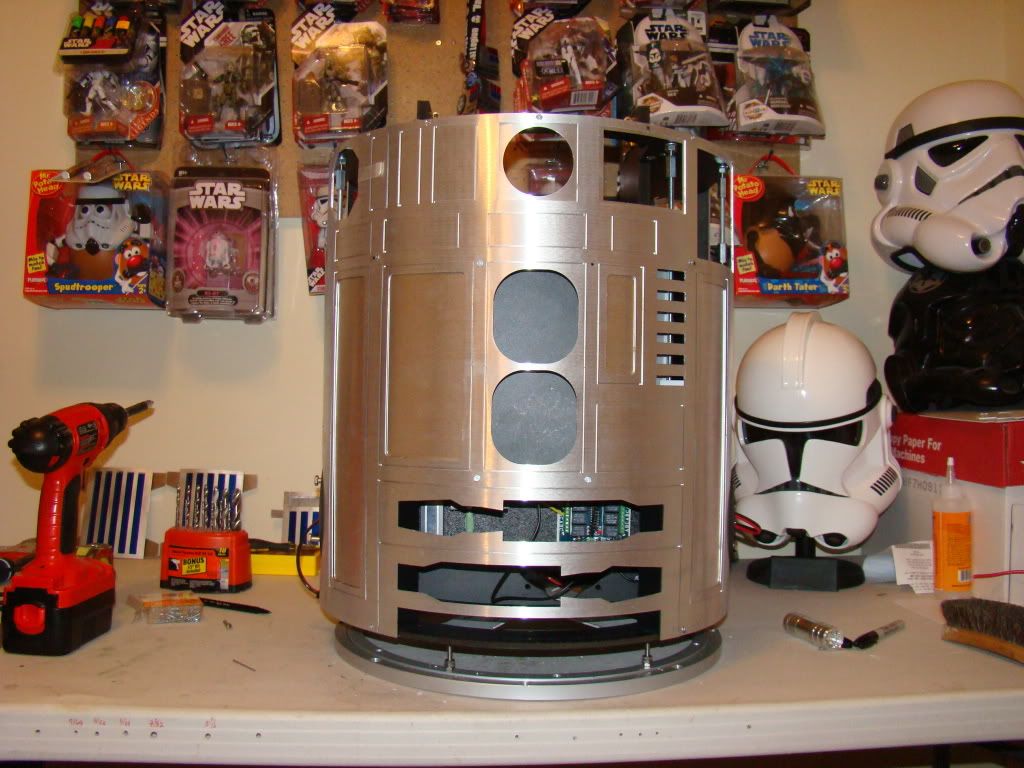
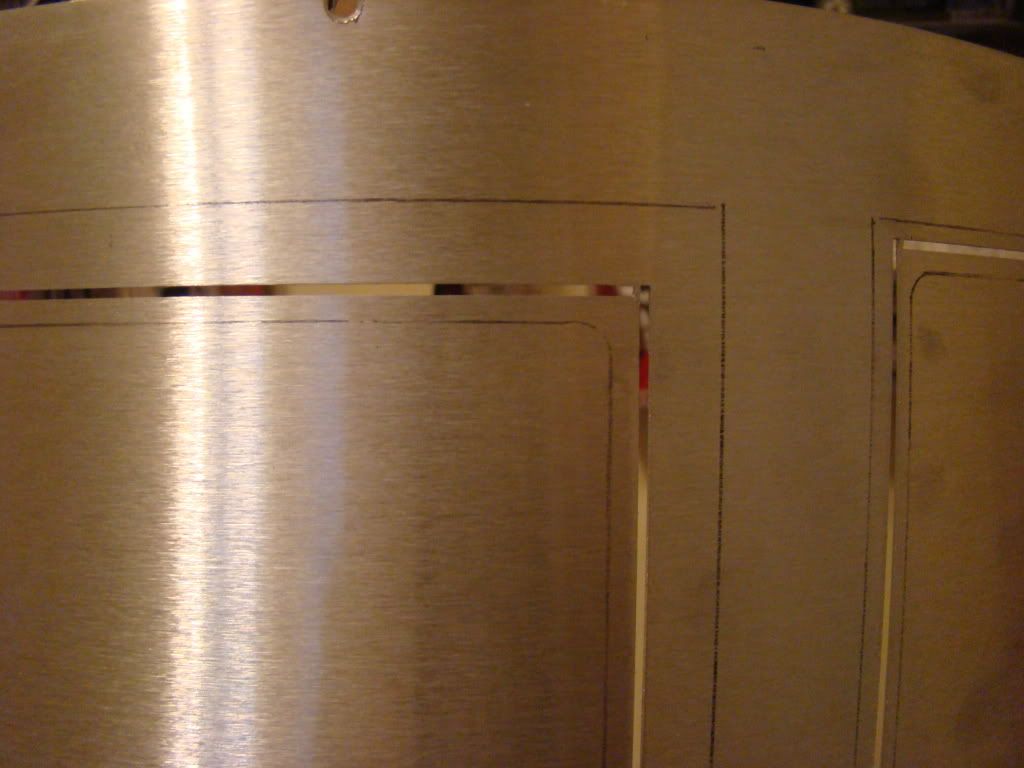
Here's what the rear skins look like with all the skin details in place:
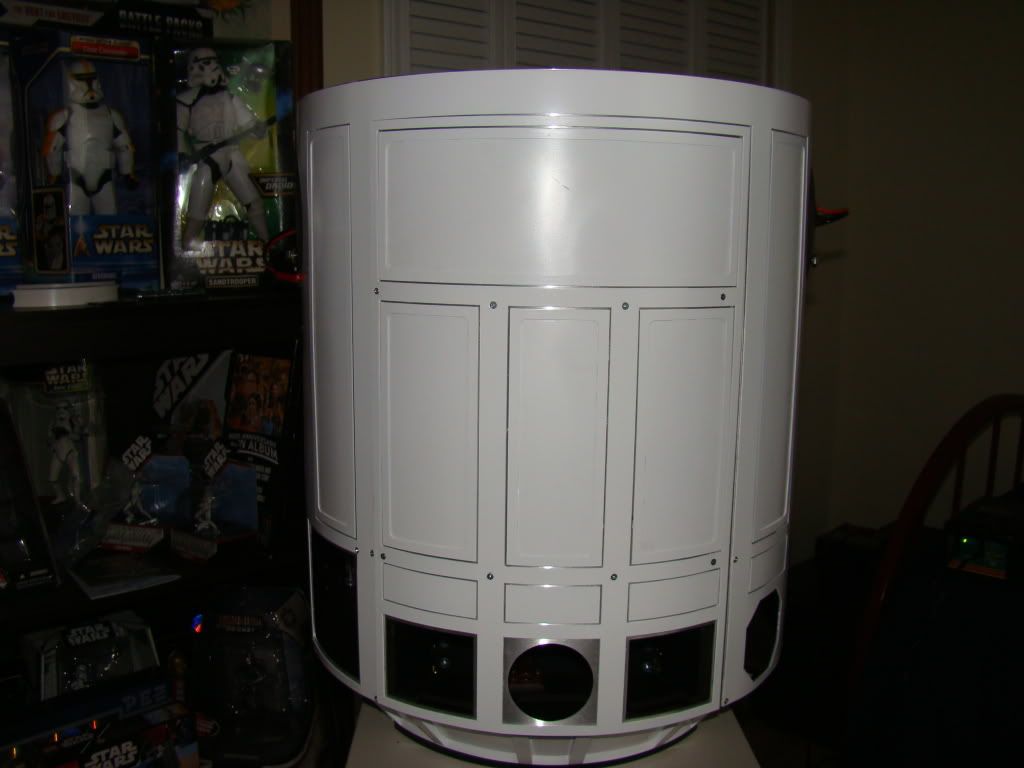
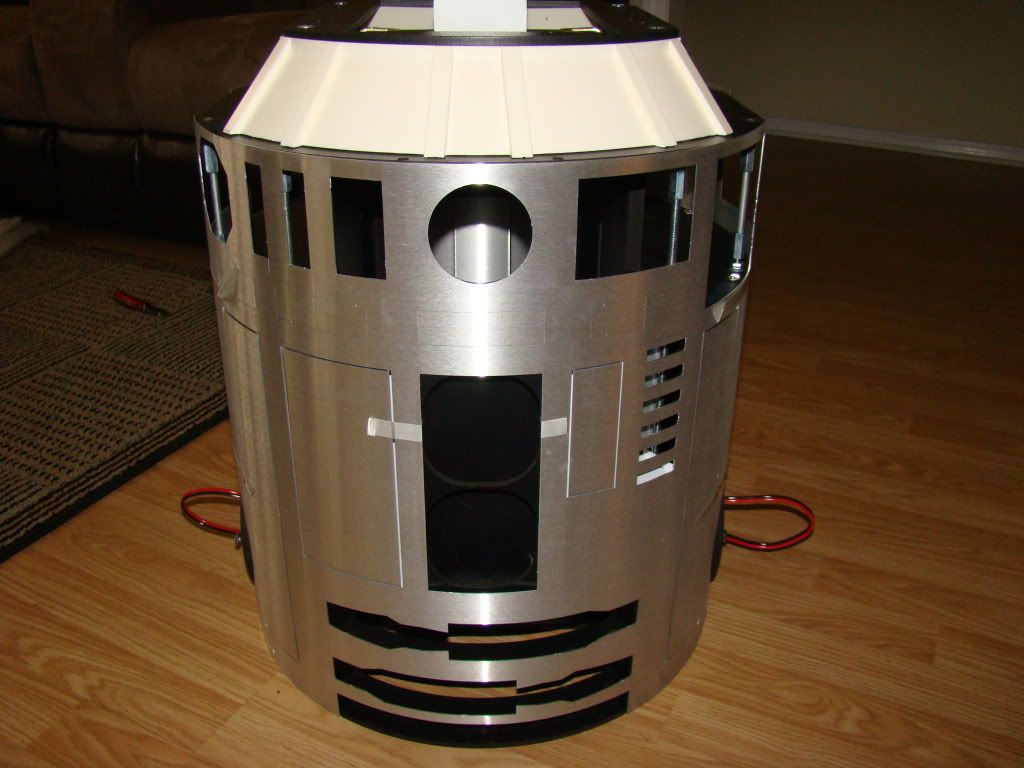
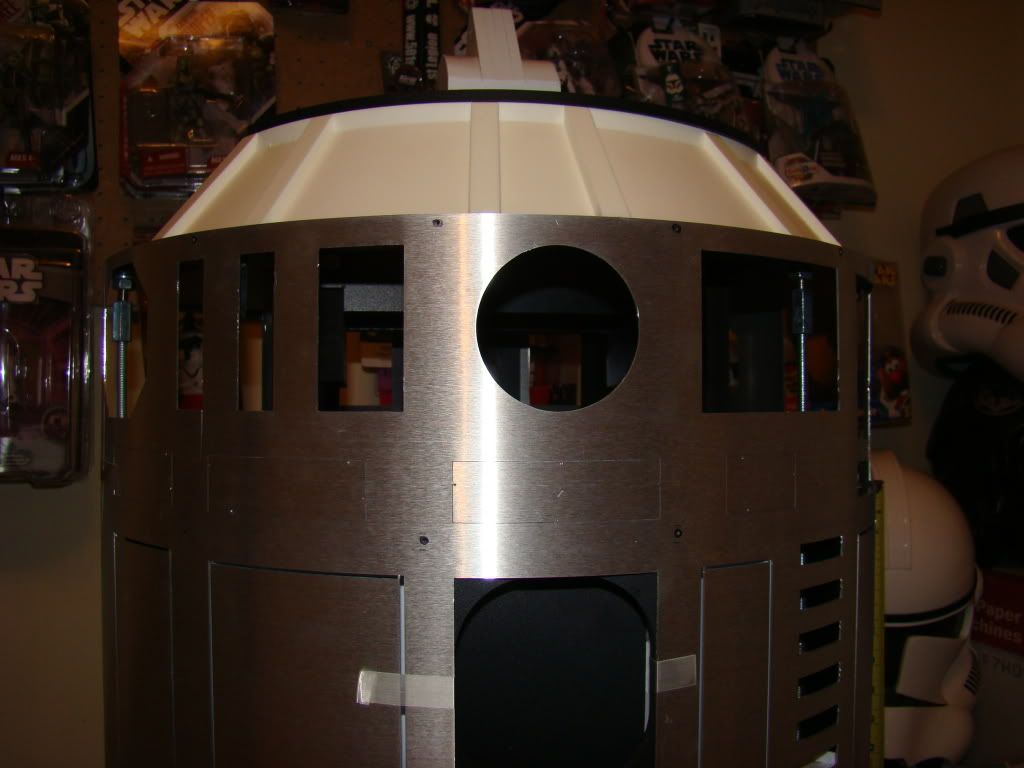
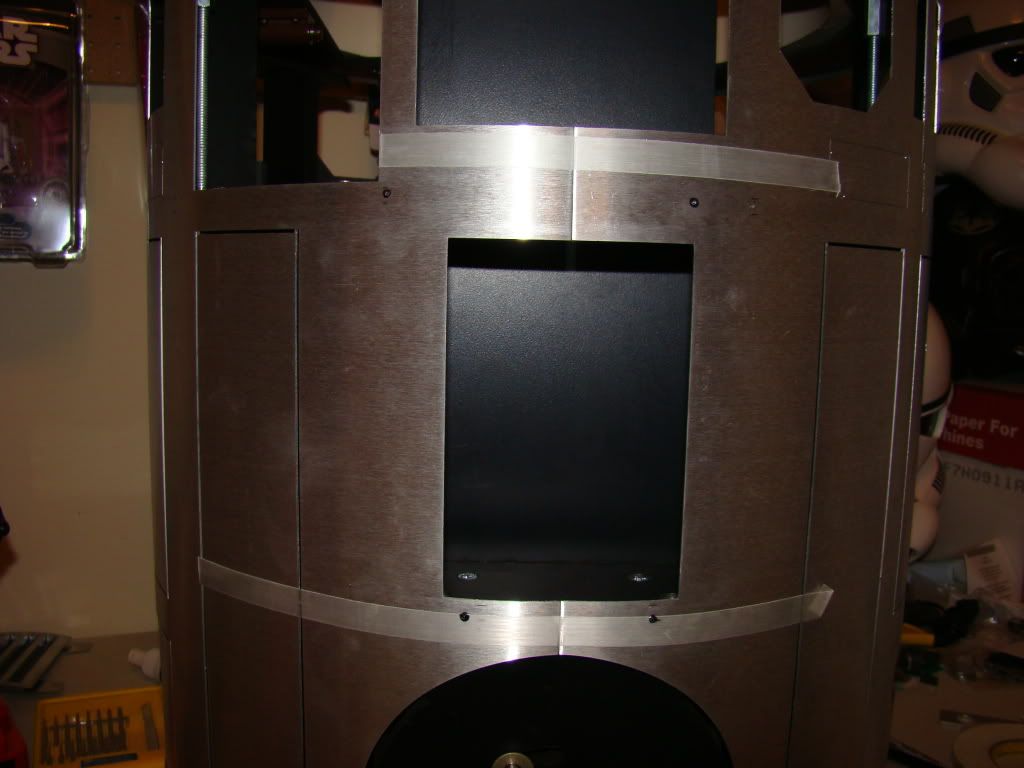
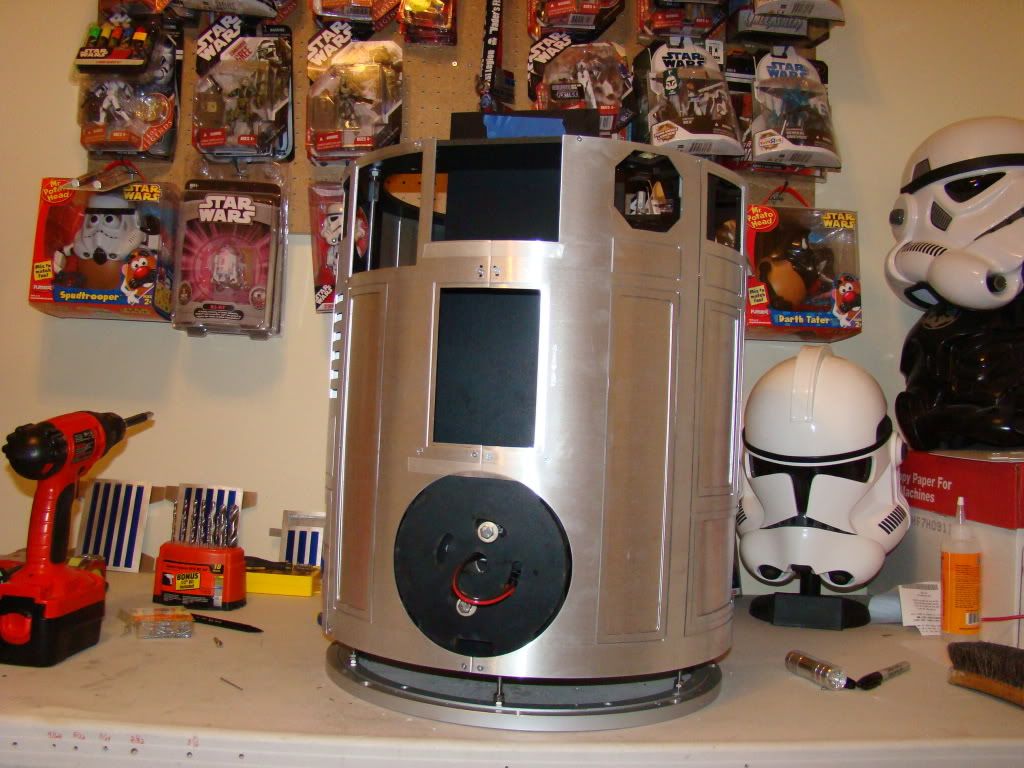
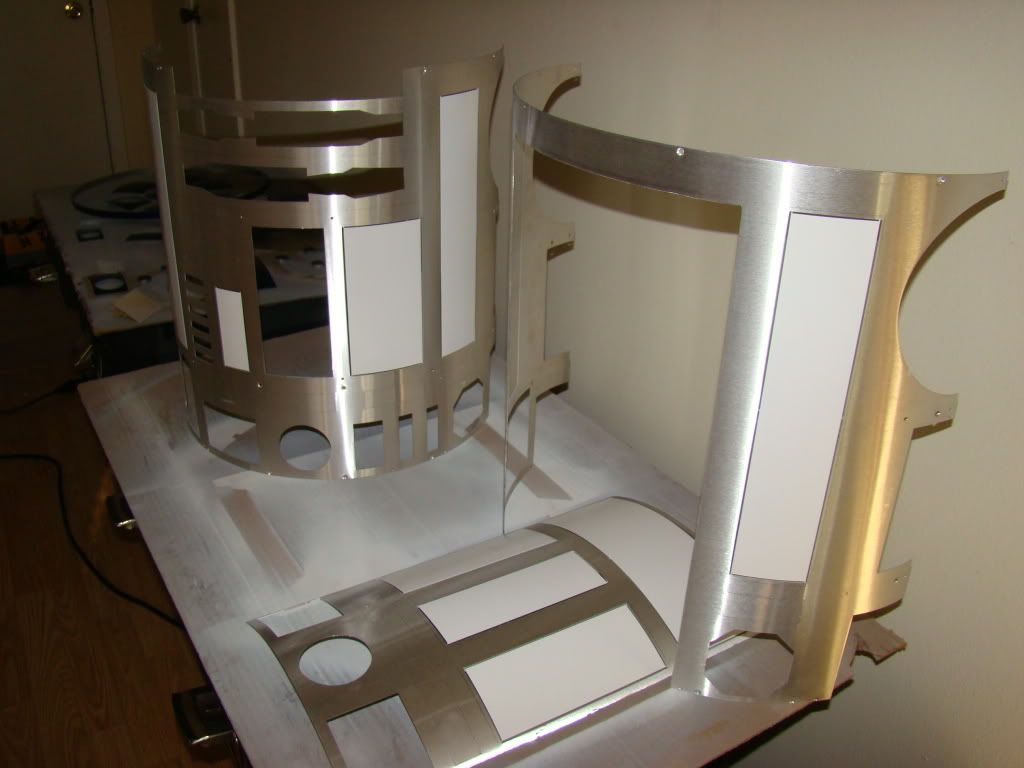
Here's a shot of the front inner and outer skins mounted, and all the skin details taped in place:
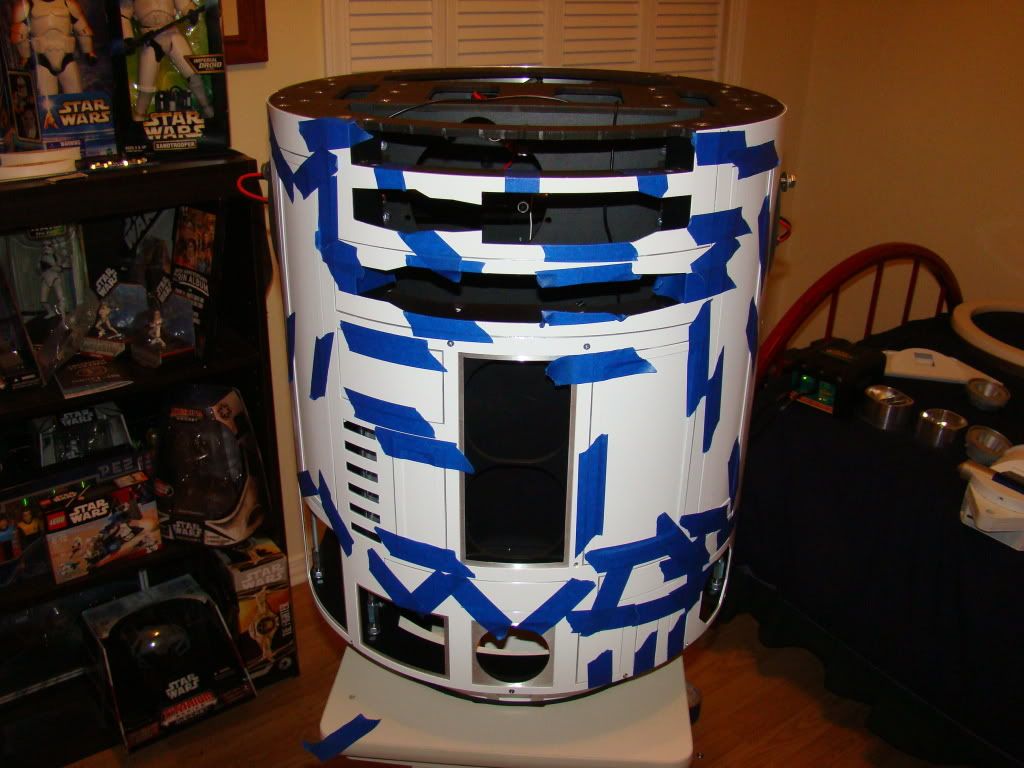
And without the tape:
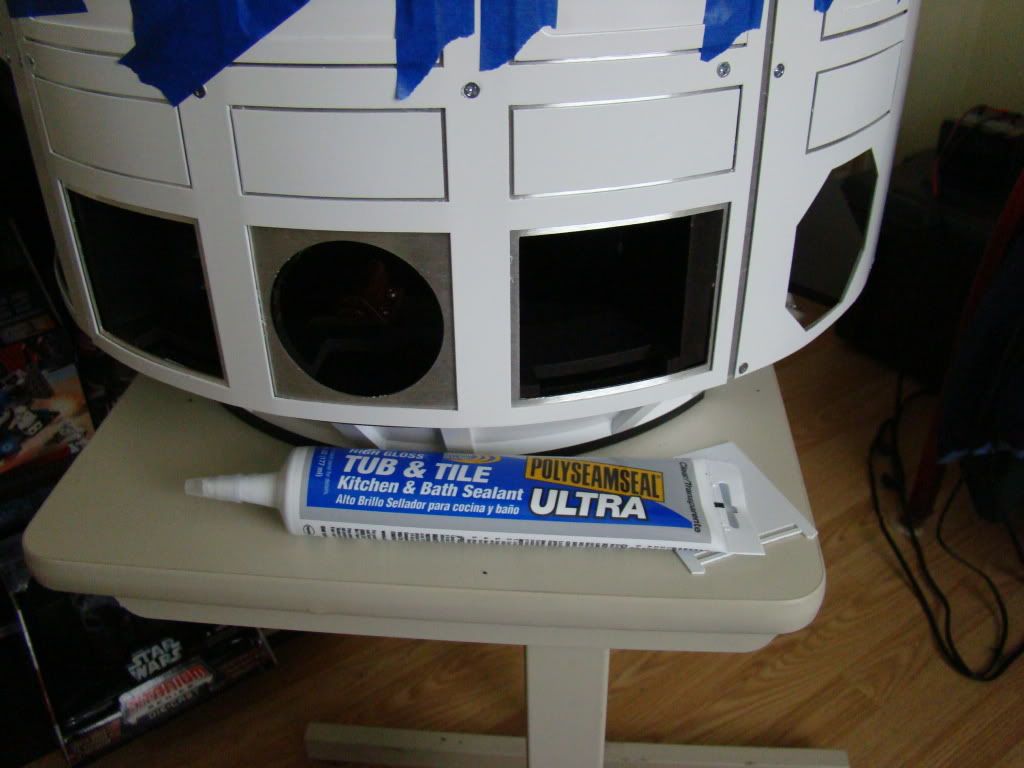
Here's a shot with the brand of silicone I used. I remembered it being really good at sticking stuff from when I used to make cabinet tops. We used it to stick backsplash to the walls, and sometimes sinks to the underside of the tops. Figured if it could hold a sink in place, it'd hold a little aluminum:
I decided how to mount the utility arms in the carrier without having to build it up with washers or blocks:
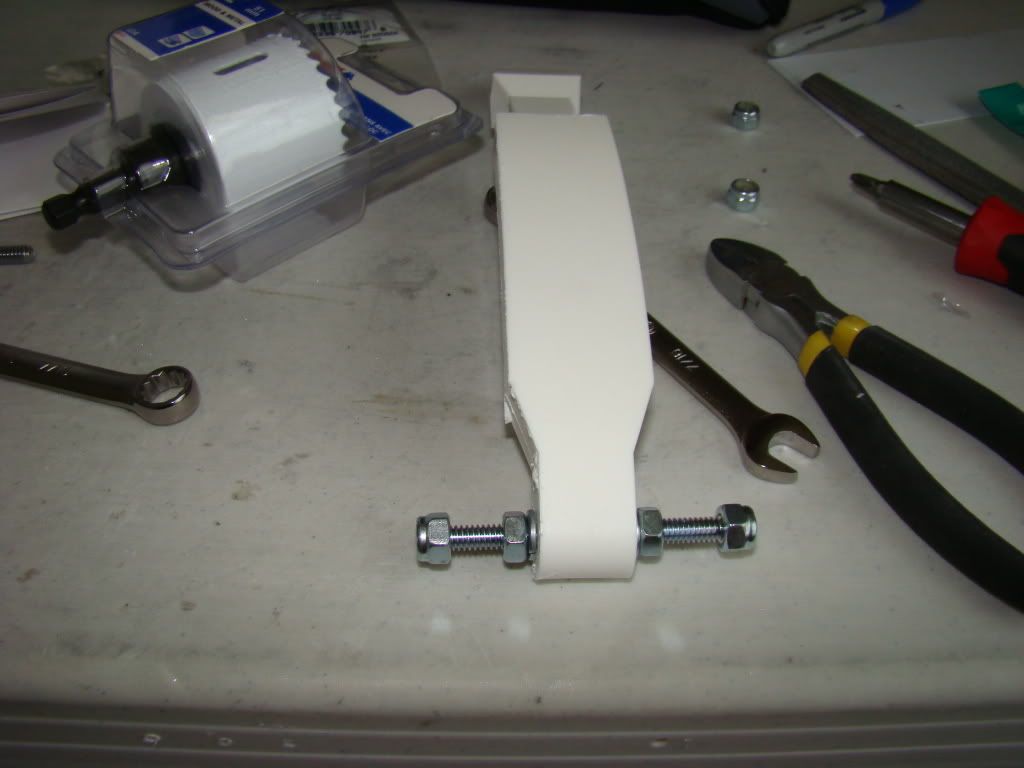
The bolts and washers will hold the arm snug, and can be used to raise or lower the arm. The outer bolts will hold the threaded rod in place in the carrier. Kinda proud of that one :)
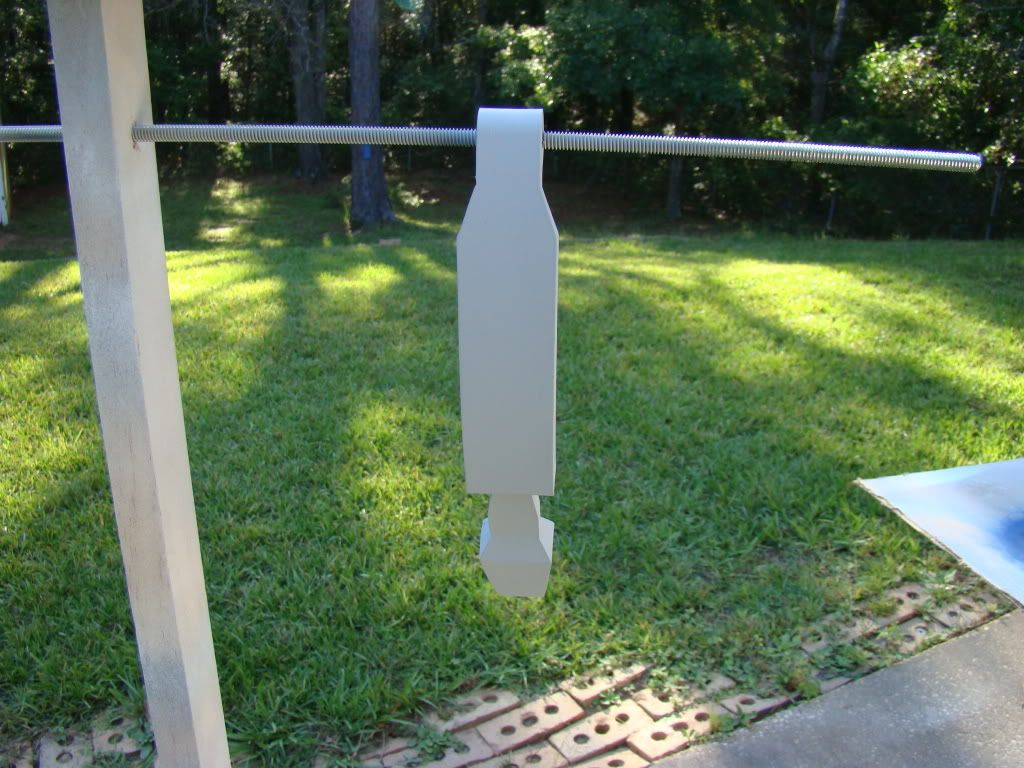
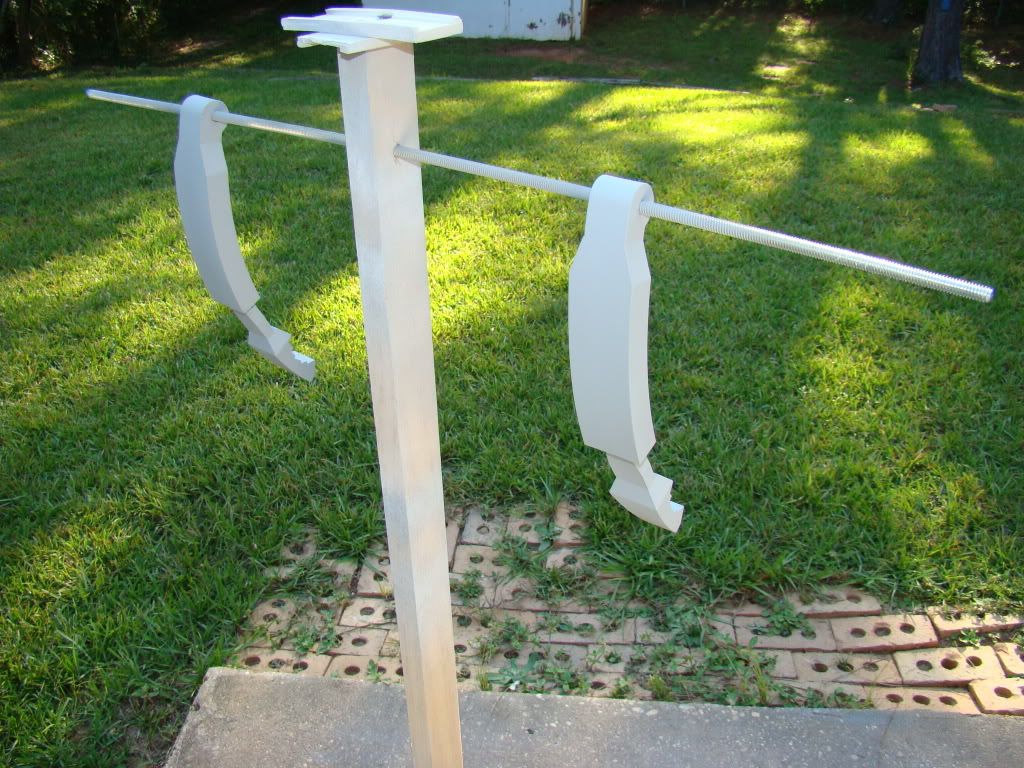
Here's the arms hanging on the leftover threaded rod from building the frame, ready for paint:
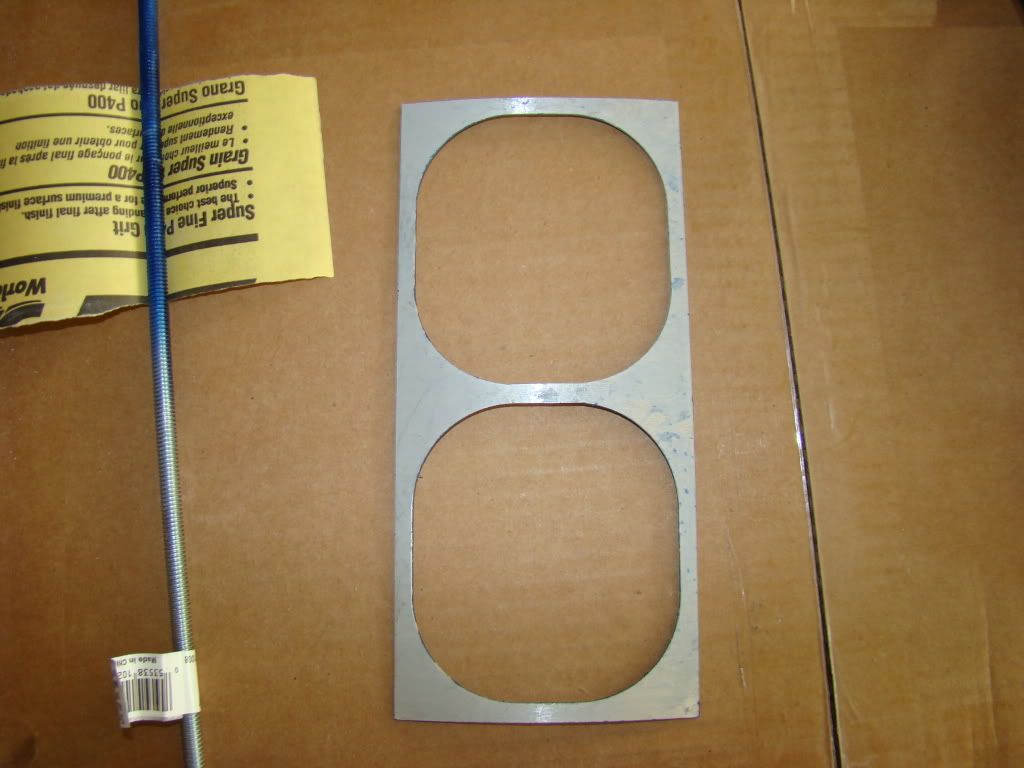
and the center vent surround primed, since it gets blued like the arms:
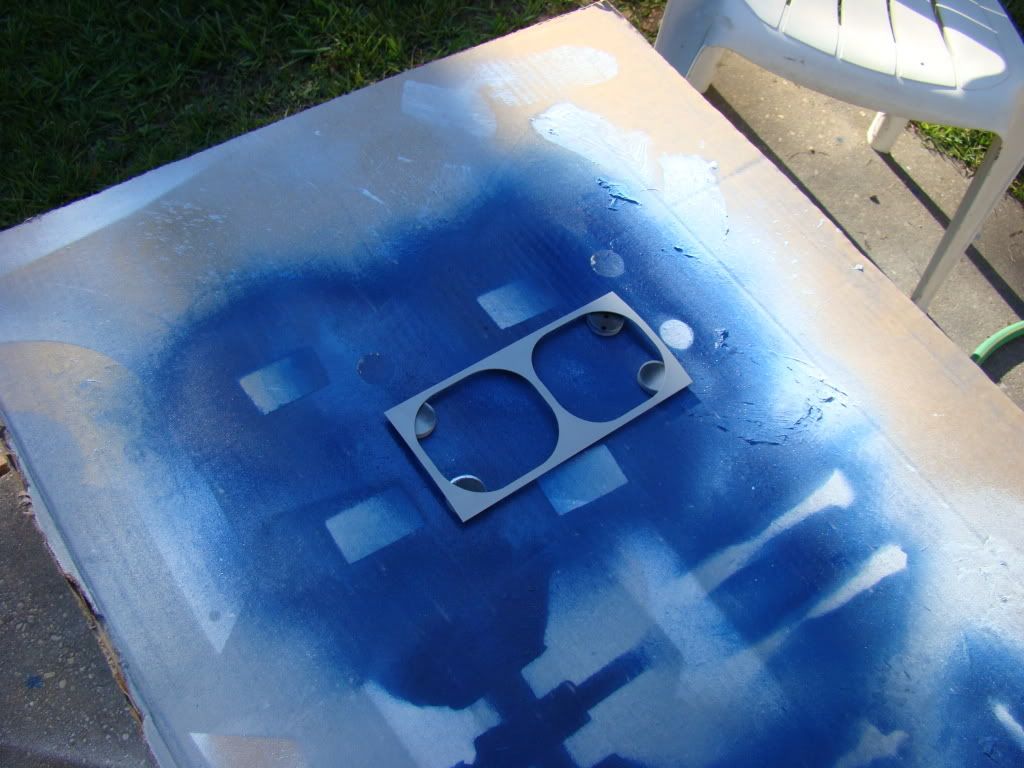
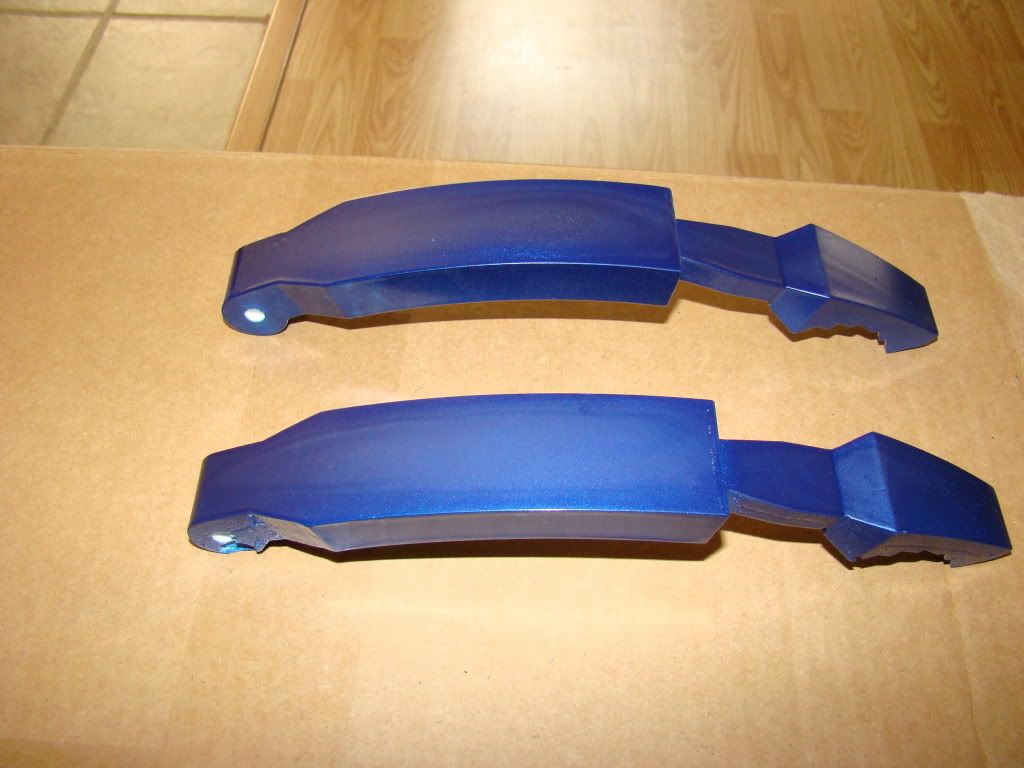
Apparently there was too much humidity when I painted the utility arms and center vent surround. That's the only reason I can think of that they came out the way they did, since I painted them exactly the same as the rest of the parts from the same cans:
the clear coat was extremely cloudy, and in most light looked milky. It was hard to get pictures of how bad it looked.
There were two choices, replace the arms entirely, or this:
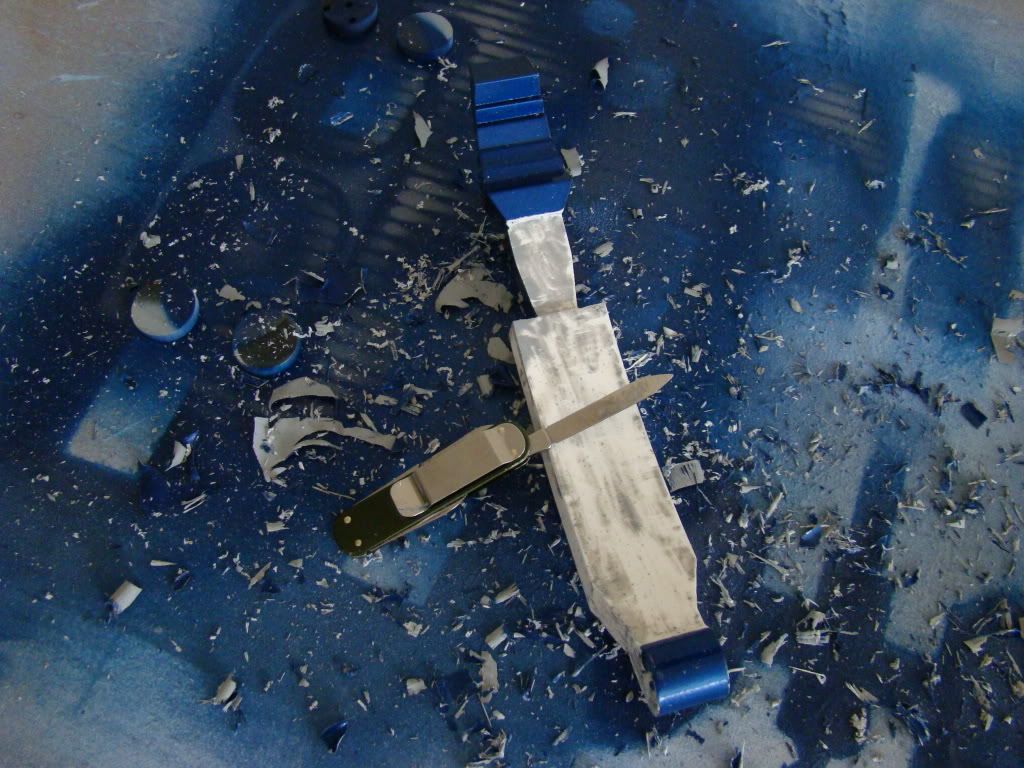
they look ugly, but I'm taking my time, so there are no scratches or gouges. Once they are primed again, you'll never even know they were painted...
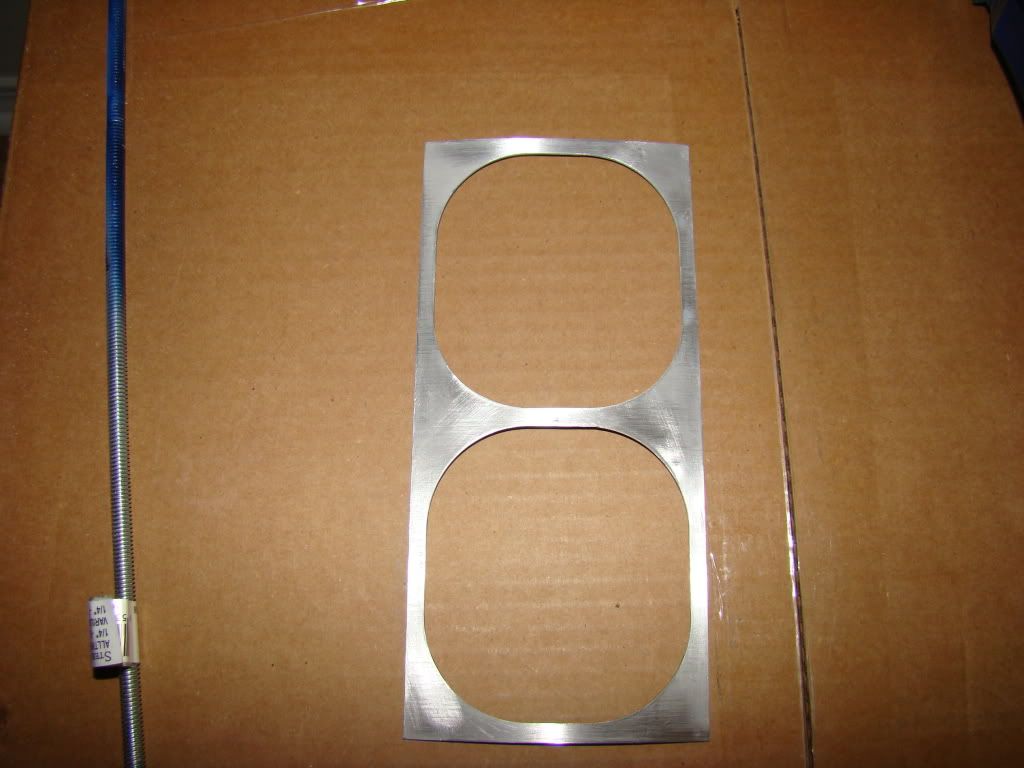
Since I couldn't replace the vent surround, I had to strip it too:
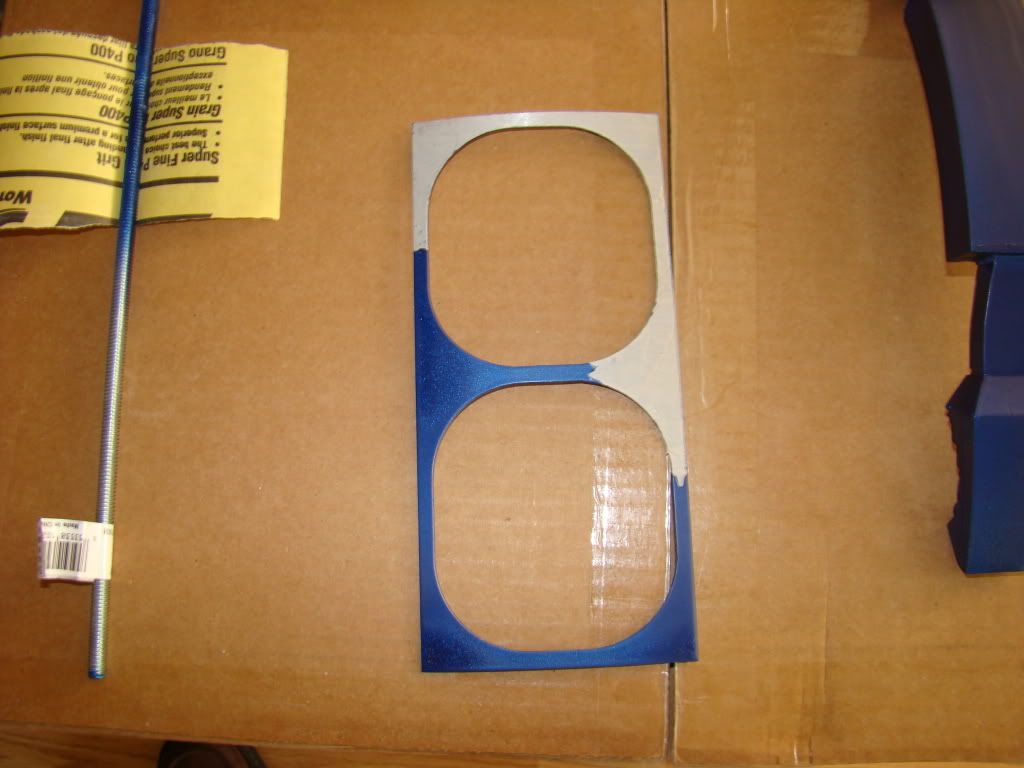
I'm probably going to hit the W-Mart and buy several showers curtains and get some cardboard from work and build myself a paint-booth in the house, probably in the foyer where I usually do my dremel work.
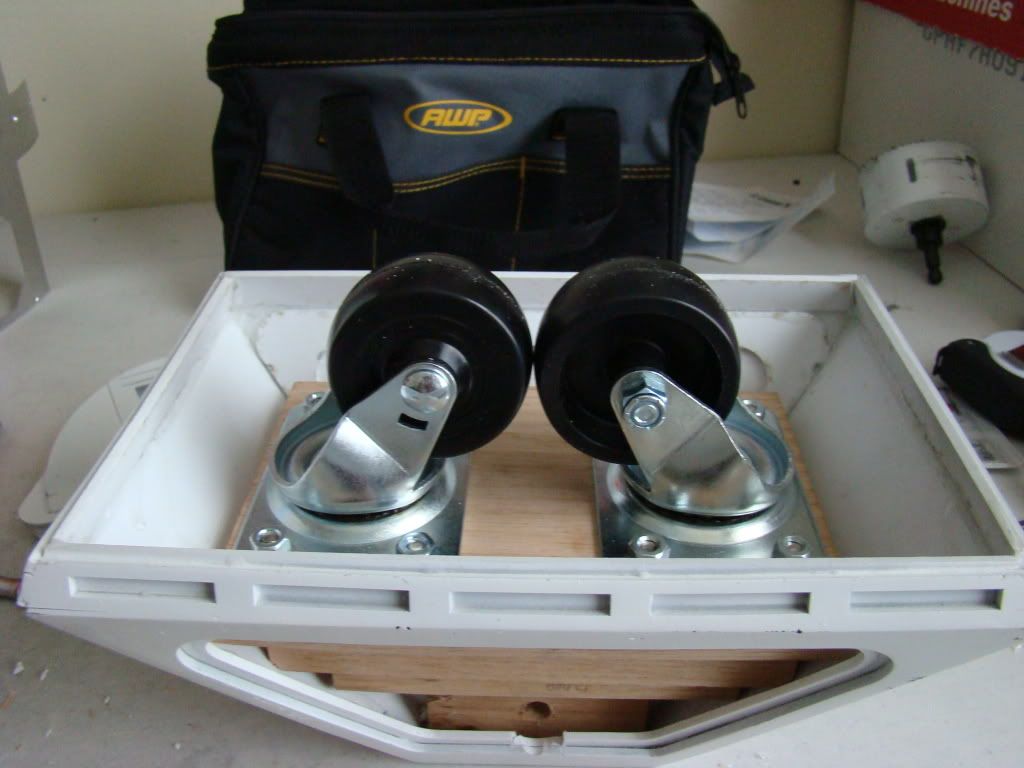
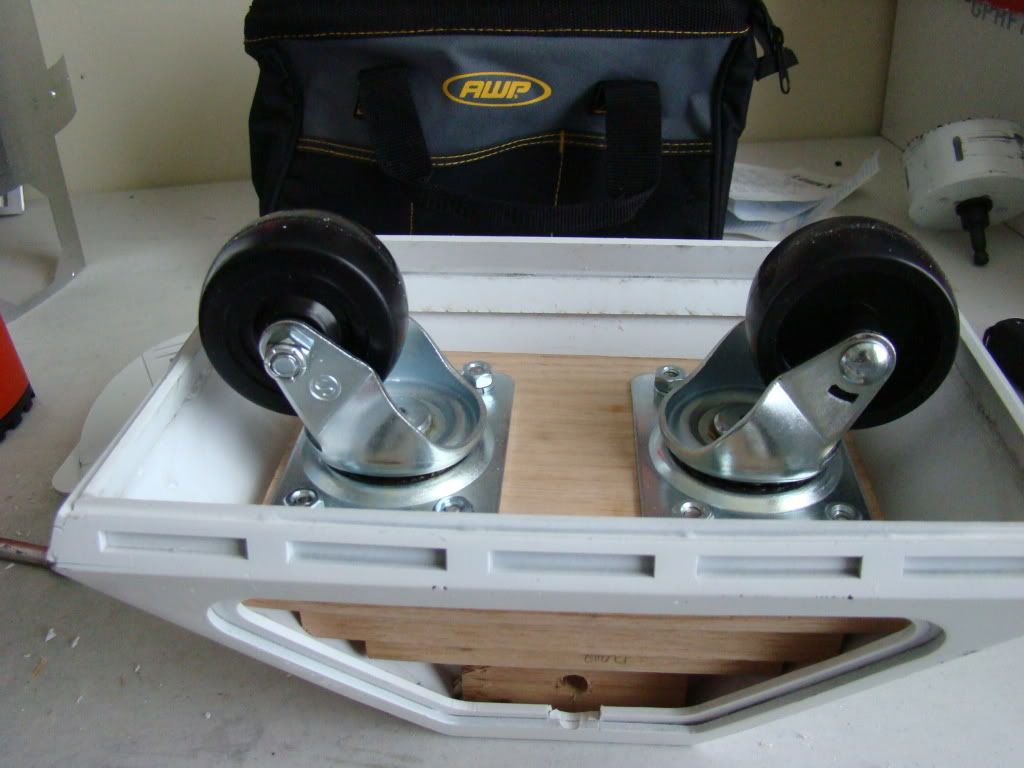
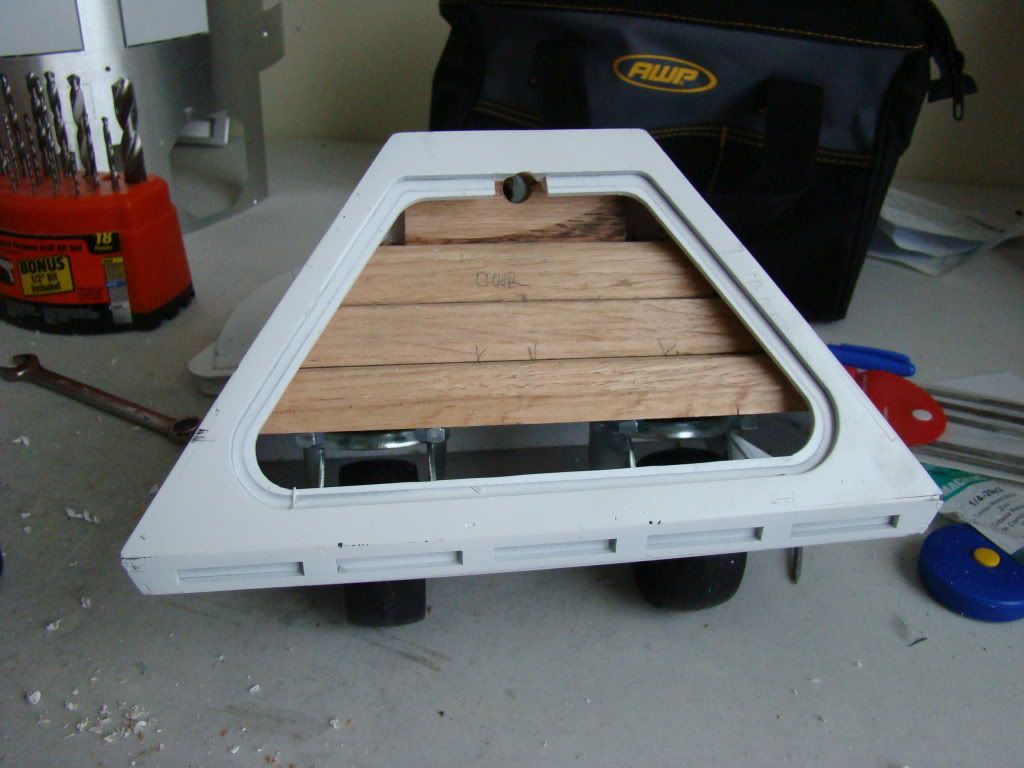
I also paid a visit to my youngest brother again. You may remember he helped with the foot motor mounts. We built the center foot wheel mounts:
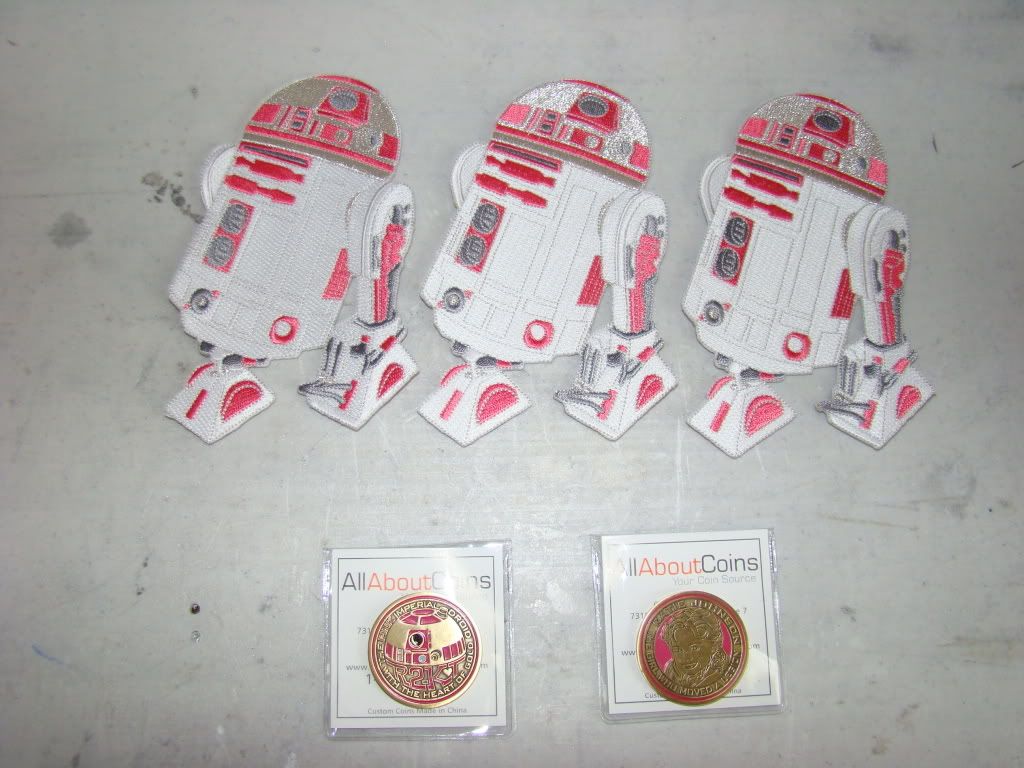
Lastly, but certainly not least, last week it turned out to be R2KT day at my house:
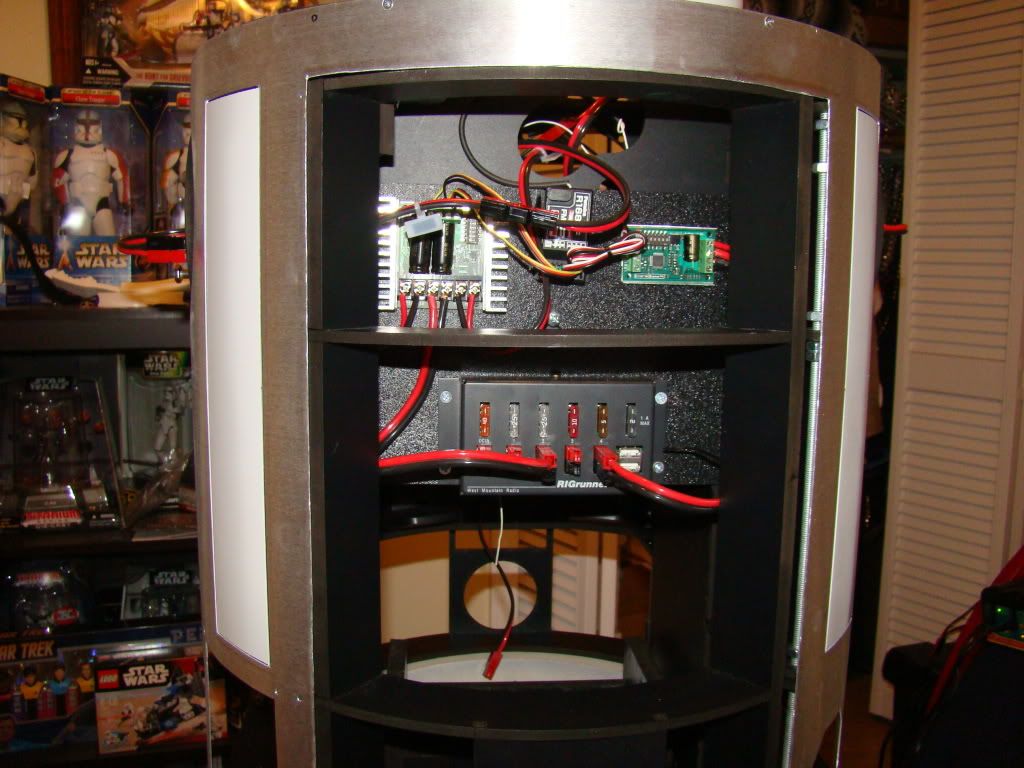
Lots of stuff happened in the last 10 days, wouldn't you say? Hell, it took me an hour and a half to organize the pics and write this there was so much to choose from :)
Thursday, June 18, 2009
Monday, June 8, 2009
Tragedy, yet again!
So, last post, my inner skins are cut and painted.
I remounted the inner skins to the frame, thinking it was a good time to drill the holes for the rear door, now that it was cut loose.
Problem is, the rear door doesn't open now.
The skins are centered on the frame, and the door is where it's made to be. There's no way the door could be off center, because everything is pre-drilled, all you do is put it together.
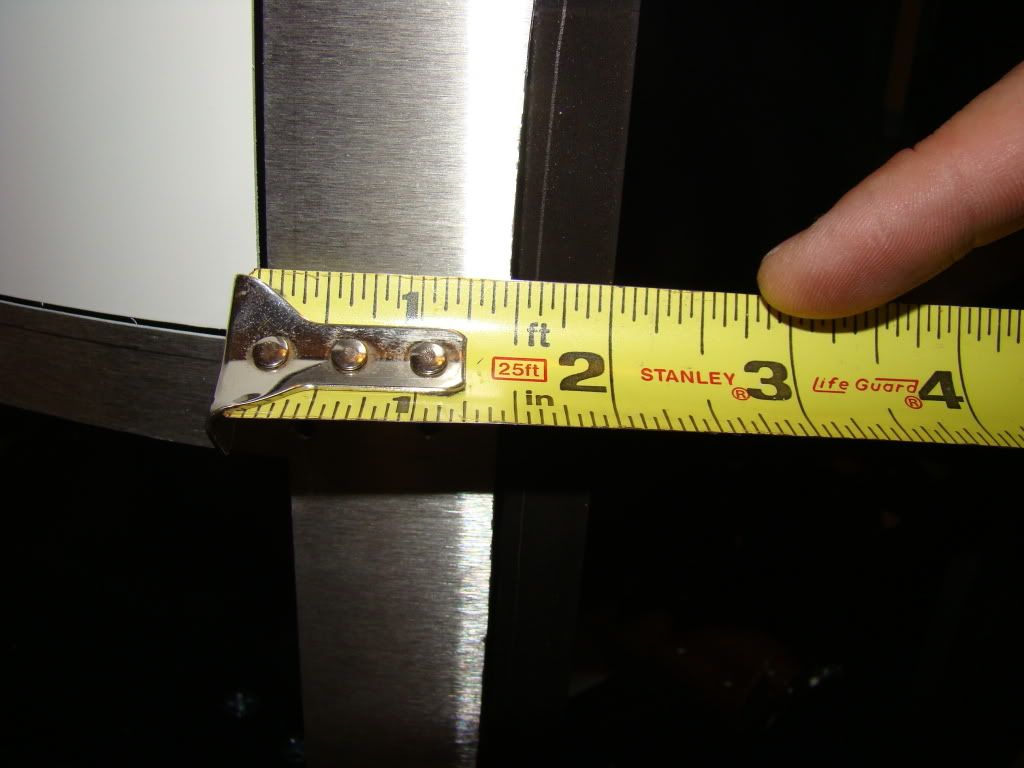
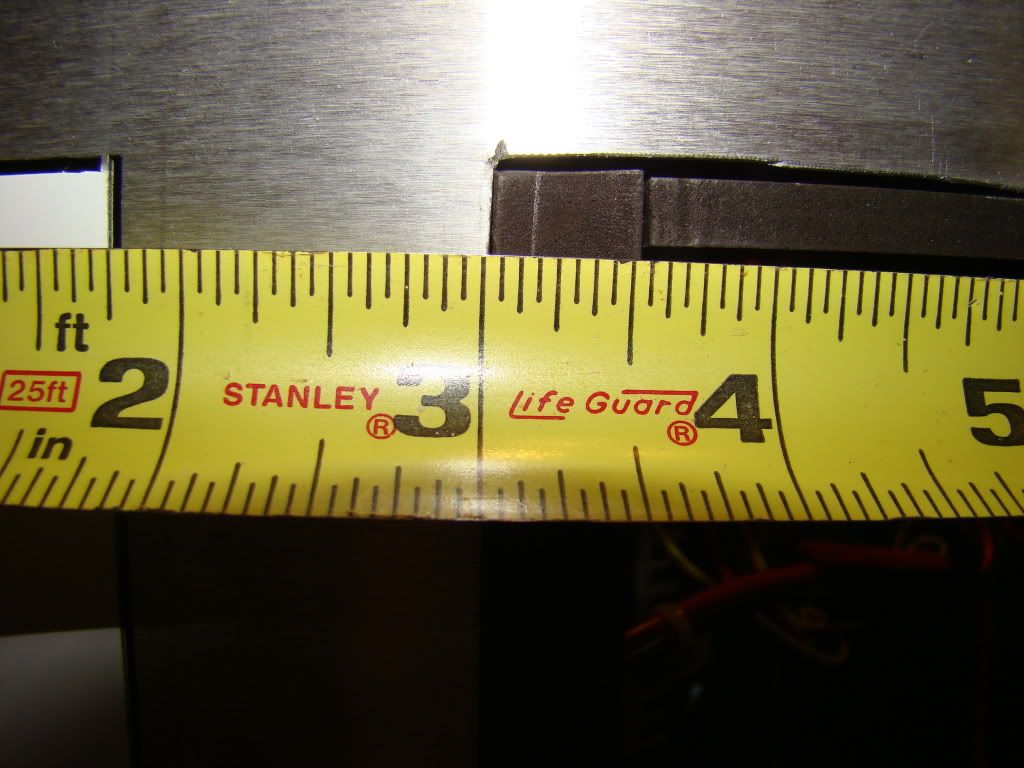
Problem is, the door is 1/8" too far to the left.
Those pictures were a pain to take too, holding the tape measure still with one hand while focusing the camera for a closeup with the other...
The pencil line on the door frame is where it sits when behind the skins.
I guess the only course of action for me is to remove the rear inner skin, measure slightly more than 1/8" and cut the left side further open.
Not looking forward to that, and have asked for ideas on the Astromech Boards, but haven't gotten any replies yet.
While I was watching the post for replies, I finished cutting the outer skins, and have filed the skin itself, but not the detail pieces I removed.
I'd hoped to get those primed tonight, so I could paint them tomorrow, but the whole door business kinda got it the way, and I spent too long pondering possible solutions...
Maybe tomorrow someone who also has an A&A frame and Sherrell skins will have spoken up to prove I'm not a moron who did it wrong :/
And now, you're up to speed, for today at least.
SKINS!
Friday I also got my aluminum Sherrell skins in...oh happy day!
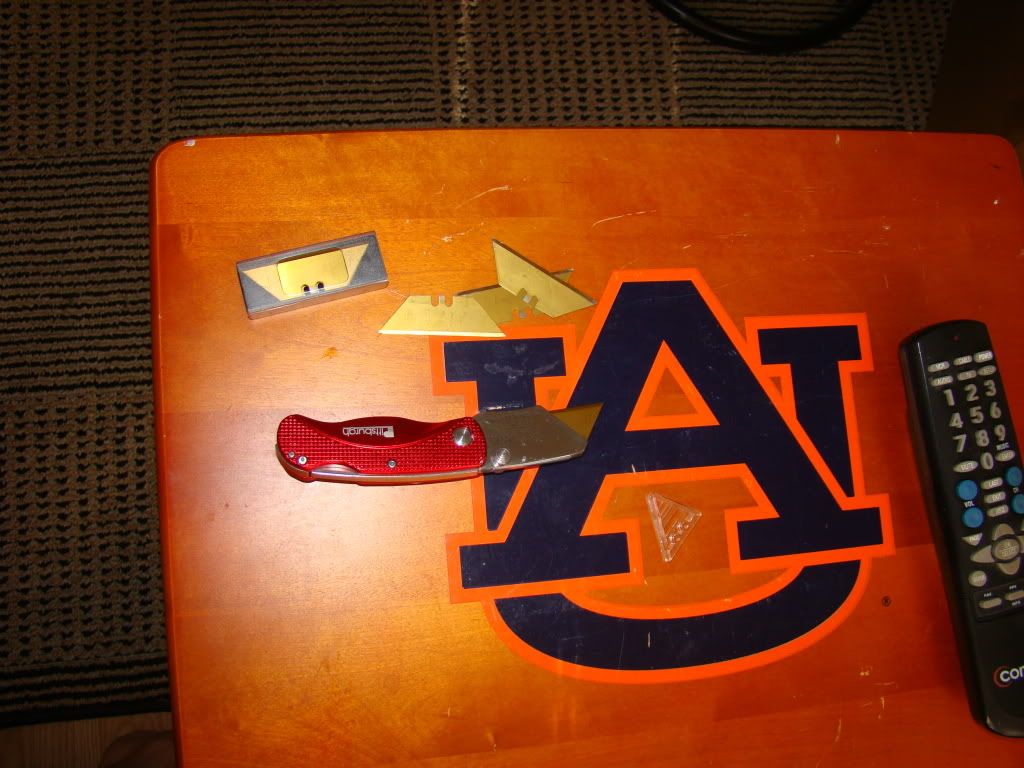
On the way home from work I picked up one of the new style razor knives, to cut the pieces out with:
Harbor Freight, naturally. I opted for the titanium coated blades, but they didn't make that much of a difference when cutting aluminum.
So I started off by taping the inner fron skin to the frame, using the front vent holes as a guide, since they were the surest method I could see for getting the inner skins centered:
I then taped one side, using the packing tape with strings, since it's strong stuff, and doesn't tear:
and pulled the other side (another pair of hands would have been useful) tight and taped it as well.
I then took the frame to my work table, flipped it upside down so it would be flat, and placed it on my rockler, with the JAG dome base plate sitting high on the bolts as mentioned in the previous post, and was able to spin it and mark my screw holes.
I drilled 1/8" holes, to fit my #4 3/4" screws in places that I thought I wouldn't use on the outer skins.
I then countersunk until my drill was dying (hadn't been charged in about a month).
Saturday I resumed the countersinking with a freshly charged drill, and finished the inner skins, then screwed them to the frame and removed the tape.
Next up, I set the frame back on the living room floor and taped the outer skins on:
I proceeded to drill more holes, countersink and screw the outer skins to the frame:
During this time, I marked the location of the still attached rear door with a pencil.
Next I removed all the skins from the frame, and here's what the line for the rear door looked like:
Then, folling what I read in Victor's Blog, which also references Chris' blog, I moved the line inside 1/8".
Sorry there are no pics, but it's well documented on those other two blogs, and I was moving pretty quick by this time...I did it almost exactly like they did.
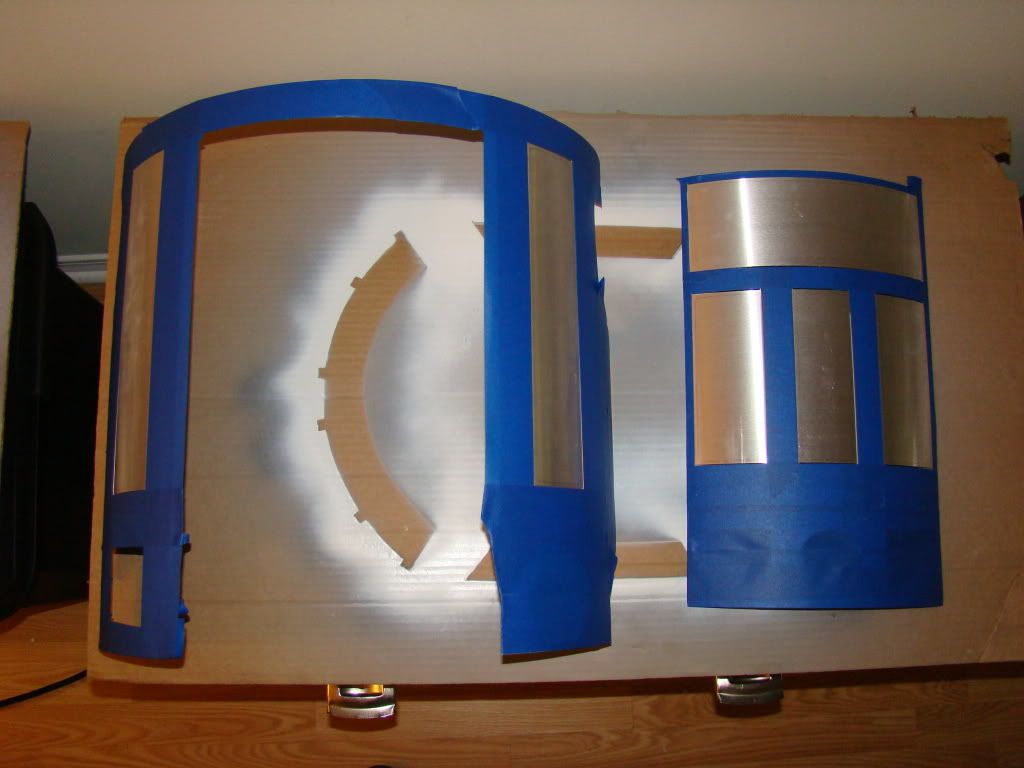
When I realized my pics were falling behind, I had already taped off the inner skins for painting:
I also figured that the easiest way to paint the inner skin panels that could be doors if I chose, was to mask off everything except those panels, which I am not removing, since I don't plan on having doors that open.
since then, the inner skins have been painted and primed, and I think look very nice:
More to come...next post!
Skirt and dome base plate
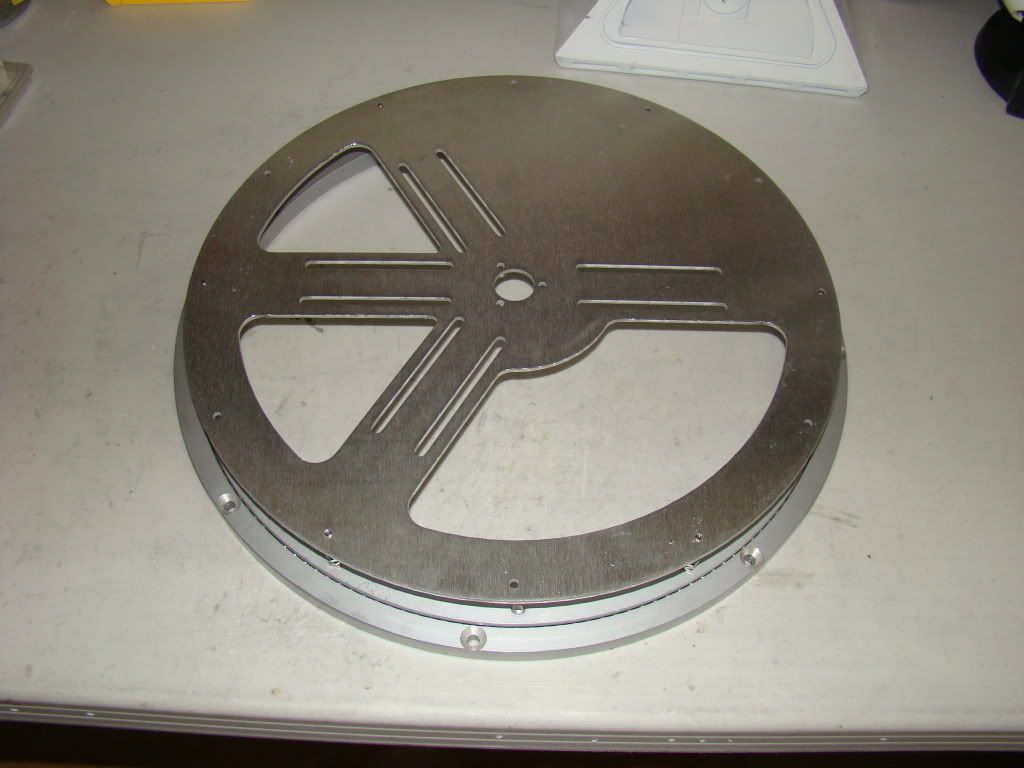
So I got my JAG dome base plate Friday.
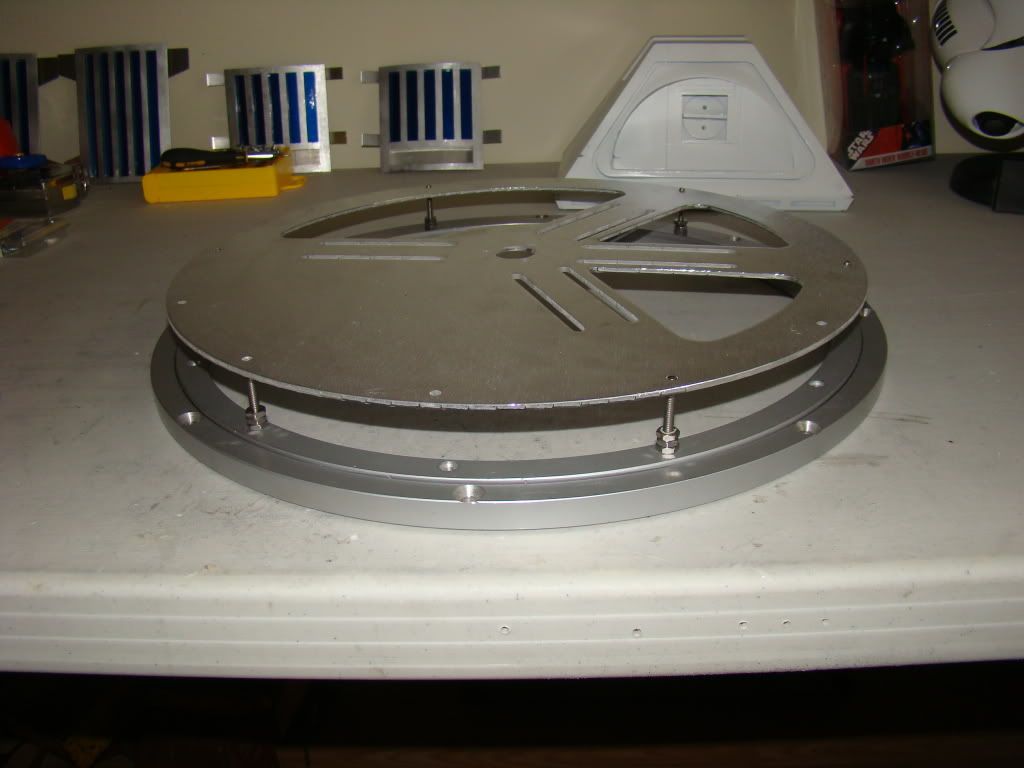
Here's a couple of shots of it:
As you can see, it doesn't slide right down the bolts as I'd thought it might. I didn't want to force it yet, so I left it barely on, which turned out to be a helpful thing, as you'll see in probably the next post.
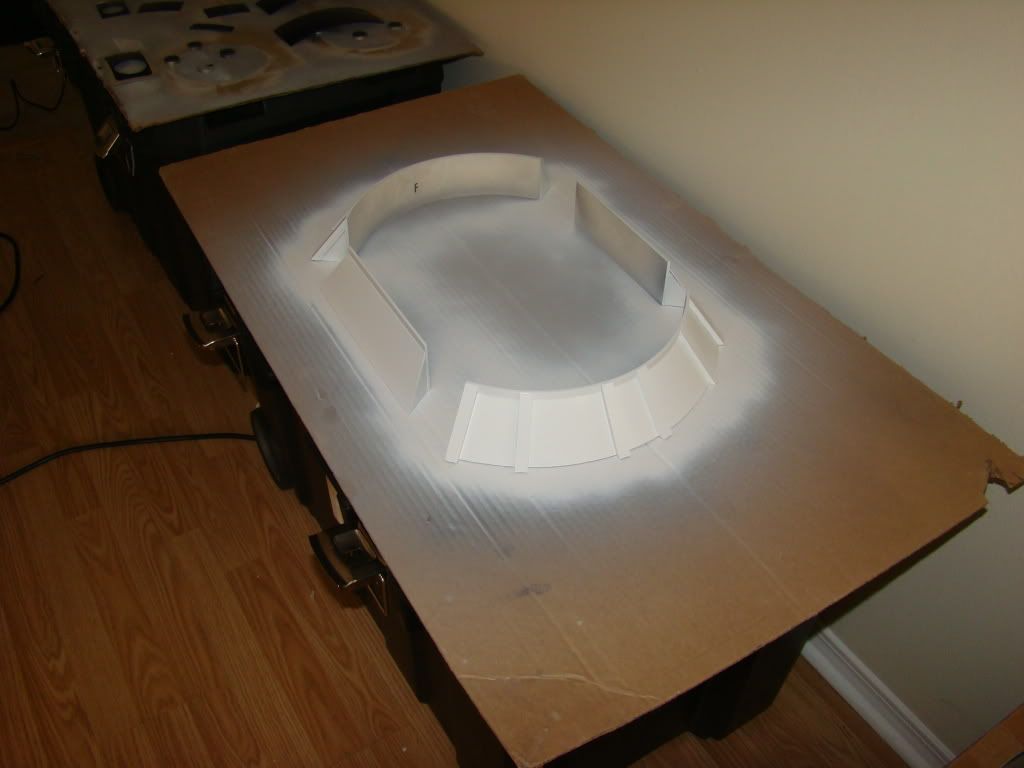
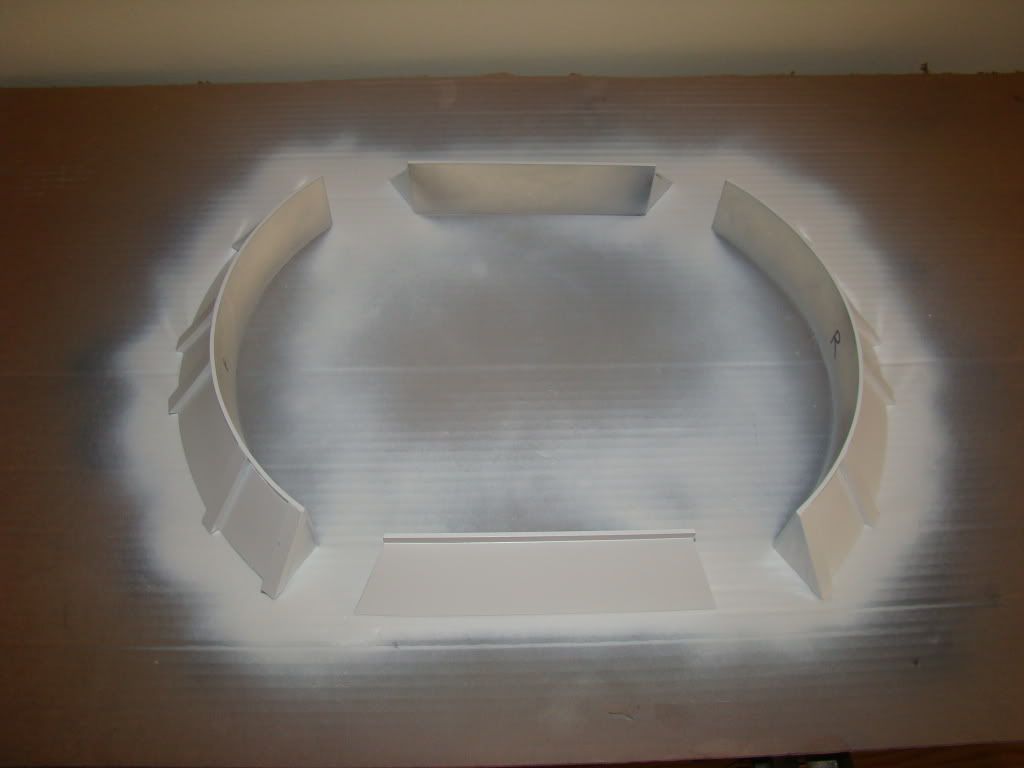
I also decided it was time to paint my awesome resin skirt from Marco in Europe...
You'll notice the sharpie marks inside to note which piece fits which set of holes, F, R, 1, 2...a little masking tape as I removed them marked it on the frame.
I also forgot that I'd used the grey 3M double sided tape to hold it on while I drilled...stuff was a PITA to get loose, but I managed.
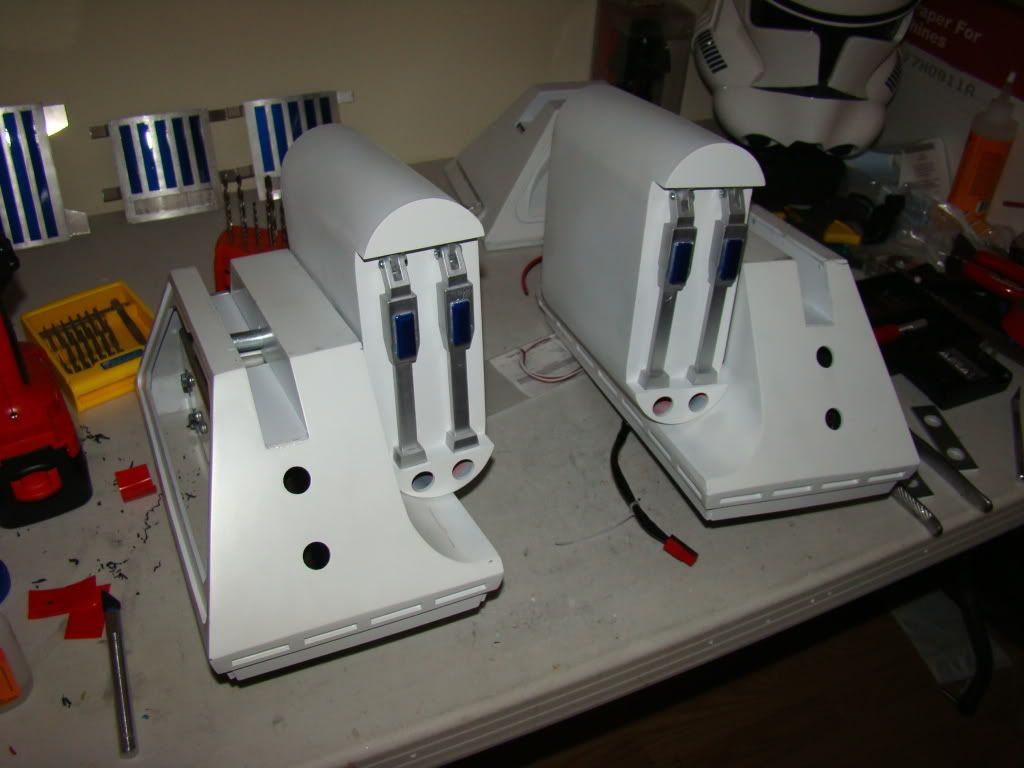
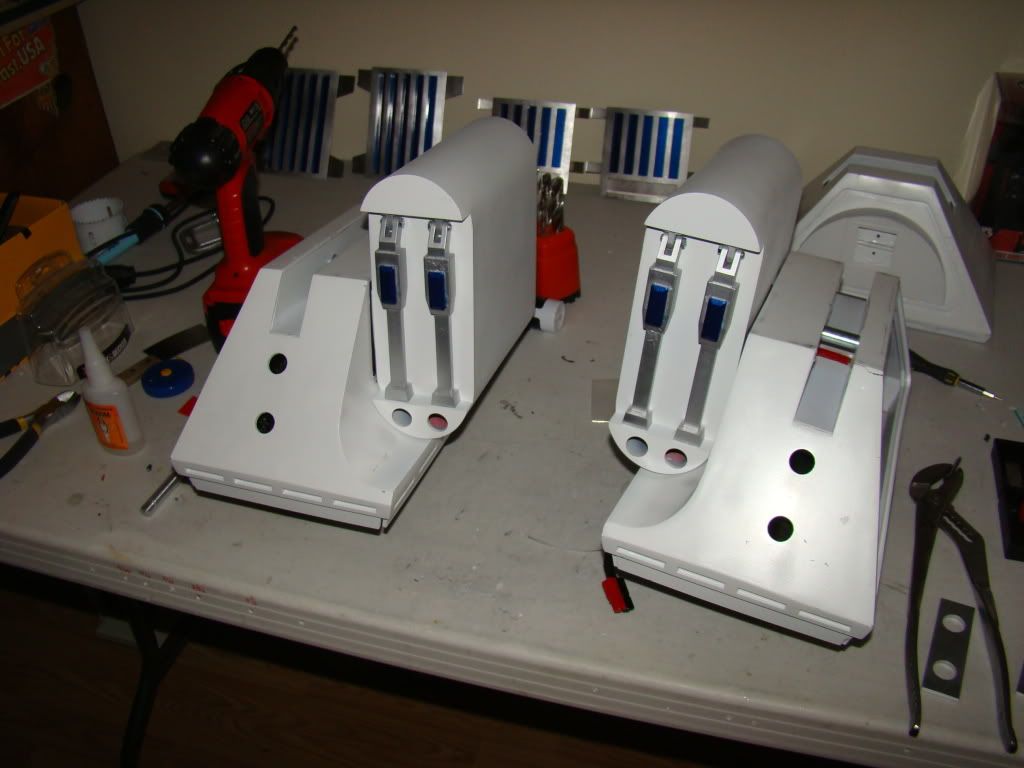
Battery box details
Subscribe to:
Posts (Atom)