Sunday, August 16, 2009

Gluing the dome

Mainly this one's about gluing up the dome....

But before we start, I forgot to repaint the center vent surround when I did all the blue last week, so I did it by itself...it came out pretty good.

Photobucket

Ok, now to gluing the dome:

Here's some test pics before gluing:

Photobucket

Photobucket

Photobucket

Lest I forget to mention, I did sand those spots that will show later...


Making sure the top would be centered:

Photobucket

A shot of the gaps I had to deal with:

Photobucket

Here's the silicon applied to the inner dome, but before I smeared it around with a finger or two. You can barely see the faint pencil lines that were my guide to keeping it centered, the bottoms of the pie panels and the tops of the other panels:

Photobucket

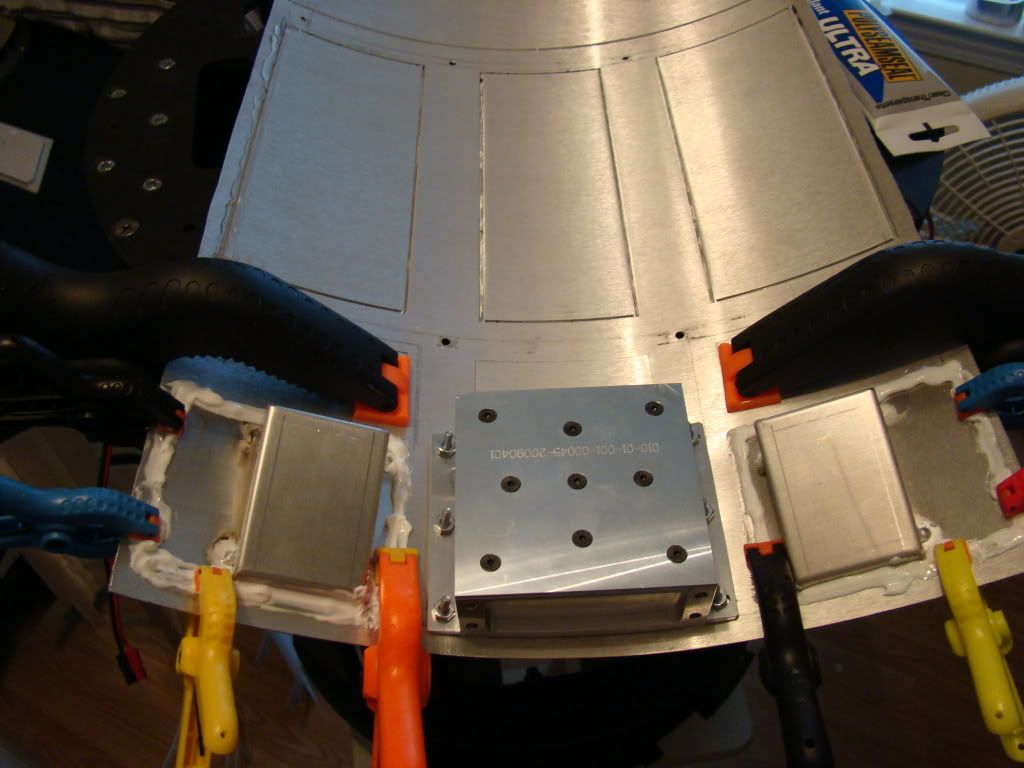
Shots of where I clamped the top of the dome:

Photobucket

Photobucket

Photobucket

I let that sit for about a day and a half before moving on to gluing up the edges:

Photobucket

Photobucket

You'll notice I glued up the domes without the inner ring attached.
With the inner ring in place I wouldn't have been able to use most of all of the clamps.
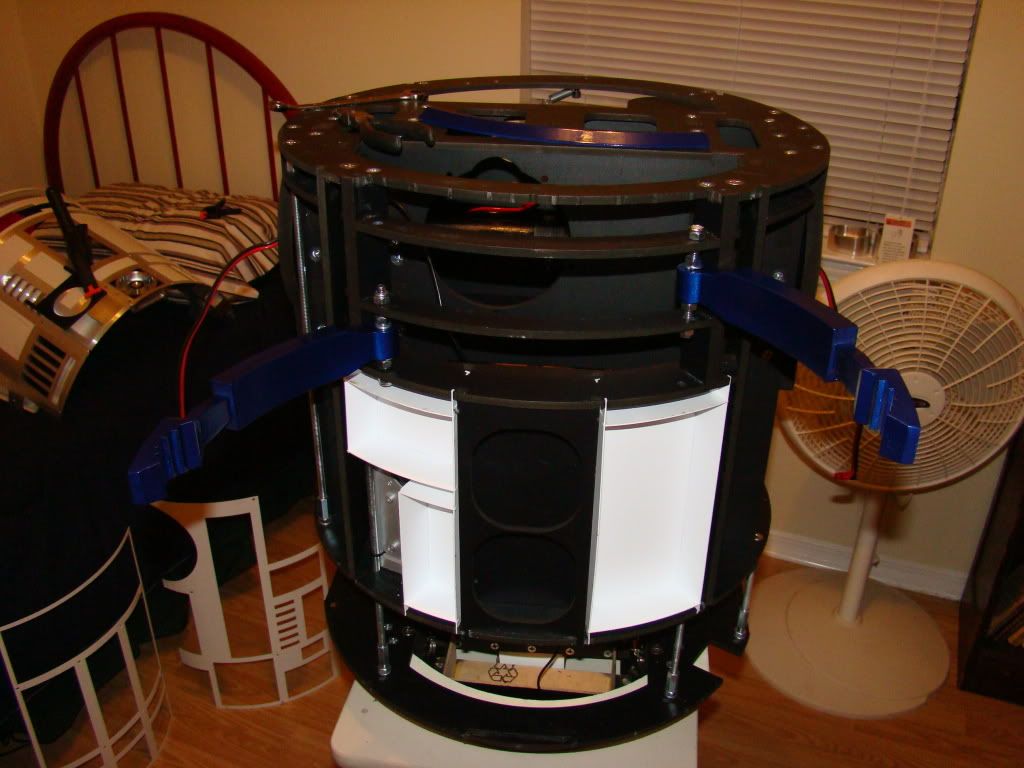
Without the bottom ring, I have to somehow get the inner ring in place and lined up close enough to re-attach it. AND get the blue ring on and get it secured in place. I know it won't fit over the top of the dome, but it will slide out of place just enough to get the screws in place...I hope.

Thursday, August 13, 2009

Dome electronics, blue body details and carrier arms

So, this past Saturday I got up with the intention of painting the rest of my krider blue.
I diligently sanded all the primer smooth as glass, and as I was finishing the last piece, the living room darkened ominously...

Clouds rolled in quickly and the bottom fell out shortly thereafter.

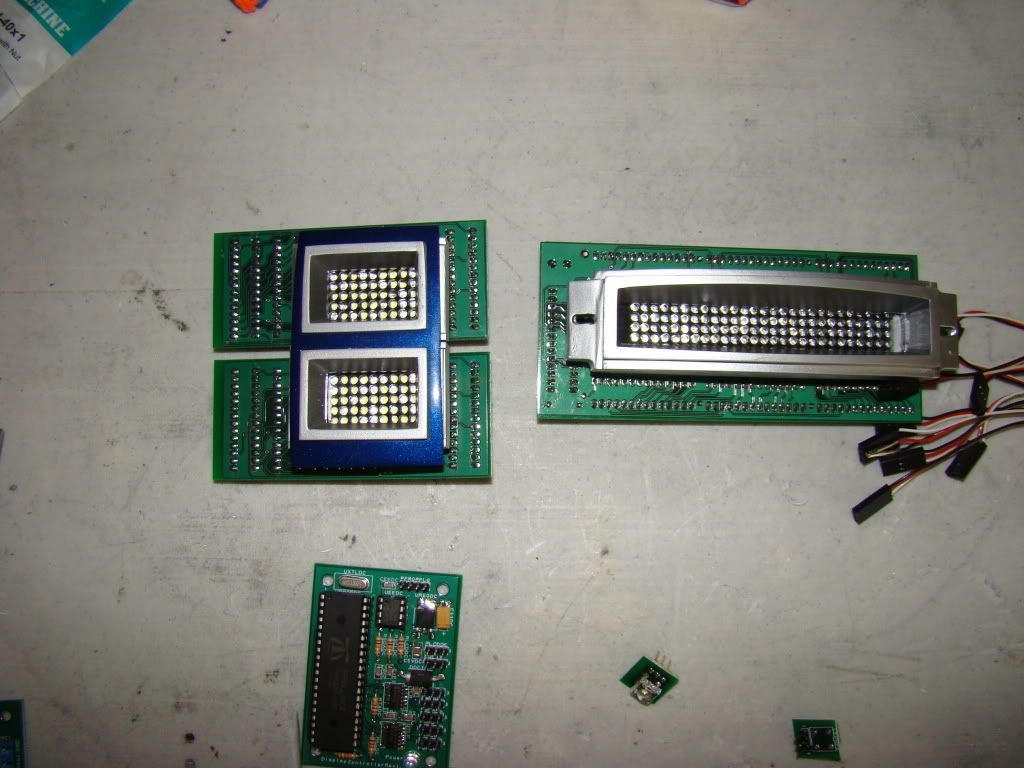
With a sigh of disgust, I retired to the computer room and continued working on the dome electronics (well, ok, it's only lights, but there are boards attached to the LEDs, so that makes it electronics, and it sounds better, right) which I had started considering briefly the previous night.

I "put together" my logic displays and attached them to the surrounds using #4 1/2" wood screws.
Photobucket

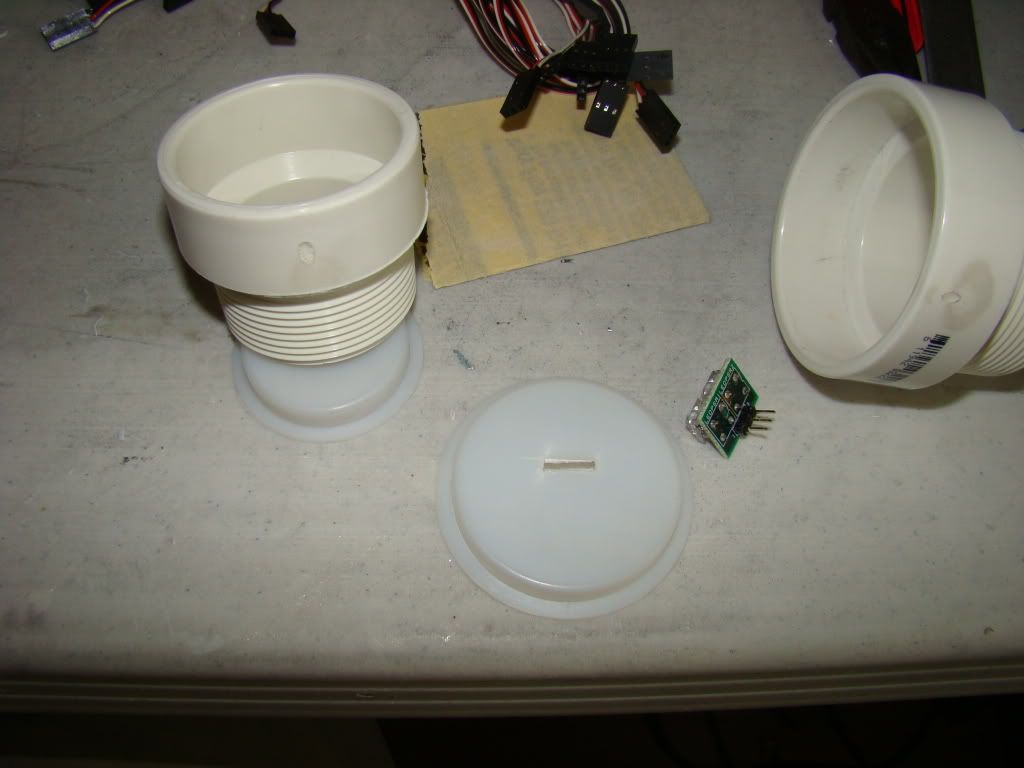
Next I finished figuring out what to do about PSI cups as I worked on them...it's kind of an on the fly type thing.

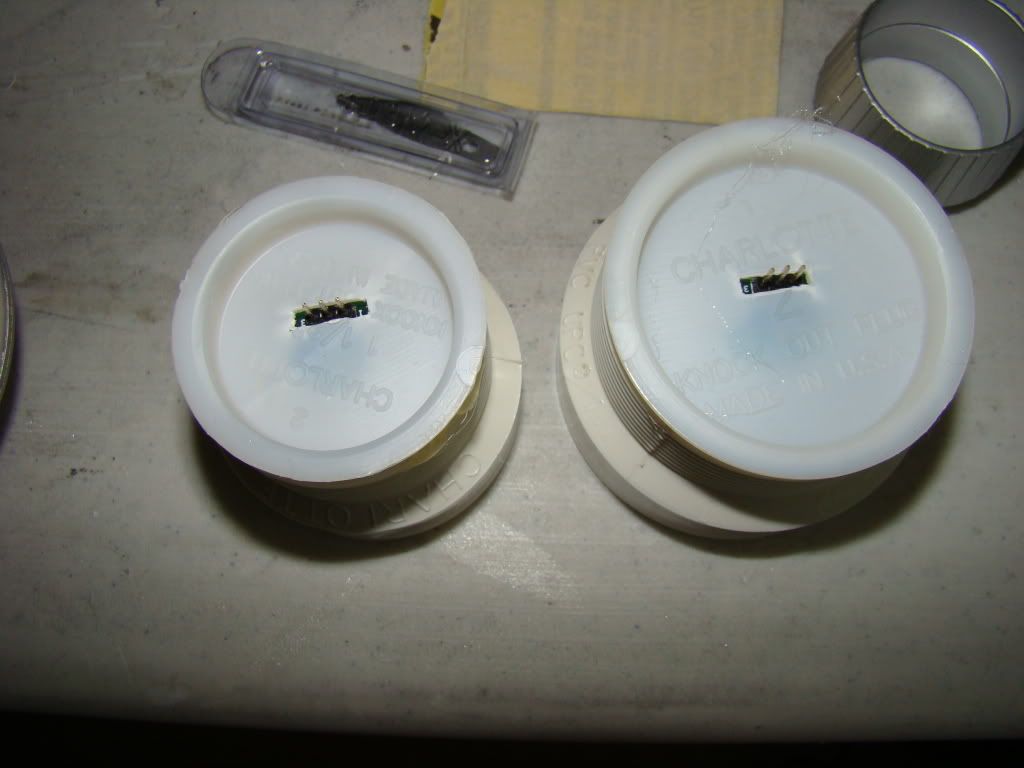
Start off with a PVC test cap, cut a slot in it like this:
Photobucket

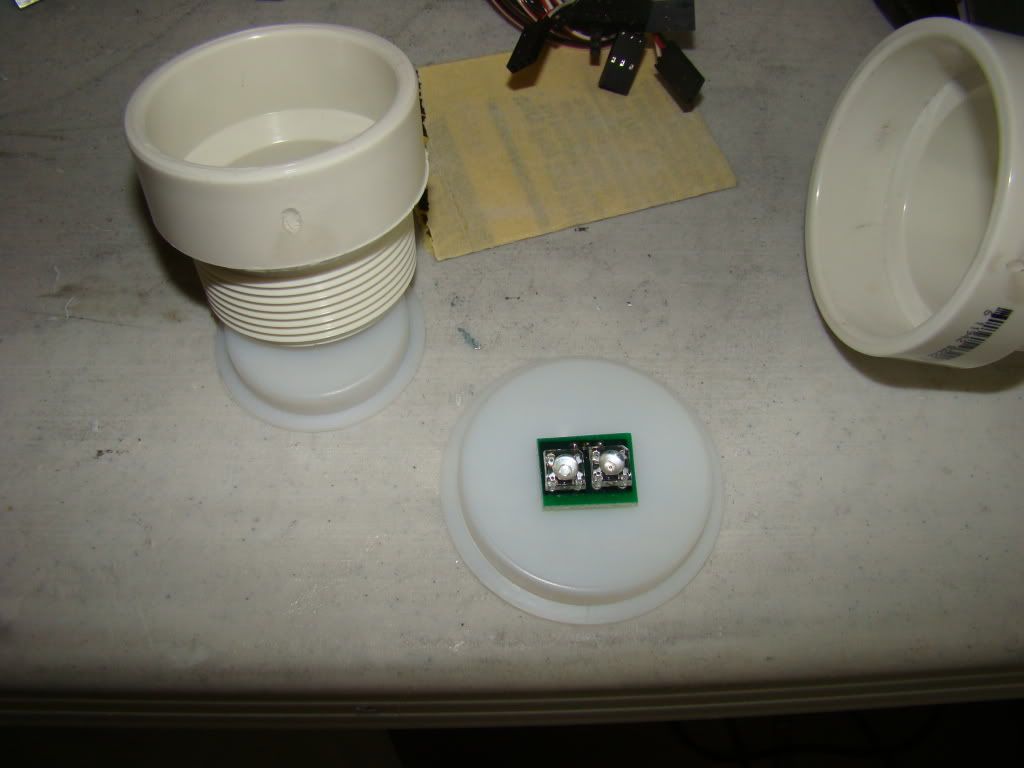
A spot of hot glue, with the pins cleanly sticking through the slot in the cap:
Photobucket

then place the fitting on top of the cap"
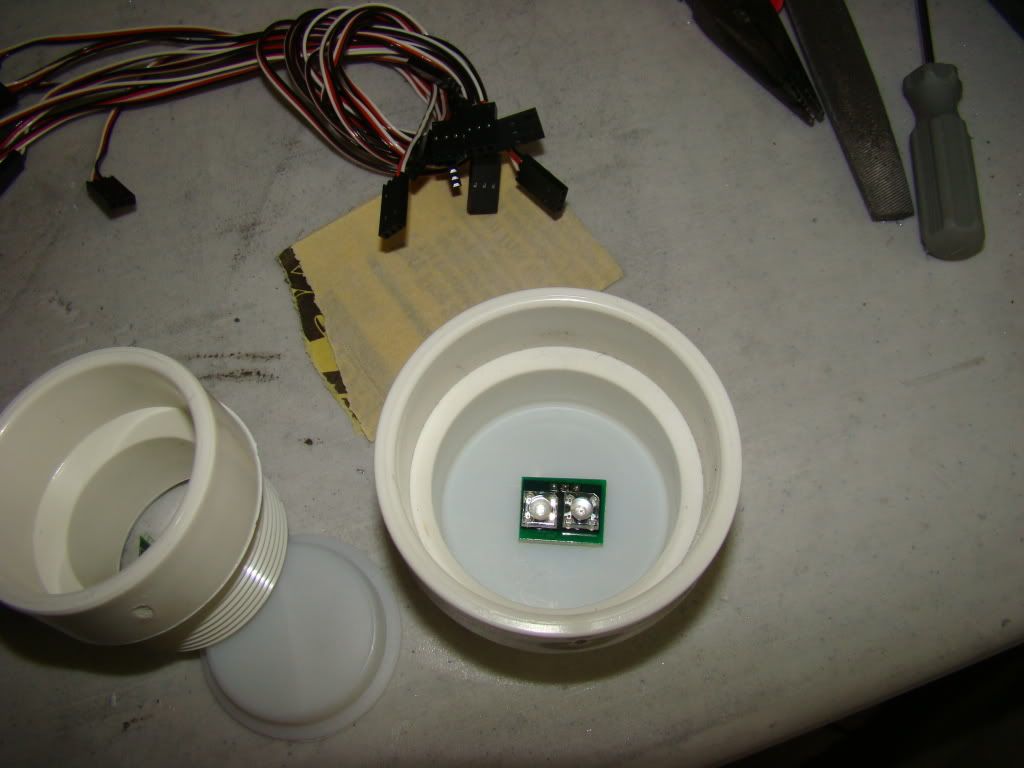
Photobucket

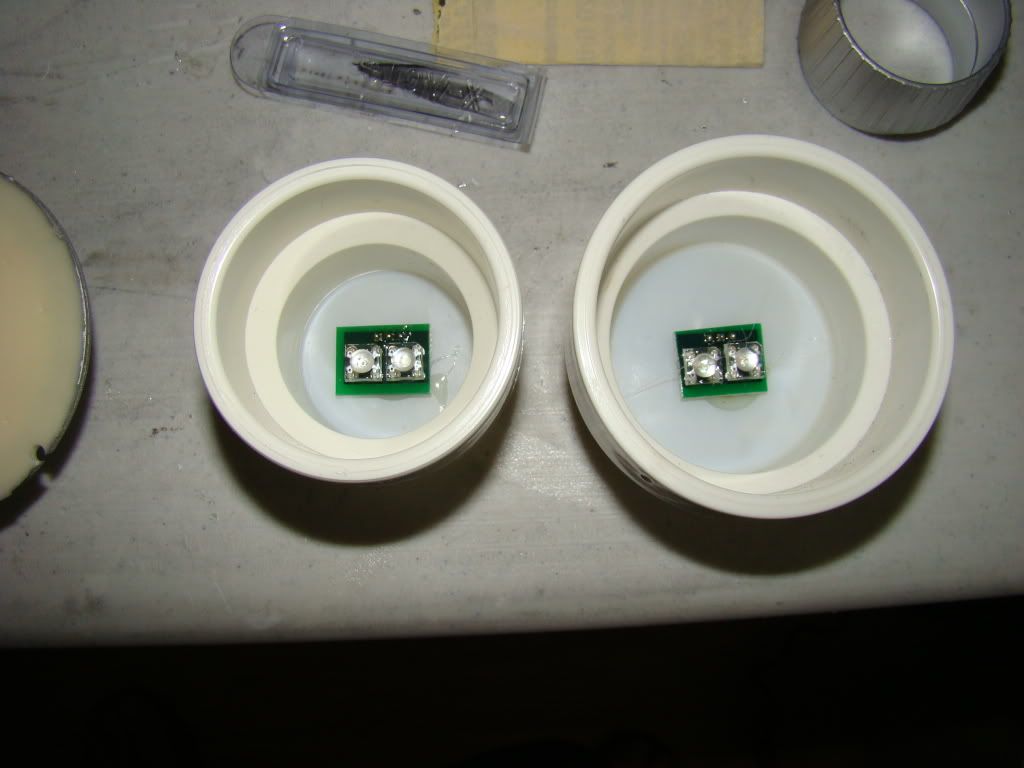
and they look like this from the light side:
Photobucket

and like this from the dark side:

Photobucket

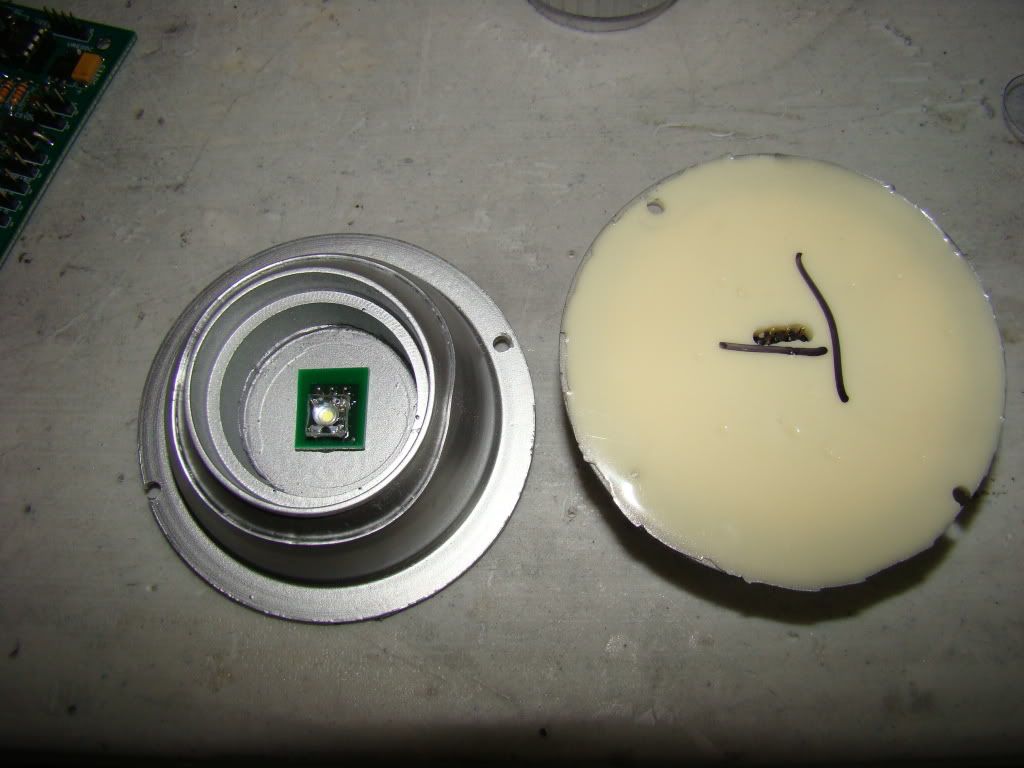
I decided that this worked so well, I'd use the same method on my HPs. Since they are resin, it was an easy thing to make the "slots" with the drill press:
Photobucket

This way I didn't have to run wires through holes in things, and the wires won't get in the way when I'm mounting all my detail pieces.

Just about the time I finished this, my phone rang, so I stepped outside (I always do for some reason) and found that the day had turned quite nice. Well, other than being 100 degrees, or rather close. The concrete and the grass were both dry as could be, so I quickly moved my painting setups outside and began:

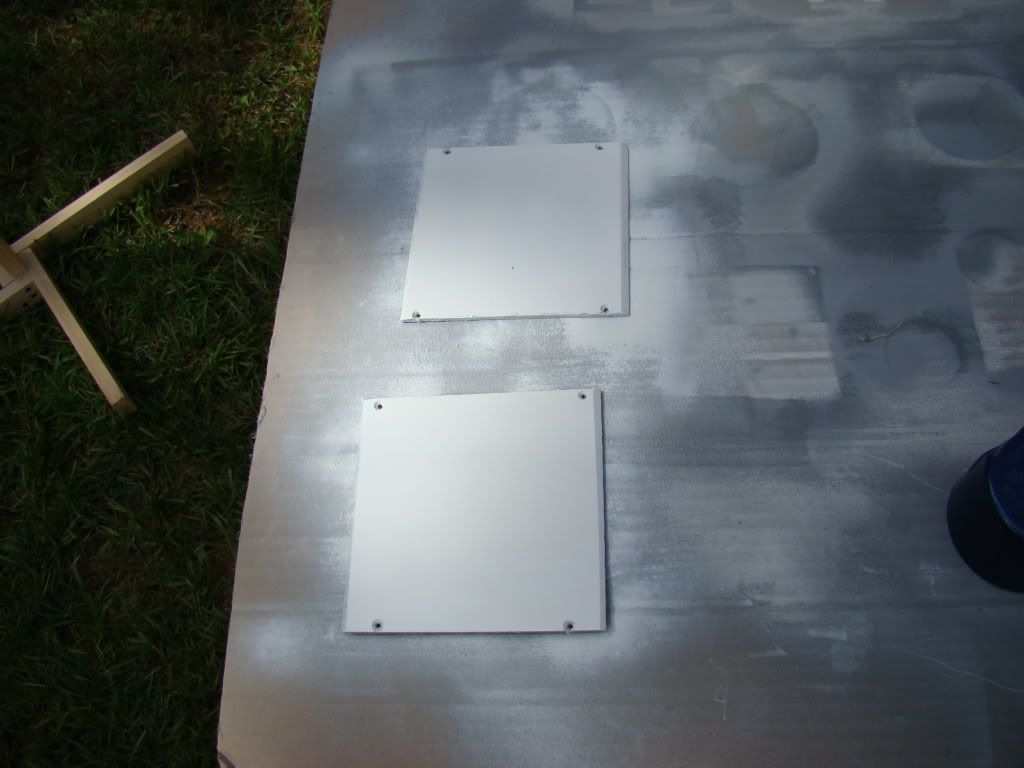
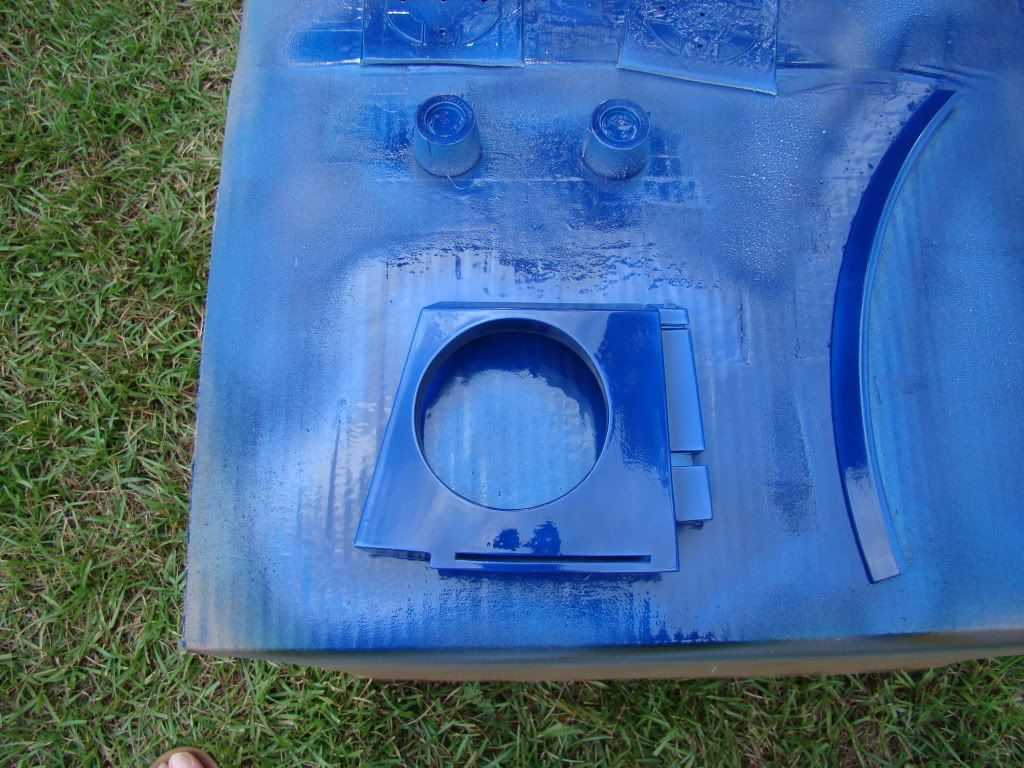
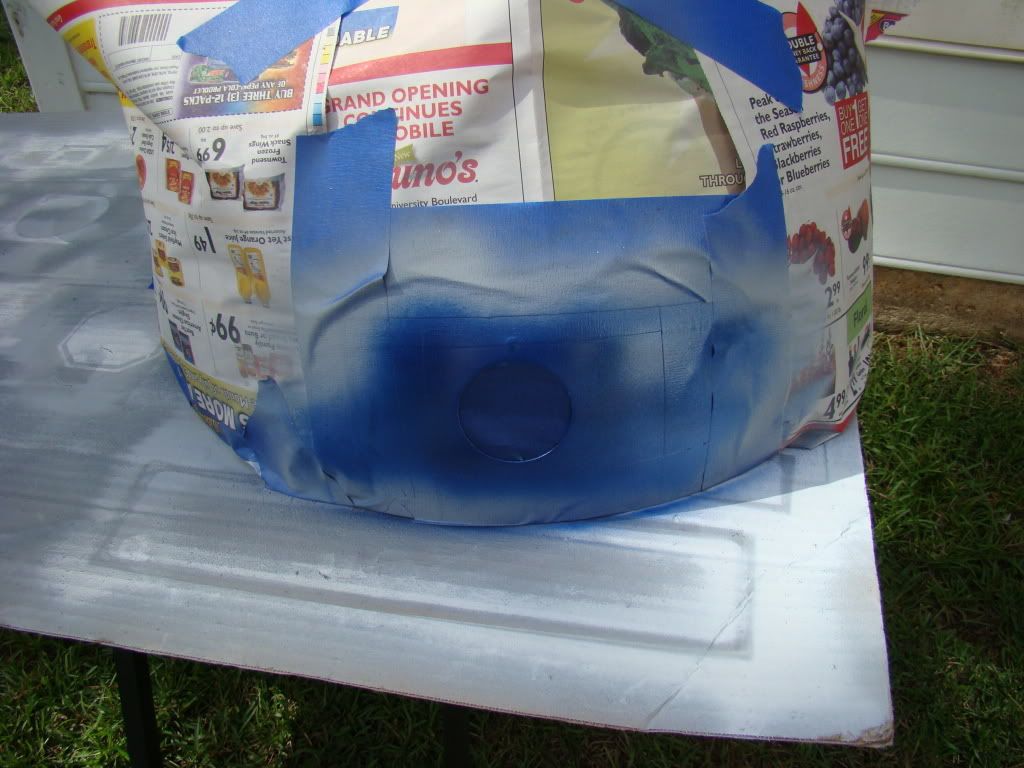
That dome spot:
Photobucket

The side gap filler plates:
Photobucket

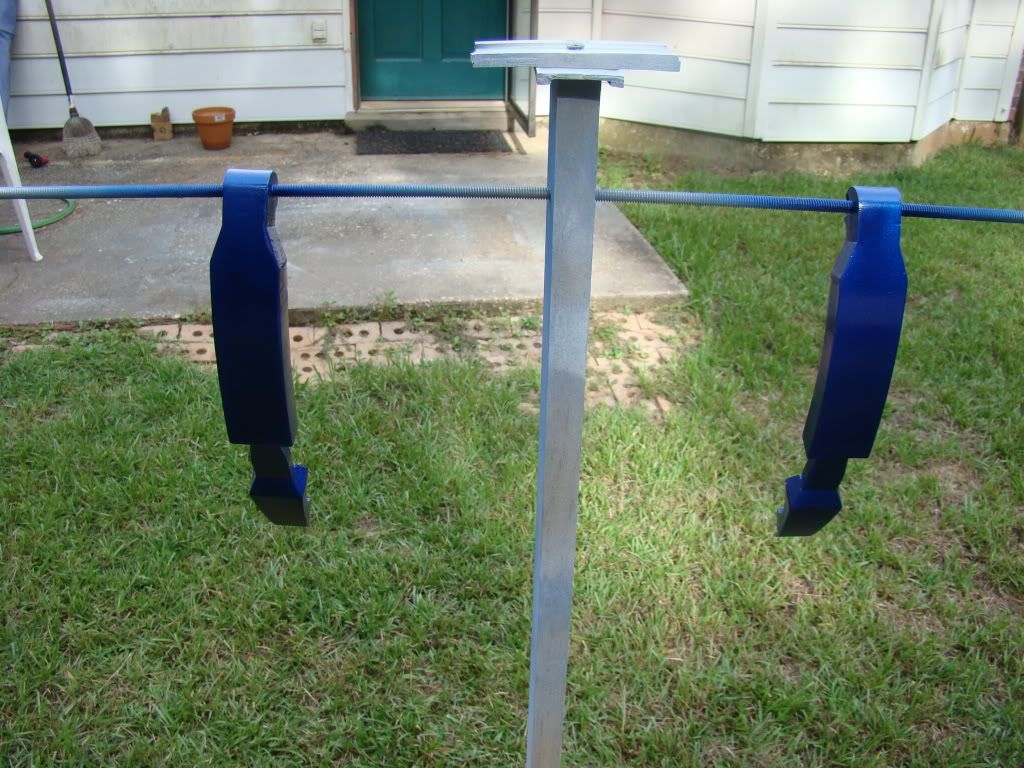
The same old helmet painting stand turned arm painting stand:
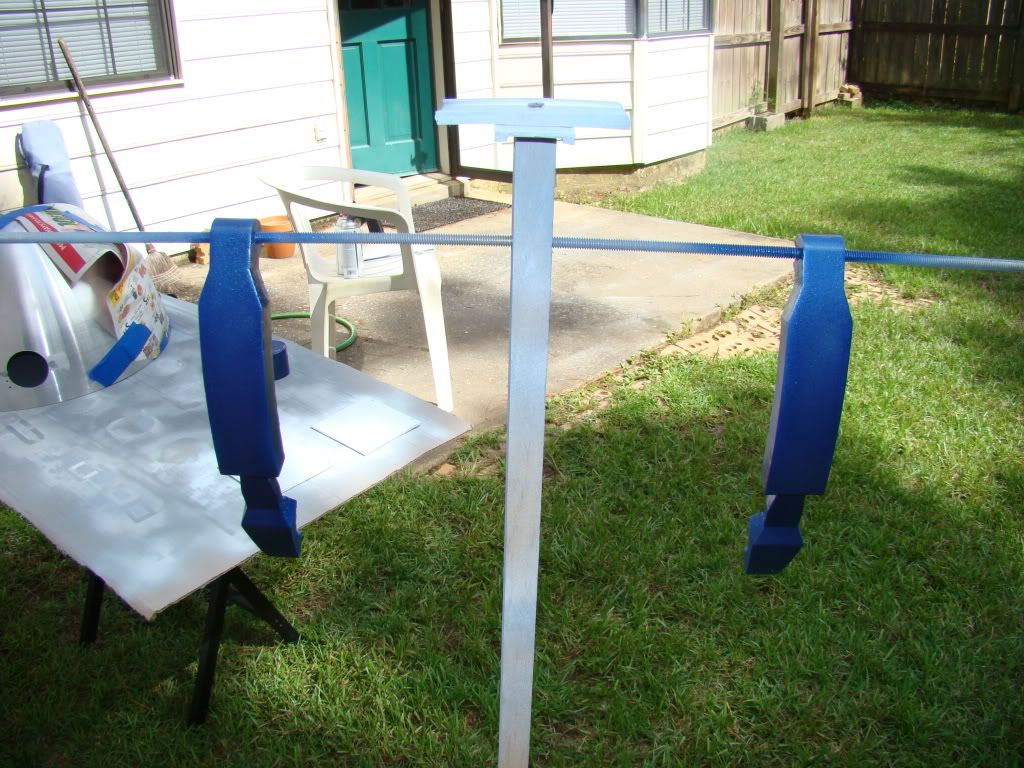
Photobucket

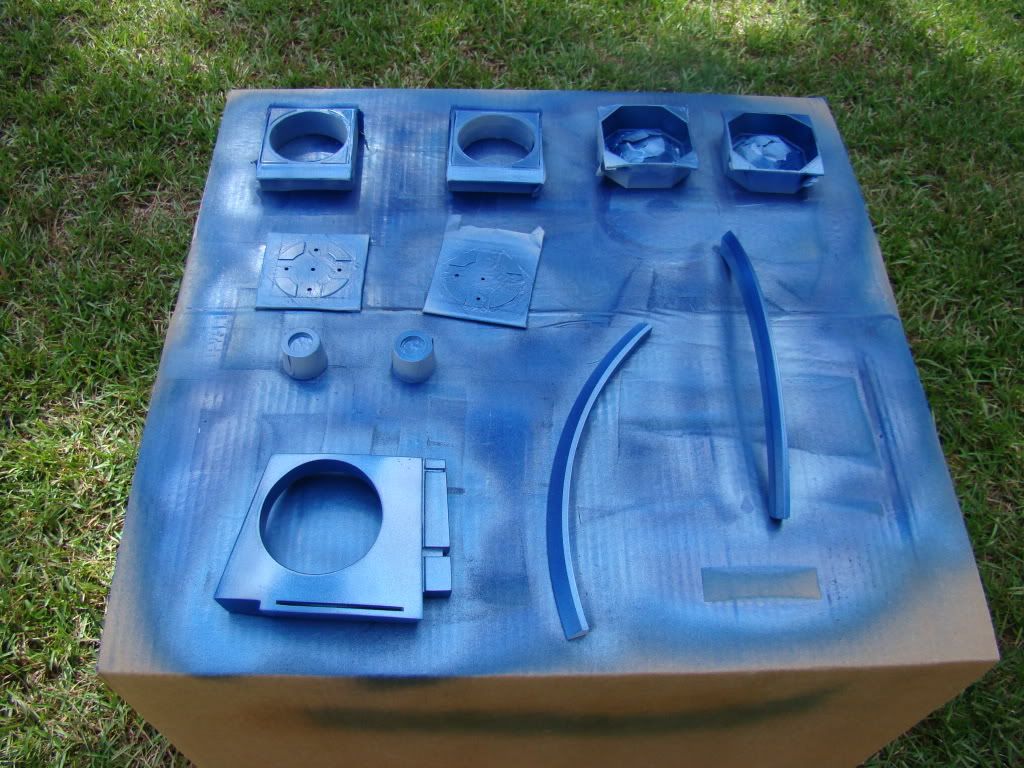
And the rest of the detail pieces:
Photobucket

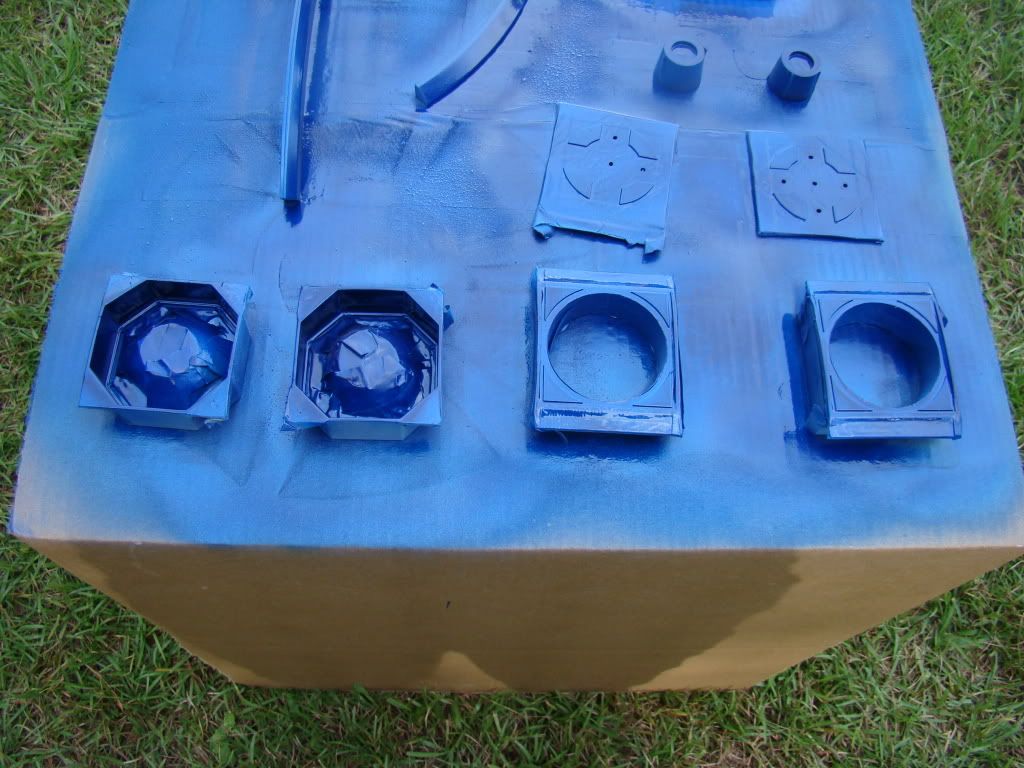
And the same type shots after anodized blue, because they are pretty:
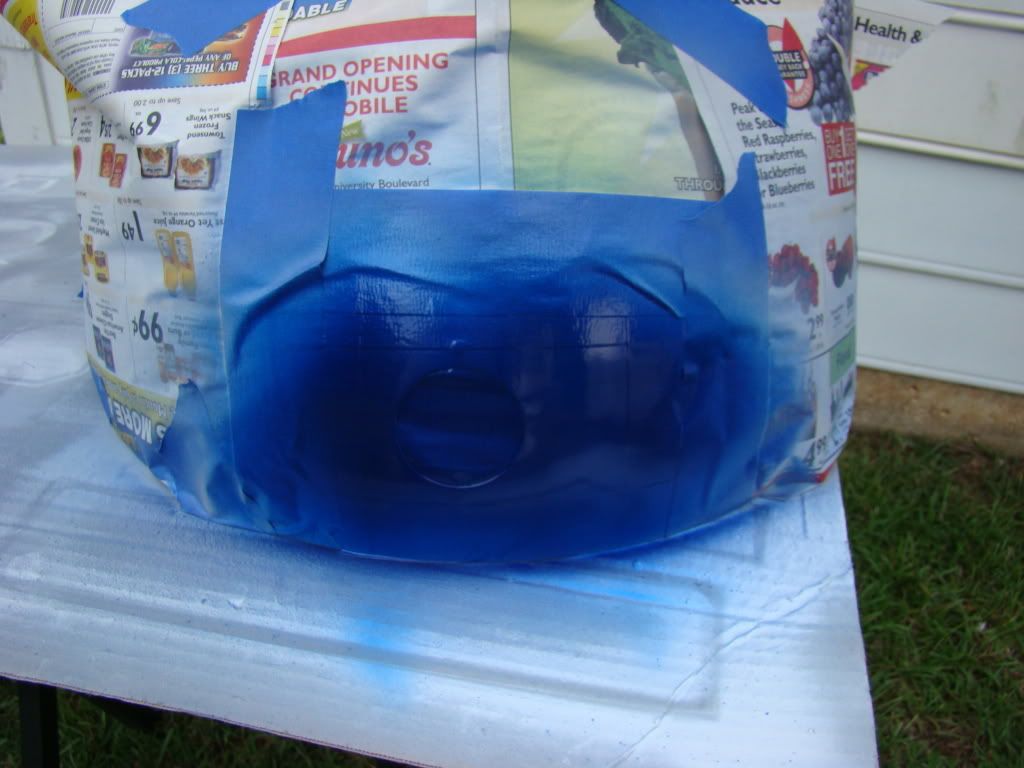
Photobucket

Photobucket

Photobucket

Photobucket

Oh, here's a pic of the power coupler sitting in place as I drew the line to mark out the material that needed removing from the rear door frame:
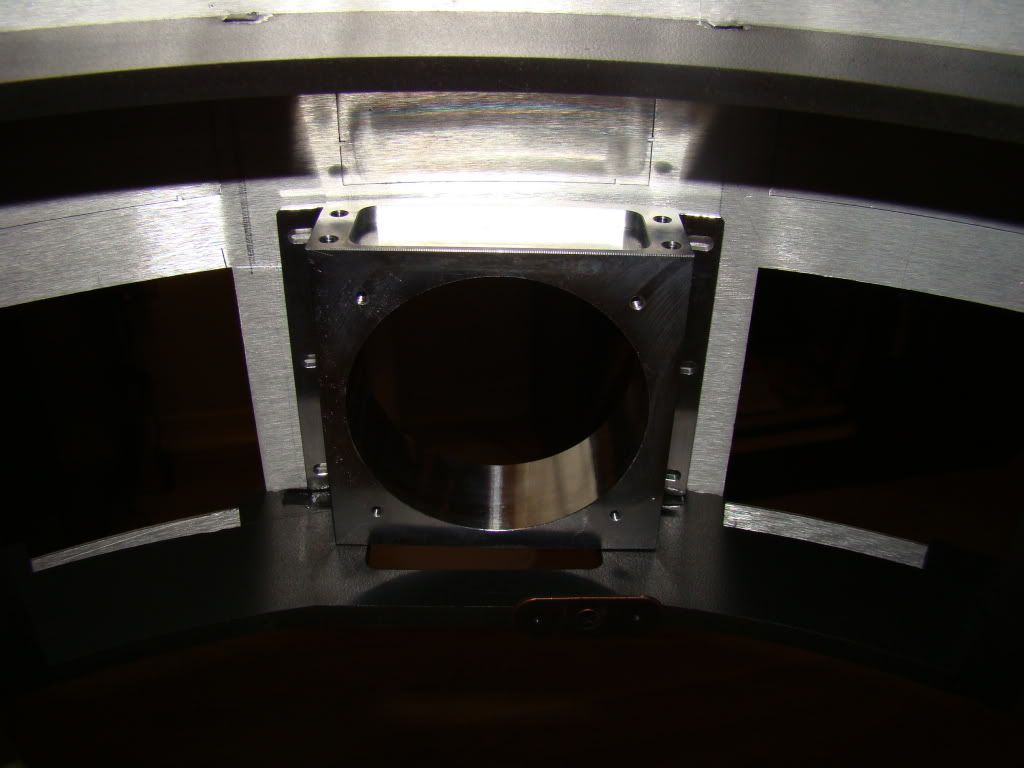
Photobucket

And Saturday evening I removed the masking tape and the masking latex (The master mask worked like a champ, yo, like a champ!
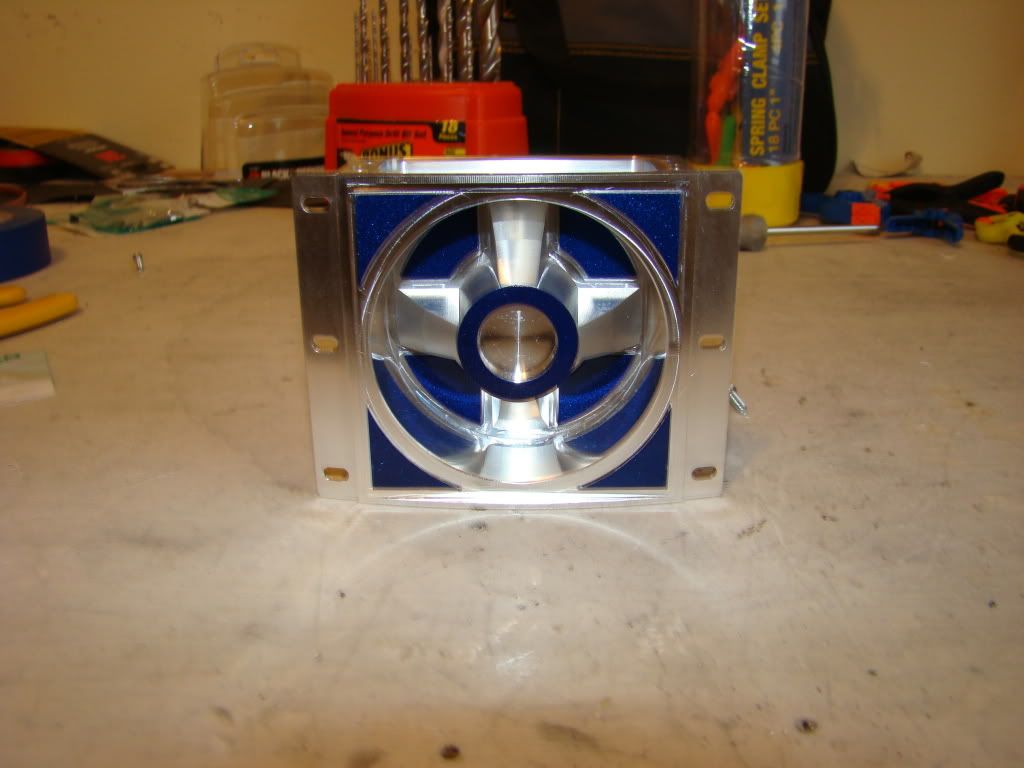
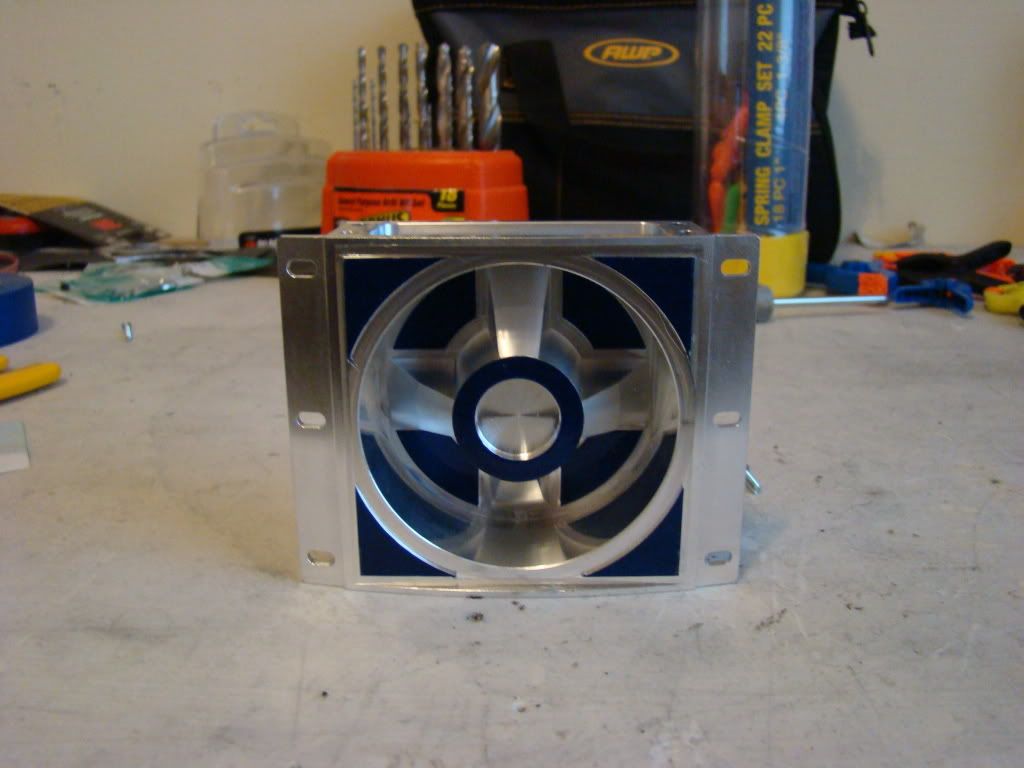
Photobucket

Photobucket

the lighting in that picture is weird, but it shows the clean edges I got better than the other pics...


Mounted in the door:
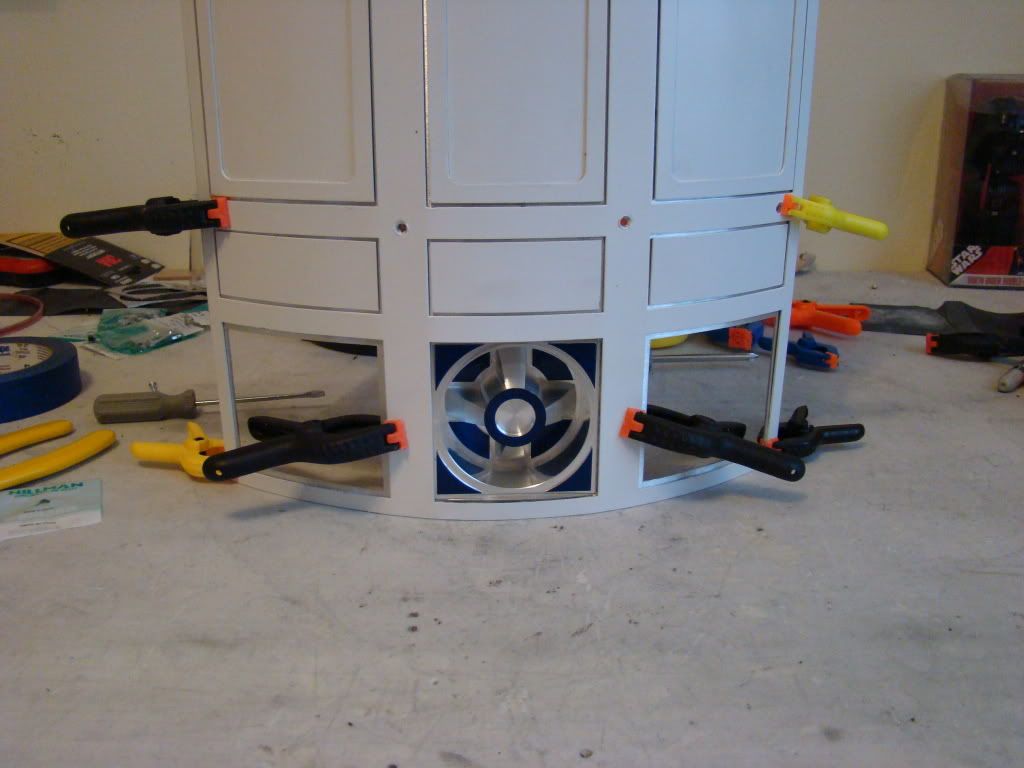
Photobucket

And the coin returns glued in place:
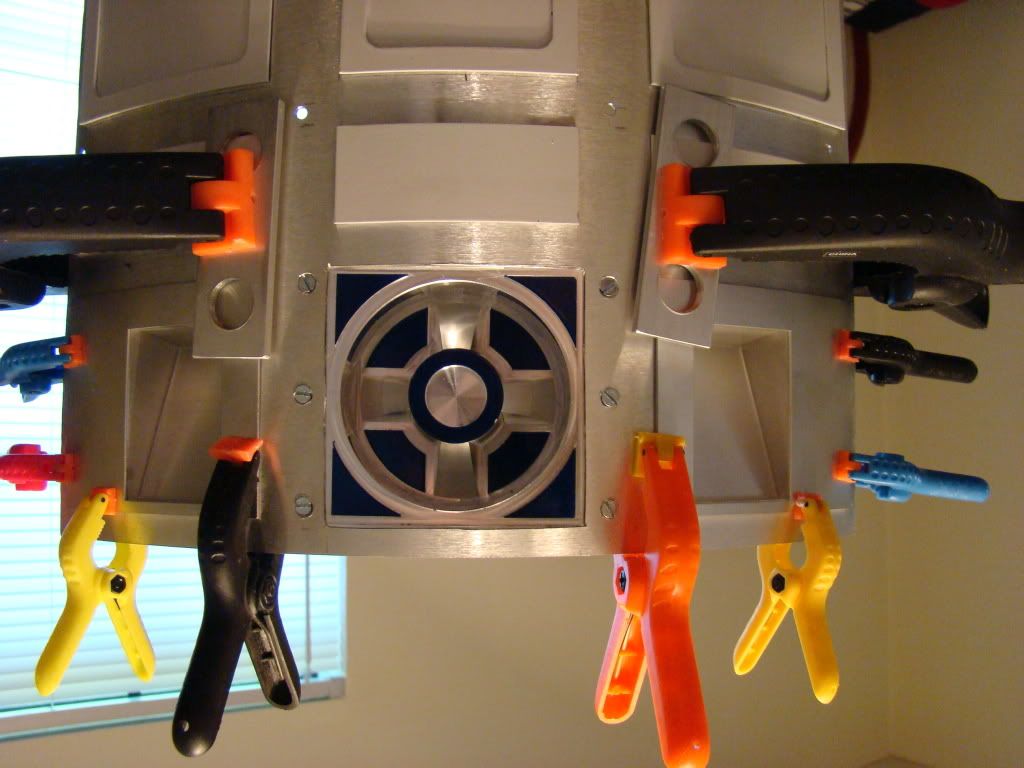
Photobucket

Photobucket

That one looks weird, doesn't it?

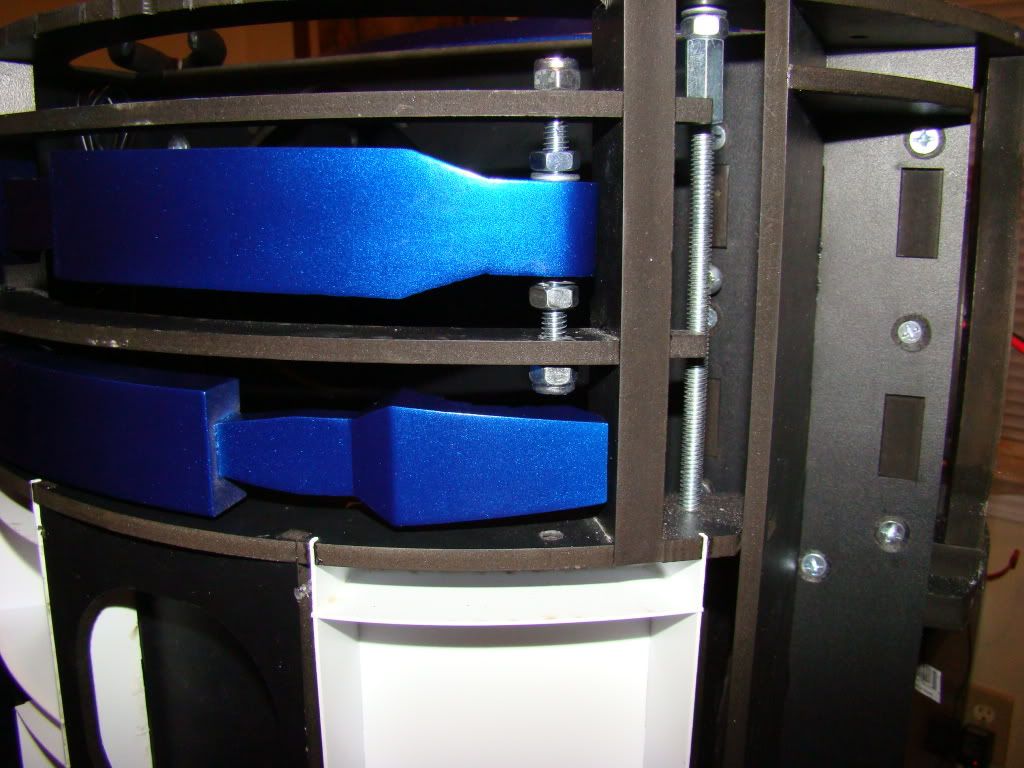
Sunday evening, after having spent most of the day adding more silicon to the coin returns, trimming the rear door frame to fit the coupler, and some other stuff I didn't take pics of, I decided the utility arms were dry enough to play with:
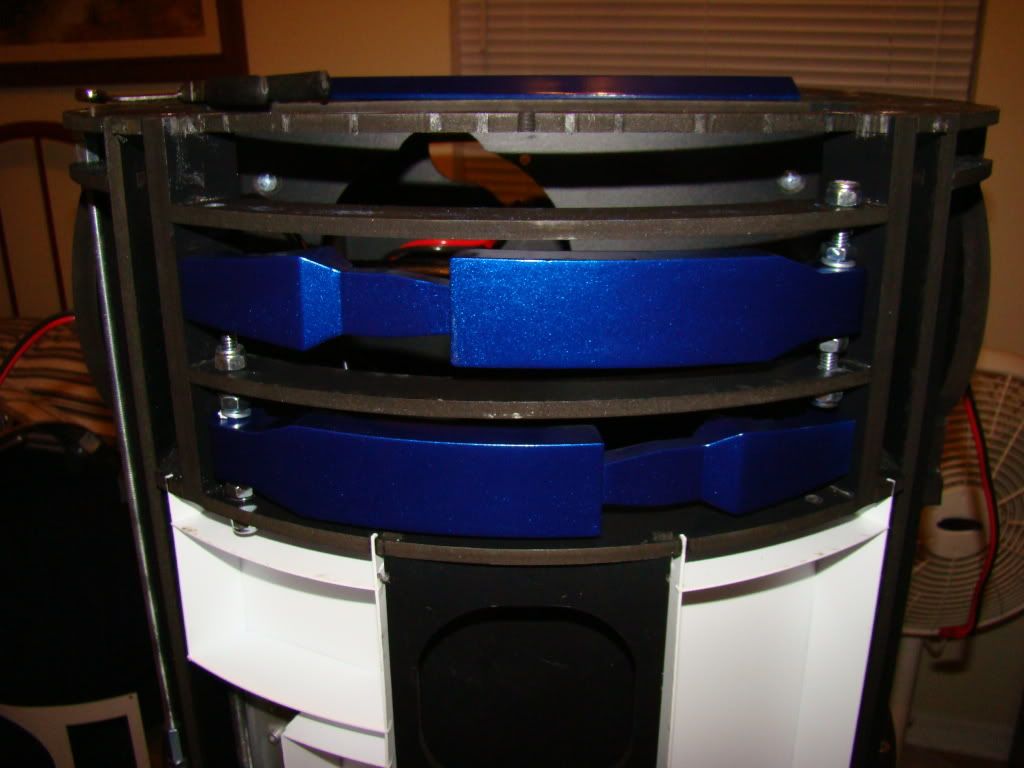
Photobucket

Photobucket

Photobucket

Photobucket

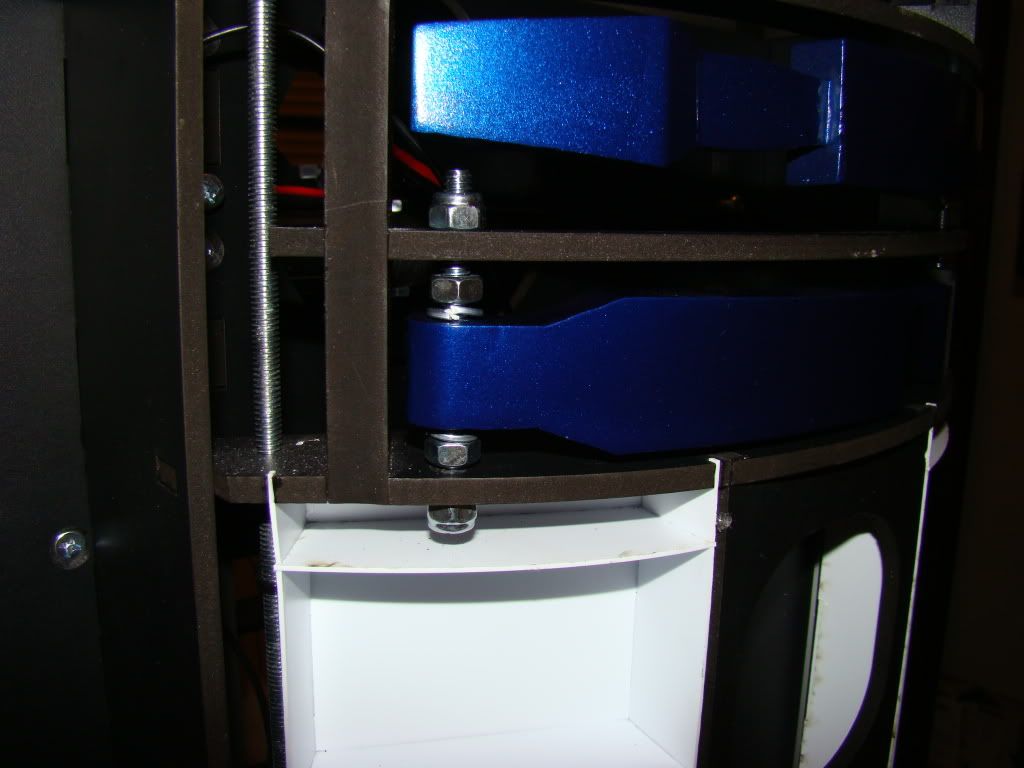
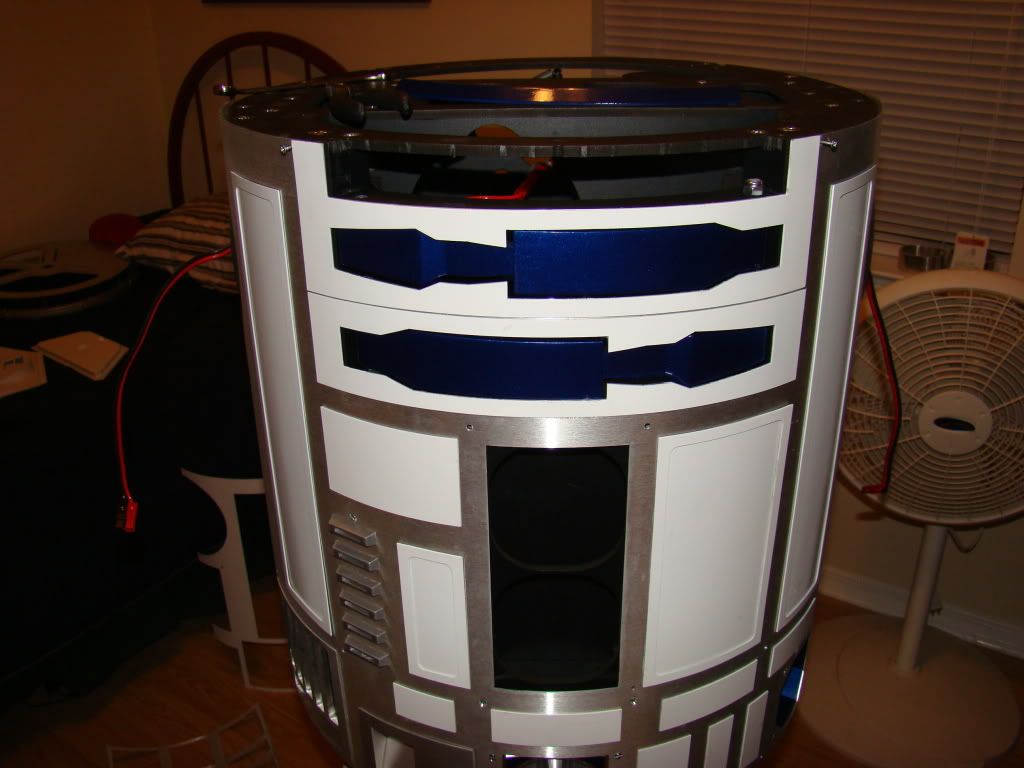
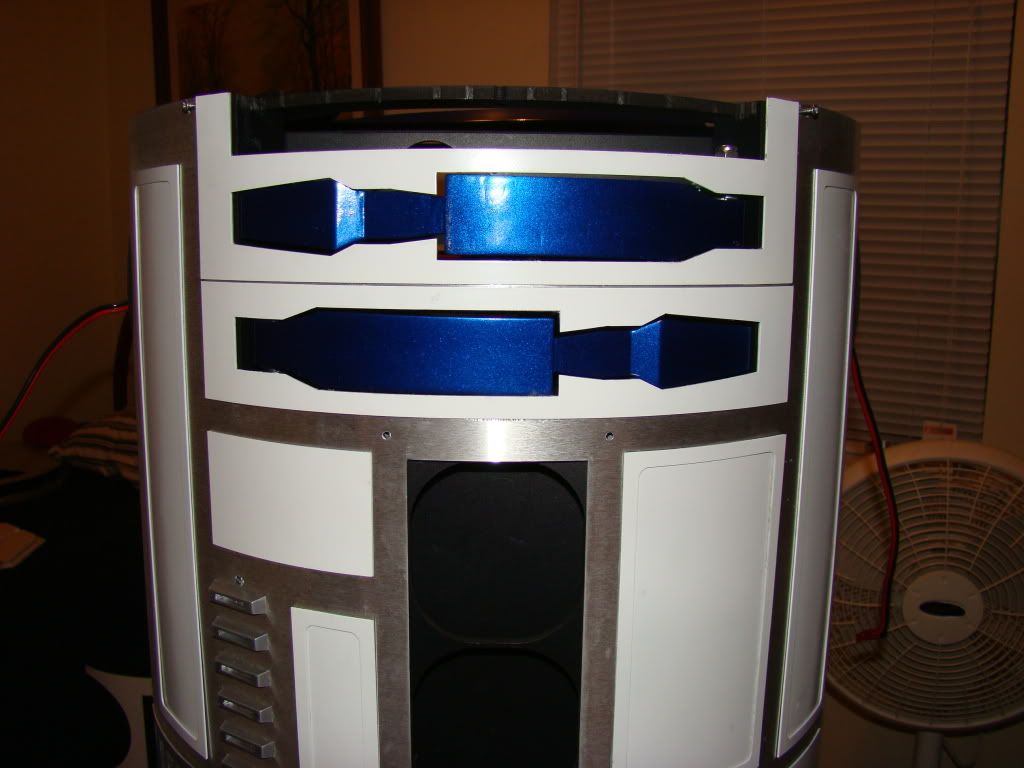
Then I screwed the inner front skin on with just enough screws to hold it in place and adjusted the arms to be close to the correct position:
Photobucket

Photobucket

In that last pic, you can the after-effects of the now so called "Rambo Method" of removing paint from the resin arms...that is, scraping it off with a knife. The spots aren't readily visible unless you are looking for them, and who will be, but you, another R2 builder?

Naturally the arms won't open with the skin on. This is a known issue with the aluminum skins, that probably should be resolved, but hasn't.
the solutions to the problem involve sanding or "chamfering" down the back side of the arm so it can pass through the hole. Problem is, I'm really not game for a 3rd shot at painting the arms. Yet...


More updates later...

Friday, August 7, 2009

dome screws, details, dome primer

So I showed you yesterday all the pics of the dome details freshly JB Welded in place. Got home today and unbolted everything, then sanded down the globs. I only sanded one too much, and luckily it's one of the PSI lenses, so I can tighten it using a screwdriver, and it doesn't have to hold still by itself.

Photobucket

Photobucket

Naturally I didn't take any pics of the outside, with the sanded down spots. Maybe after removing the paper that I put on here:

Photobucket

Photobucket

Notice the good deal I got on primer :) Only probem with that is it's more difficult to shake before use, the mixing ball wouldn't move for like, 5 minutes.

I also started mounting some of the detail pieces to the skins. I didn't know Marco's coin slots were the deep ones, so they didn't fit right away. Had to engineer some spacer from, yet again, more scrap A&A frame. That stuff is good for all kinds of stuff :)

Photobucket

Photobucket

Also mounted the front and back pocket vents. Had to bend those tabs out, like I figured I would.

Photobucket

Photobucket

The front one will be better fit when the skins are on.

Also glued in the front coin return. Don't have pics from the front, but here's one from the back:

Photobucket

I took more pics than what I posted, always do. I just picked the best ones.

If it's not raining tomorrow, I should be able to actually paint blue again!

Thursday, August 6, 2009

Skins cut, dome detail screws installed

Title says it all.

Before removing the skins, I marked what needed to be cut for the David Shaw power couplers. I used the outer skin's square hole as a template, and marked it with a pencil. Once removed, I have exactly the size I needed to cut. I again used some scrap alu from the skins as a straight edge, and "took the line" as it's said. Basically I cut along the line, rather than just inside it.

Photobucket

The dome is about as shiny as it's going to be I guess...I hit it with 1500 and the polishing ball again yesterday.

Photobucket

I also drilled the mounting holes for the dome details and countersunk them. then I drilled the holes in the detail pieces and mounted them in place. I took some JB Welb and glued the screws in place...gotta wait until tomorrow to sand the goop down a little.

I've also got PVC pipe test caps screwed in place as PSI lenses. They need a little trimming, but they are going to work :)

Photobucket

Photobucket

I also got the remaining parts that will be blue primered. Probably should have waited to mask and paint the power couplers and octo-ports until they were installed and then removed, so I wouldn't have to wait to drill the holes in the inner skins. Luckily I won't have to glue them in place with the JB weld...they will be installed before the outer skins are put on.

Photobucket

Tiny tiny steps...or slow and steady wins the race, or some crap like that...now that today is "over", 26 more days until DCon...and I'm not really sure what to do next. Depends on the weather...maybe some kridering and painting that spot on the inner dome that's blue. Painting stuff blue seems to be the holdup right now.

I'm thinking either velcro or double sided tape for mounting the electronics in the head.