Wednesday, March 11, 2009

One other thing...

Never did get around to posting this 3 weeks ago, but here it is now:

Photobucket

ARTOO CAN TALK!

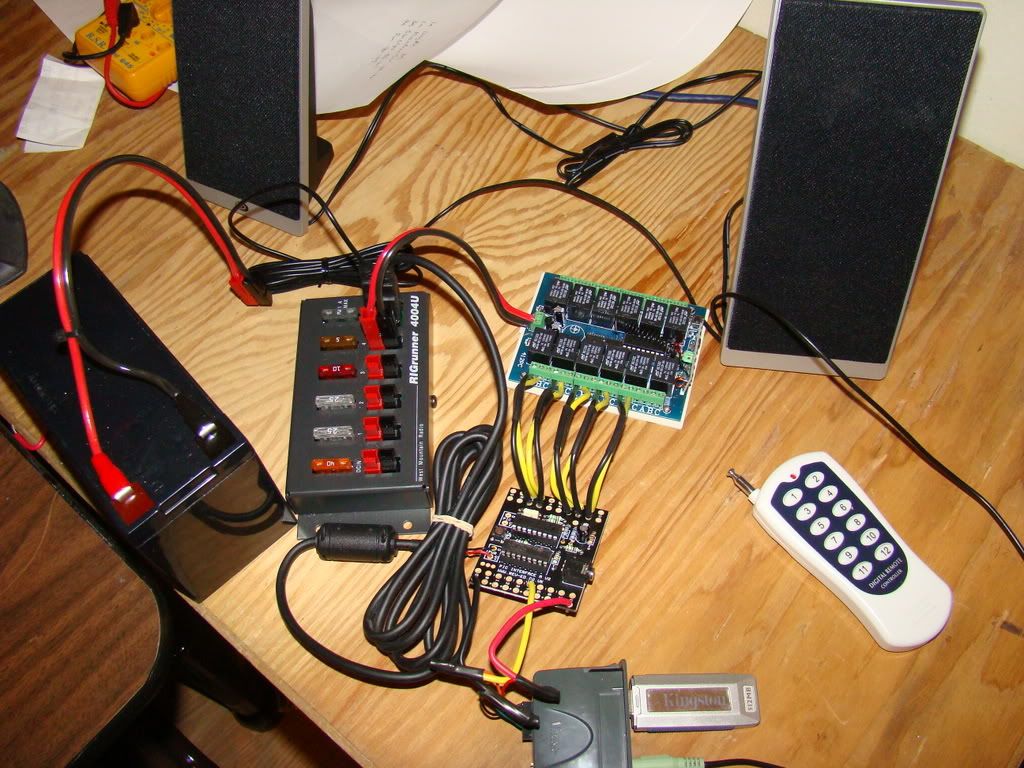
My RIGRunner has 2 5v USB power outs on it, so I picked up some USB powered speakers at your friendly neighborhood "We sell everything store"...yeah, that's the one...they were a whopping $12.
The other 5v port powers the PICAXE, which powers the VMusic. This left only the remote receiver to be powered 12v from a normal port.
I got the instructions for the whole shebang at Alex and Murray's tutorial which is at Alex Kung's R2D2 Web Page.

I'm using their sounds, their program, all that stuff. I've played around with writing my own code, but it mysteriously doesn't work, even though the logic is right...next time there's a rainy day I'll get back around to that.

Progress! or "Getting some leg work done"

Lots of pictures, since this stuff is fun :)

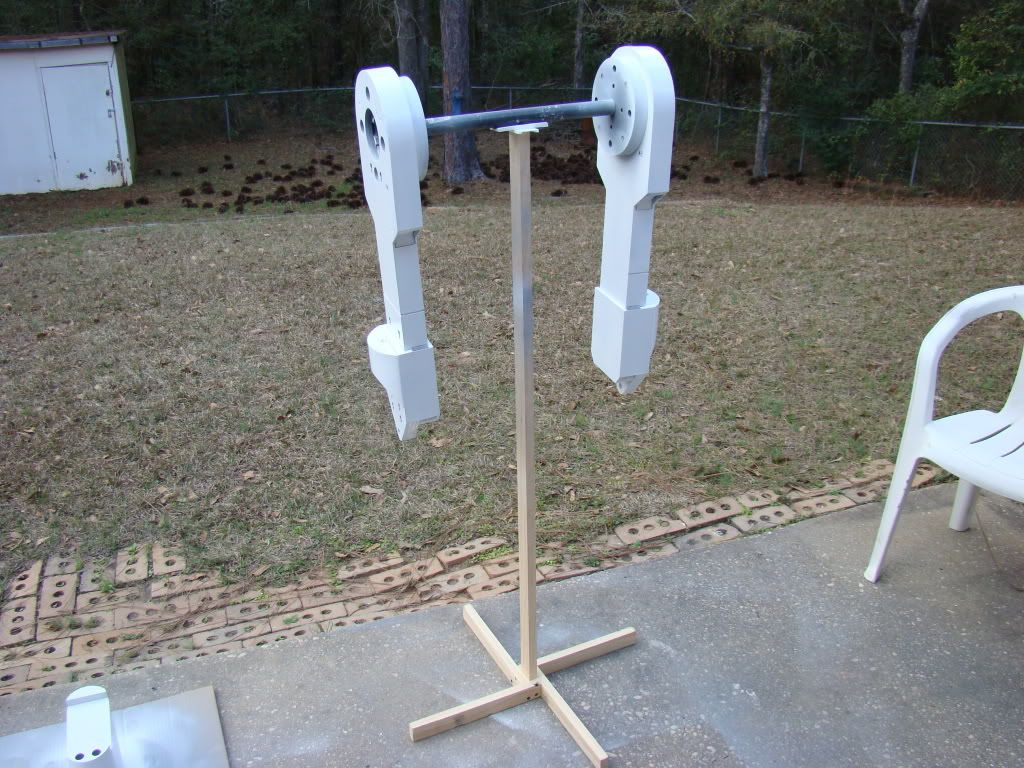
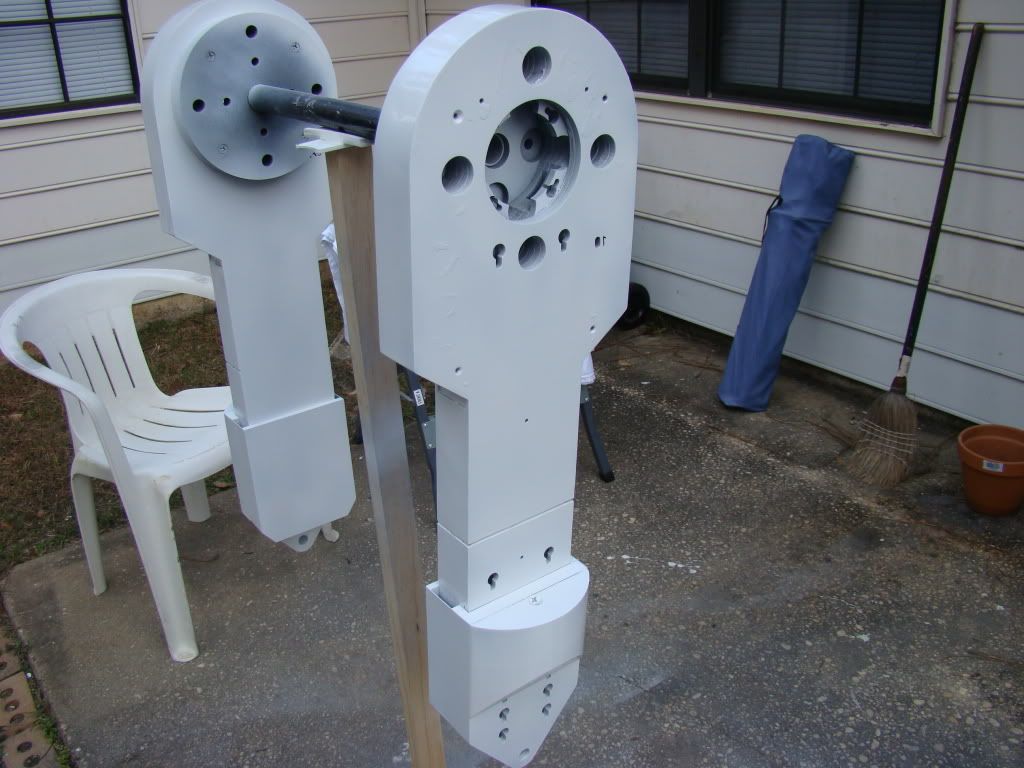
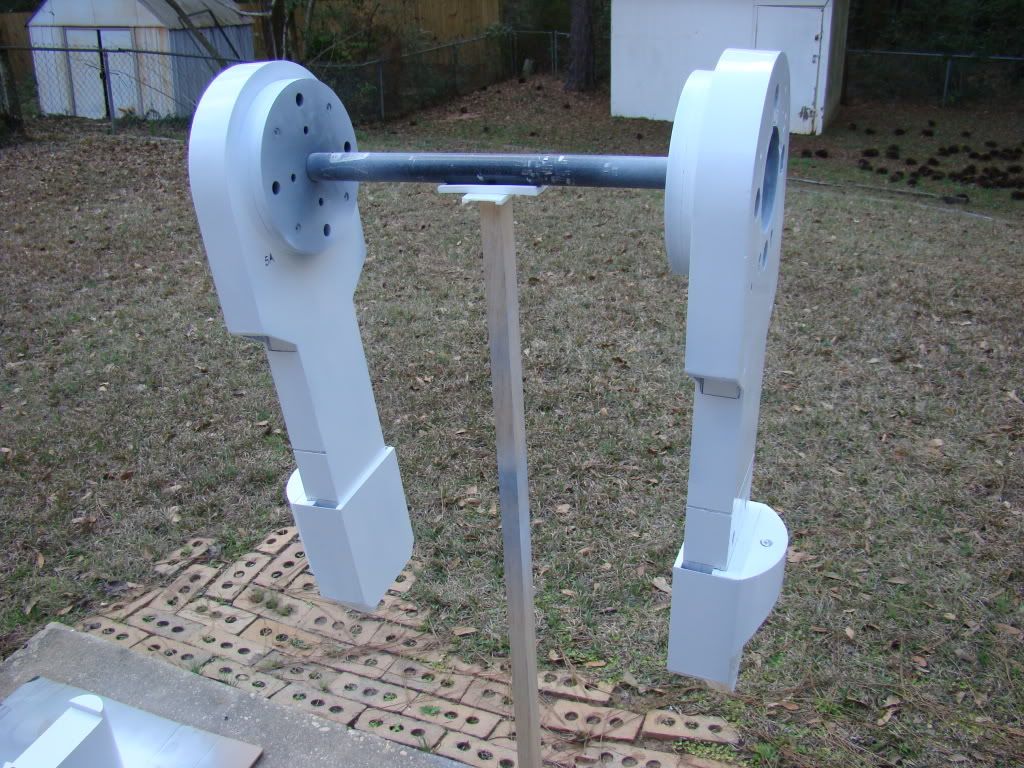
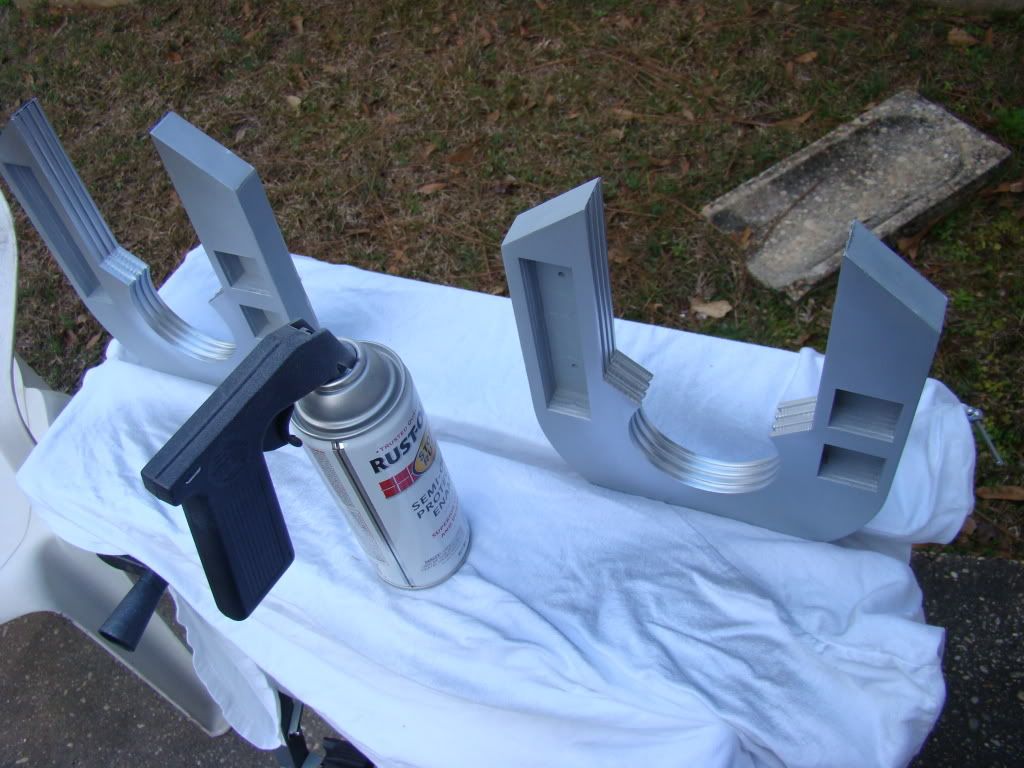
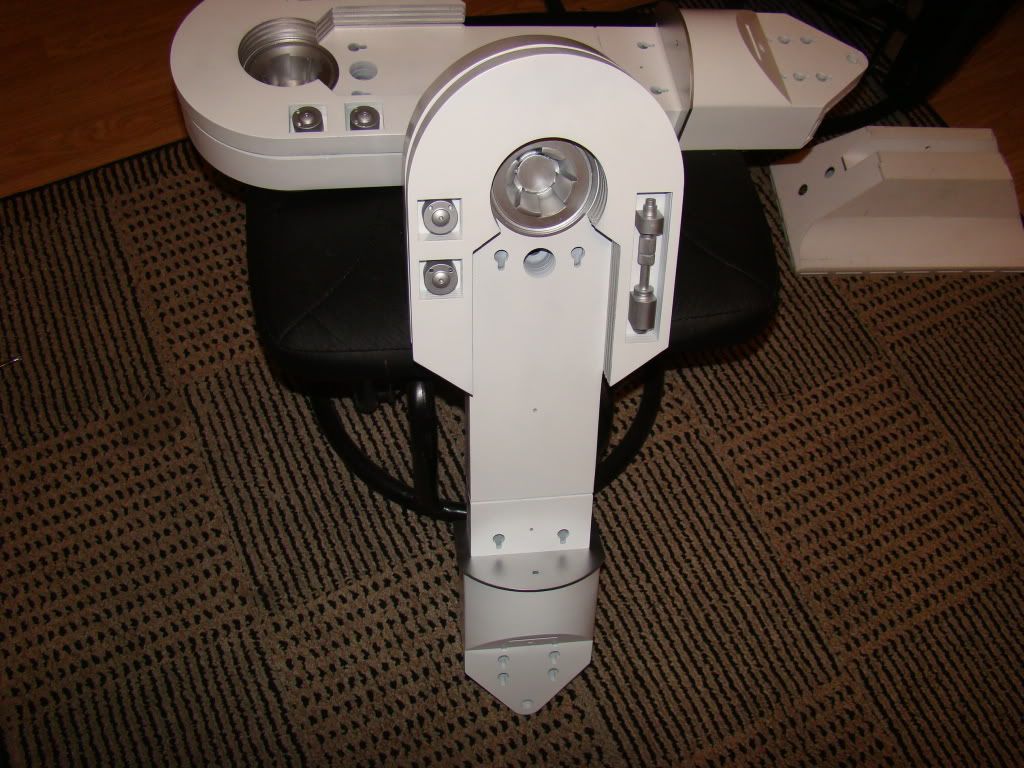
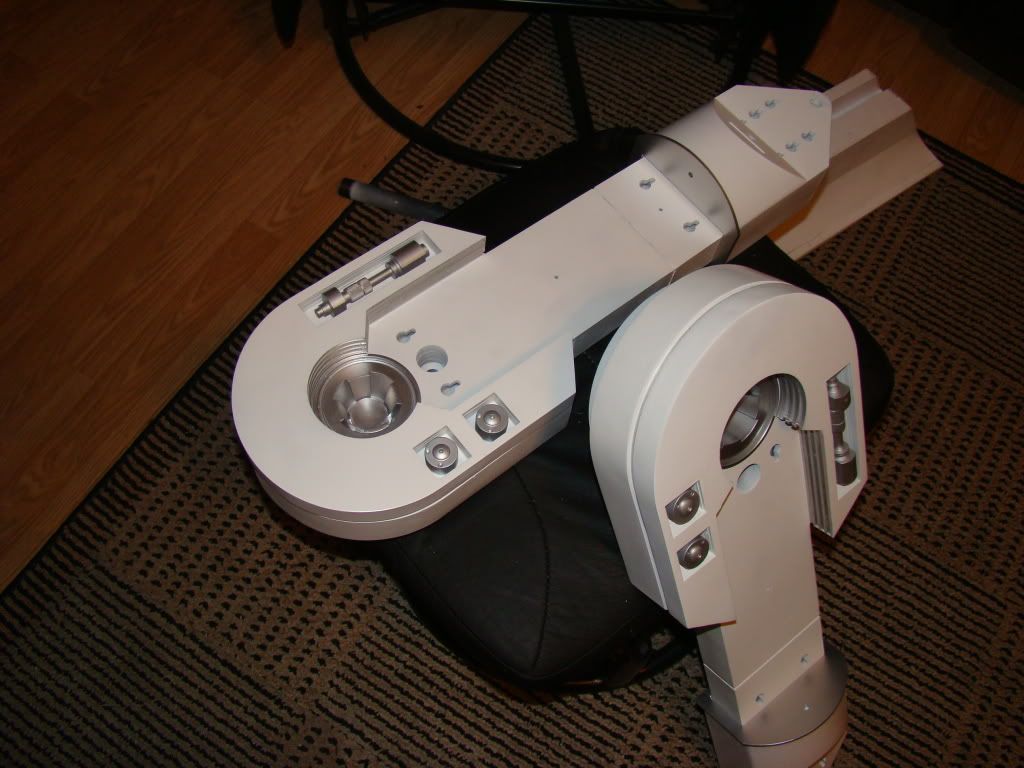
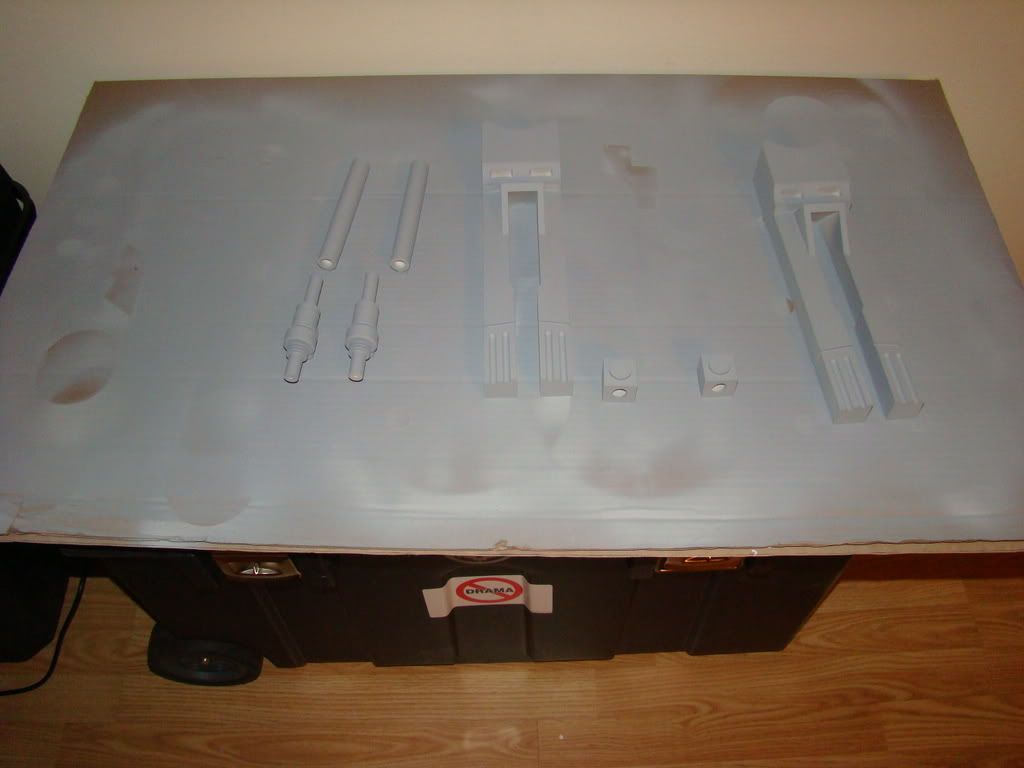
First up, the legs were ready to paint! I used my helmet painting stand, along with the extra piece of pipe that I won't be using in the shoulder pipe connection, since it was a perfect fit when threaded into the center holes.
Photobucket

Photobucket

Photobucket

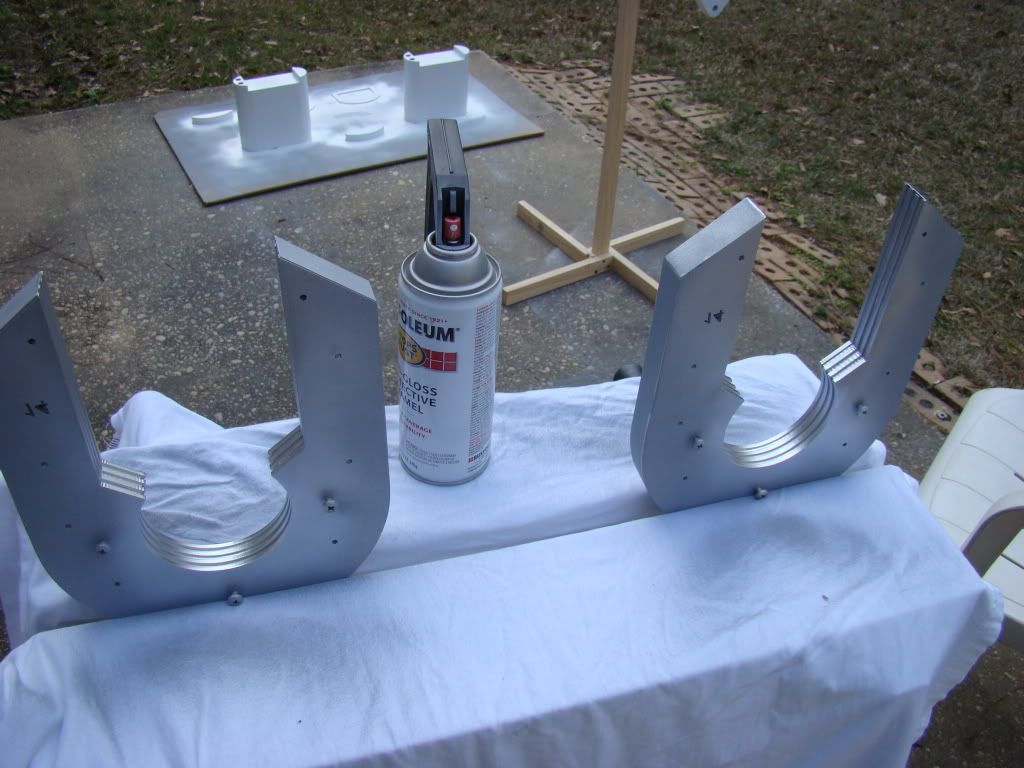
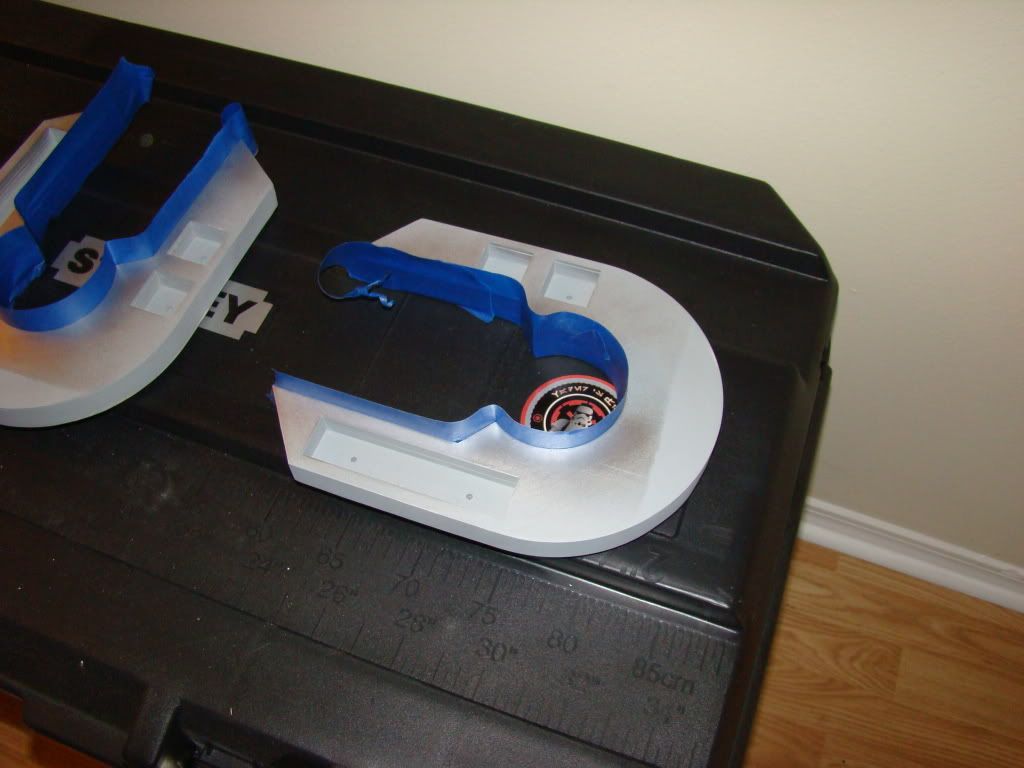
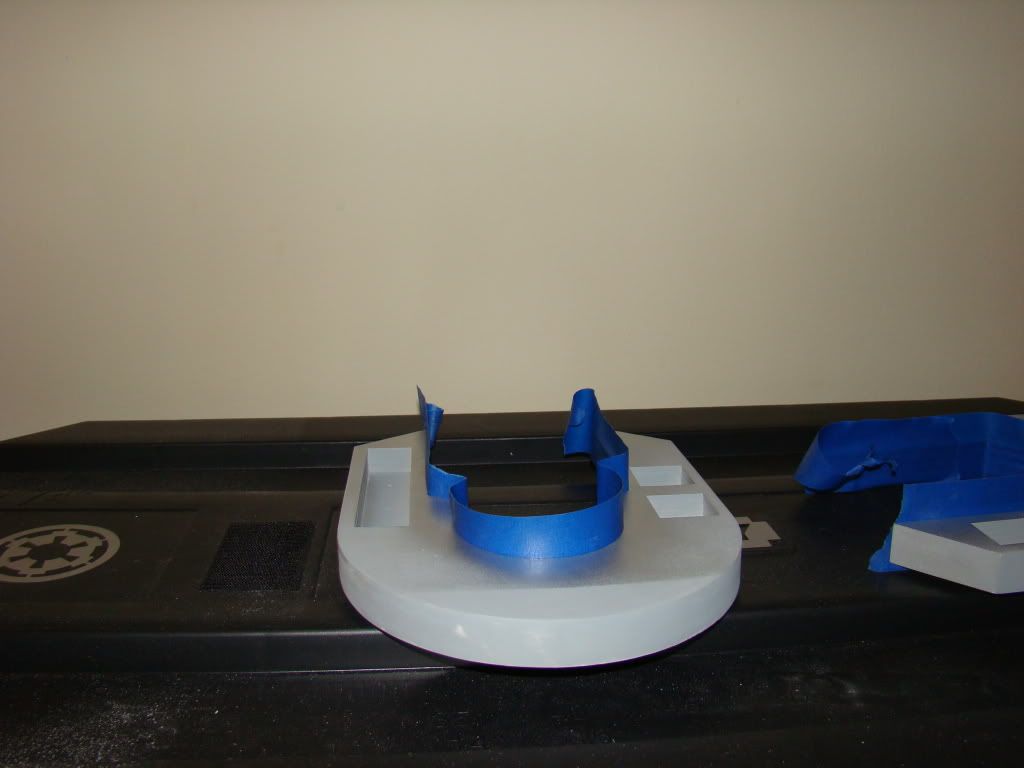
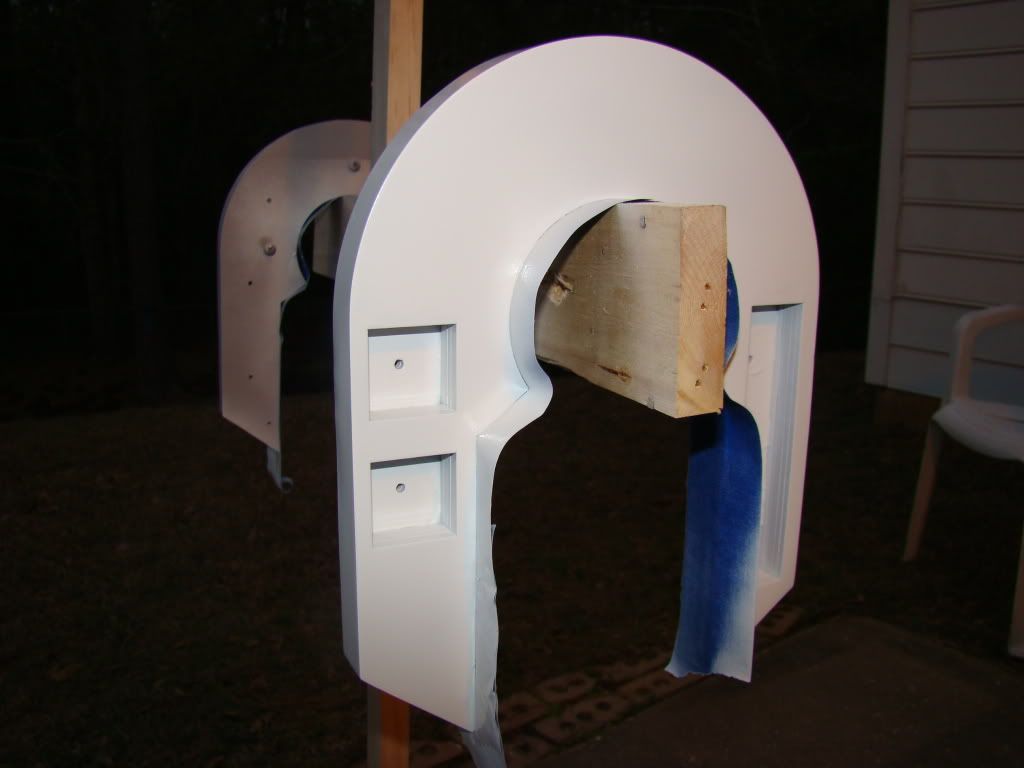
Also ready, the horseshoes, and "how I did it":
*The can in the picture is actually the white for the legs, not the metallic*

Photobucket

Photobucket

I'd had my doubts about doing it this way, since I have ALWAYS had paint seep under the tape whenever I've masked something off, but it appears to have worked this time!

Photobucket

Photobucket

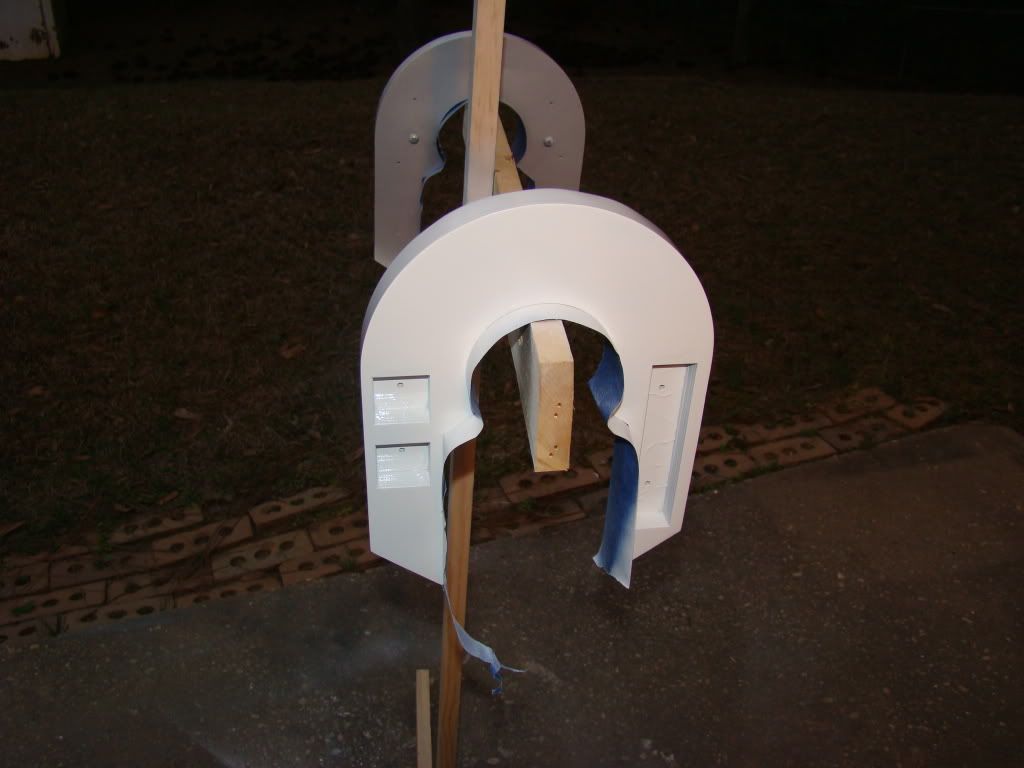
A slight addition to the helmet stand:

Photobucket

Photobucket

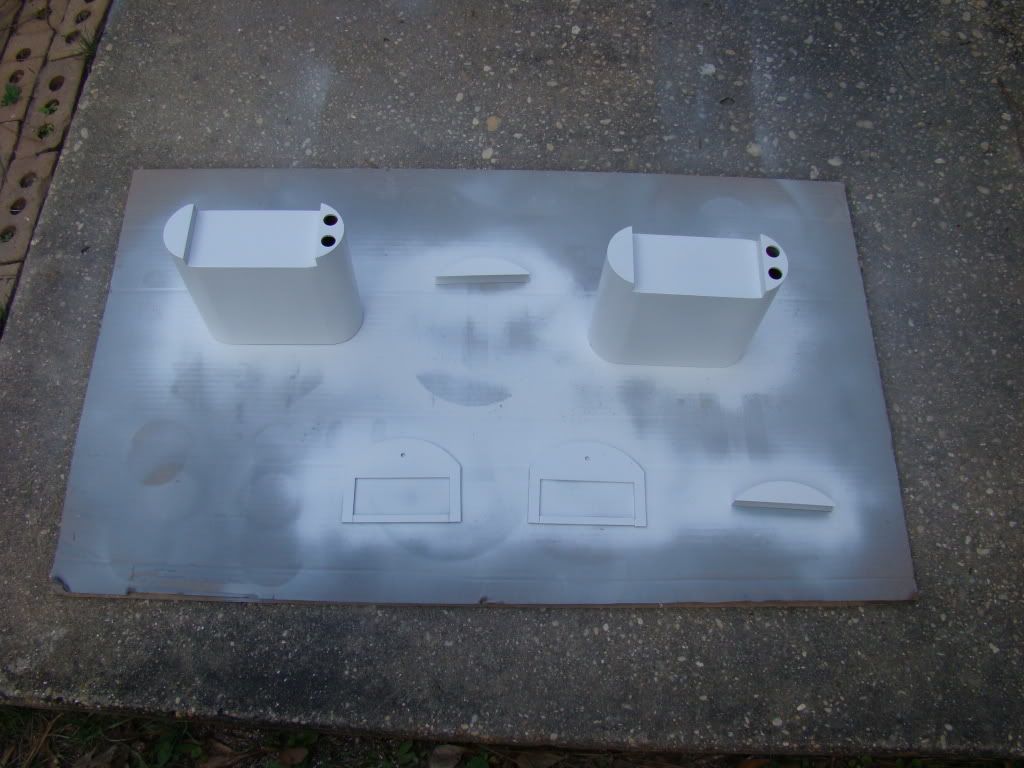
Also got some other stuff painted white:

Photobucket

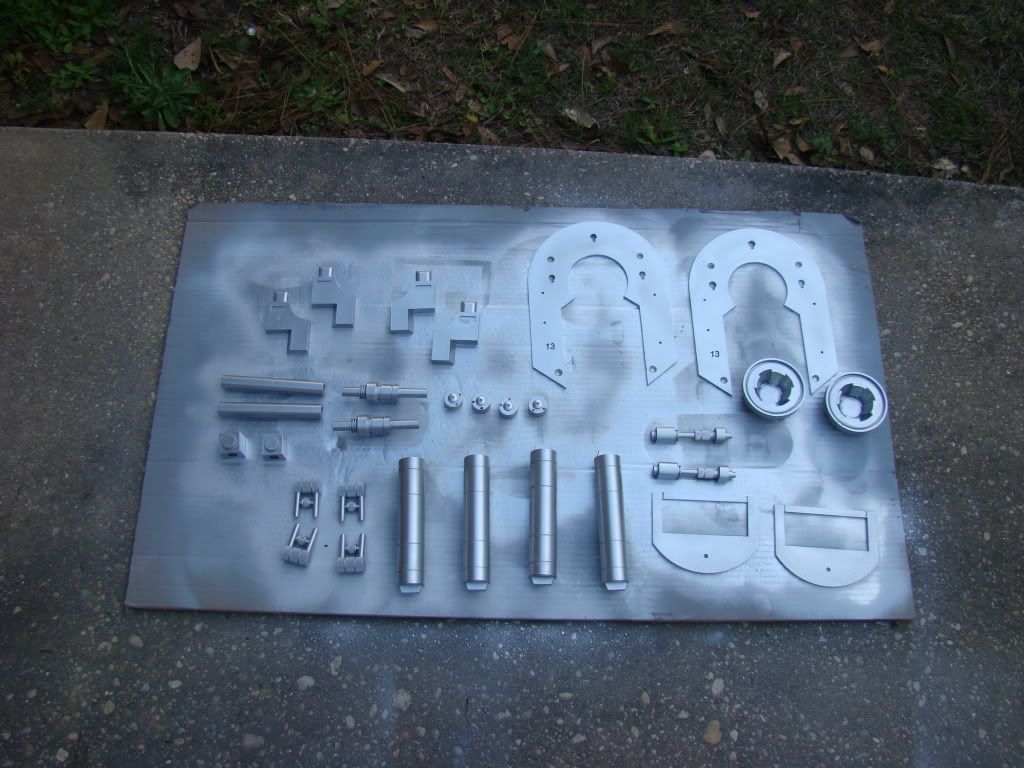
Yeah, yeah, I know...the ankle bracelets aren't supposed to be white. I had a brain fart, that's all.
They show up again in this picture:

Photobucket

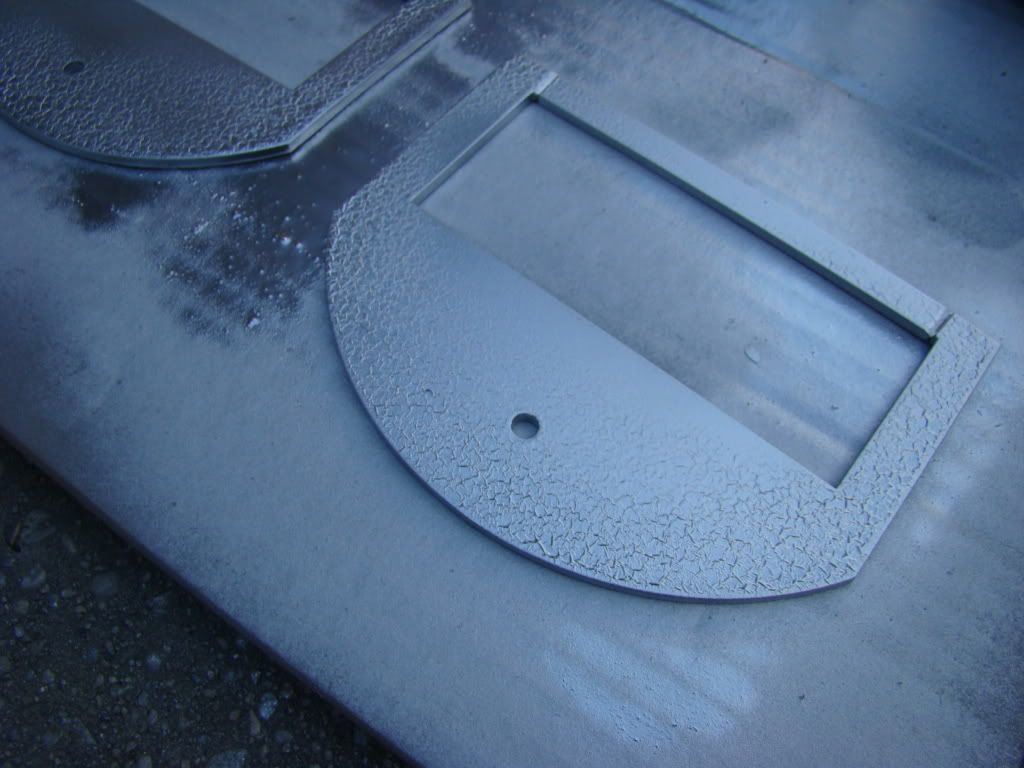
Unfortunately, I didn't realize I'd painted them the wrong color until, you guessed it, more than an hour had passed. Here's the result:

Photobucket

That meant another 3 days for them, 1 to let the crackle cure some so I could sand it off easier, 1 to sand them all the way down and prime them again, and another to repaint them. Oh, guess that makes 5 days, since I always let a finished coat sit for at least 48 hours before I play with it. Moral of the story: READ THE CAN!

~
~
~
~
~


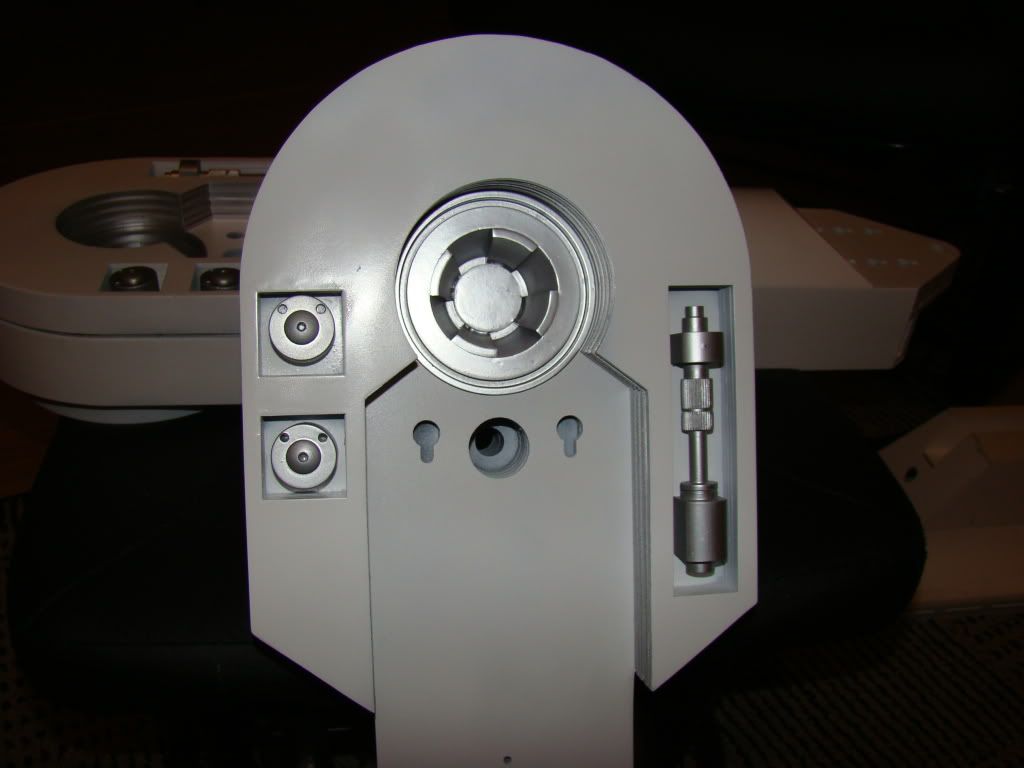
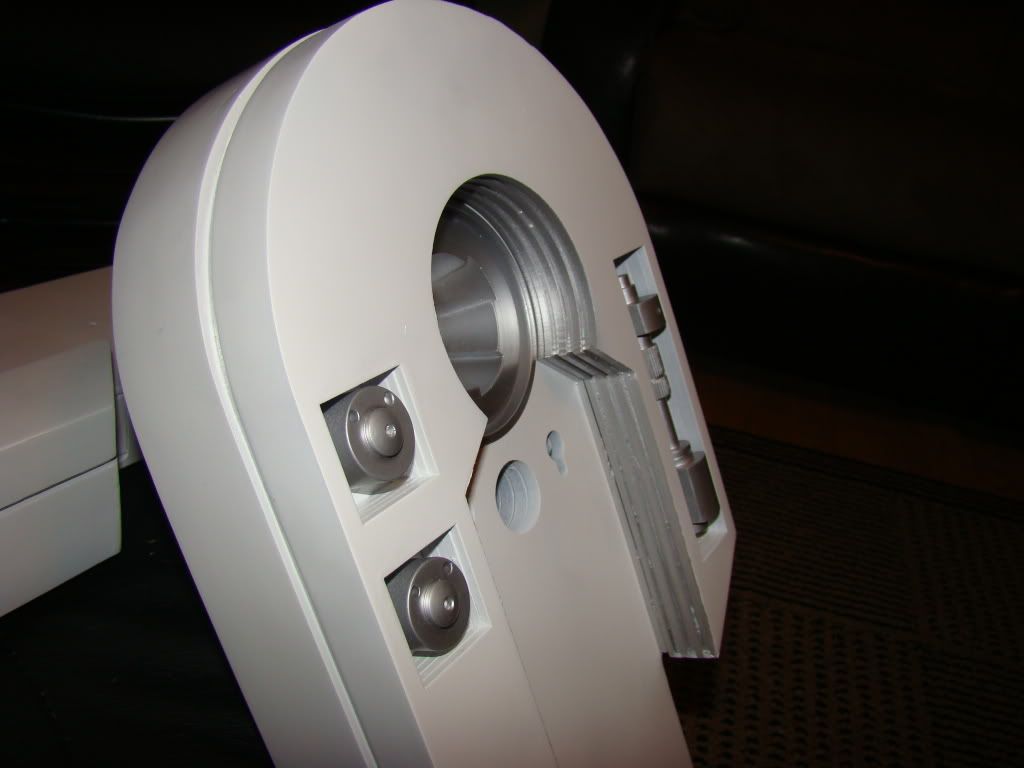
All the things I painted over the weekend finally finished their 2 day waiting period, so today I got to start putting it together. Here's the results:

Photobucket

Photobucket

Photobucket

Photobucket

I don't think you can tell, but I remembered someone having mentioned that the top button was tilted ~5 degrees up. I tried to come up with a way to measure than then eyeballed it, using a small scrap of sintra under the bottom side of each top button to make it tilt slightly. I don't think it's quite 5 degrees, but people who know to look for it will at least see that I tried :P

Tuesday, February 24, 2009

Quick update

Haven't posted in a week and a half, since it's all pics of this:


Primer primer and more primer...one coat a day pretty much since it's cold out.

Got more cool info, but I'll post it later :)

Sunday, February 8, 2009

Painted battery boxes and MORE

Big updates here!

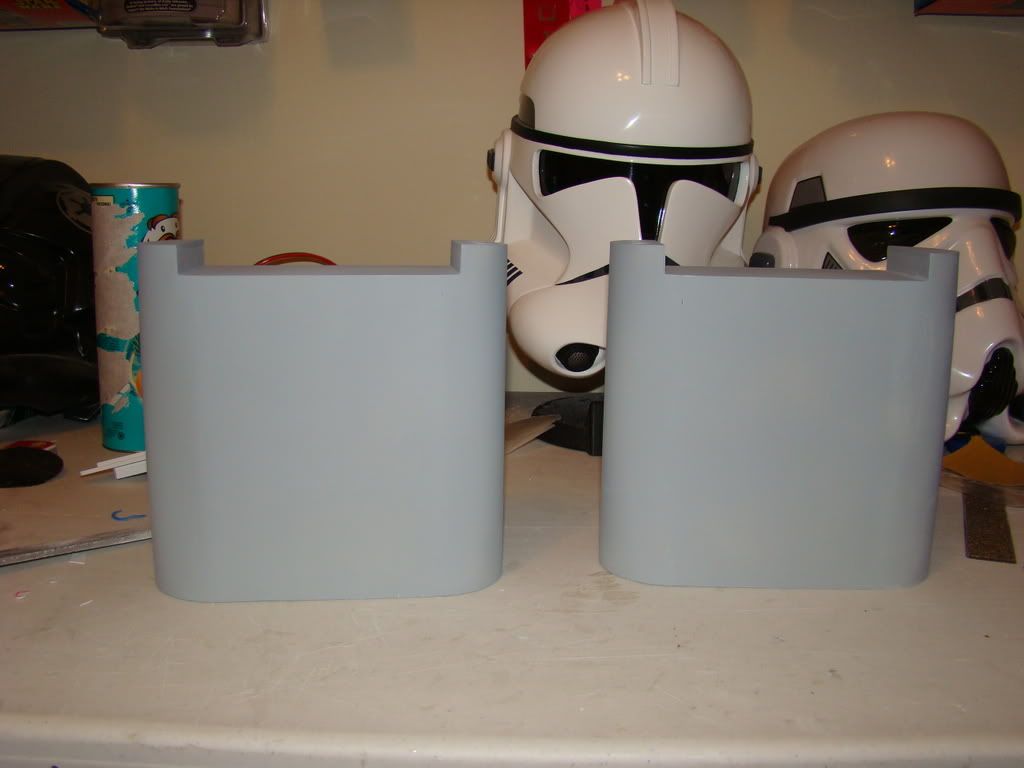
Start off with some shots of the painted battery boxes:


And then the BIG NEWS!
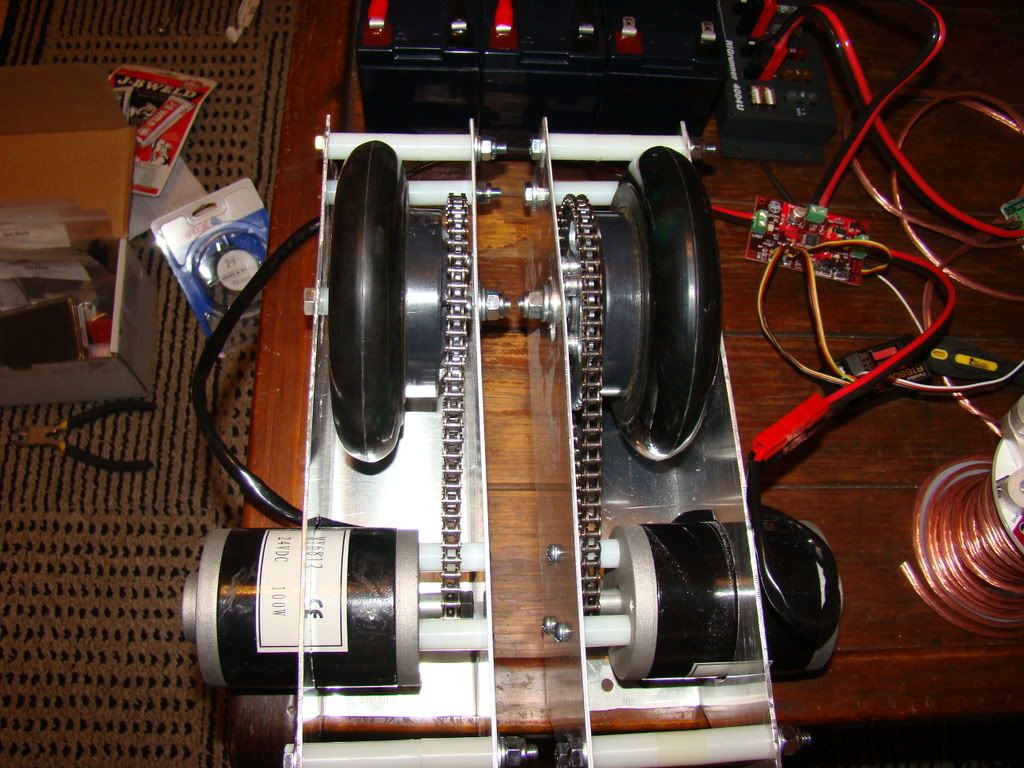
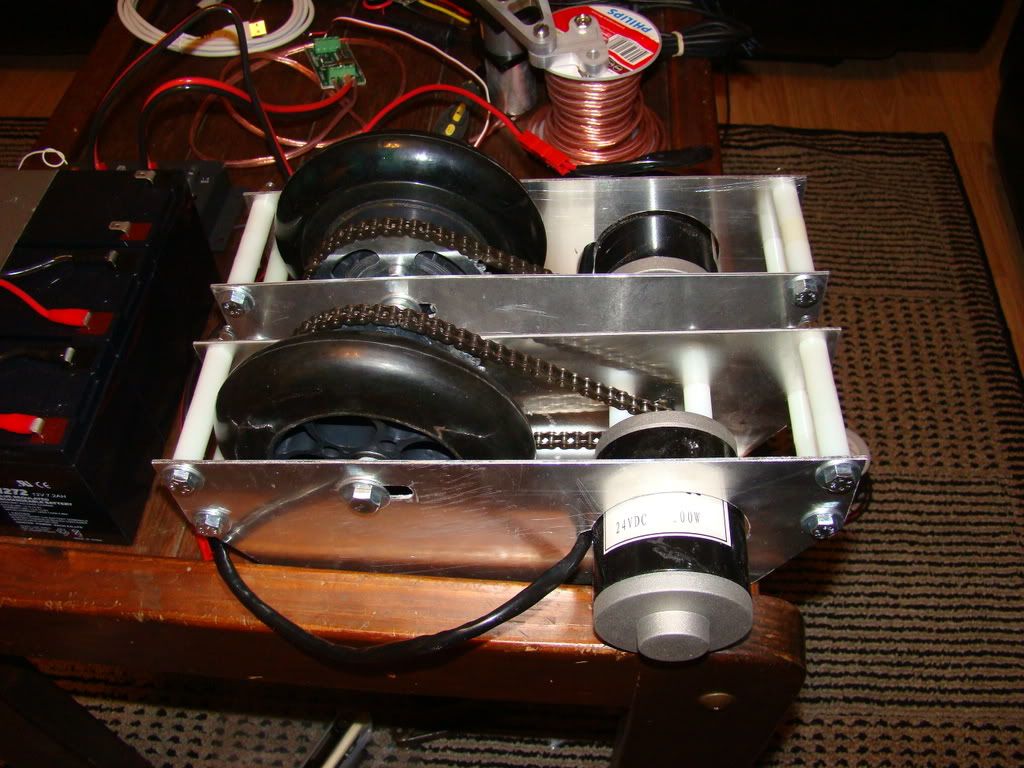
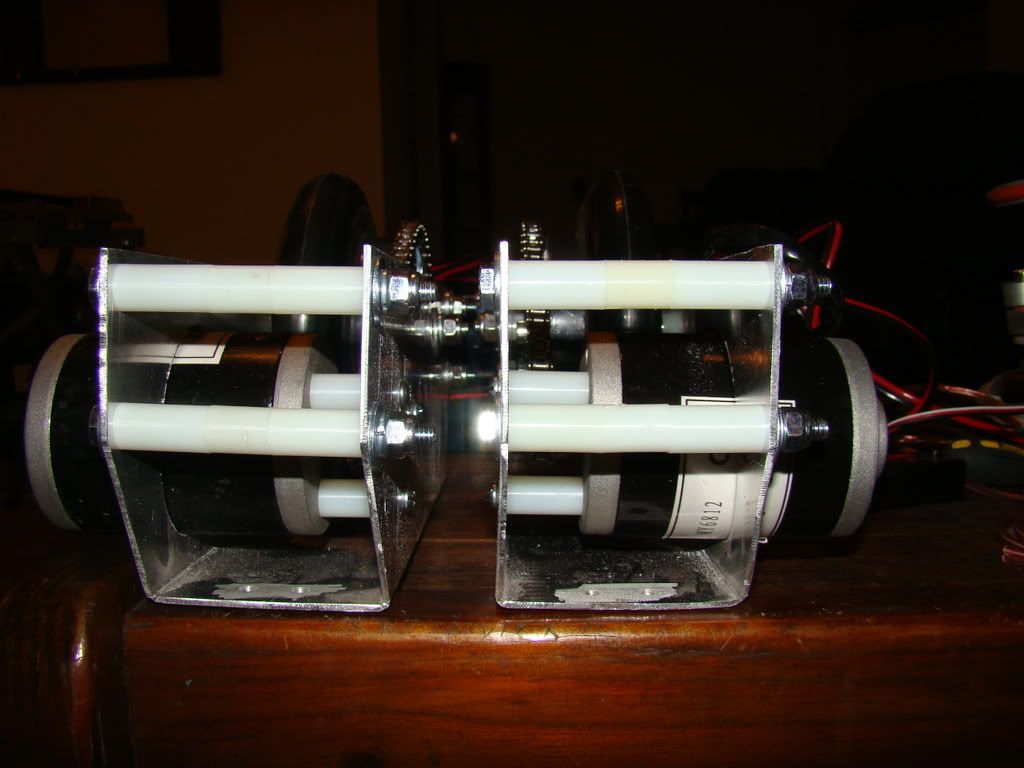
I got the motor holder templates in from Dan Baker finally. FedEx lost them for a couple of weeks. I picked up 2 square feet of .080 sheet aluminum at a local supply shop. I took the templates to FedEx Office (Formerly known as Kinko's) to get the application tape put on. That's the top part that you use to keep the templates lined up when you peel them off the paper.
I took it all to my youngest brother's house. He's a cabinetmaker and has a bandsaw. I couldn't see buying one just to cut this out.

It took about an hour to rough cut them with a jigsaw, fine cut them with the bandsaw and smooth the edges with a file.
On my way home I stopped and picked up a metal brake from Harbor Freight. It's really not great, but it gets the job done.
Used my drill press to drill all the holes. I also took a trip to Lowe's where I spent two and a half hours picking out the hardware. By the way, the screws that thread into the motor are 10-32. I used a 2 3/4" holesaw for the big motor hole. It's possible a 2 5/8" holesaw might have done the job, but I didn't want to waste 12$ on one that was too small.

The hardware list is as follows:
8x 1/4-20 3 1/2" bolts, nuts, washers and lock washers
2x 5/16-20 3 1/2" bolts, nuts, washers and lock washers
6x 10-32 1 1/2" bolts
For spacers, you'll have to be on your own. I used the nylon spacers in 1" sizes since I couldn't find aluminum ones like I had seen.

Here's finished pics:


In the first pic you can see that the wheel isn't exactly lined up with the motor. I've got to come up with something a little different to get it spaced right. Suffice to say it's been a busy week.
There's been other stuff, like another coat of primer on the legs, and then cutting the detail line around the legs, painting other stuff, etc. That's not as flashy though, so no pics

Monday, February 2, 2009

Updates...Battery boxes and sound stuff!

Spent some more time out of town, and didn't have much to write about for a little while, but I've been working on stuff in-between, and had some news to show.

First, I built my A&A battery boxes. All the parts are stock except the curved tops and bottoms. I spent a couple of months puzzling that out, and had all but decided to use 2 layers of 2 liter soda bottle plastic, since it was something I had readily available, until I thought of the sintra "for sale" signs. I picked up a couple of large ones at the Depot, taped one of the A&A pieces on 2 sides and cut the other sides with a hobby knife. Here's what's left after:
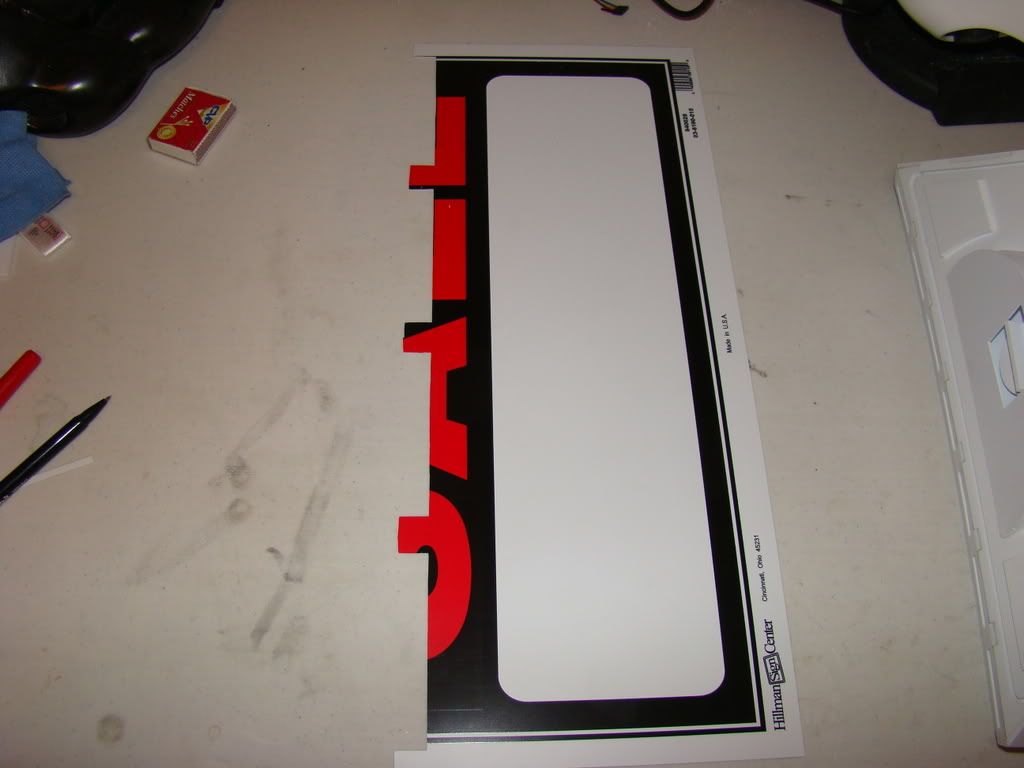


Did a nice neat slow job and they came out very nicely.

As Alex mentioned in his tutorial at Picture #63, my sides weren't quite square, so I had some very small gaps to fill with slivers of the sign.

My only addition to his work would be, instead of this Pic #68, cut a piece that fits all the way across instead of the little bits shown. I used longer pieces than he did, but they didn't reach the ends. I had some spots that were too thin, and I went all the way through when I sanded the CA glue off. Those you can see in the pictures that follow were marked with red arrows so I'd know where to add more CA glue. Luckily the worst spots I'm able to hide using the foot shells. Here's the pics:
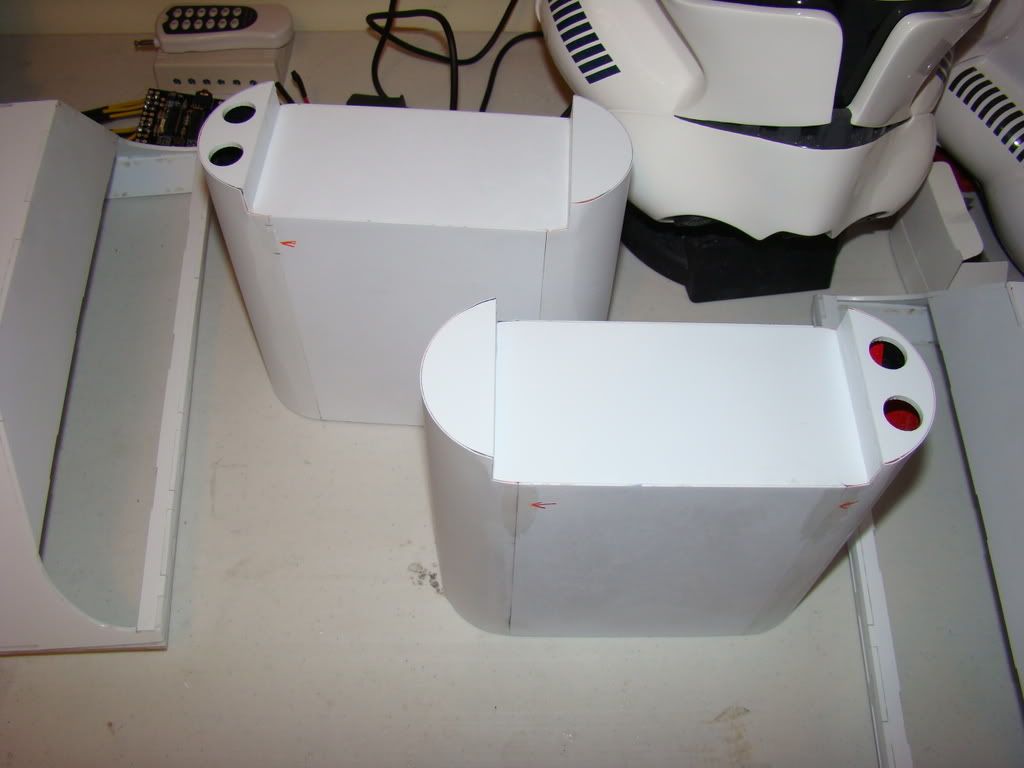
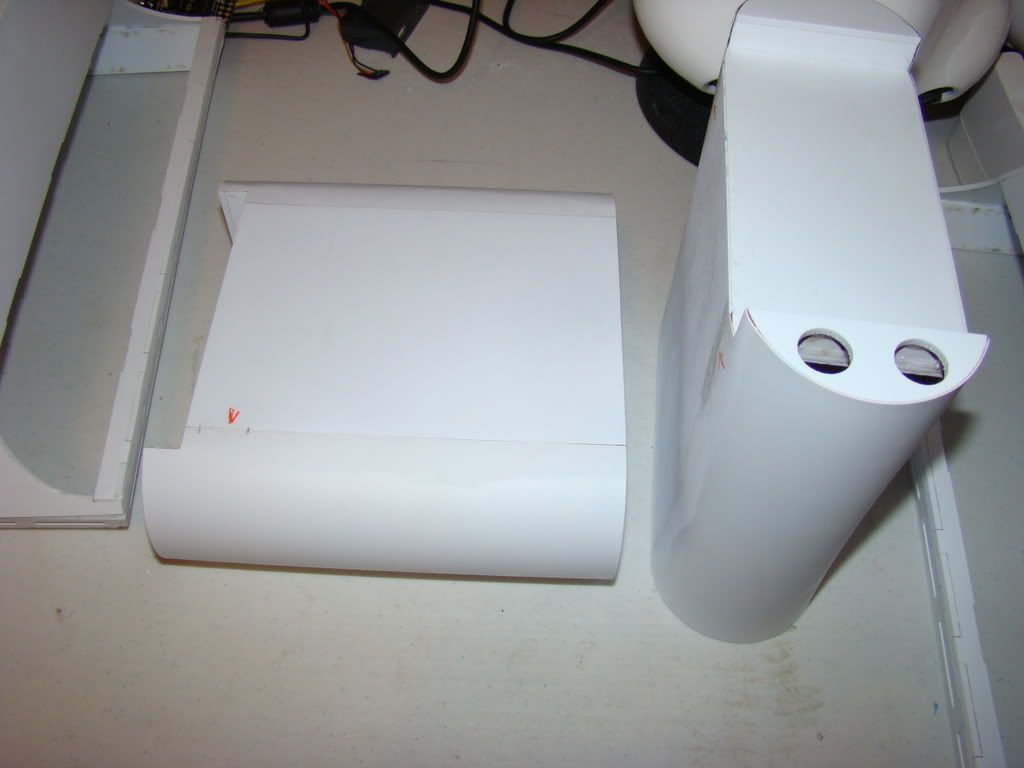
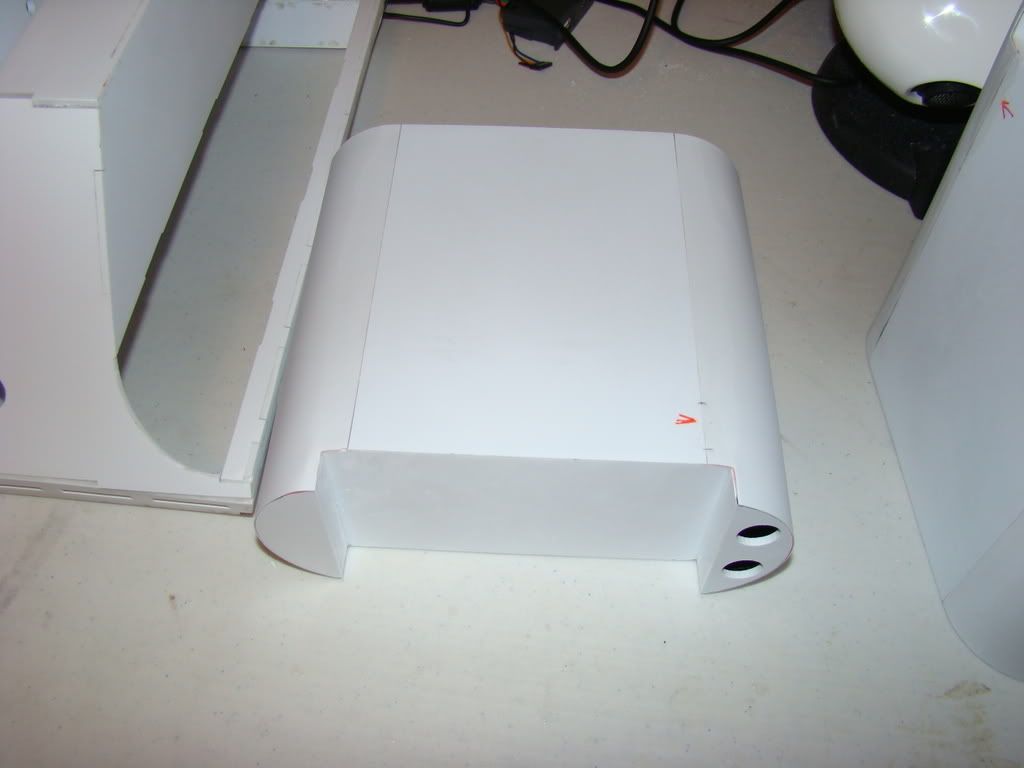
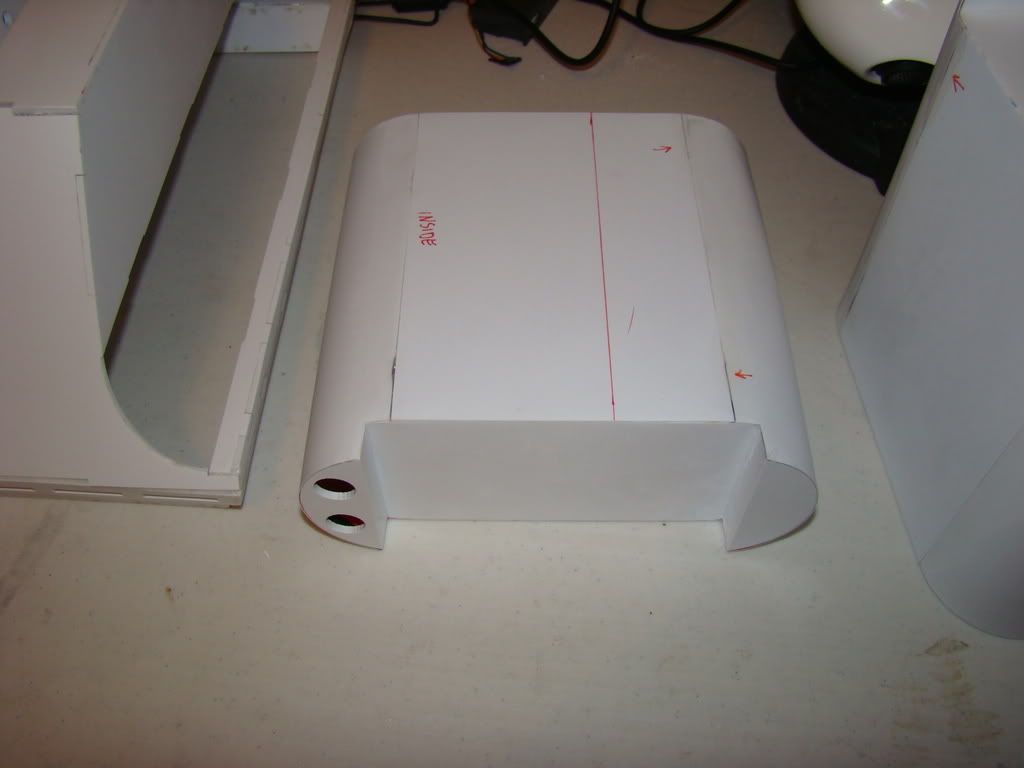


The gaps are all filled in these pics, but you can't tell. Primer will highlight any voids I'm sure...

I did some fill work on the legs using wood putty that I had from my BFG build. It was pretty dry, but I think it worked. I haven't sanded it yet, but it'll be a lot easier than if I had used more CA glue. I'll be using wood putty on the footshells too I think, once the outer ones are shot primered and i can see where all 3 need work. Here's a shot of the legs with the putty:


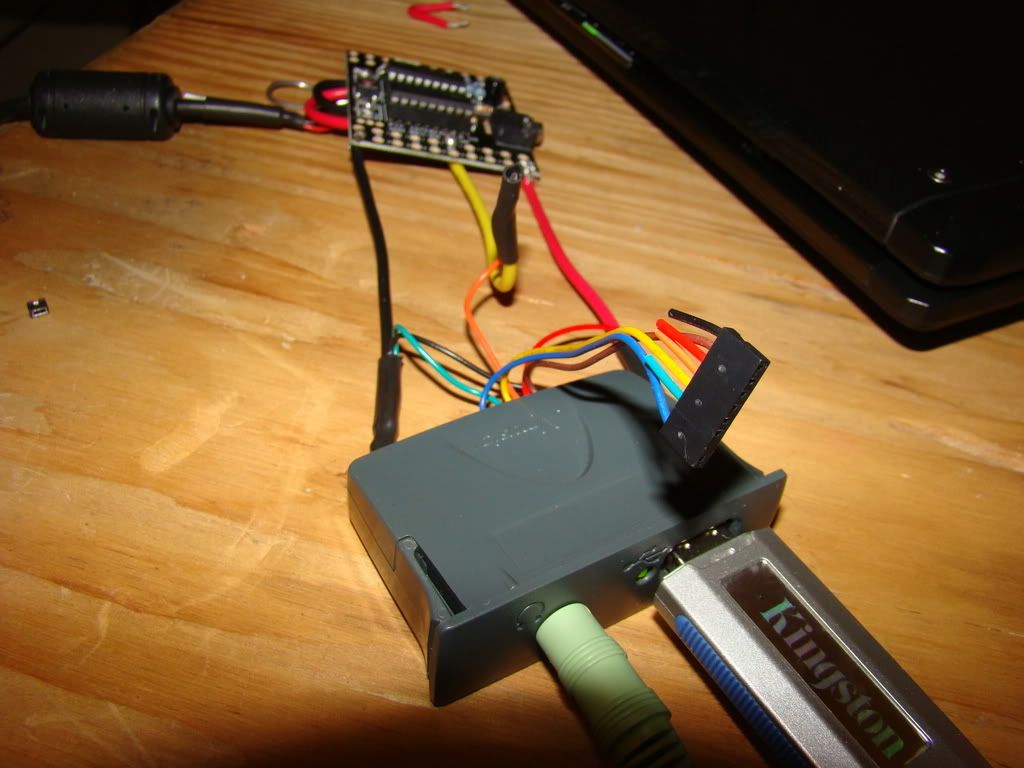
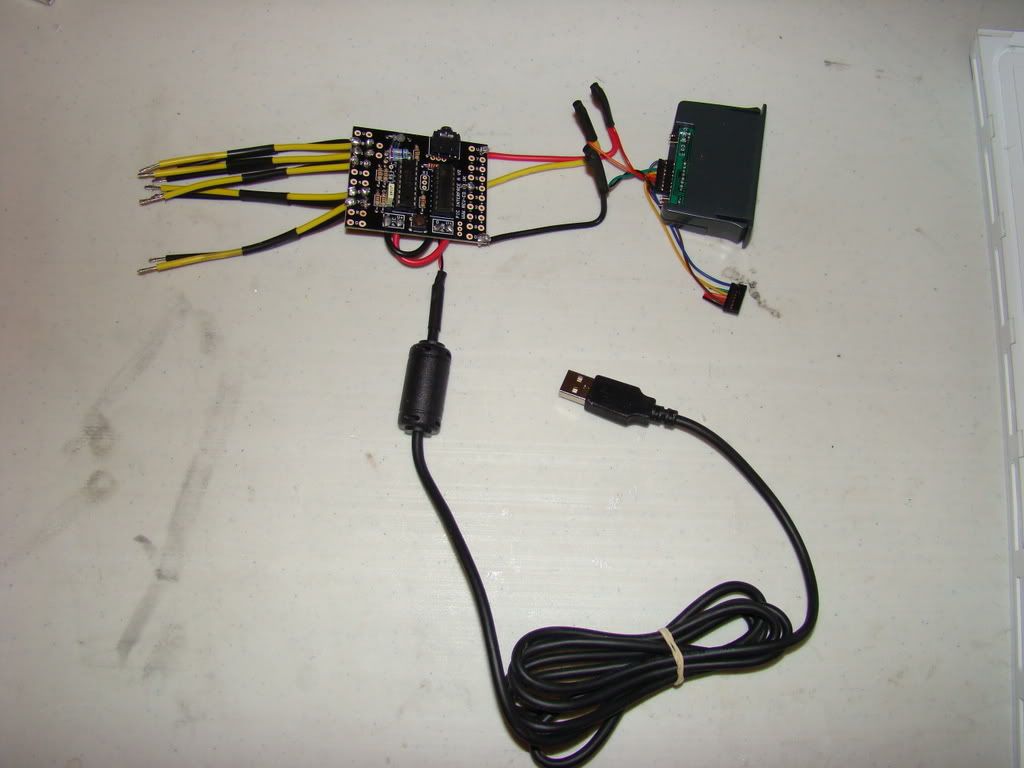
Also got Artoo's voice mostly done. I ordered the PICAXE16 and it's project board, as well as the VMusic2. Everything is in, and all but the RC part is connected. Only thing I'm missing is the programming cable for the chip. I misread and thought I'd be able to use a mini-USB cable, like I use on my RAZR. The programming cable cost more than the chip and the board combined. The serial cable was far less, but since I might want to change something via my laptop, which was made this century, I needed USB :) Here's pics of my ugly soldering job. I know, the wires should have gone through the top, but I followed the tutorial like a good boy :)


The pic above include the 10K resistors you have to add to the PICAXE board to make it work.
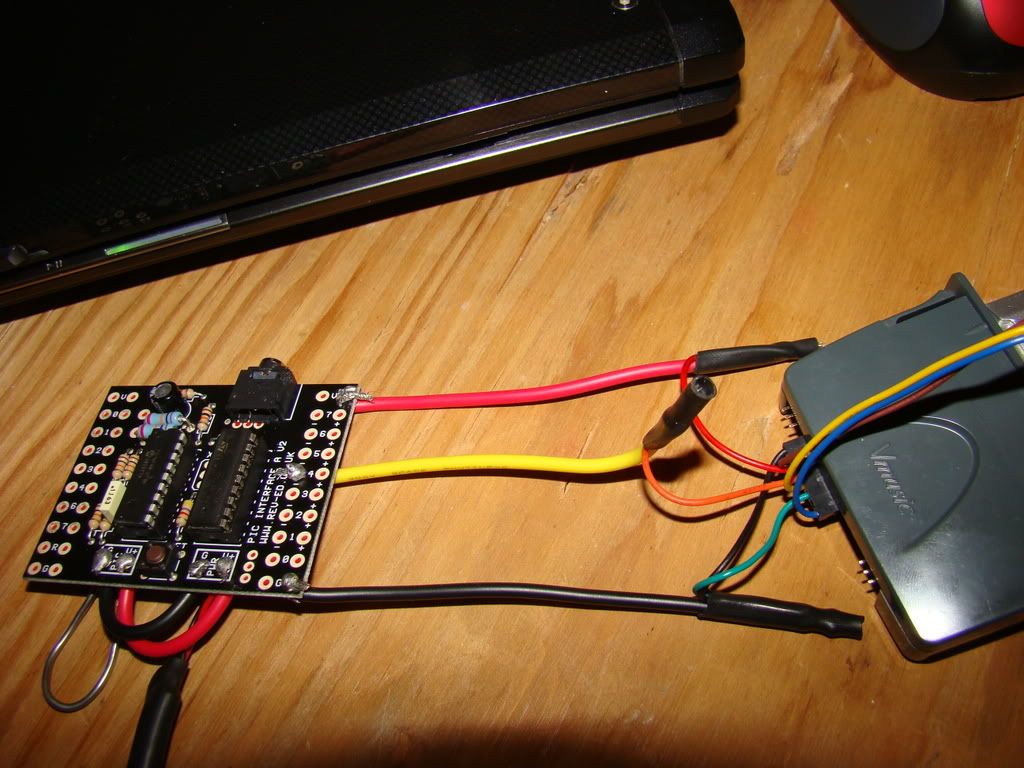


Also, I'll be using the 5V USB power connection provided by my RIGRunner, as you can see by the cable that's attached. Both the PICAXE and the VMusic are 5V, so that's awfully convenient. Even moreso is that standard USB cables have 4 wires, black, white, green and red. The black and red ones do exactly what you'd expect them to do, so life is easy.

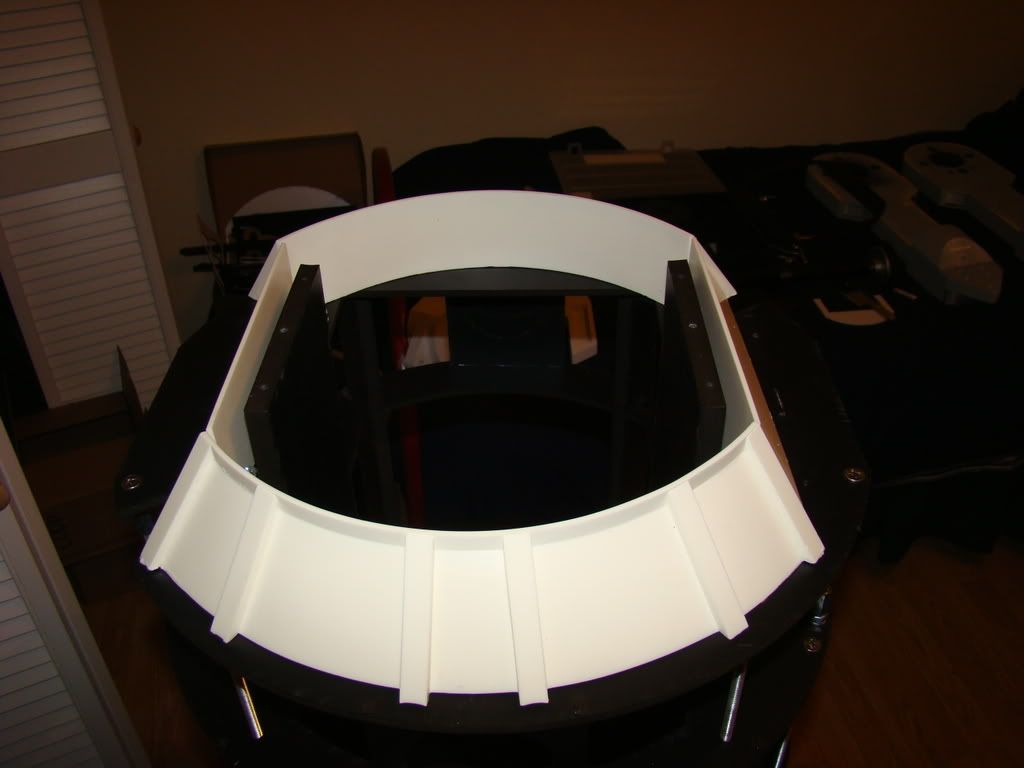
One last bit of goodness before I go...my resin skirt from MarcoXeno came in, and boy, it's a real work of art. I'll only need to do minimal sanding on the bottom inside edges of a couple of the pieces. I'll also (at Marco's recommendation) be screwing the pieces to the frame and not joining them together into one piece. I've also had to remove the bottom plate fro mthe frame, but I think that was mainly added if you were using the A&A skirt flatpack. I tried to assemble my A&A flatpack, but it was NOT working out for me at all. I probably did it wrong, but nothing lined up right.

Marco's skirt:


Thursday, January 22, 2009

Primer complaining

So it's been a few weeks, had trips to OK and AZ over the past few weeks, so had nothing to talk about.

No pictures, they would be awful.

Let me just say I hate primer. I know I might have mentioned it in previous posts. Primer shows every little defect.

Basically I rushed home from work to primer the legs today. Have to, with it being 45 degrees outside and dark 30 minutes after I get home.

I painted the legs, and need some serious filler work around the edges where the sintra meets the black. Gotta make it look like it's one piece, and that's kinda tough sometimes. Now there's primer all over them that's got to be sanded too...

Spent most of the evening making the battery boxes. They are pretty, except there's nothing on the tops and bottoms. I decided to try using 2 liter plastic for them, since it's flexible and once sanded, should be paintable. Now that I'm to the point of using that, I'm considering going to buy some "beware of dog" or "for sale" signs made of sintra.

Brighter side, I ordered some more stuff from Powerwerx. They are making me a special battery cable to put 2 batteries in parallel, so I don't have to. also ordered some red/black 16 gauge wire since the 12 gauge that came with the starter kit doesn't really fit either speed controller.

I've also ordered a VMusic2, from Australia, and a PICAXE18 and board from the UK, so I can figure out how to make him talk...

also been pondering what I'm going to mount all this stuff on, since someone posted their new Com-8 mount board pics and made me wonder.

I could say more, but that's enough, since I need SLEEP now :)

Friday, January 2, 2009

Little steps...that's how you get this done.

So a couple of weeks ago I decided to put my shoulder hubs in and mark them:


checked the marks, they are all symmetrical and stuff.


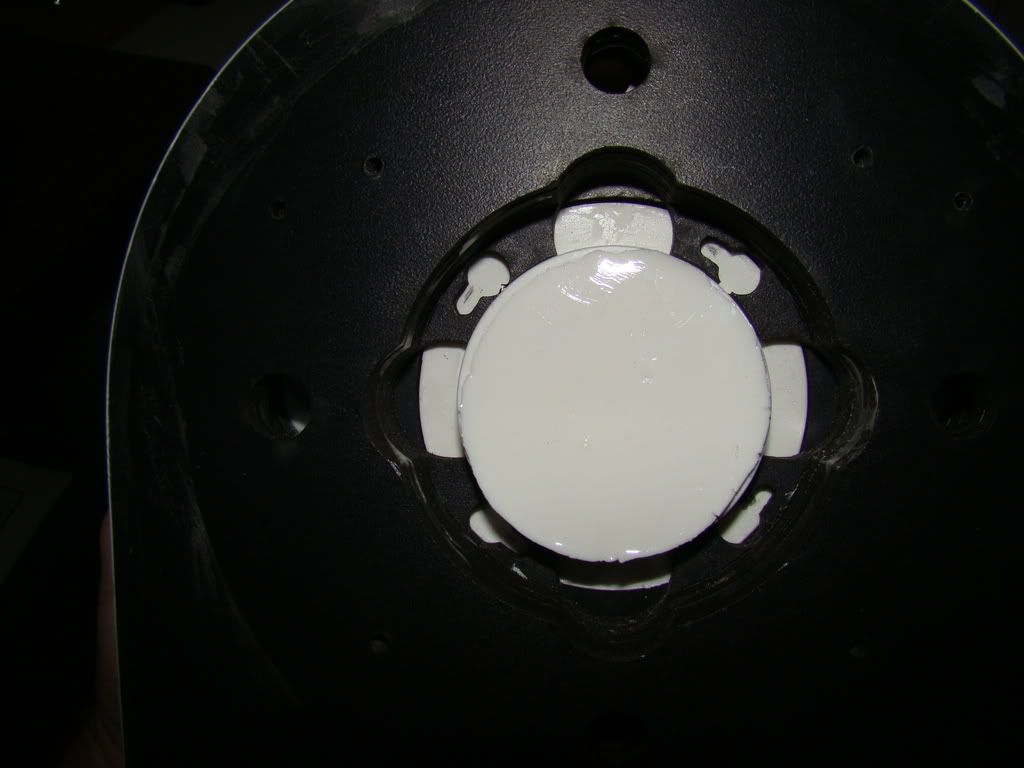
I set the depth on my drill press and was just about to drill when for some reason I flipped the hub over and noticed that had I drilled as planned I would have ruined the hubs, as the drill bit would have come all the way through the hub:


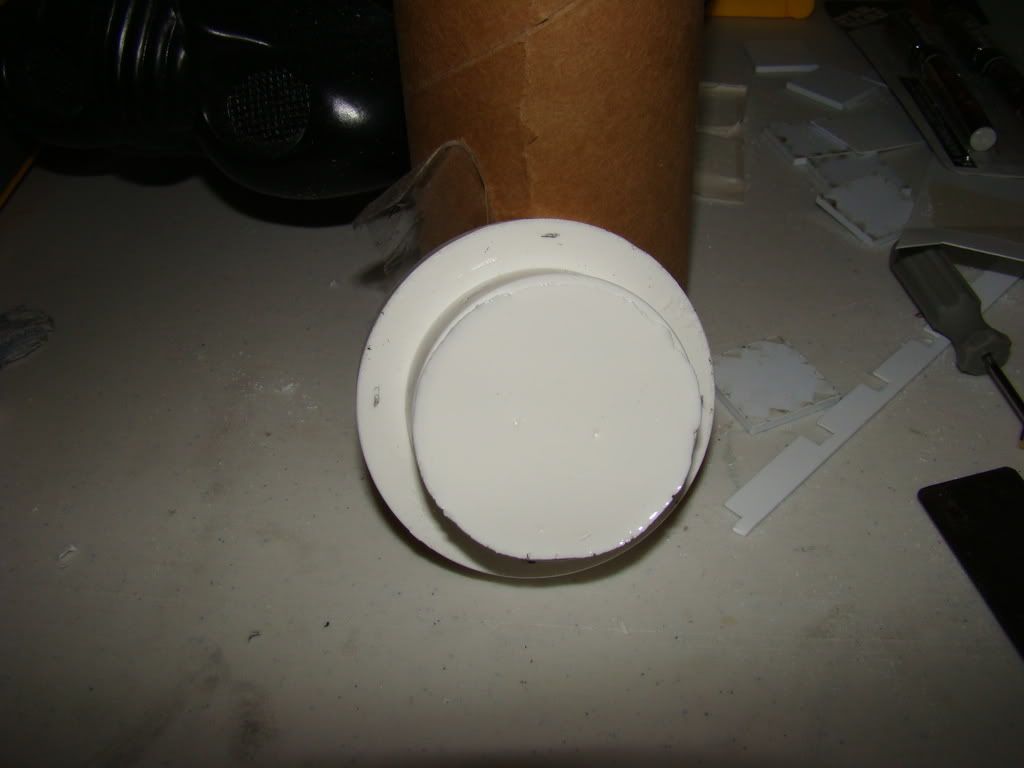
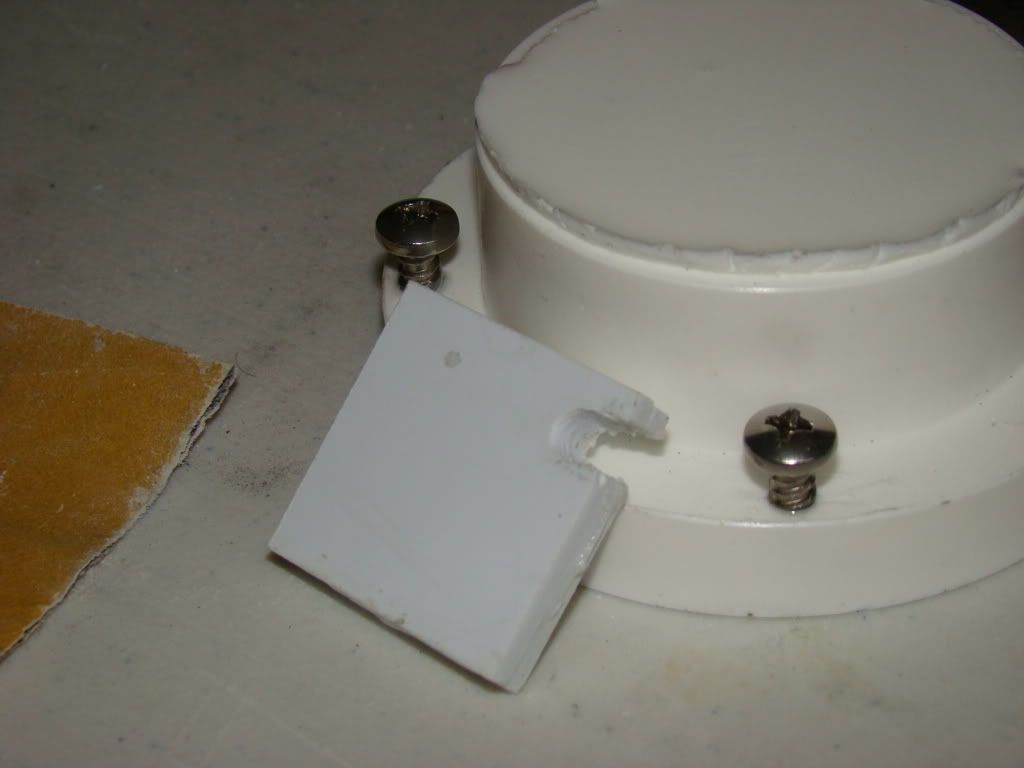
Today I was back to that problem, as was just about to ask for opinions on Astromech.net, and was measuring what I was working with, when I decided to just cut 1/8" off the screws, so that instead of 1/2" they are now 3/8" long. I screwed them in and tested, and they work fine when putting them in. Taking them out is another story, since they tend to turn too far and get stuck, but that'll be another project. Next I made myself a template for how far in the screws should be, using 2 pieces of 1/8" scrap glued together and a channel drilled into the plasic like so:


Then a few drops of CA in the hole, screwed the screw in a few turns, used the template to make sure it's the right height, and Voila! The screws SHOULDN'T fall out any time soon.

In other news, Monday night I filled the seams on the outer feet. That took about 2 hours and close to 4oz of CA glue. Weds night I sanded one of the feet. That also took about 2 hours. Maybe today I'll sand the other foot and be done with that pain in the butt.

I've got a couple of cans of primer (Rustoleum light grey) and 1 can of aluminum (Rustoleum metallic finish) to try out on some of these things, just worried that my filling and sanding hasn't been up to par.

On Monday I ordered a set of Dan Baker's foot motor holder templates, and on Tuesday I called a local metal shop and got a price of $26 for a 24" x 24" .080 sheet of aluminum (which I have yet to go pick up). Since I had the templates shipped to the office and I'm going out of town Sunday til Thursday, it'll be next weekend before I have the templates in hand.

Also the charger for my Remote will show up next week, as will the Scorpion XL for my foot motors. Can't wait to try putting that stuff together. I've already put the dome motor harware together and it works :D Now if only the 300mm domes hadn't been delayed by 3 months, I could show you R2's head turning...