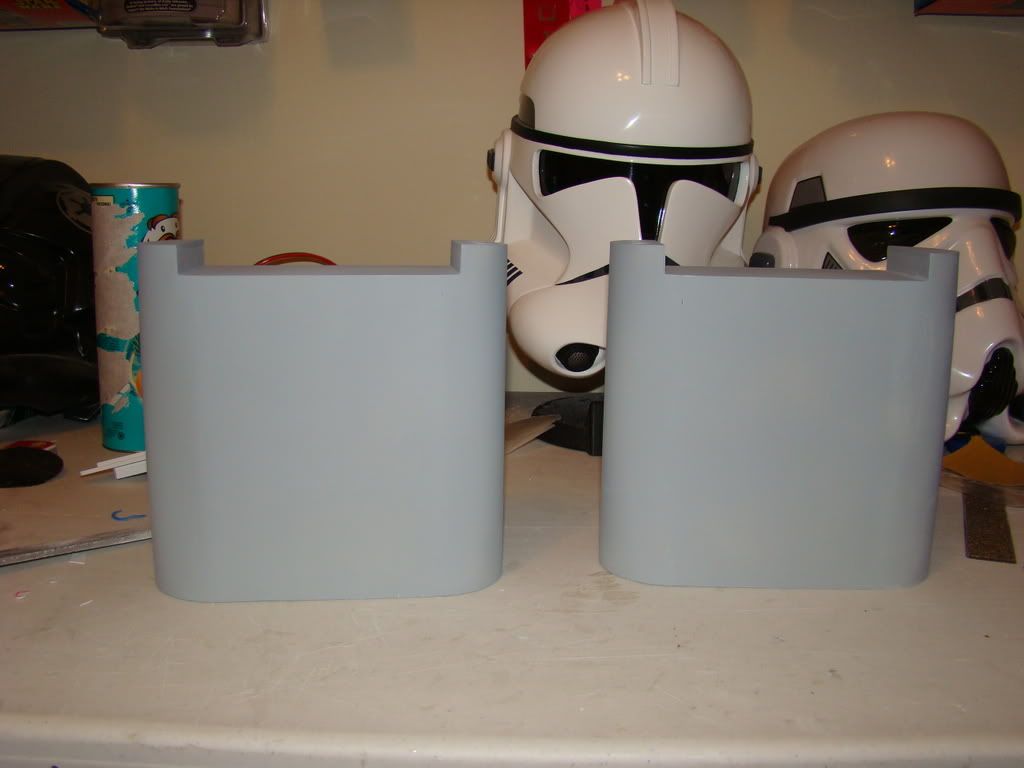
Start off with some shots of the painted battery boxes:

And then the BIG NEWS!
I got the motor holder templates in from Dan Baker finally. FedEx lost them for a couple of weeks. I picked up 2 square feet of .080 sheet aluminum at a local supply shop. I took the templates to FedEx Office (Formerly known as Kinko's) to get the application tape put on. That's the top part that you use to keep the templates lined up when you peel them off the paper.
I took it all to my youngest brother's house. He's a cabinetmaker and has a bandsaw. I couldn't see buying one just to cut this out.
It took about an hour to rough cut them with a jigsaw, fine cut them with the bandsaw and smooth the edges with a file.
On my way home I stopped and picked up a metal brake from Harbor Freight. It's really not great, but it gets the job done.
Used my drill press to drill all the holes. I also took a trip to Lowe's where I spent two and a half hours picking out the hardware. By the way, the screws that thread into the motor are 10-32. I used a 2 3/4" holesaw for the big motor hole. It's possible a 2 5/8" holesaw might have done the job, but I didn't want to waste 12$ on one that was too small.
The hardware list is as follows:
8x 1/4-20 3 1/2" bolts, nuts, washers and lock washers
2x 5/16-20 3 1/2" bolts, nuts, washers and lock washers
6x 10-32 1 1/2" bolts
For spacers, you'll have to be on your own. I used the nylon spacers in 1" sizes since I couldn't find aluminum ones like I had seen.
Here's finished pics:
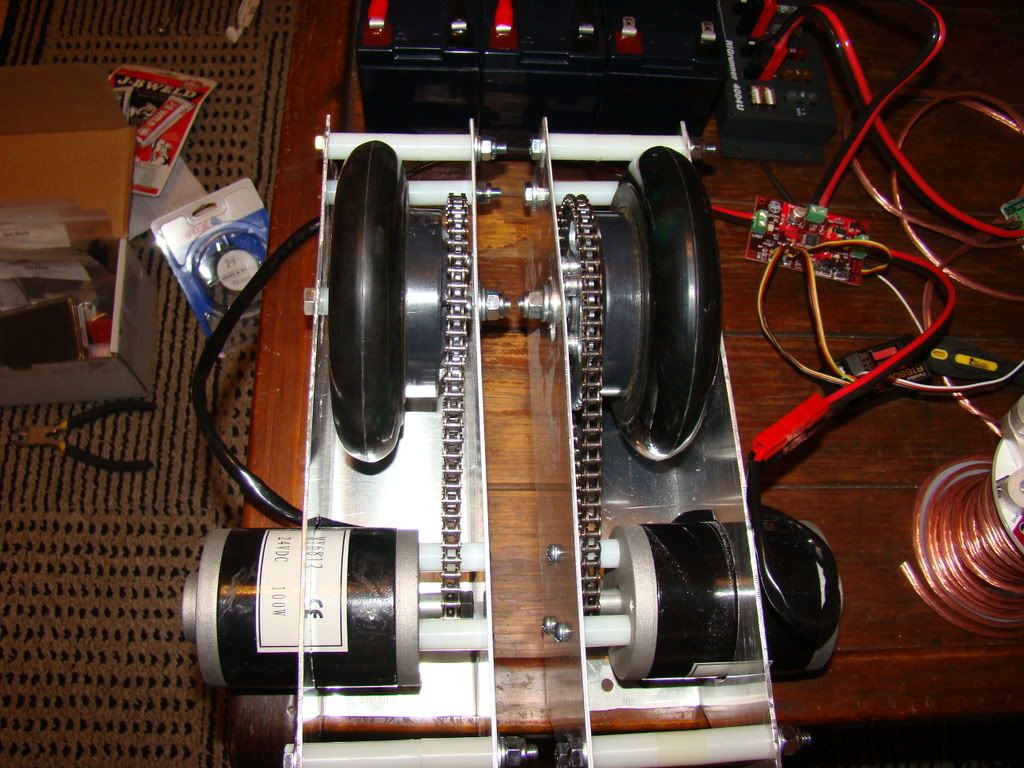
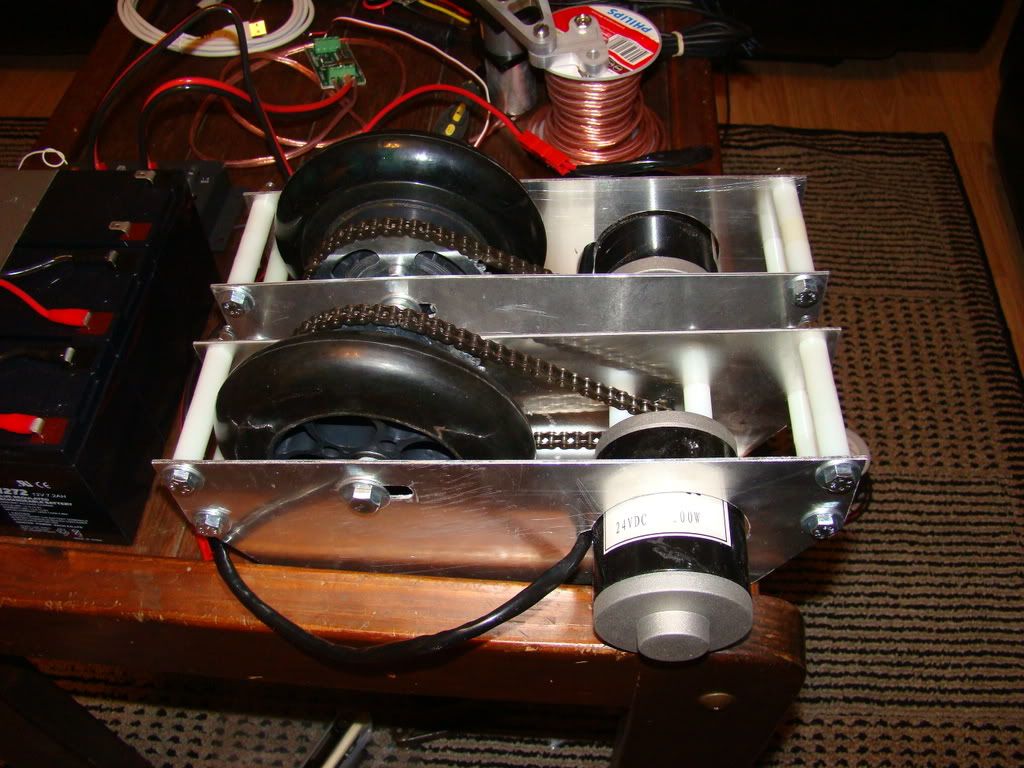

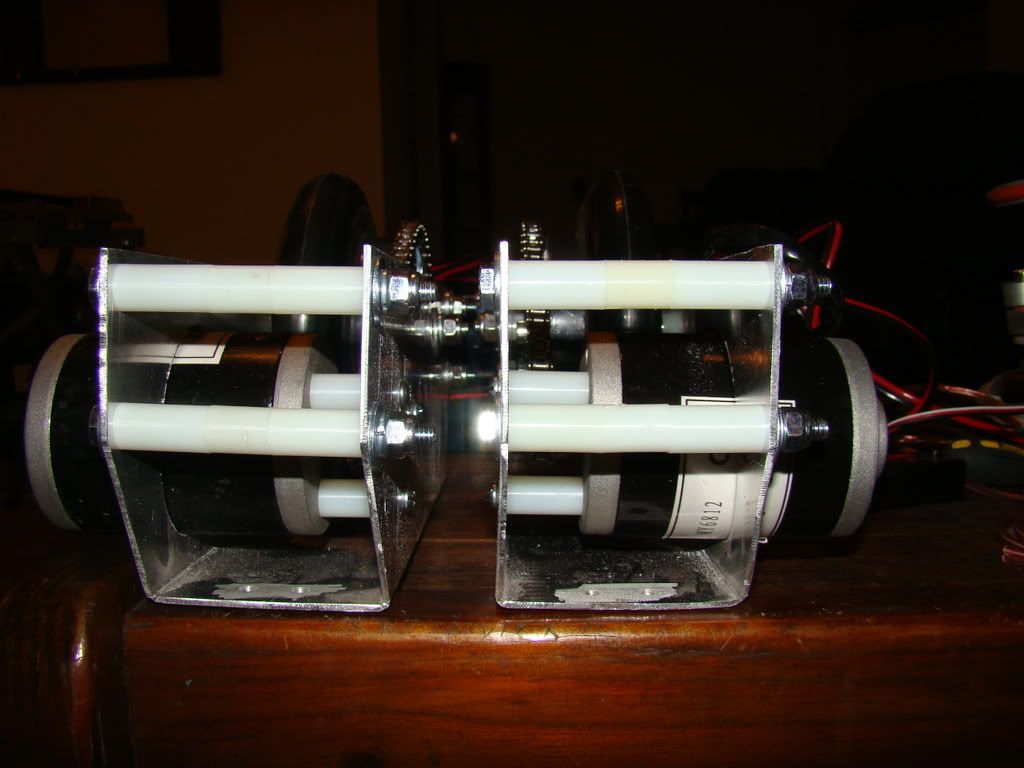

In the first pic you can see that the wheel isn't exactly lined up with the motor. I've got to come up with something a little different to get it spaced right. Suffice to say it's been a busy week.
There's been other stuff, like another coat of primer on the legs, and then cutting the detail line around the legs, painting other stuff, etc. That's not as flashy though, so no pics
No comments:
Post a Comment