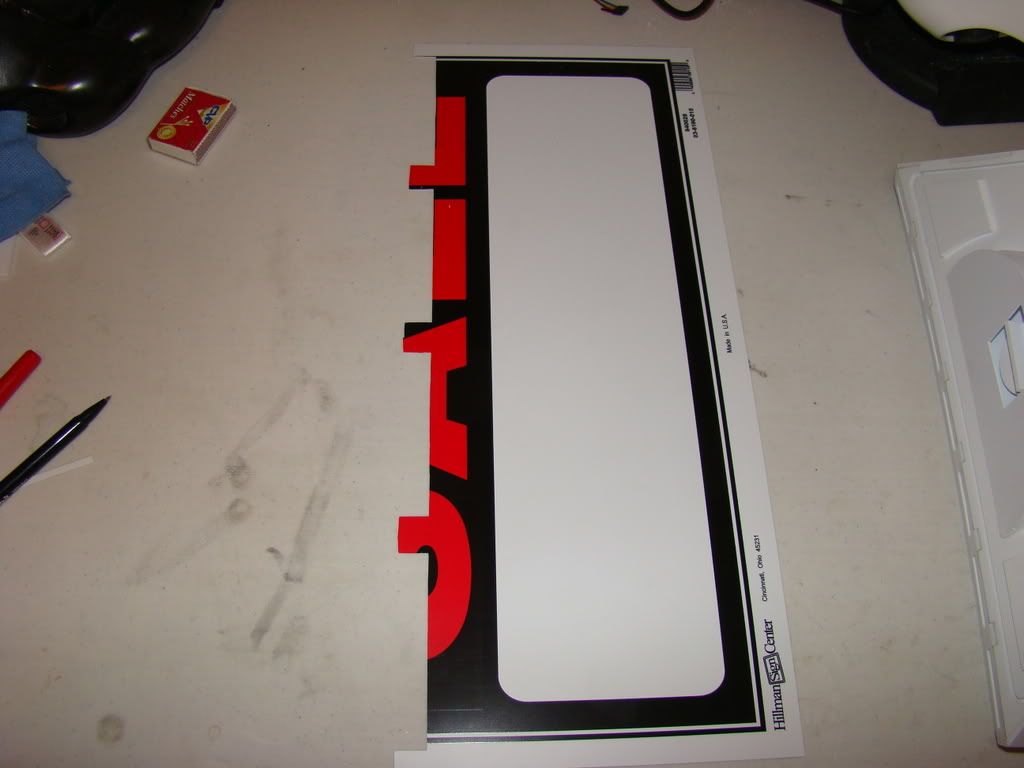
First, I built my A&A battery boxes. All the parts are stock except the curved tops and bottoms. I spent a couple of months puzzling that out, and had all but decided to use 2 layers of 2 liter soda bottle plastic, since it was something I had readily available, until I thought of the sintra "for sale" signs. I picked up a couple of large ones at the Depot, taped one of the A&A pieces on 2 sides and cut the other sides with a hobby knife. Here's what's left after:
Did a nice neat slow job and they came out very nicely.
As Alex mentioned in his tutorial at Picture #63, my sides weren't quite square, so I had some very small gaps to fill with slivers of the sign.
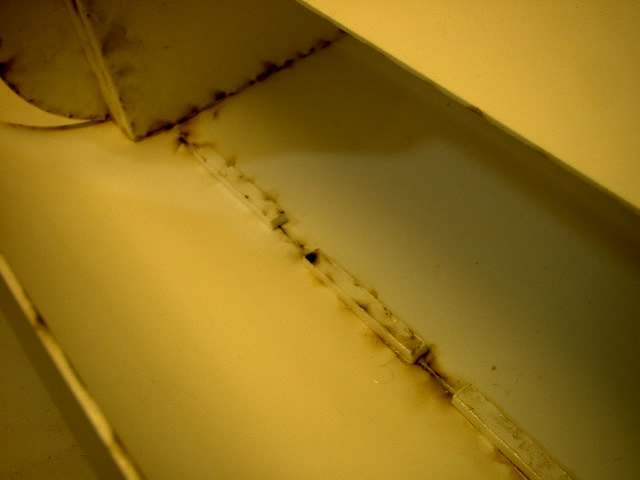
My only addition to his work would be, instead of this Pic #68, cut a piece that fits all the way across instead of the little bits shown. I used longer pieces than he did, but they didn't reach the ends. I had some spots that were too thin, and I went all the way through when I sanded the CA glue off. Those you can see in the pictures that follow were marked with red arrows so I'd know where to add more CA glue. Luckily the worst spots I'm able to hide using the foot shells. Here's the pics:
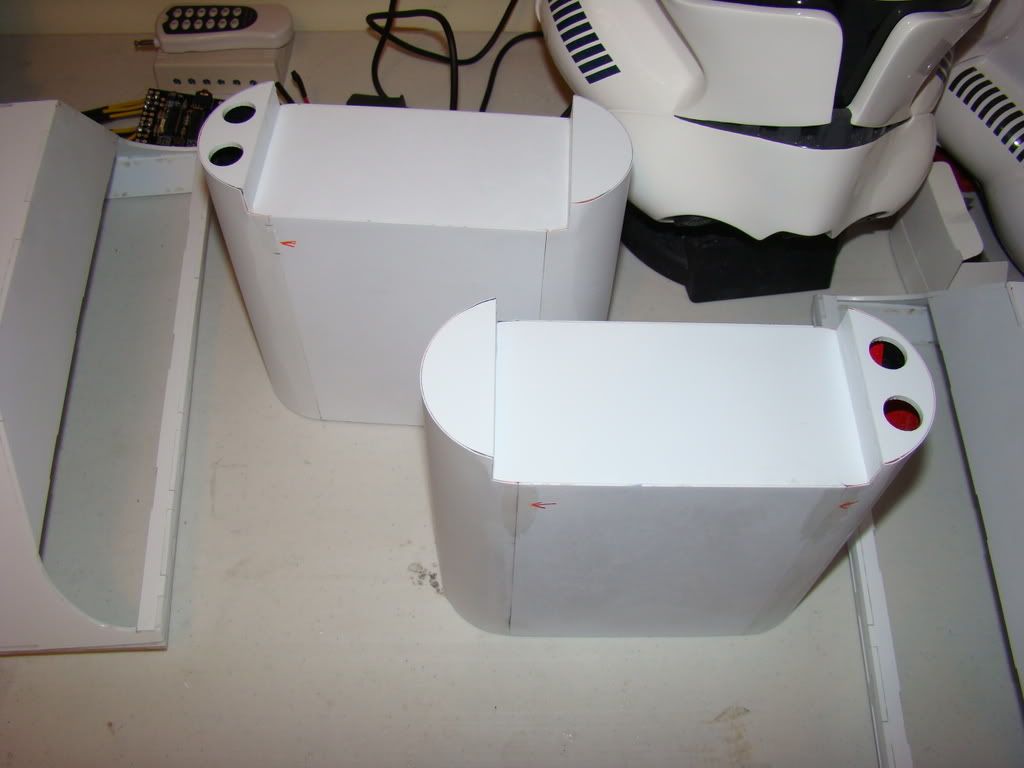
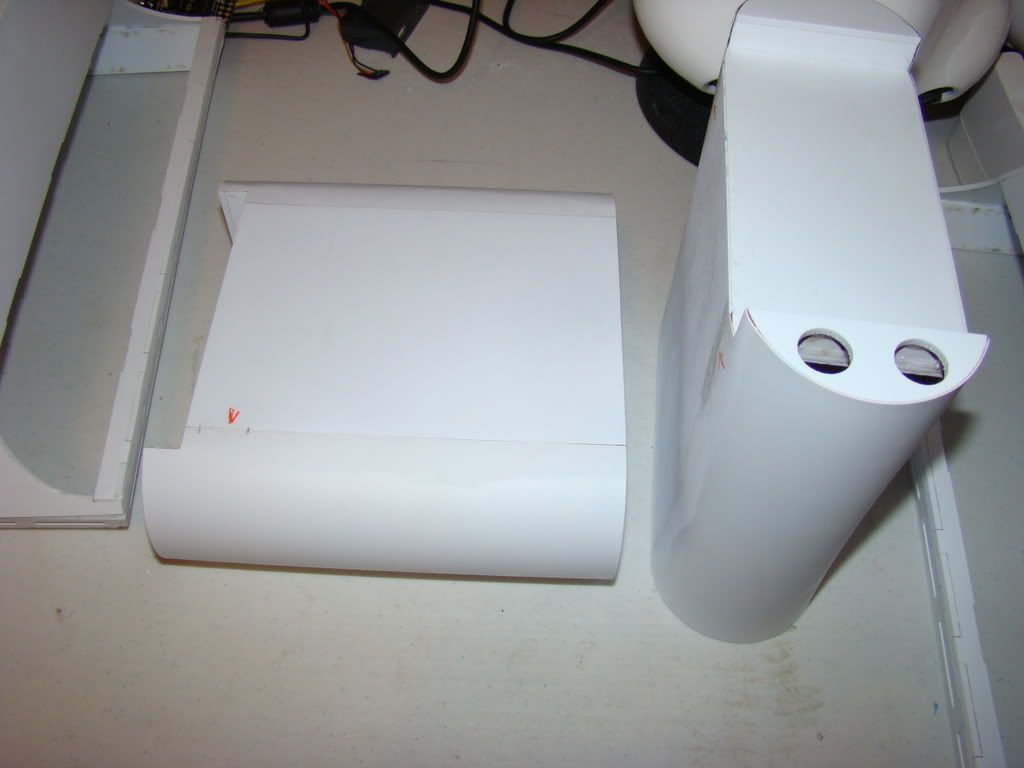
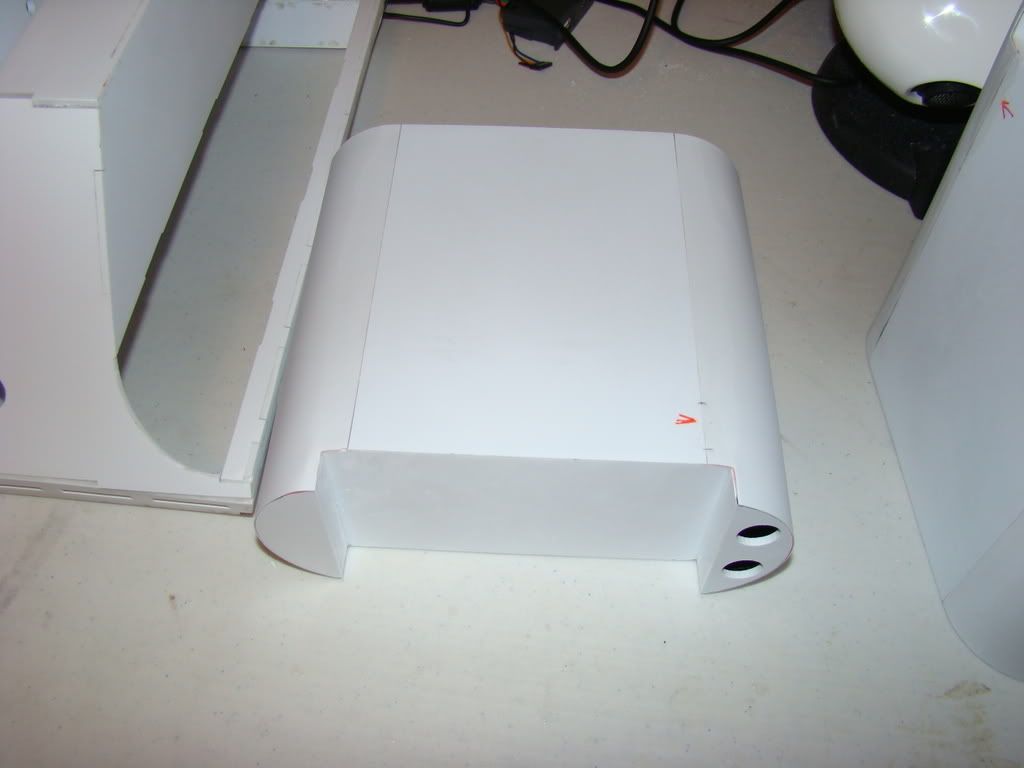

The gaps are all filled in these pics, but you can't tell. Primer will highlight any voids I'm sure...
I did some fill work on the legs using wood putty that I had from my BFG build. It was pretty dry, but I think it worked. I haven't sanded it yet, but it'll be a lot easier than if I had used more CA glue. I'll be using wood putty on the footshells too I think, once the outer ones are shot primered and i can see where all 3 need work. Here's a shot of the legs with the putty:

Also got Artoo's voice mostly done. I ordered the PICAXE16 and it's project board, as well as the VMusic2. Everything is in, and all but the RC part is connected. Only thing I'm missing is the programming cable for the chip. I misread and thought I'd be able to use a mini-USB cable, like I use on my RAZR. The programming cable cost more than the chip and the board combined. The serial cable was far less, but since I might want to change something via my laptop, which was made this century, I needed USB :) Here's pics of my ugly soldering job. I know, the wires should have gone through the top, but I followed the tutorial like a good boy :)

The pic above include the 10K resistors you have to add to the PICAXE board to make it work.
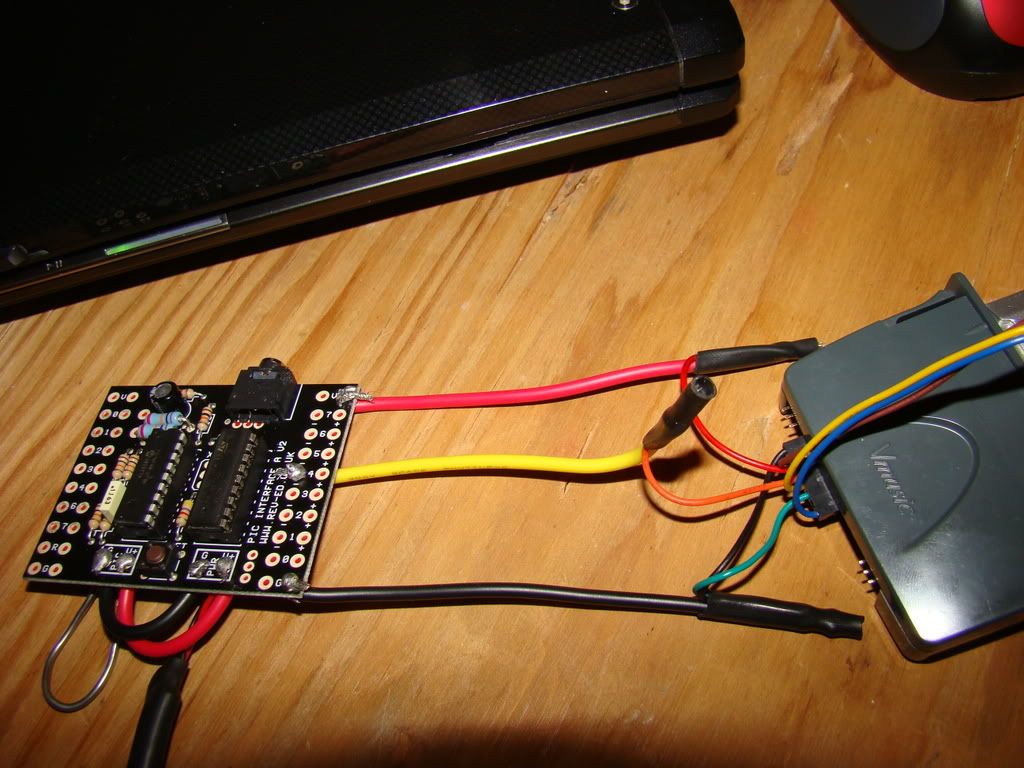
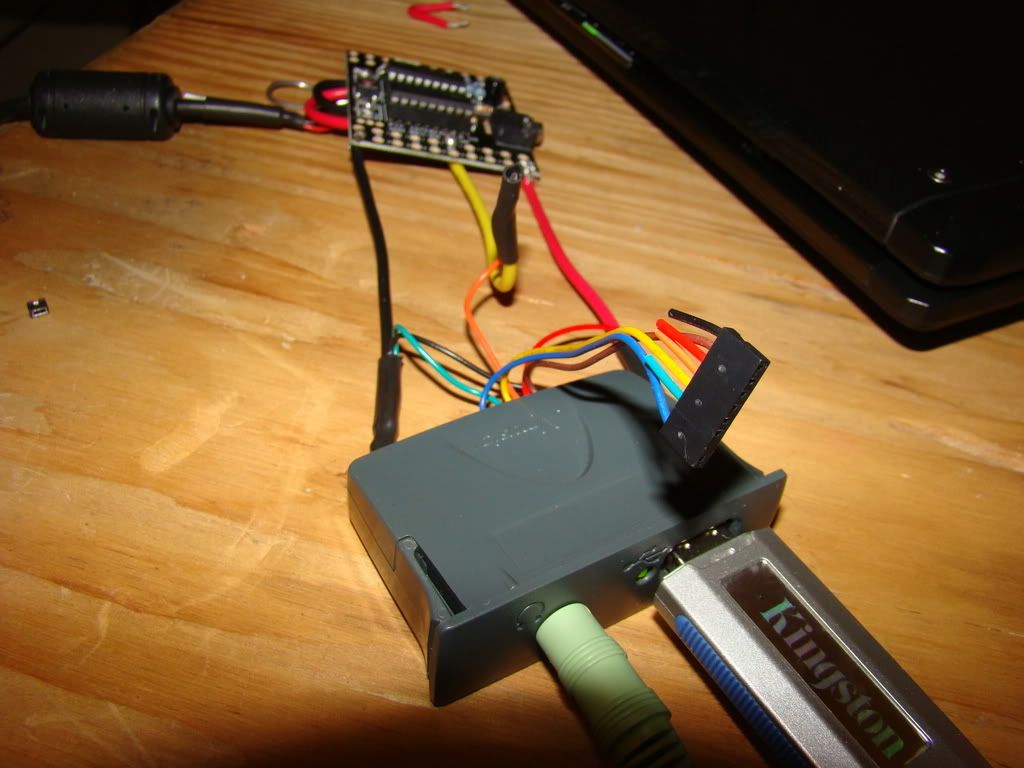
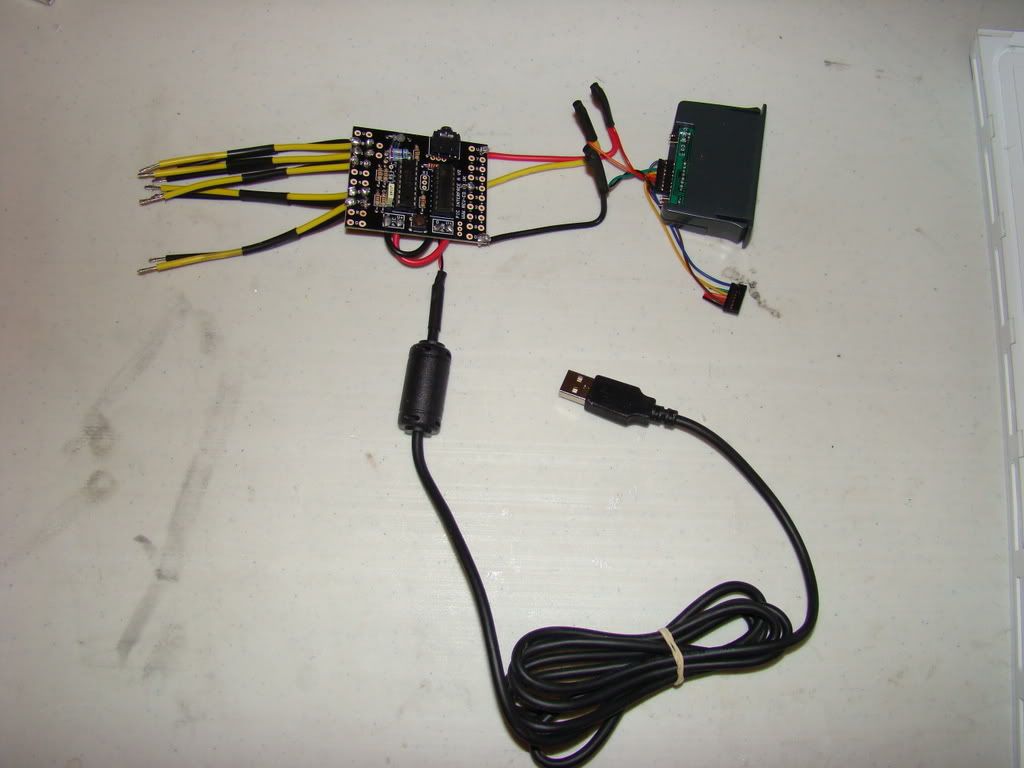
Also, I'll be using the 5V USB power connection provided by my RIGRunner, as you can see by the cable that's attached. Both the PICAXE and the VMusic are 5V, so that's awfully convenient. Even moreso is that standard USB cables have 4 wires, black, white, green and red. The black and red ones do exactly what you'd expect them to do, so life is easy.
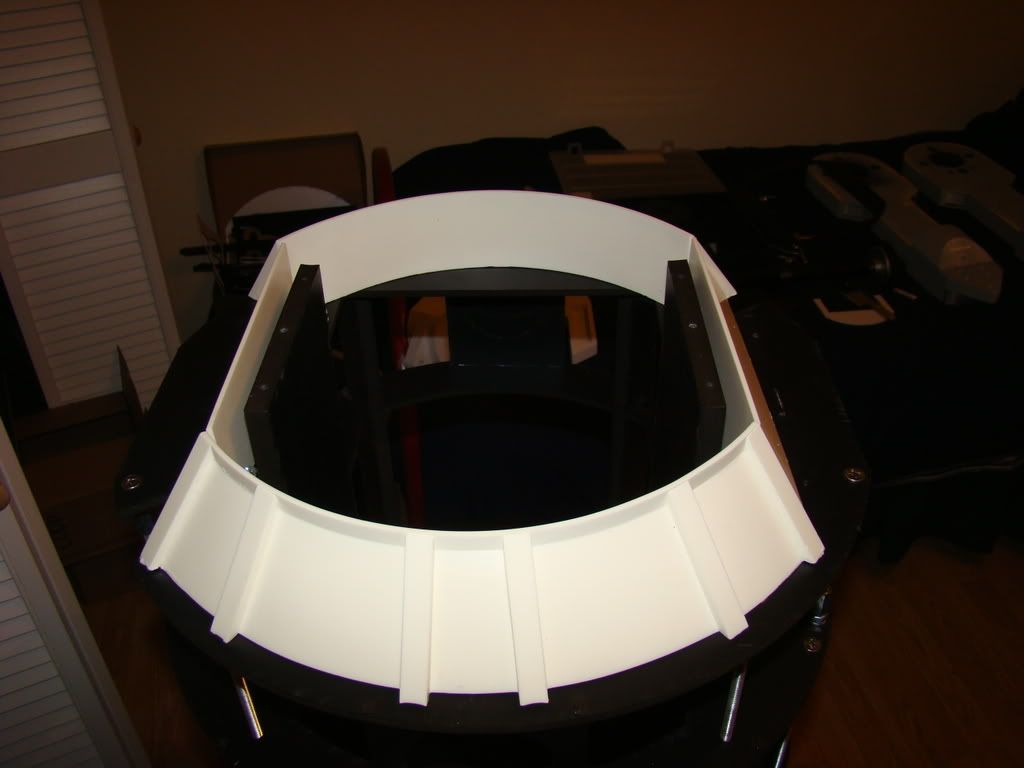
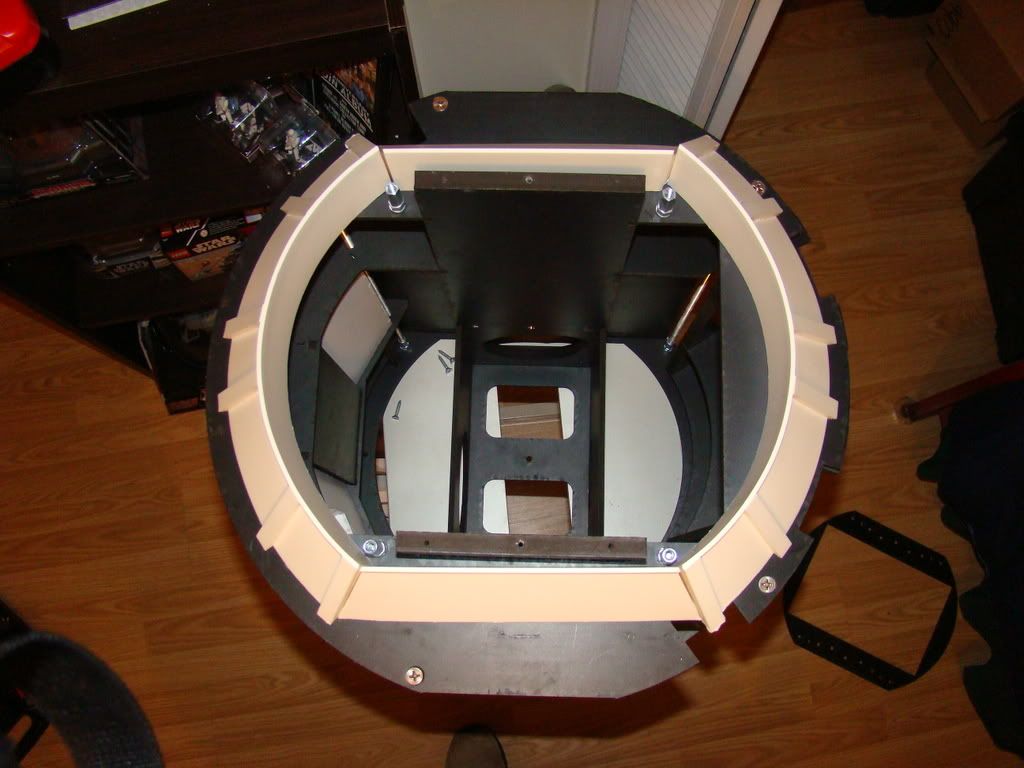
One last bit of goodness before I go...my resin skirt from MarcoXeno came in, and boy, it's a real work of art. I'll only need to do minimal sanding on the bottom inside edges of a couple of the pieces. I'll also (at Marco's recommendation) be screwing the pieces to the frame and not joining them together into one piece. I've also had to remove the bottom plate fro mthe frame, but I think that was mainly added if you were using the A&A skirt flatpack. I tried to assemble my A&A flatpack, but it was NOT working out for me at all. I probably did it wrong, but nothing lined up right.
Marco's skirt:
2 comments:
Your gonna want to keep that bottom ring or some sort of equilivant to help keep the main frame struts seperated.
Great work on all of the A&A stuff by the way! Love your leg connection mod!
Andy
Thanks for such an amazing blog.
IDEAL Stripper, Cutter, Connector
Locking Plug, Connector
Post a Comment