
There are no pictures missing according to the numbering scheme. Oh well.
What I did was remove the chain cogs from the wheels, and replaced them with these cogs from Amazon. I did have to drill them in order to mount them, but luckily I had the cogs as a pattern. I did have to buy longer bolts, but that was easy enough.
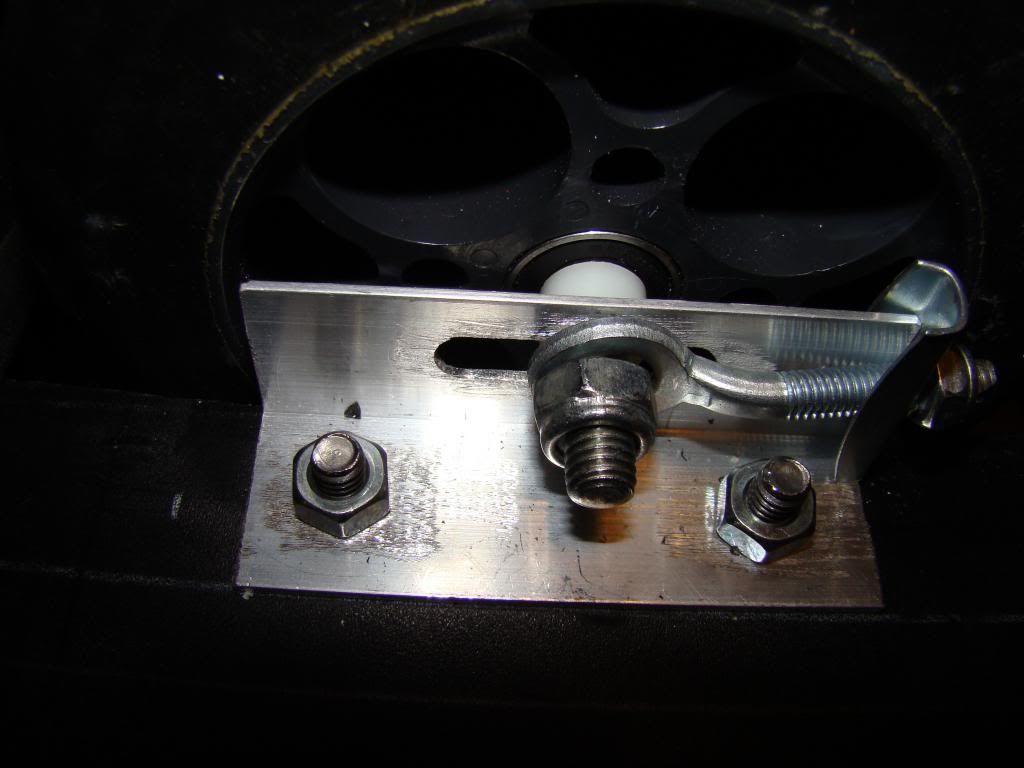
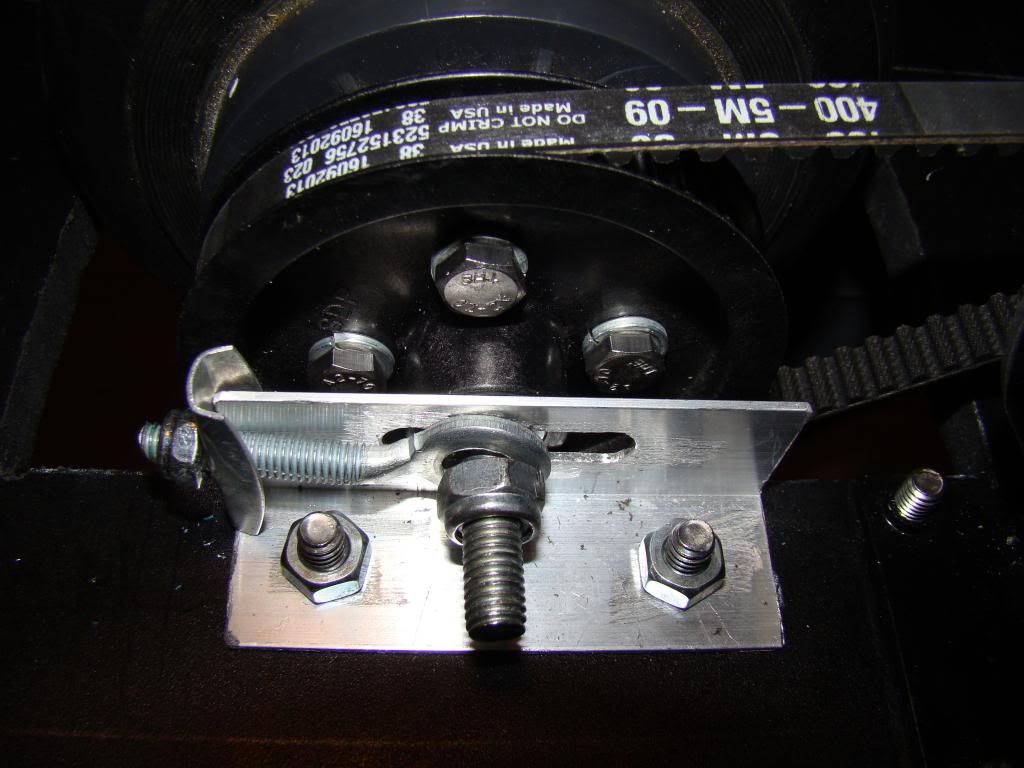
I also cut some aluminum angle, drilled mounting holes on one side, and adjustment slots on the other side. I used the axles that came with the wheels since they were pretty close to the correct length, and I even managed to use the adjustment washer-bolt thingies.
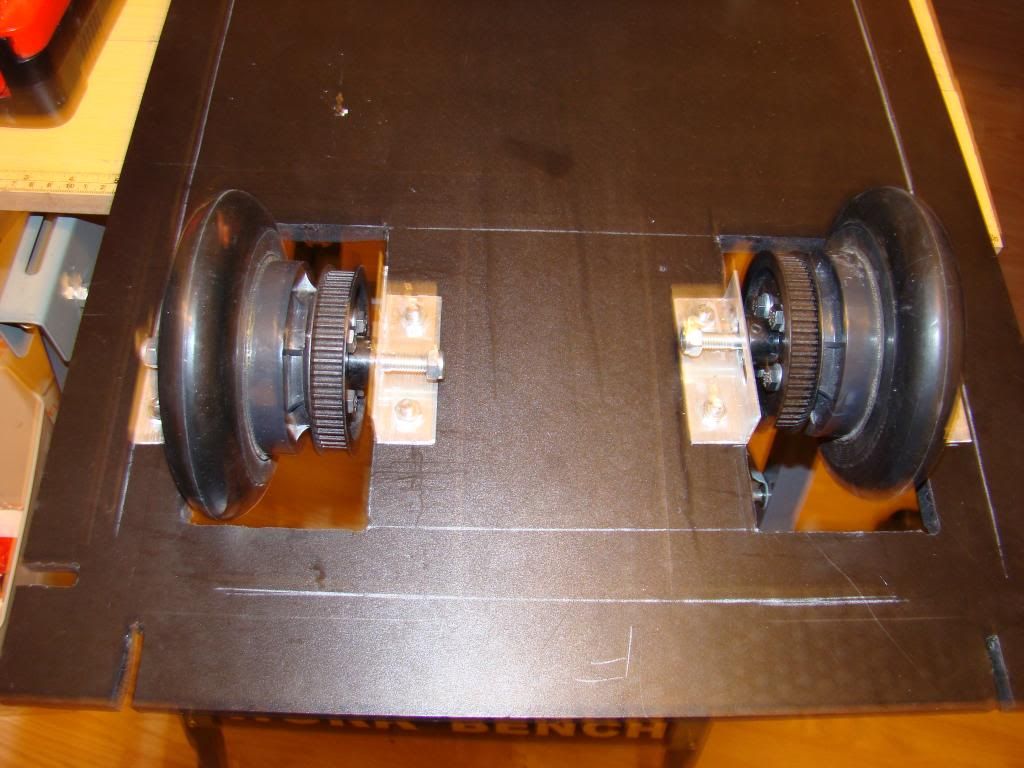
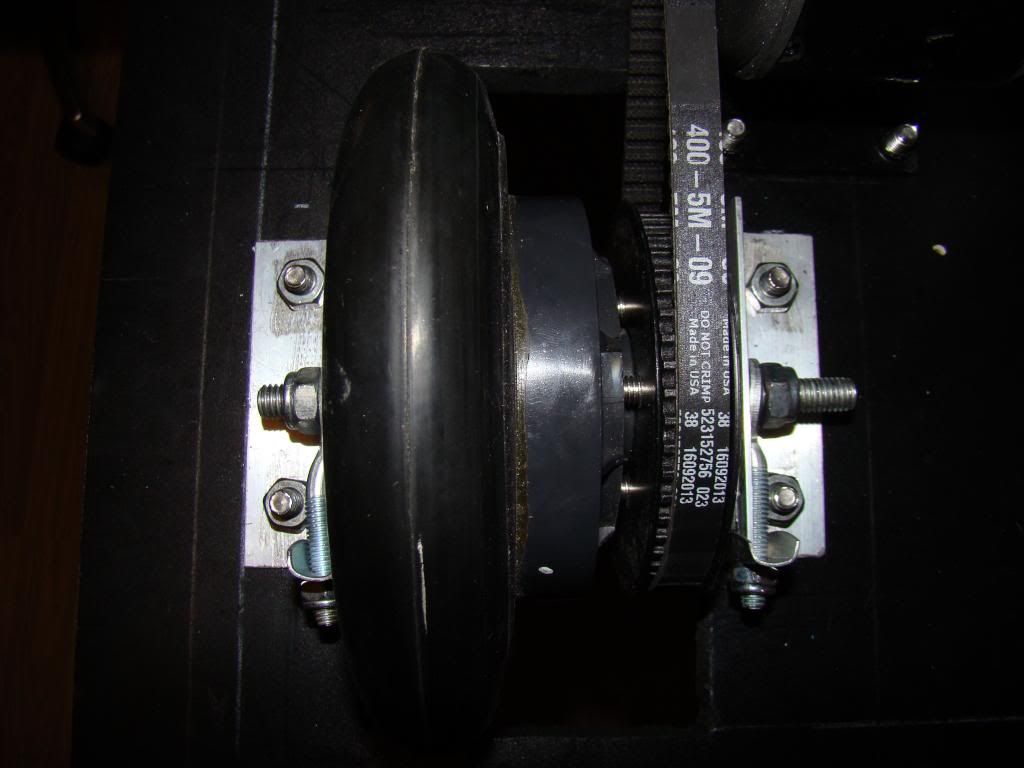
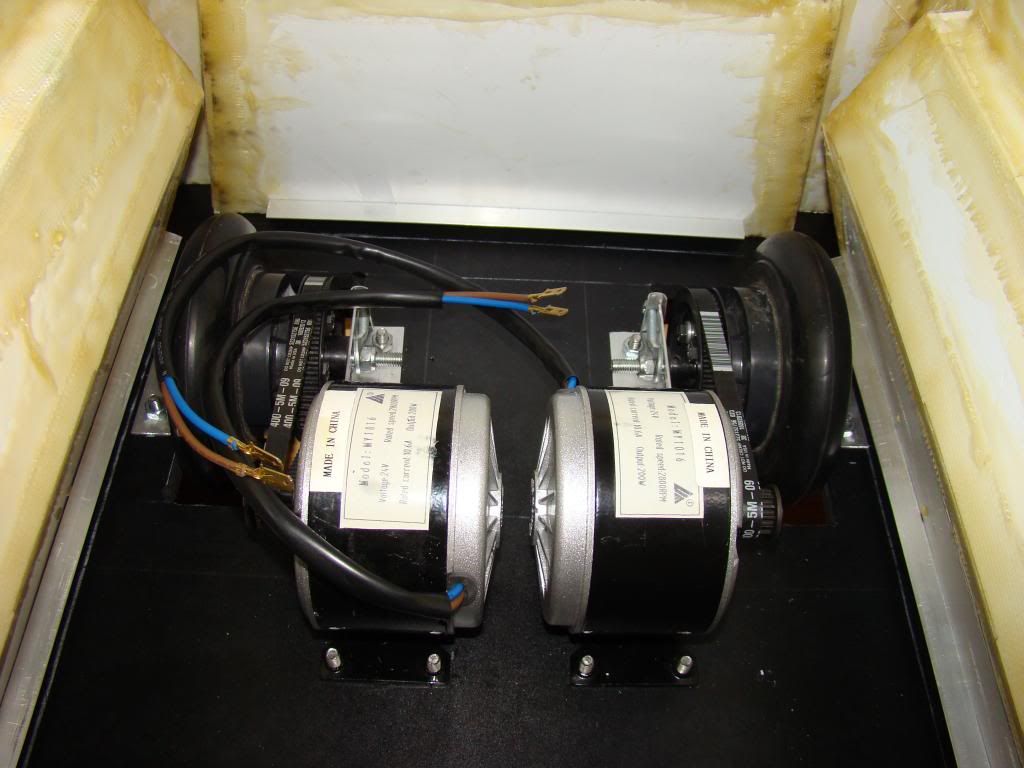
Here's the whole drive train assembled, and some close ups of the wheel assemblies:

Here's an inside shot of the base and the body assembled. Had enough clearance the first time around, didn't need any adjustments, can you imagine that??
Here's what it looks like from the underside:

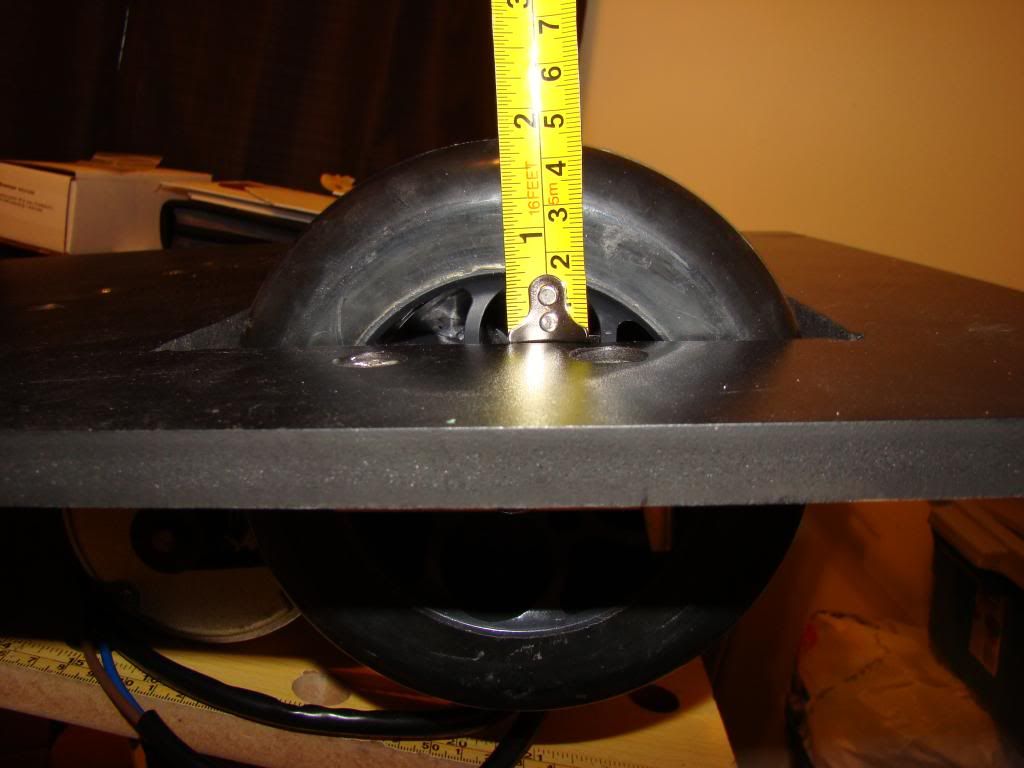
And a shot measuring the clearance, which SHOULD be plenty, since R2 only has about an inch between his footshells and the ground:
Next up: Electronics!
No comments:
Post a Comment