Thursday, July 12, 2012

De-Kridering dome panels :/

***I apoligize for the crappy formatting...it's Blogger's fault, not mine***
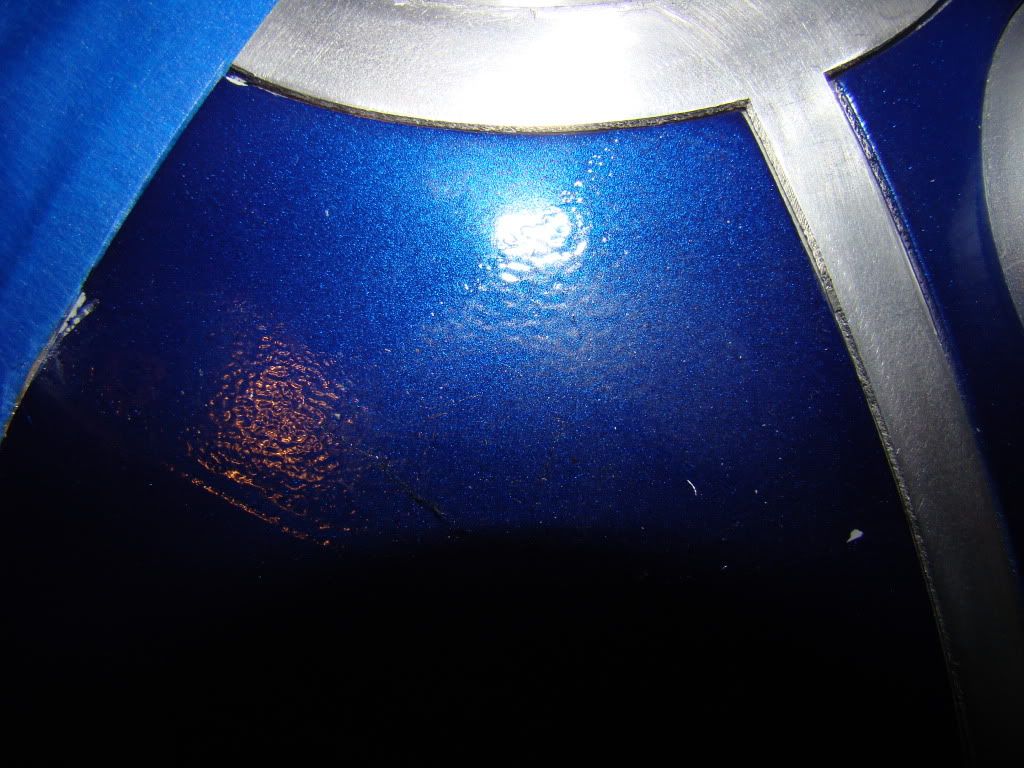
So, about a month ago I started doing my "DragonCon checkups" on R2. Some of you may recall the "Cleveland R2" wig I made for DCon last year. Leaving the wig on R2's dome for an extended period of time caused an ugly problem. There's apparently some sort of chemical that leaches out of the marine vinyl that I used as a base for the wig. It caused the clear enamel Rustoleum that is the top coat (or 3 top coats) to become thick and gummy.

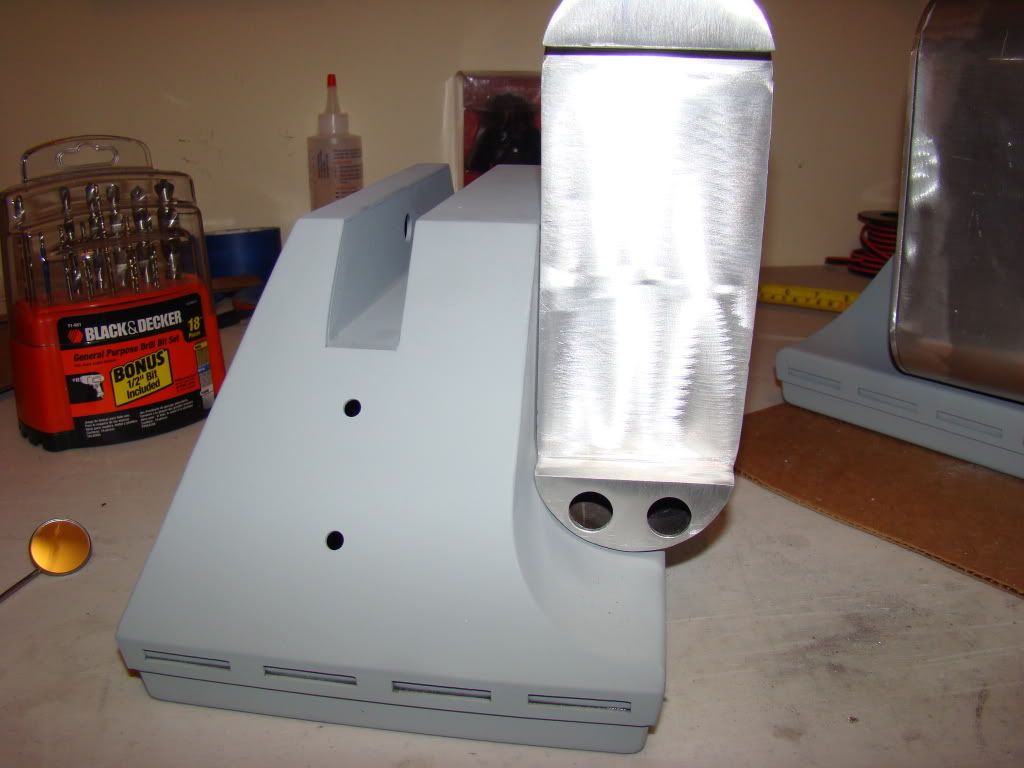
Here's a shot:
Photobucket

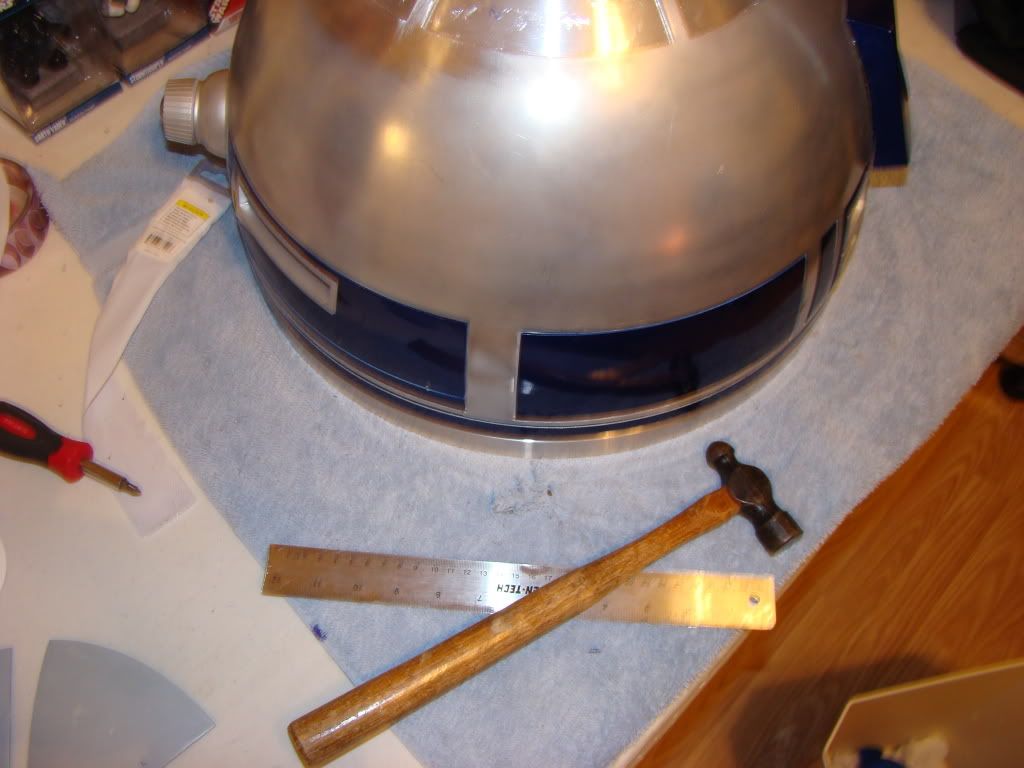
You can see it's kind of ugly. The panels were originally attached with silicone. I decided the safest way to remove the panels without major damage was to use one of the flexible thin steel rulers.
Photobucket

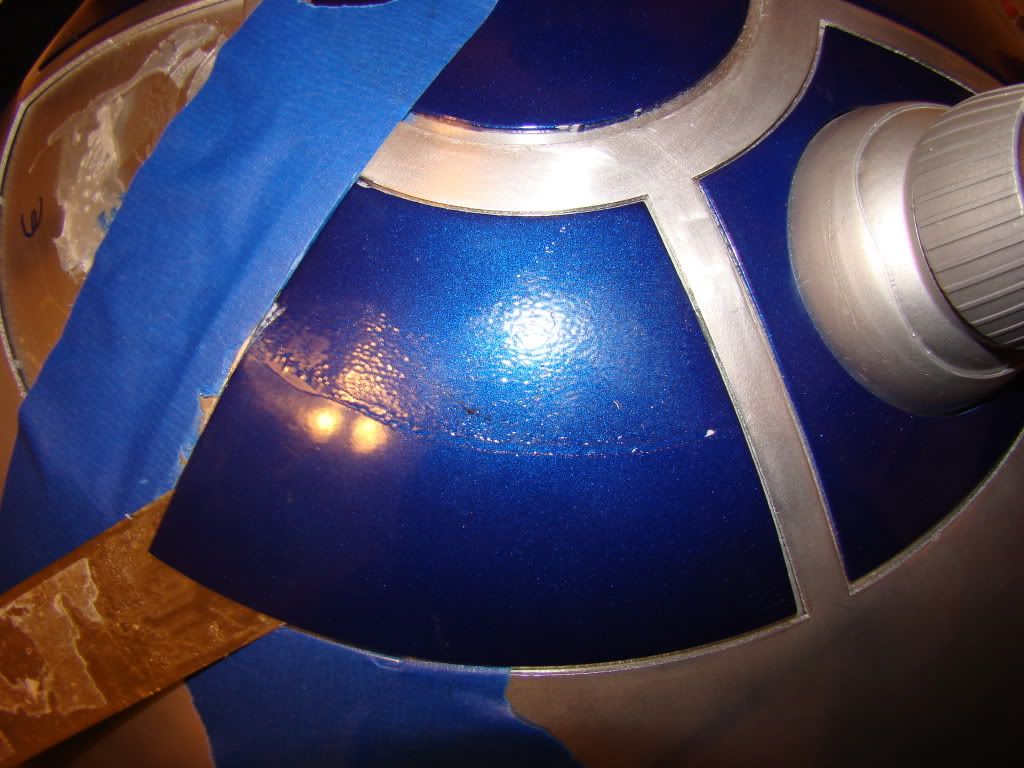
I think it was $2 at the good ol' Harbor Freight. After taping the dome to try to avoid extra damage, I pried up the bottom corner of the panel just enough to slip the ruler underneath. I then hammered the ruler through the silicone until the panel popped off.
Photobucket

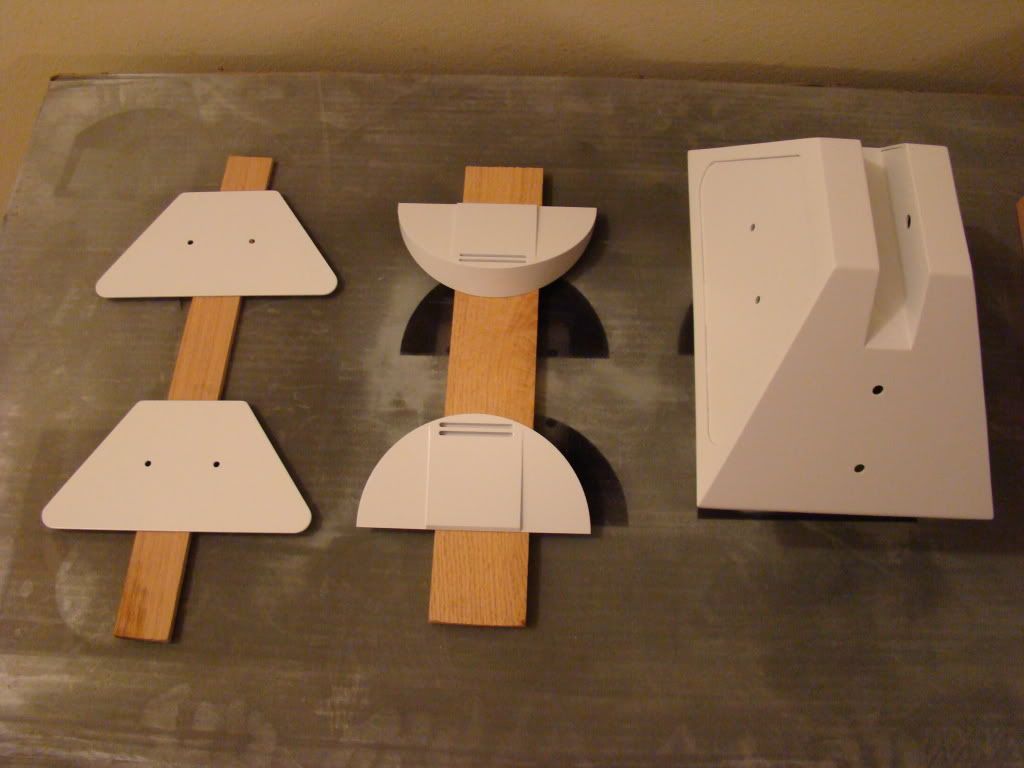
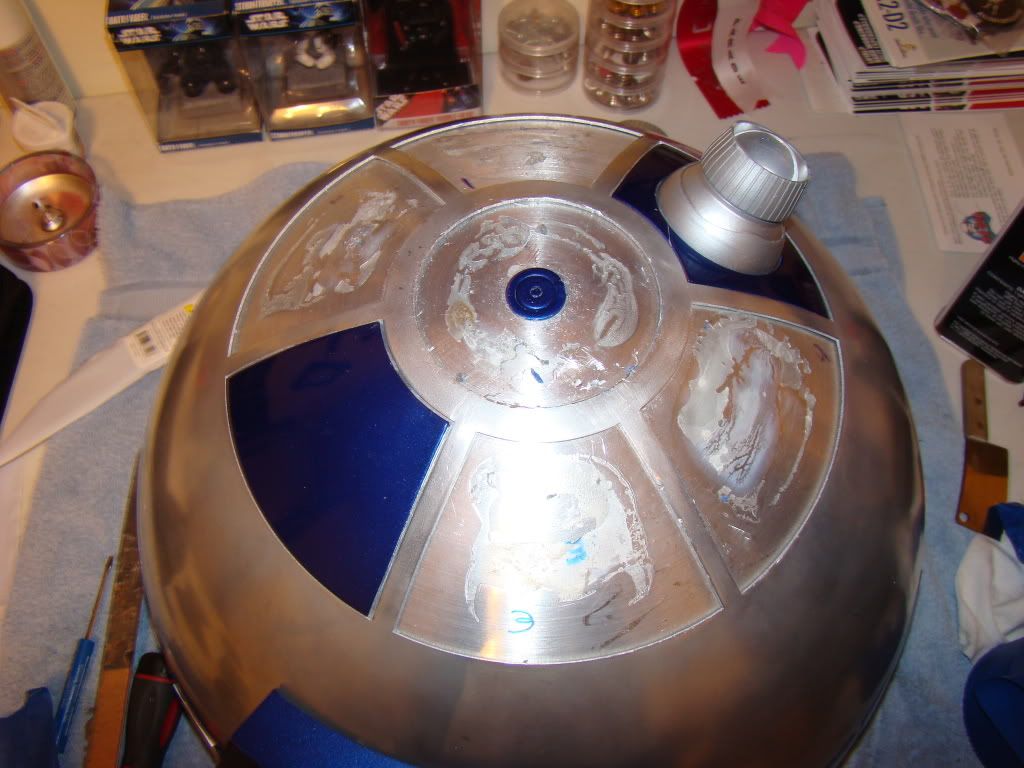
The panels were slightly warped from prying up the corners, but that was nothing that some tapping on the back of the panels while held in my hand couldn't fix. Next, I had to old silicone to deal with. I basically just "worried" it off with my thumbnail while watching TV to make the time pass. Here's a shot of what I had to work with:
  Photobucket

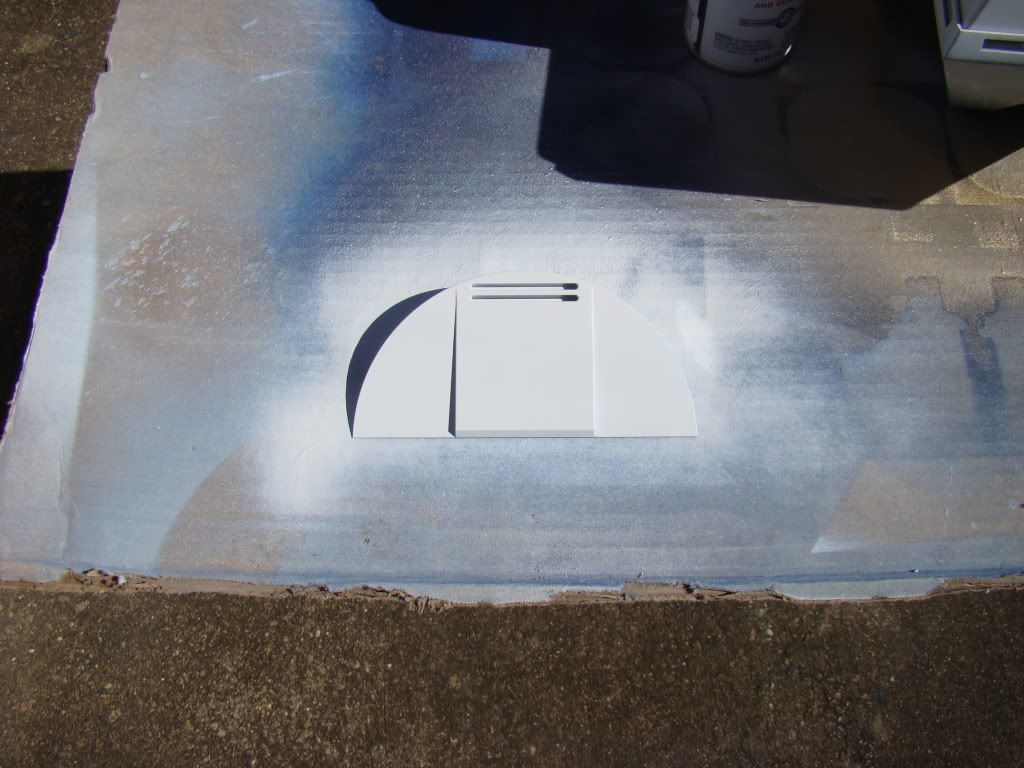
Next up, I posted on FB asking if any other builders had any experience removing the paint, but got no replies. Must have been a bad time of day to post. Anyway, I checked on Astromech.net, and only found one post about removing krider paint in the last 3 years. It suggested "acetone and a clean soft cloth". I gave that a shot, but the cloth didn't even really turn blue with "vigorous rubbing". That meant I wasn't even getting through the clearcoat, which granted, is probably 4 coats thick. My next plan was more daring. I stopped by the Neighborhood WalMart and picked up a $5 2-quart aluminum saucepan. Once I got home, I checked the kitchen cabinets to find I had an old saucepan already. Can you say "upgrade"?  Anyway, as a test I poured about a half an inch of acetone into the pan, then put the top middle "donut" shaped panel in to soak. After a couple of minutes, I found I was able to just rub the paint off of the piece. The strange thing was the Duplicolor Blue and it's reaction to the acetone. It really didn't dissolve like the clear and the metallic blue did. It remained stringy and gummy the whole time. I added about another 2 inches of acetone to the pot, and proceeded to clean the remaining pieces. As soon as I started working on the first piece, the acetone turned the prettiest metallic blue color you've ever seen. When a new piece was added it would begin swirling around in the pan all by itself.
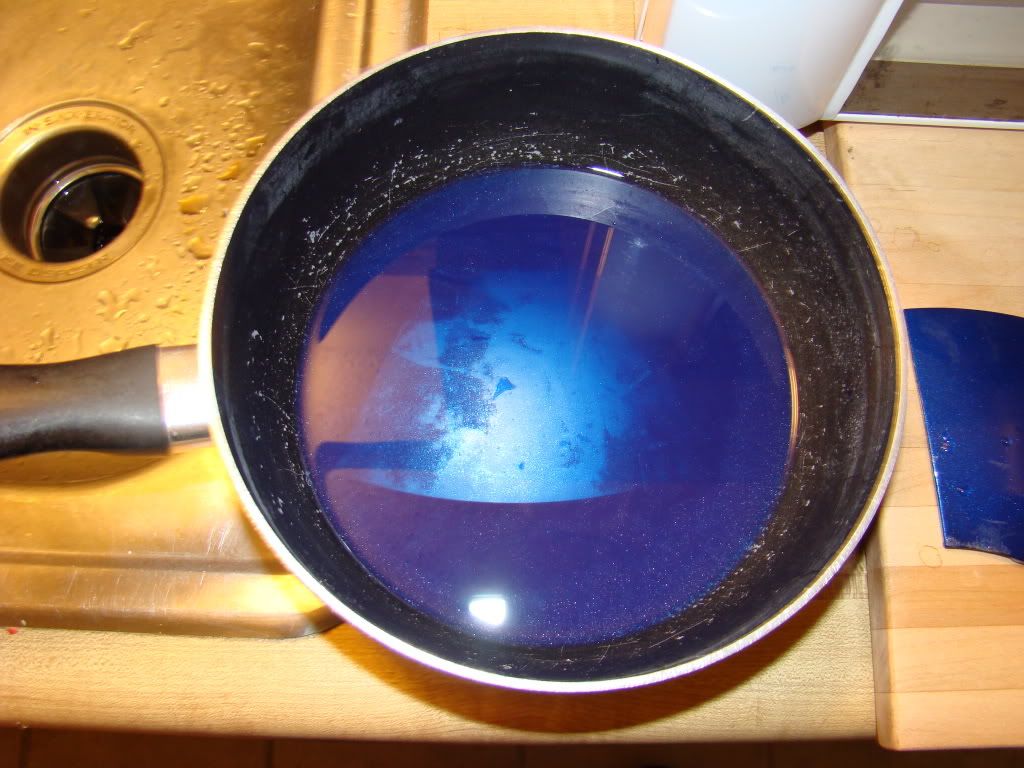
Photobucket

Anyway, after each piece had been cleaned, I rinsed that piece in cold water and set it aside. Once all the pieces had been cleaned, I then disposed of the old acetone and poured an inch of fresh acetone into the pan. I then gave each piece another bath, to remove anything the previous bath didn't get, then another bath, this time in warm water with dishwashing soap (Would've been Dawn, but the store was out last time I bought dish soap, so it was actually Gain) and a light scrub with a scrubbing sponge.

I think the oddest things of all are that the acetone didn't remove what was left of the teflon in the old pan, and that the acetone ALSO didn't remove the primer from the panels. I believe if I'd had something to scrub the panels with in the 2nd acetone bath, it might have come off.
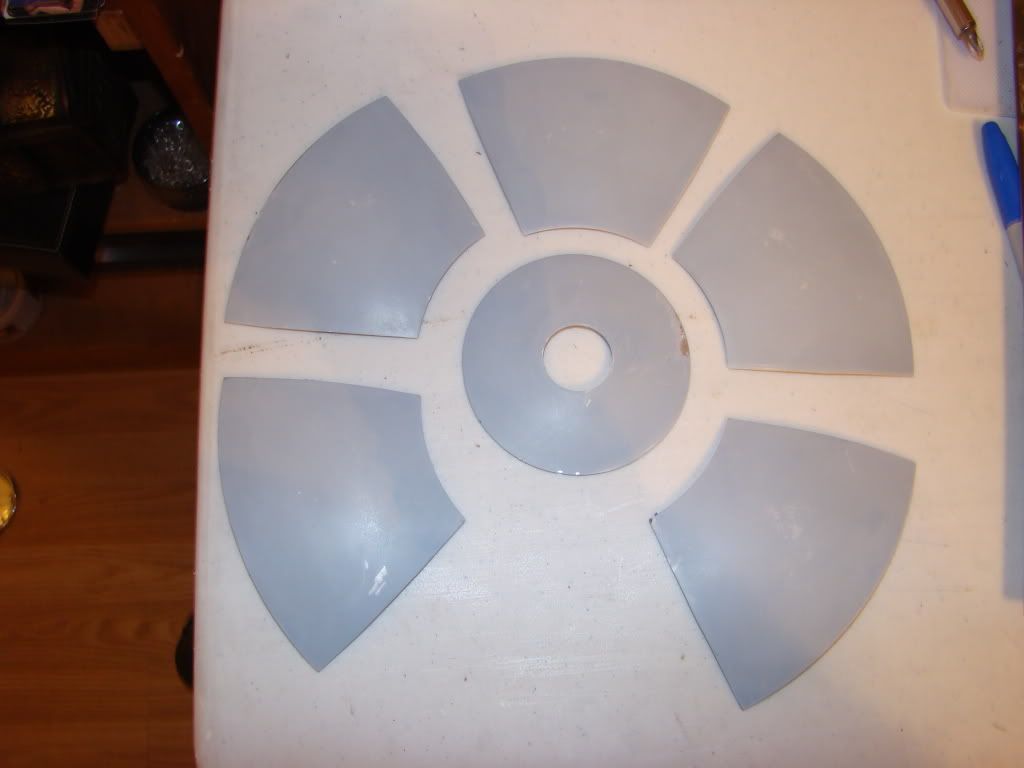
Photobucket

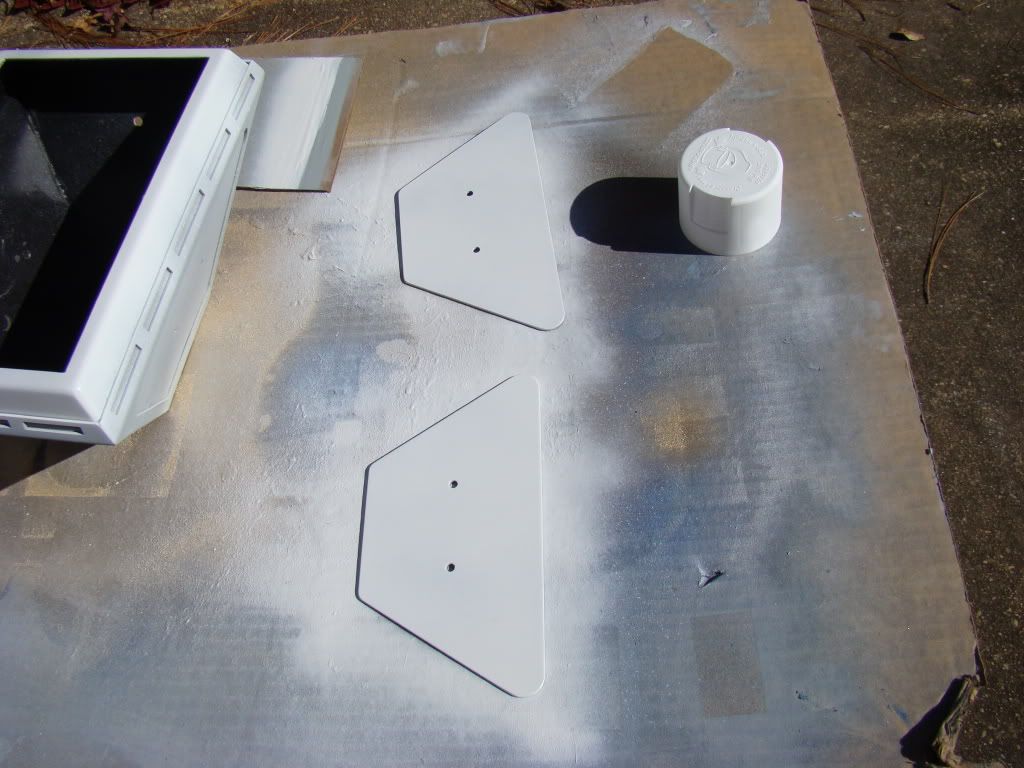
The spots where the primer did come off were places where the panels had been scratched or chipped, and so the acetone was able to get into the primer better. Or at least that's the theory i'm gonna go with. Next step will be to let the panels sit overnight and completely dry. I toweled them dry, but I'm being lazy at this point. Tomorrow I'll sand them lightly then apply another coat of primer, which will cure tomorrow night. MAYBE it won't rain on Saturday, and I'll get to repaint...
Sunday, March 4, 2012

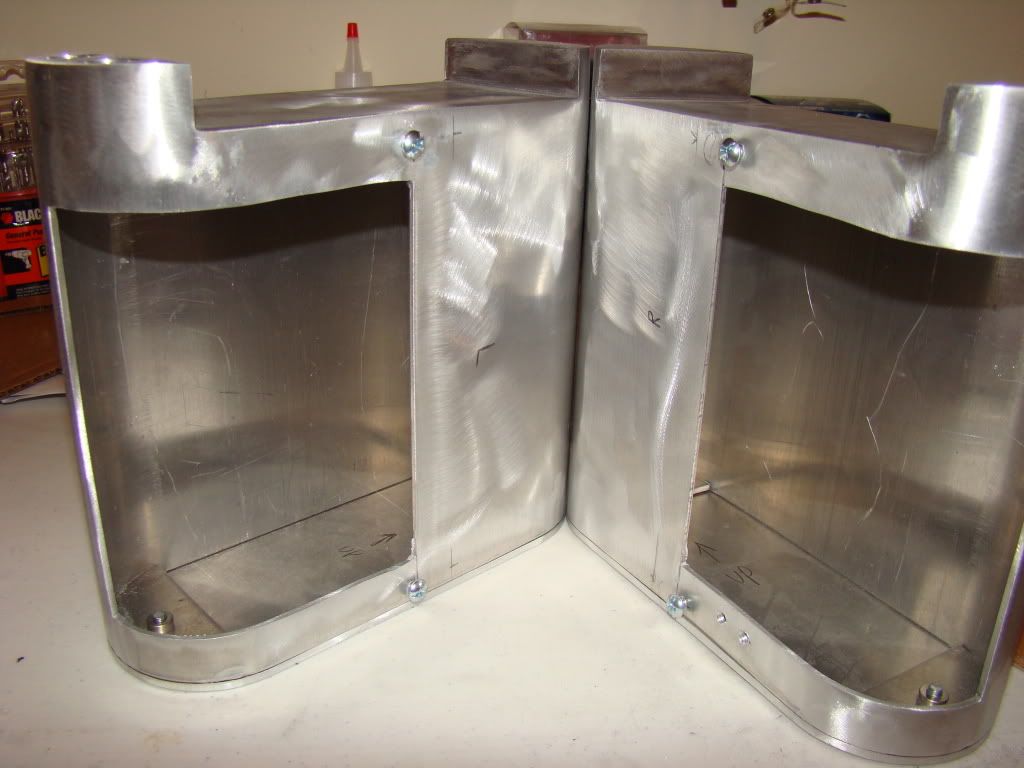
Battery boxes

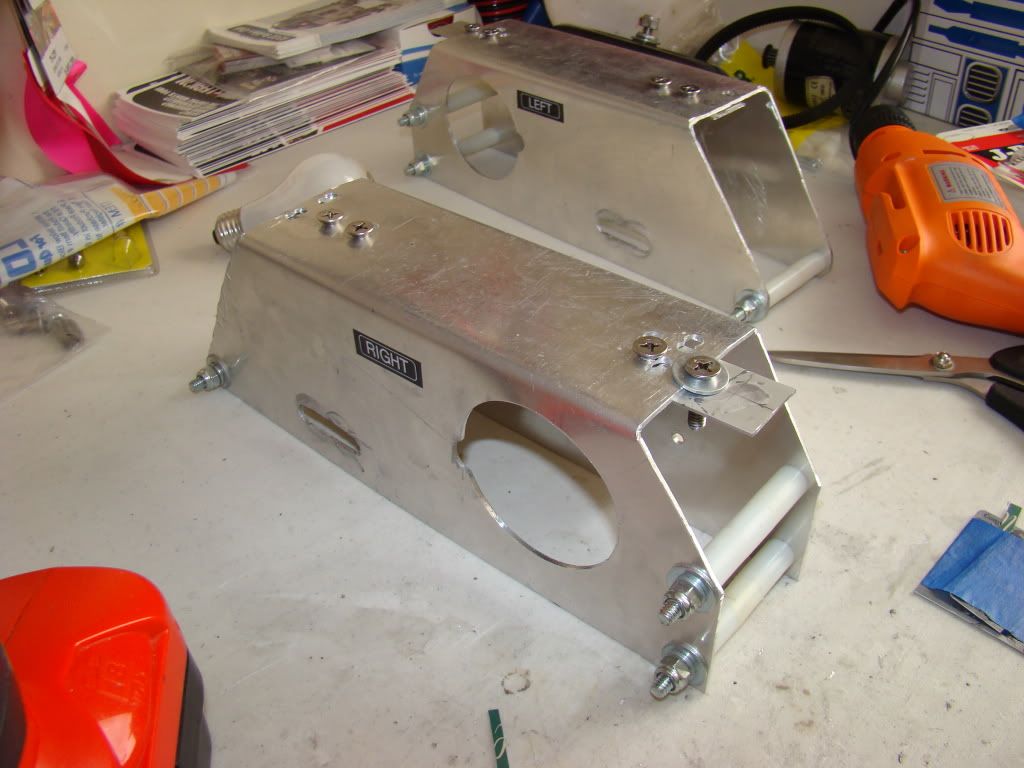
I've said it before, I REALLY hate painting all these pretty aluminum parts... maybe next time I'll build an all ALU droid.
Photobucket

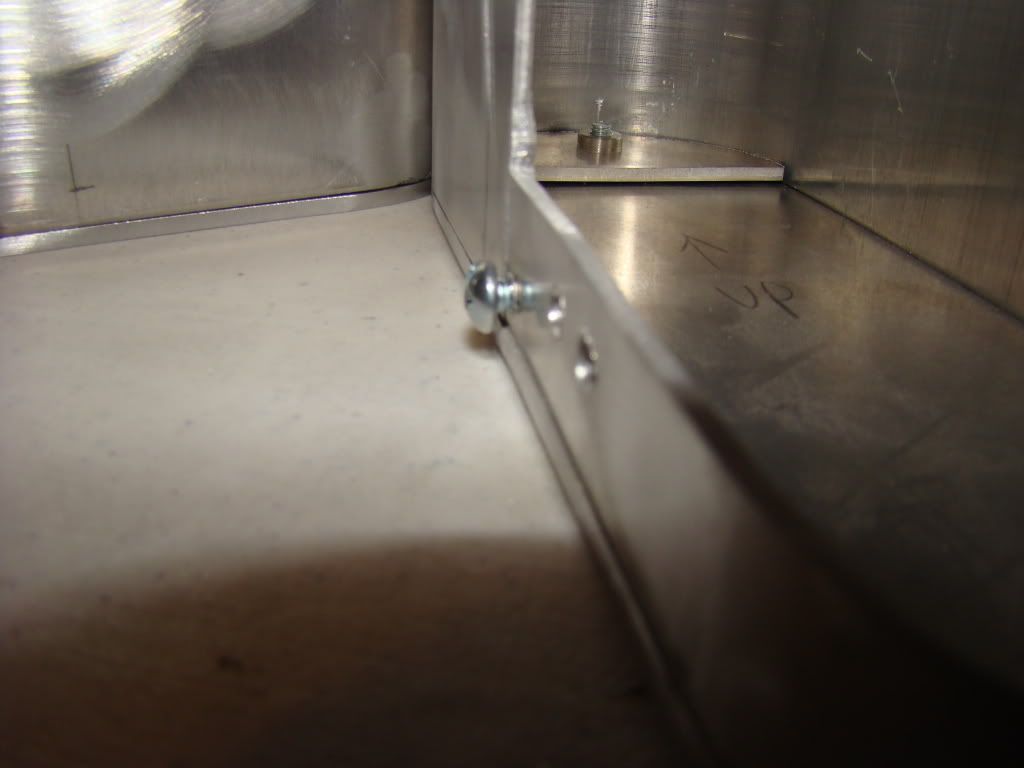
The mounting screws:
Photobucket

Mounted on the feet:
Photobucket

Carving out some room for the motors:
Photobucket

Photobucket

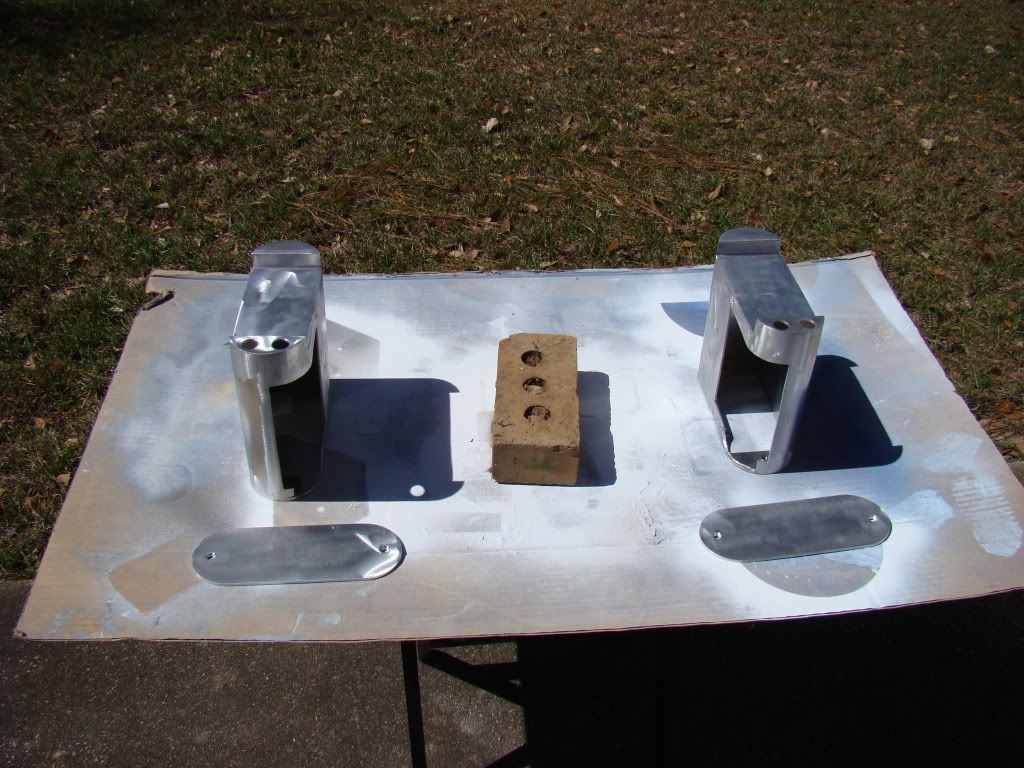
Ready for primer:
Photobucket

Dan Baker motor mounts to JAG feet

So, the challenge here was figuring out how exactly to combine the 2 systems, which weren't designed to go together...
The most important thing was to NOT drill on the motor mounts until everything else was ready to go...
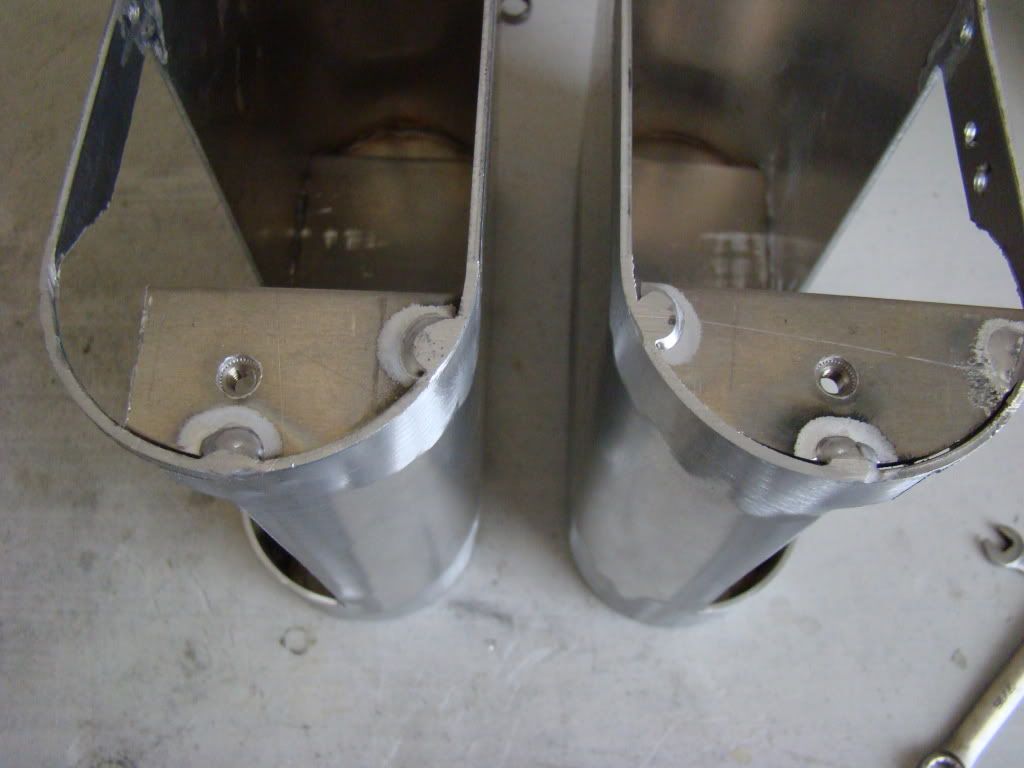
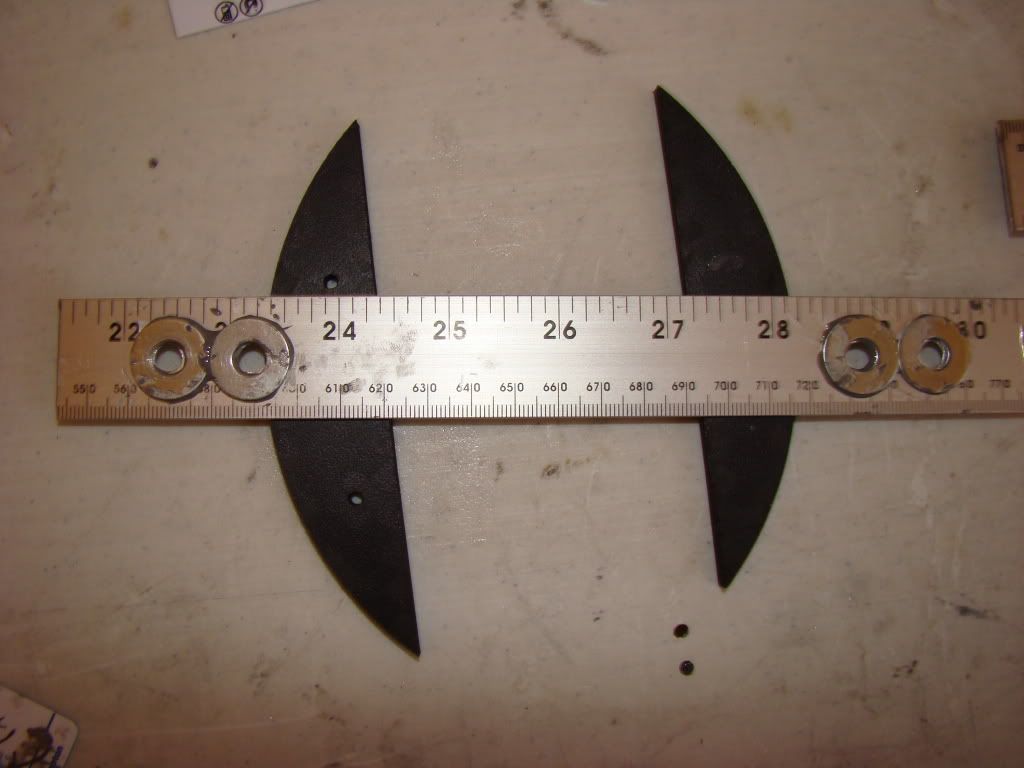
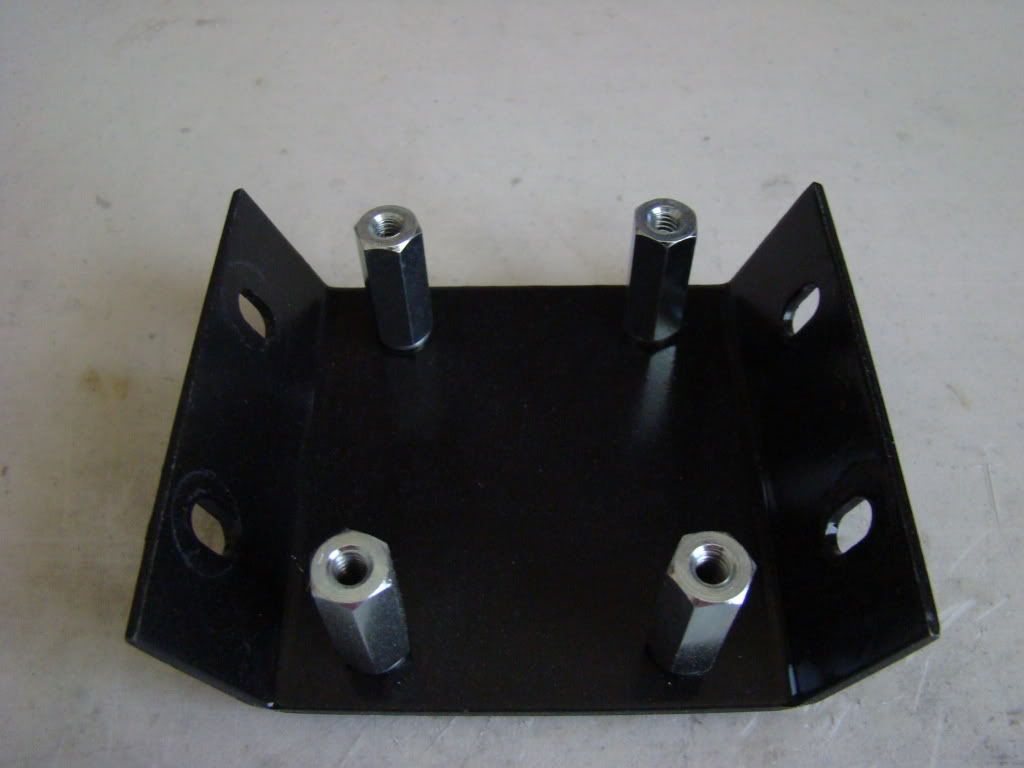
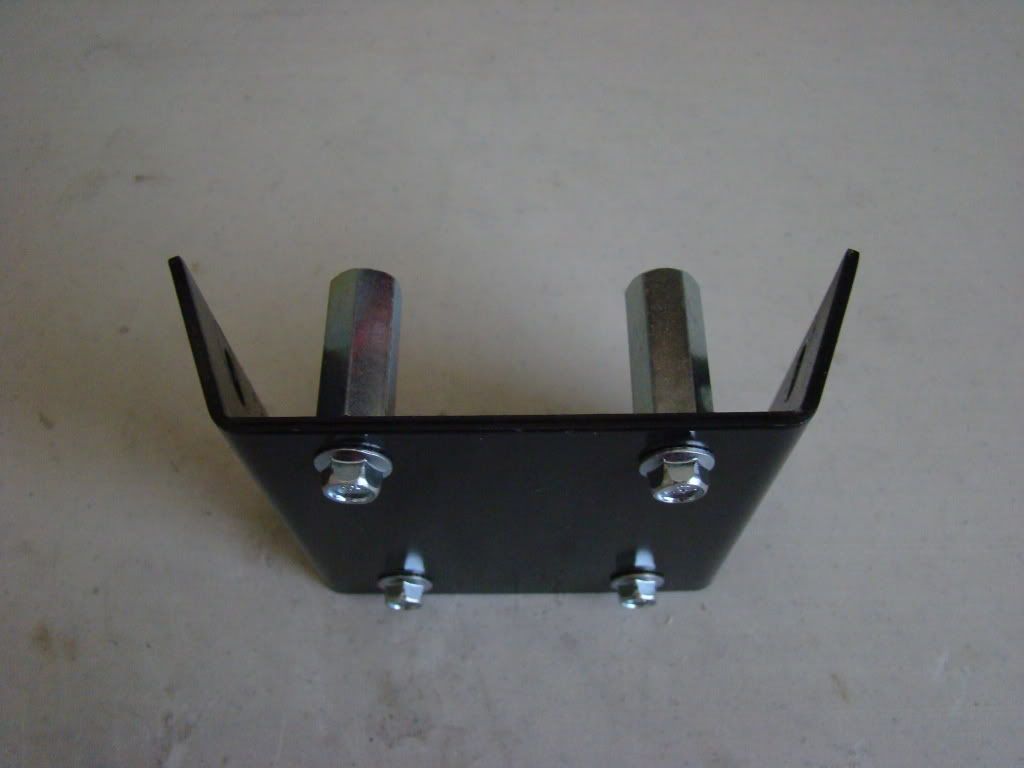
So, we start off with designing something that will hold the nuts in place. Here's what I came up with:

Photobucket

"Gluing" the washers in place:
Photobucket

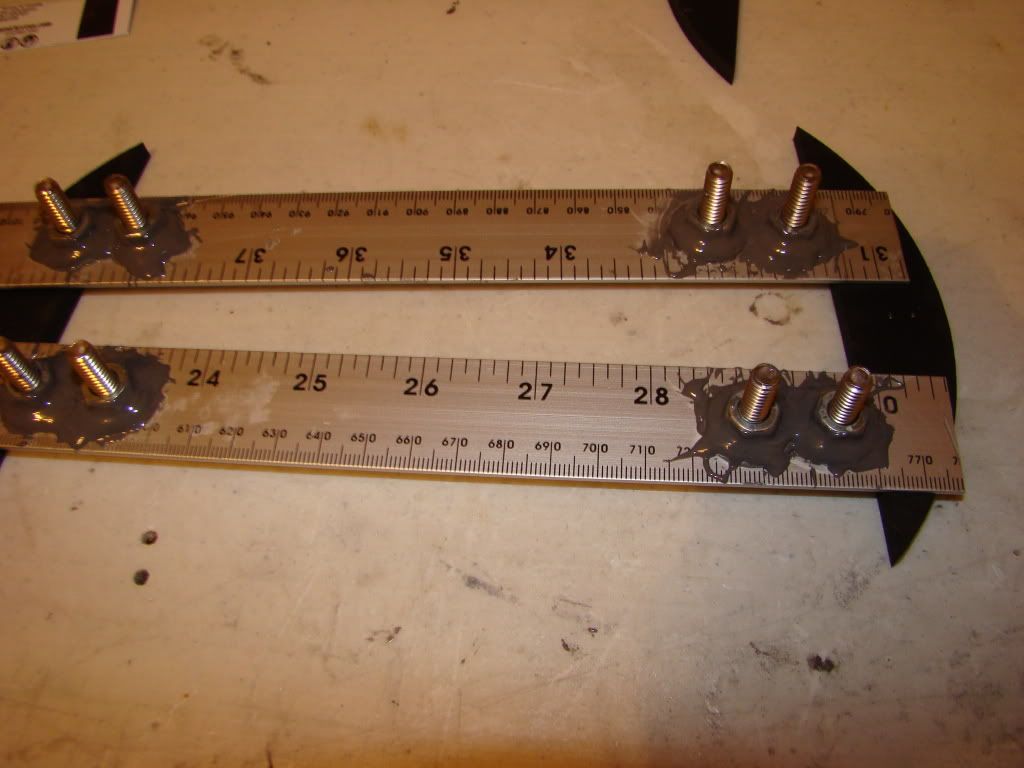
"Gluing" the nuts in place, with a little JB Weld...ok, so a lot of JB Weld.
Photobucket

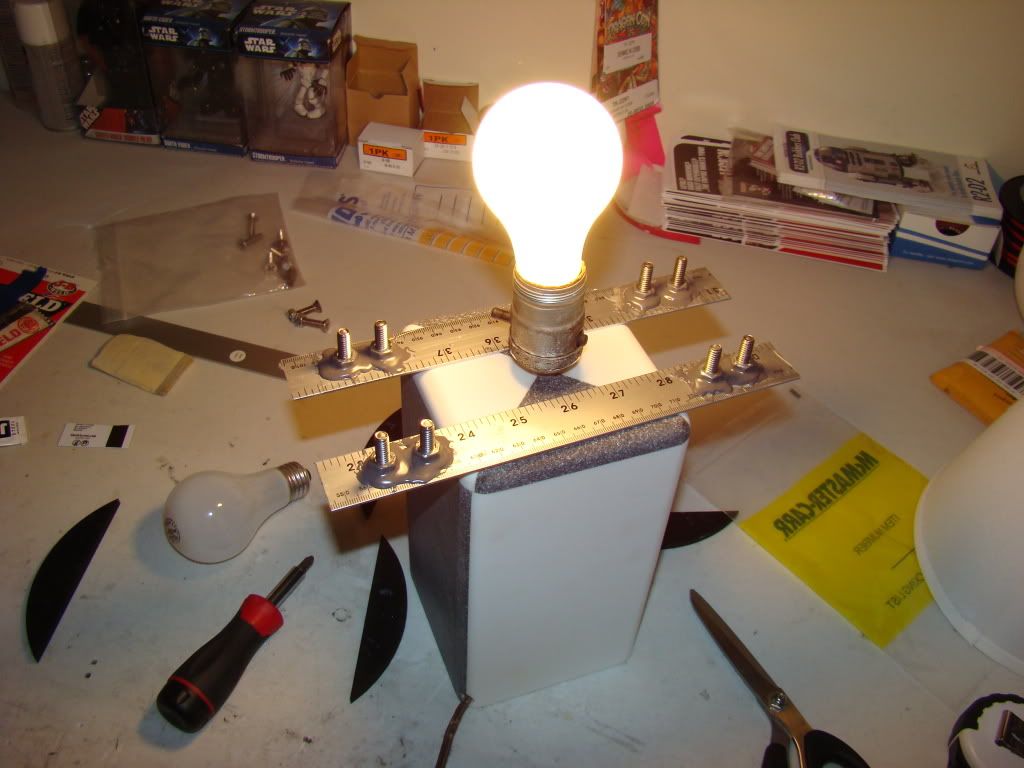
Curing the JB Weld:
Photobucket

The original pre-drilling test fit:
Photobucket

Drilled the motor mounts:
Photobucket

"Gluing" the mount plates into the motor holders:
Photobucket

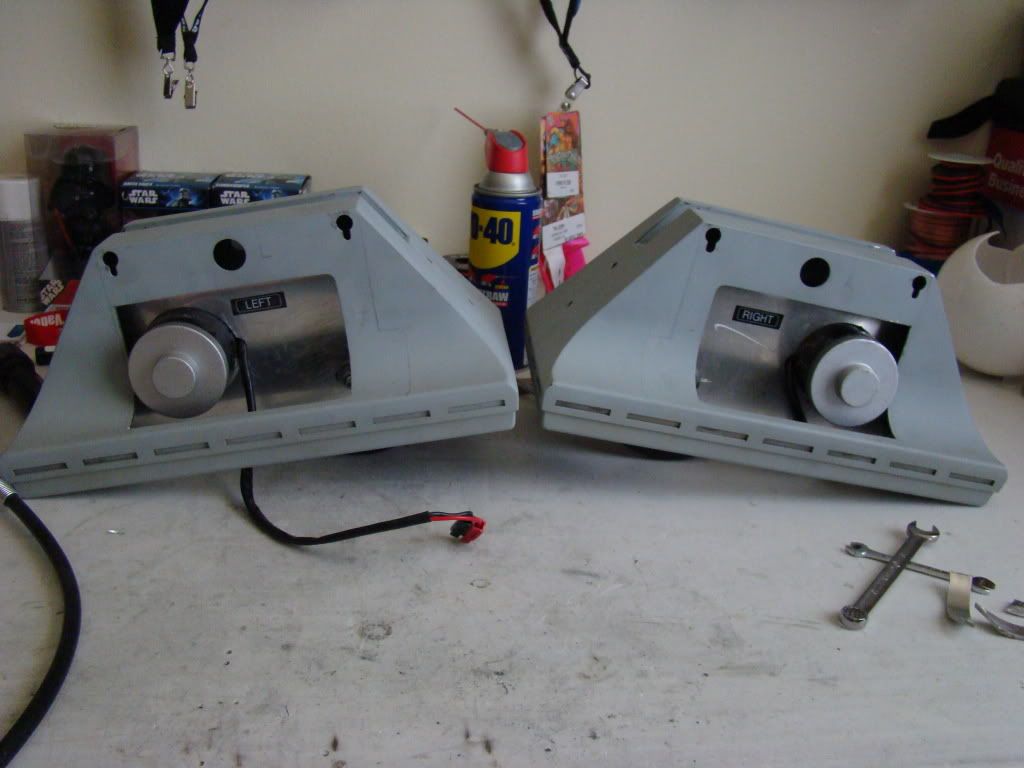
Everything all put together, ready for some paint:
Photobucket

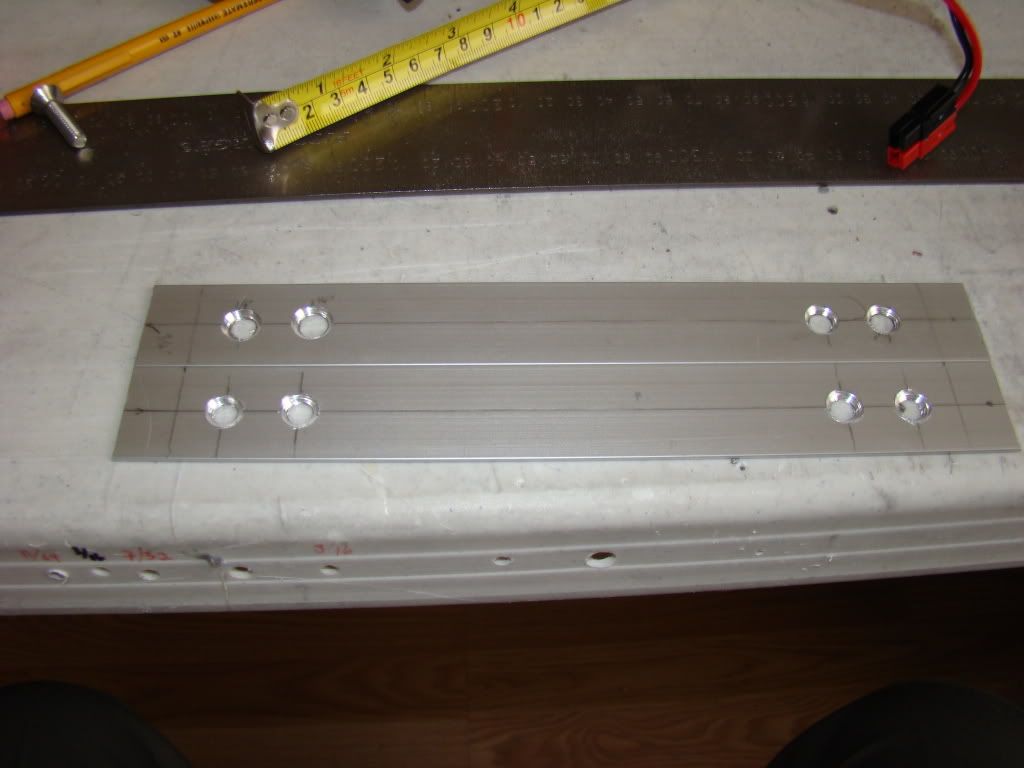
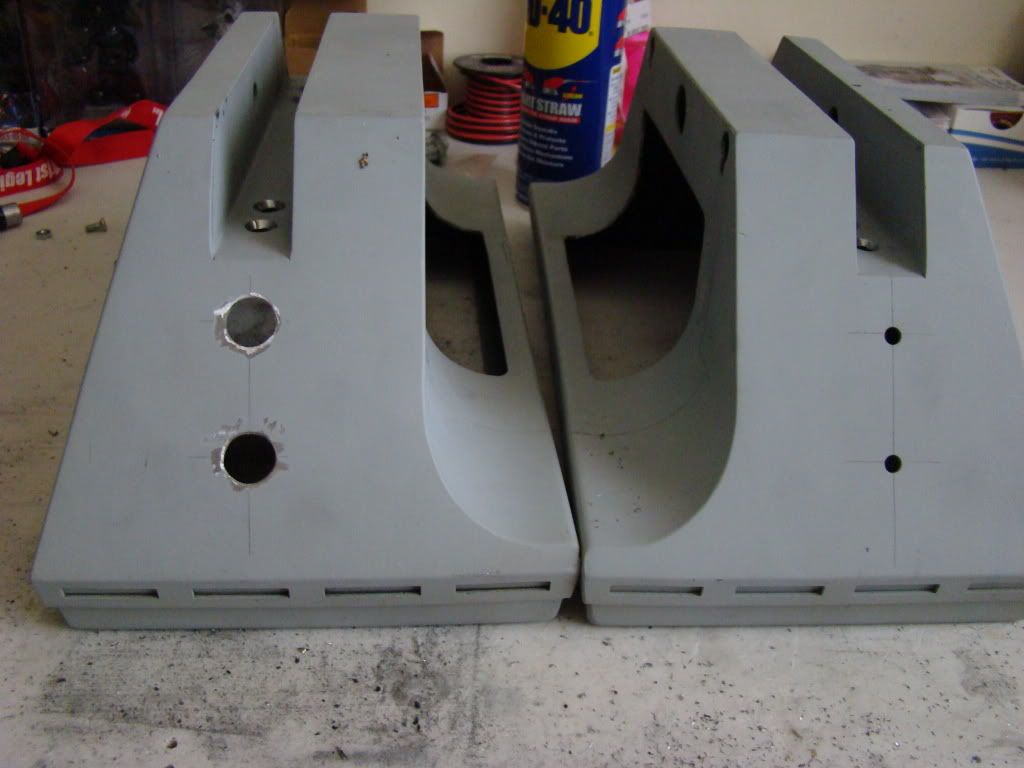
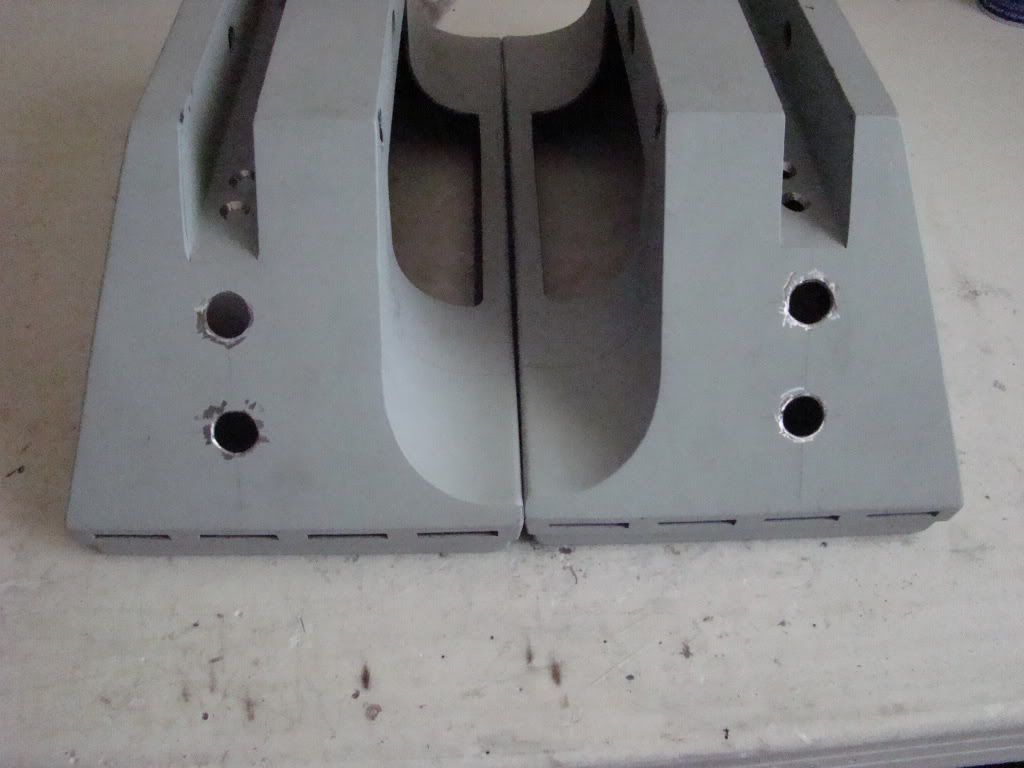
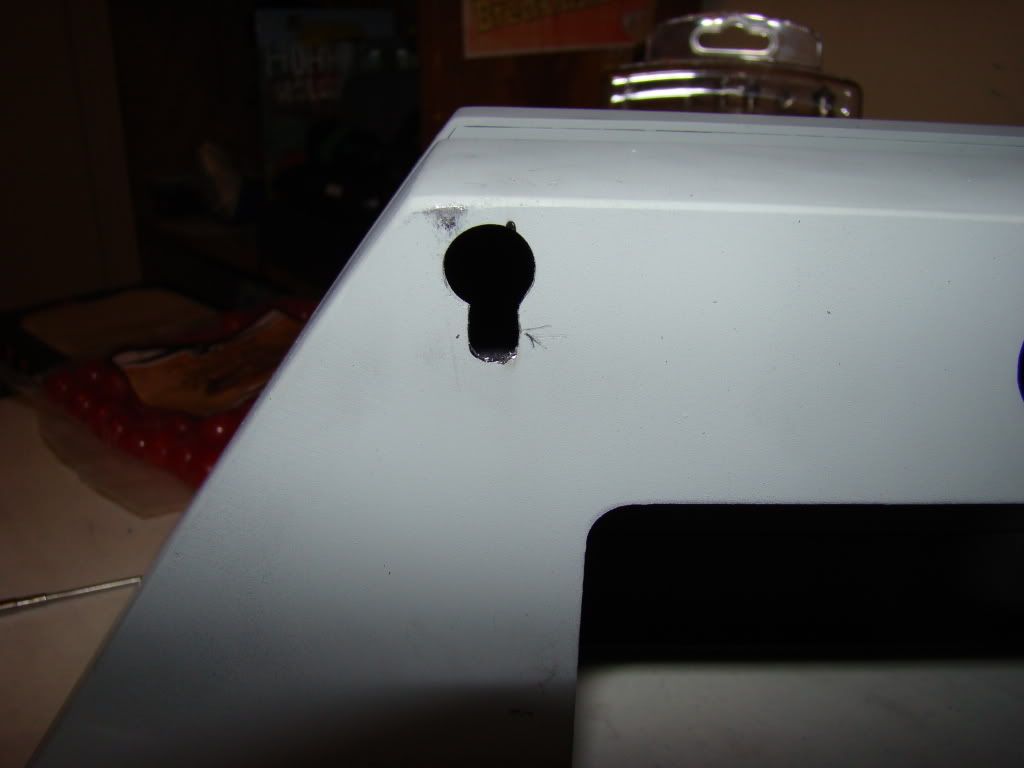
Drilling out the holes for the KHFs:
Photobucket

Photobucket

The holes are much "cleaner" than they look in these pics. It's the missing primer that makes them look rough...

JAG Center Foot

So, I just looked at my blog and realized it's been since Oct last year since I posted...I've been working just not posting, so here's a metric ton of info...starting with the center foot.

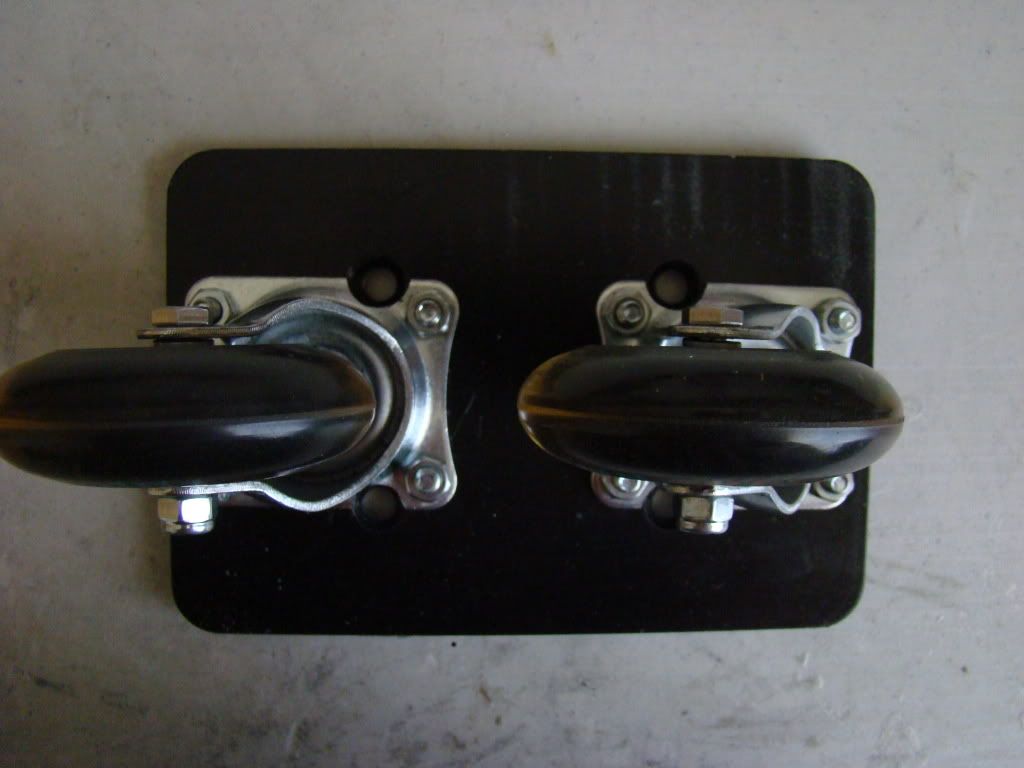
Start off with pics of the center foot mounting bracket..all primered and clear-coated. Standoffs installed..

Photobucket

Photobucket

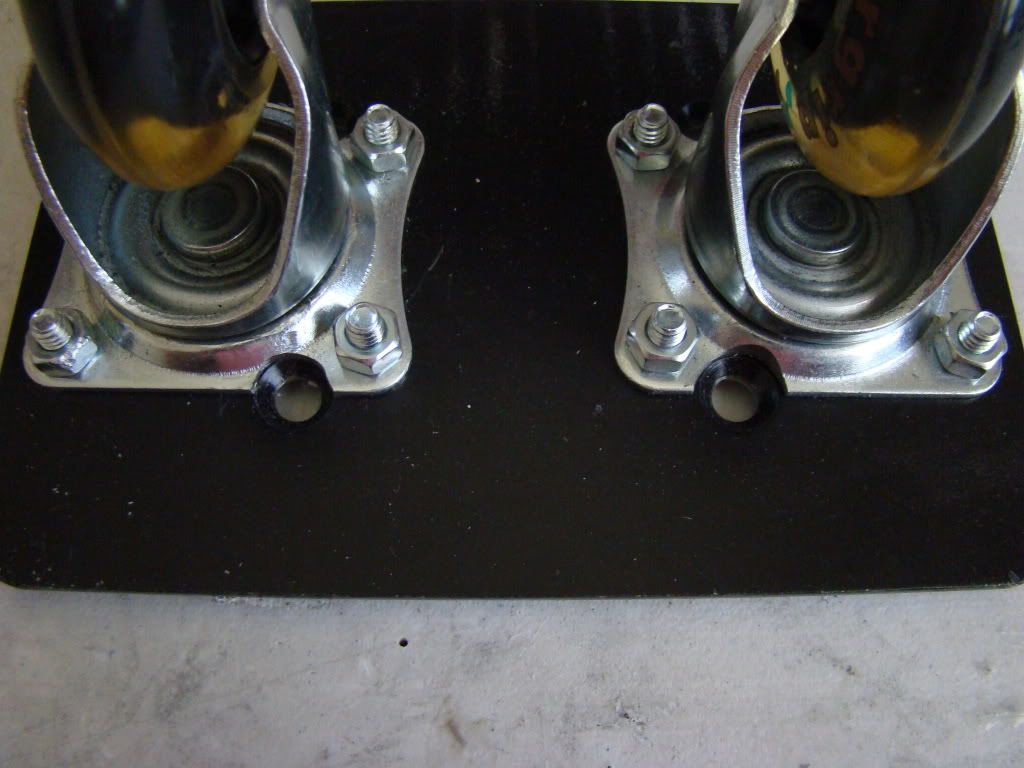
Holes drilled in the wheel mounts:

Photobucket

Photobucket

Detail painting:
Photobucket

Photobucket

Photobucket

The center foot is ready to be installed, just haven't done it. The only issue I can see so far will be locking the foot in place.

Friday, October 28, 2011

Mounting Battery Boxes to Feet

While I was at Lowe's I started puzzling over the battery boxes, and mounting them to the feet.
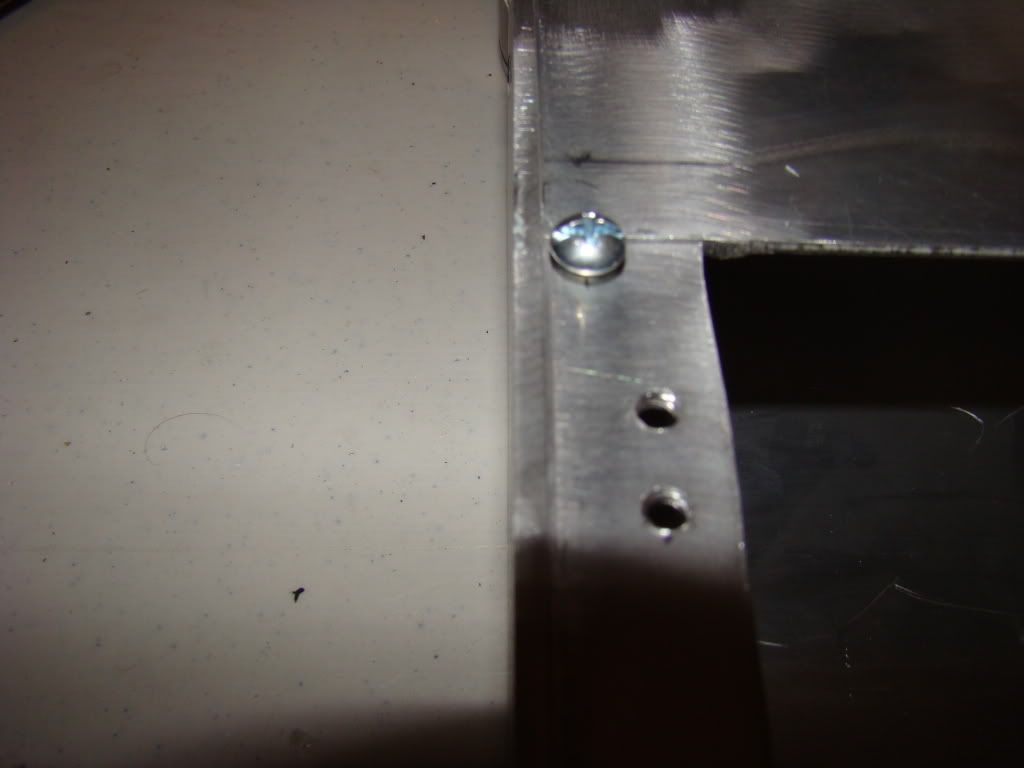
I picked up a small (13 piece) tap and die set. It's got from #6-32 to 5/16-18 taps. Turns out, the 10-24, which is in there, is the size I need. And, even better, I already have some 3/8" long 10-24 screws with nuts to fit. Only problem is they are philips head, and I'm thinking I'll be wanting some hex caps, so that if I can get my hand in there I can tighten them.

After some super careful measuring and marking, off to the drill press we went! For the 10-24 tap, I used the 5/32" bit, to make sure I had enough left to cut the threads into.

Here you can see my practice drill/taps:

Photobucket


There wasn't much difference between the 11/64" hole and the 5/32" hole, but the larger hole seemed a little more wiggly to me, so I went with the smaller one. Was probably in my head, but so is the whole project. "Hole project"....get it?

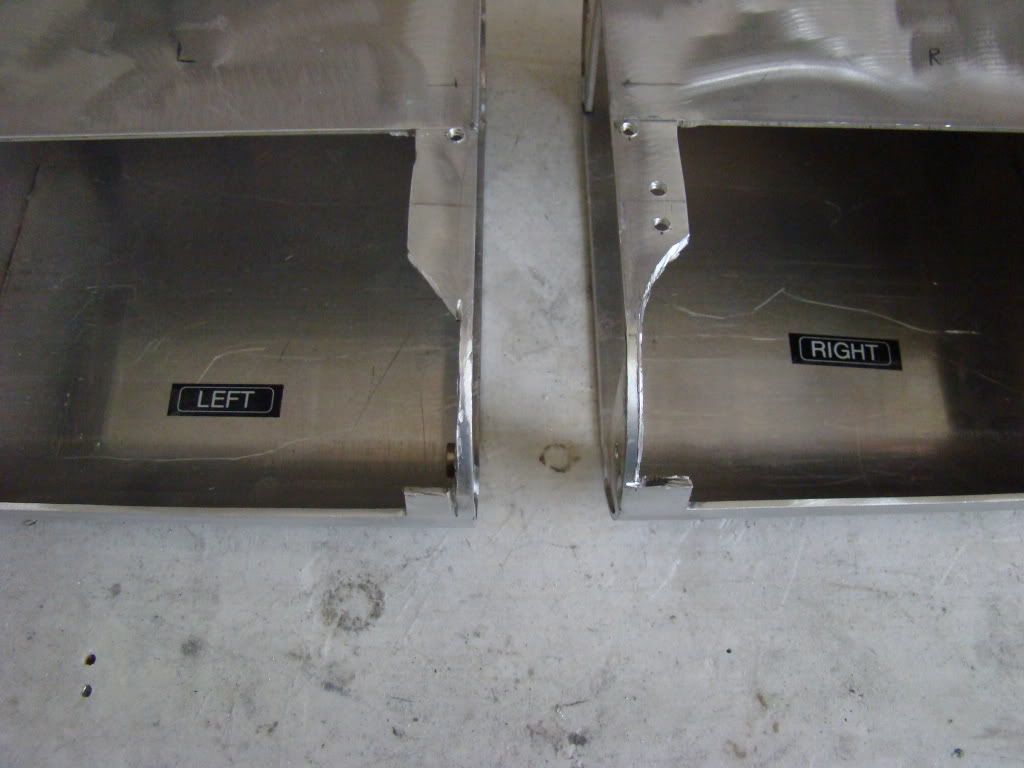
Anyway, after drilling and tapping the holes, I had to get out the trusty dremel, and grind down some welds on the inside of the battery box, so that the nuts on the back of the screws sit flat. On my first test fit, the welds were causing the screw to push over at an angle.

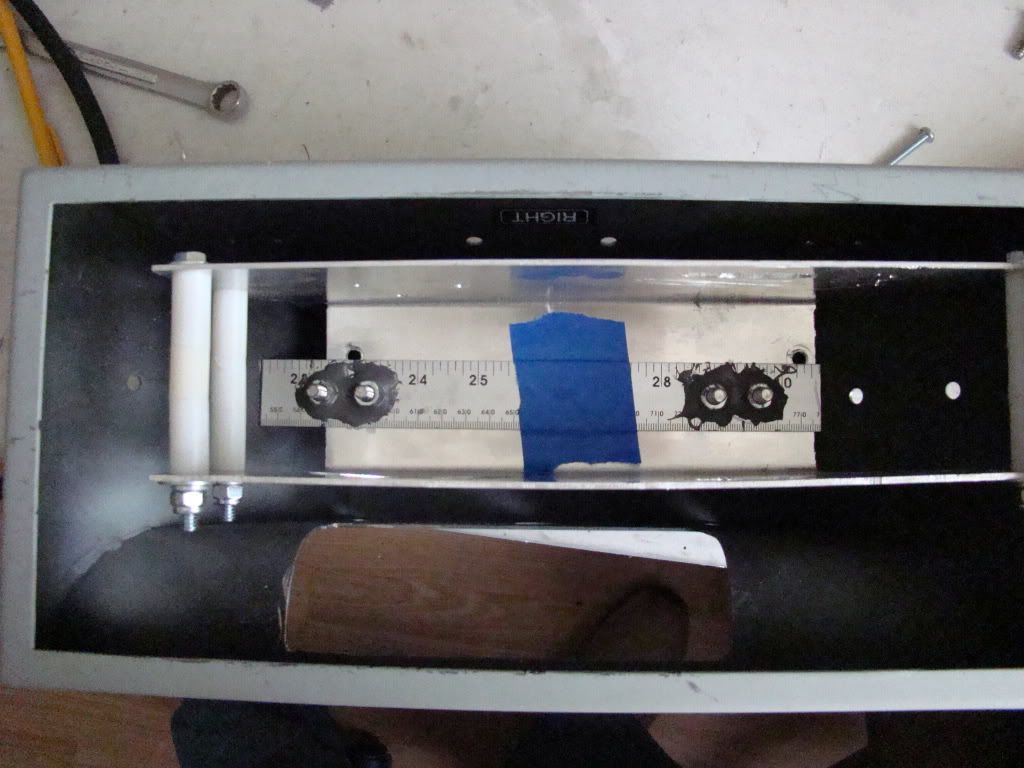
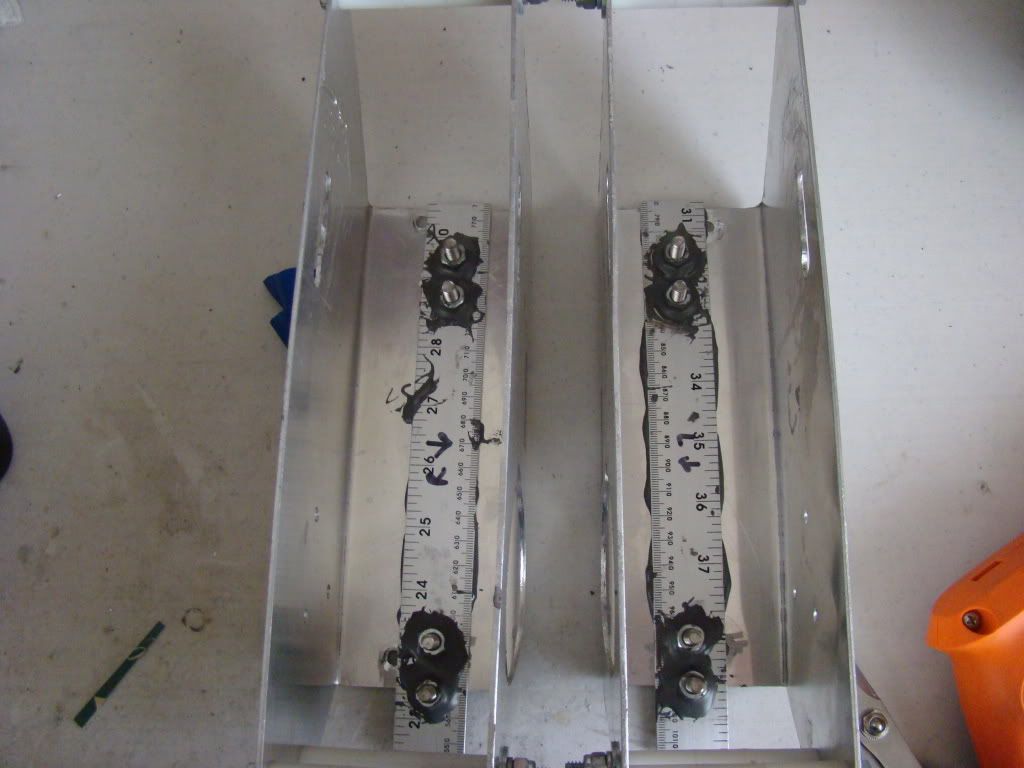
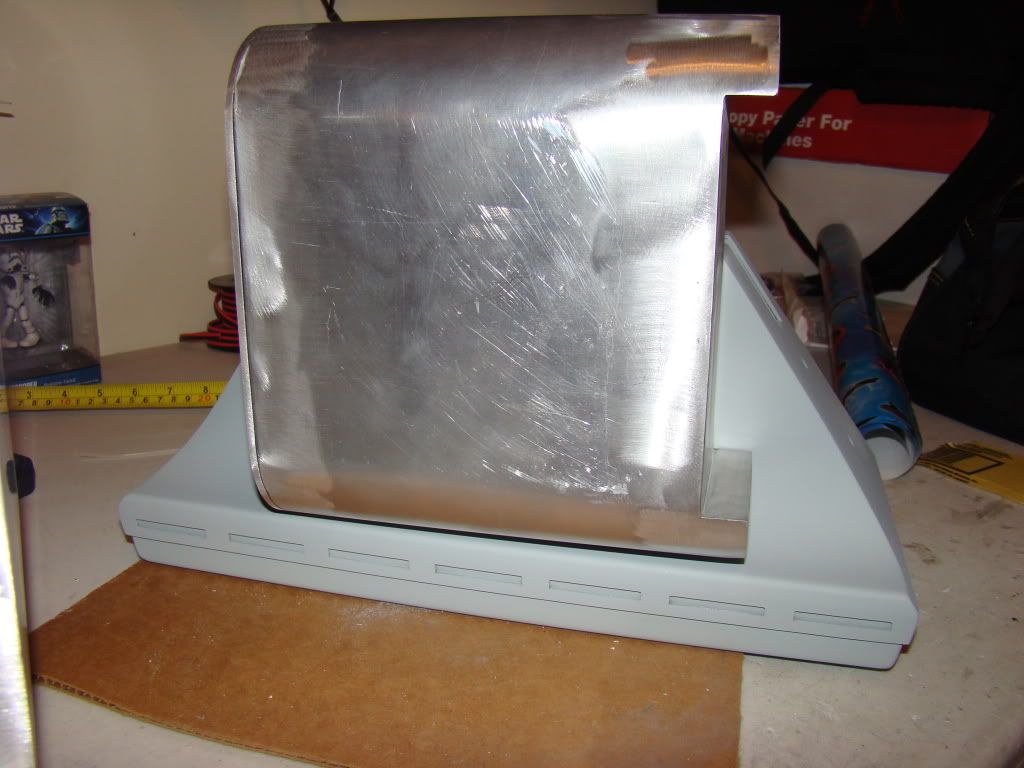
Here's pics...you can see the measurements on the boxes:

Photobucket

The pencilled in up isn't so I'll remember which way the battery box goes. It's because the removable door on the back isn't the same on both ends...just FYI :)

The left foot's battery box fit like a glove, once I had the depth of the screw adjusted properly.

The Right foot required a little 'adjustment' to fit properly...as seen here:

Photobucket

But after that, they now fit like a glove. See:

Photobucket

Photobucket

Photobucket

So, that's all for today, since it's starting to get a little dark outside.

Tomorrow (Saturday) the 501st is having a fundraiser at my local Buffalo Wild Wings. Last year we raised $550 for the Make-A-Wish Foundation, with little to no advertisement thanks to the store donating 10% of their sales. This year, we've had PSAs playing all week on 2 different radio stations locally. And the store is donating %20 of their sales. And we've expanded to include 3 more stores in MS.

Fun to think that tomorrow could well be R2's last trooop with breakable feet :)

Primer for JAG feet

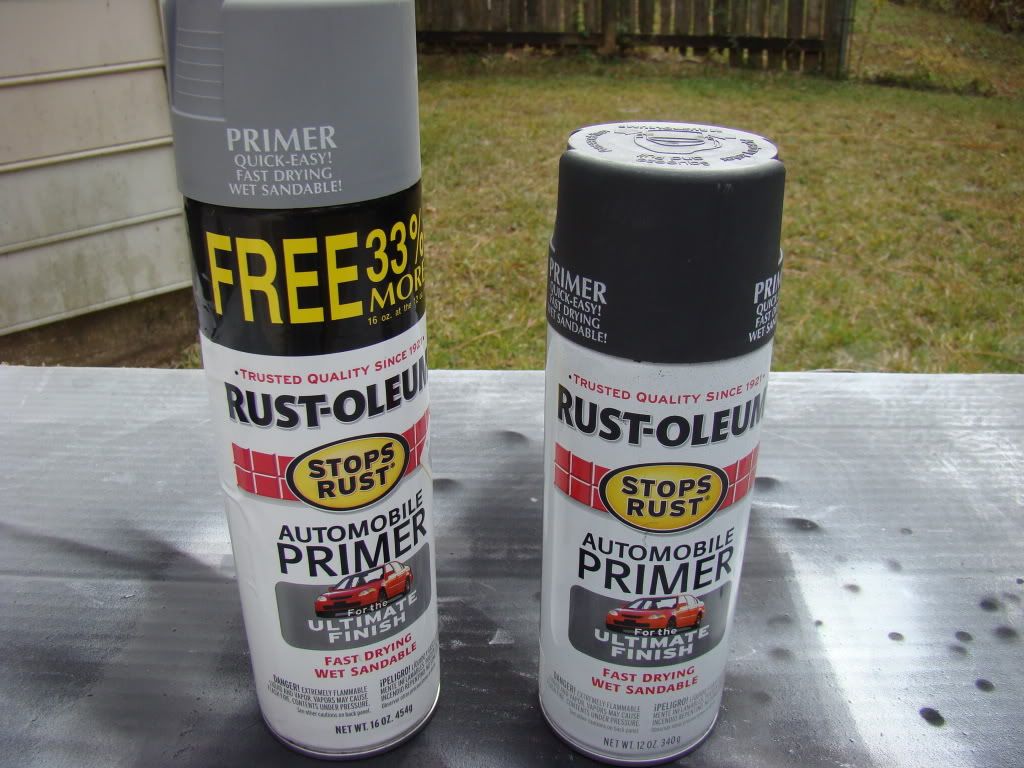
So, I looked up in the 'paint closet' to see what I had on hand as far as primer goes, and found 4 cans. One was empty, or close enough, and it was some no name brand I bought back when I was spraying my first E-11. There was also a can of store brand (don't know what store) grey primer that's been set aside as well.

The last 2 cans were Rustoleums, which is a good thing, because other than blue, it's all I use :)

There was a can of 'dark grey' primer, which is actually more like black, and the more common light grey, which we're all used to. Note the bargain sized can... :)

Photobucket

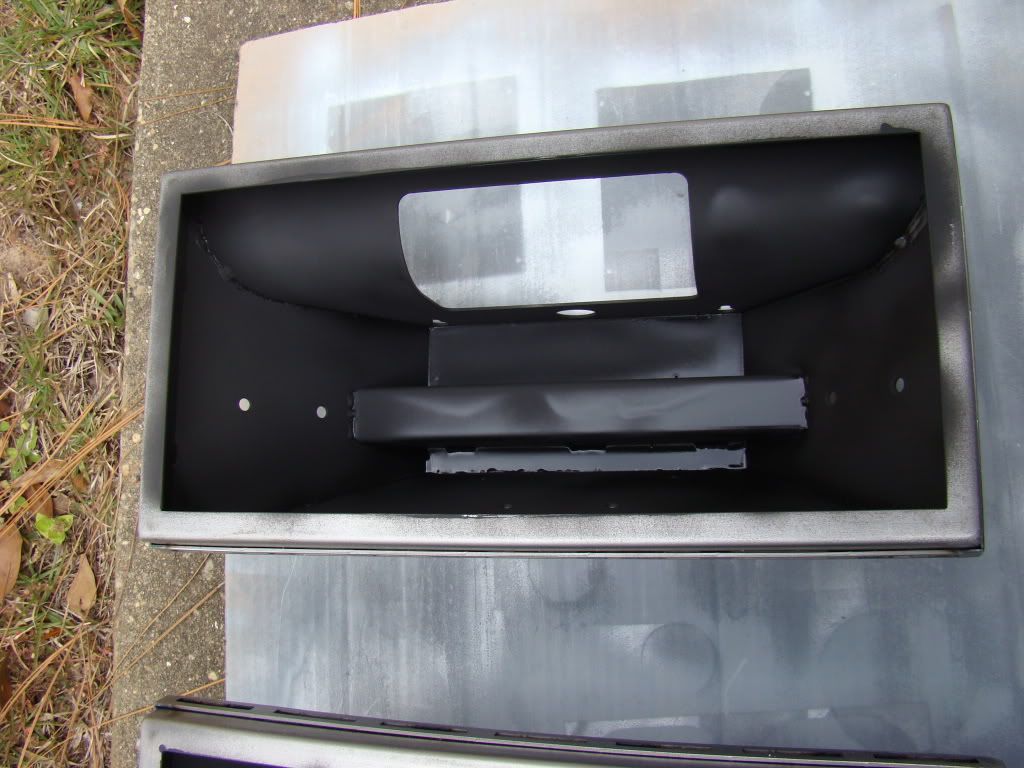
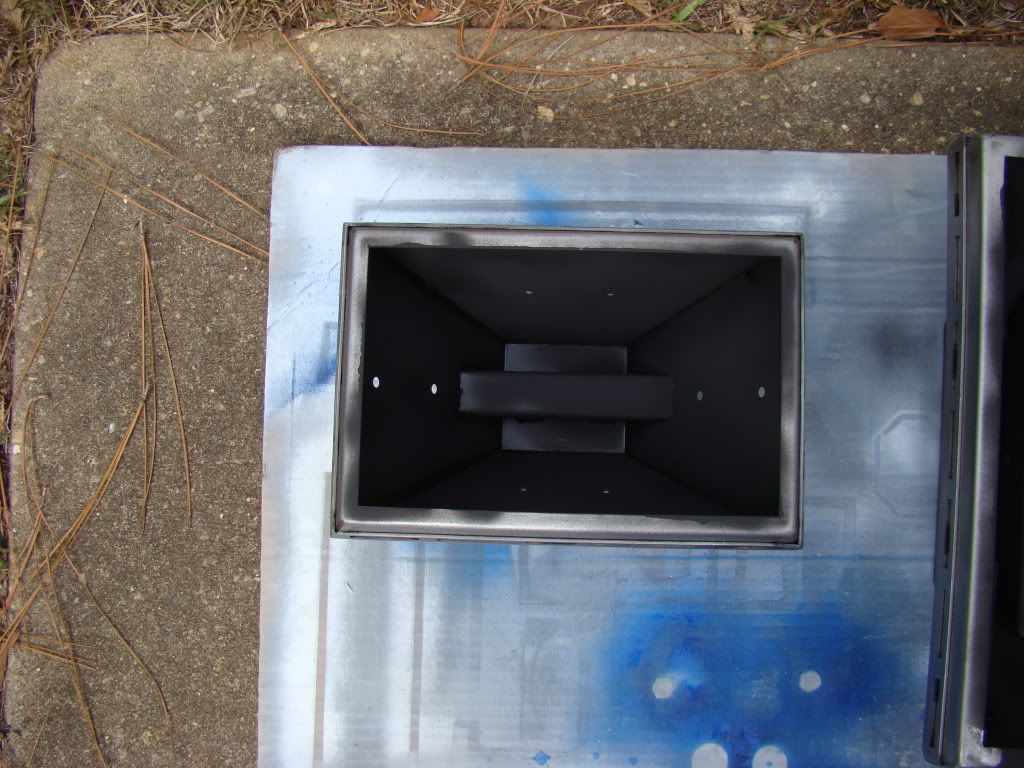
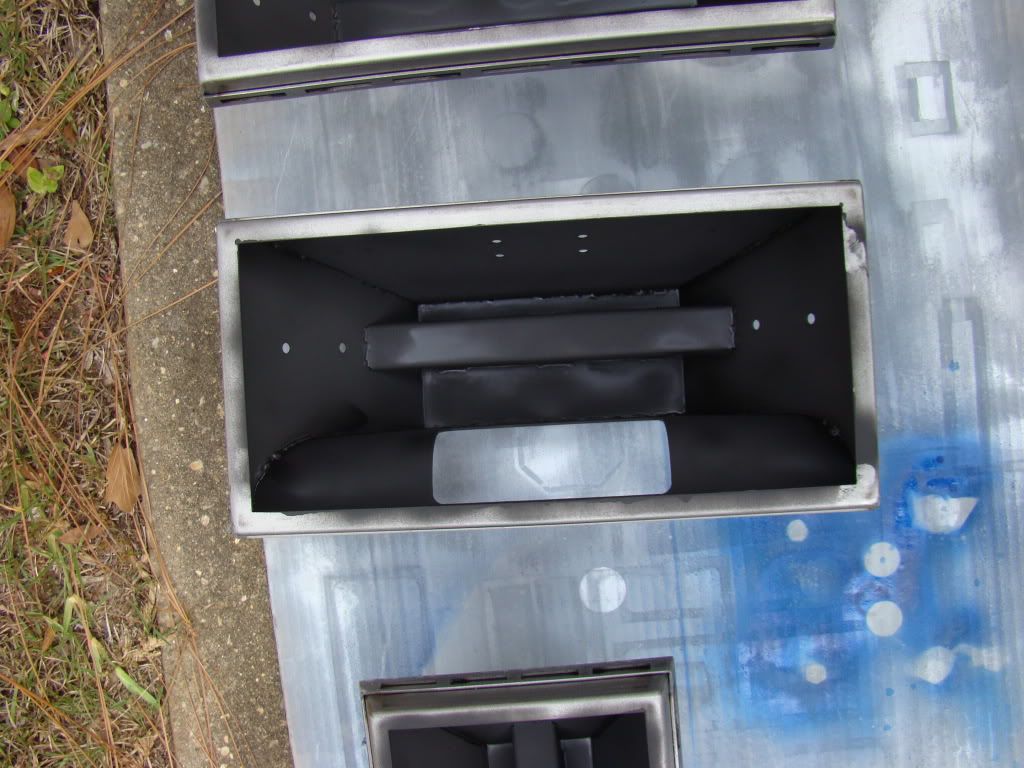
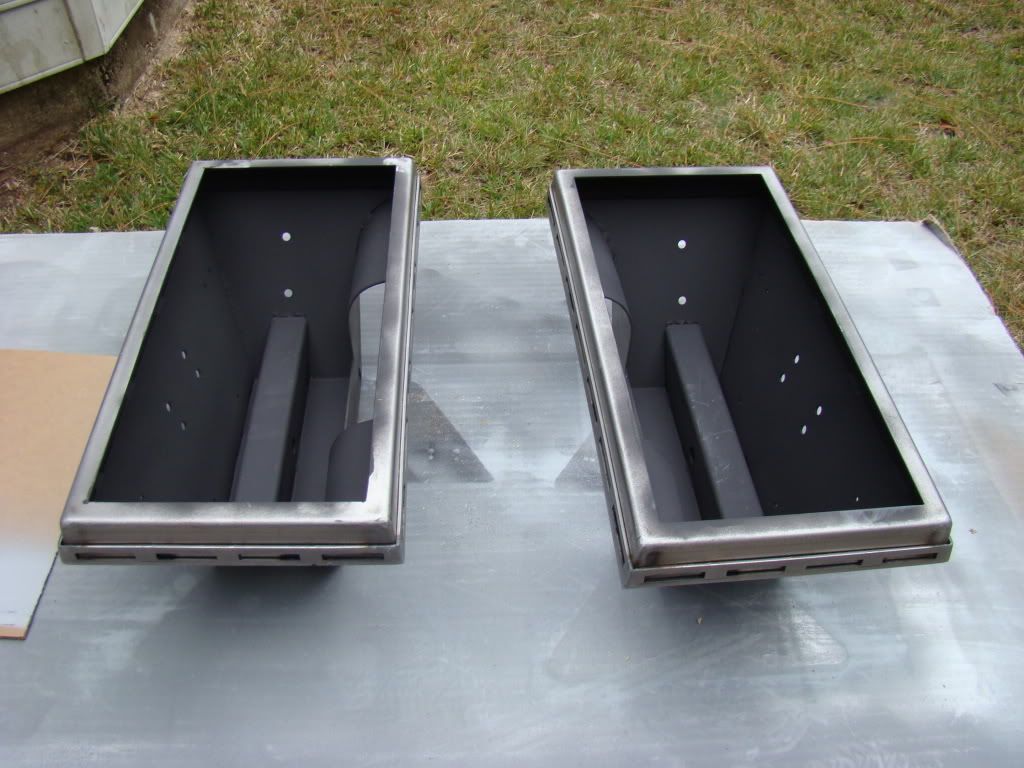
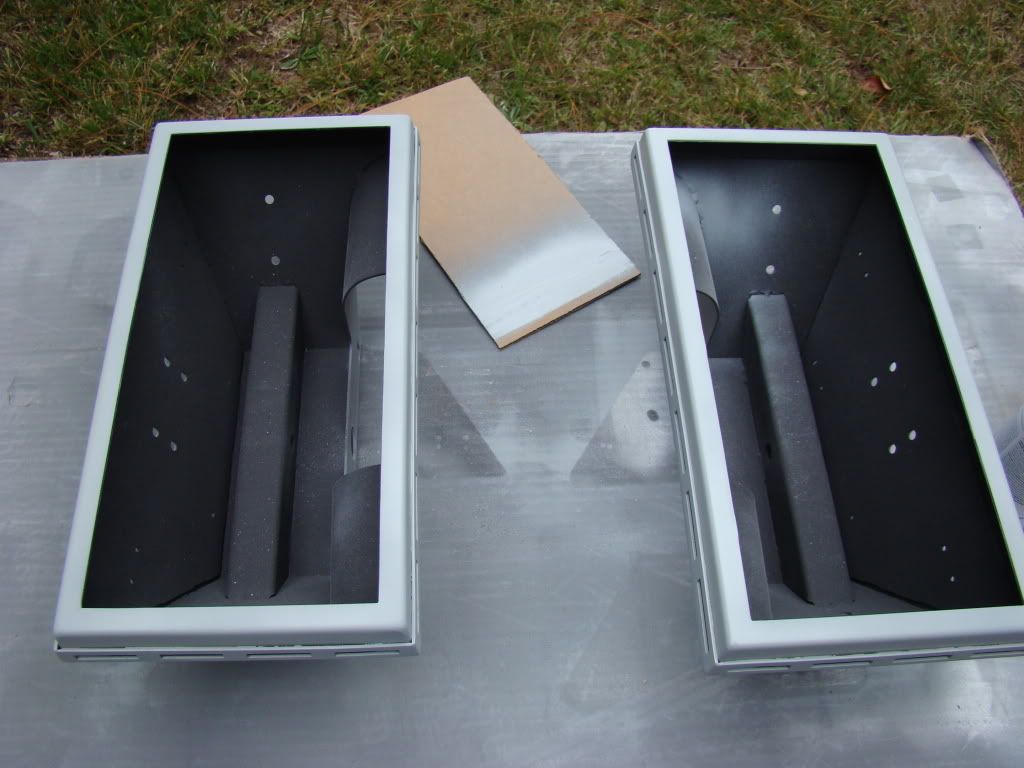
Decided to try the dark on the insides of the feet, here's how that turned out:

Photobucket

Photobucket

Photobucket

It's a little difficult to ensure that ALL surfaces have adequate coverage, so some other surfaces may have runs, but hey, it's inside :)
Plus, I seem to recall it's harder to cover the dark primer with white...

Anyway, while that dries, I'm gonna head to the store to pick up some more cans, since I'm pretty sure I'm out of white, and that light grey is probably at least half empty. Or half full. Whatever :)

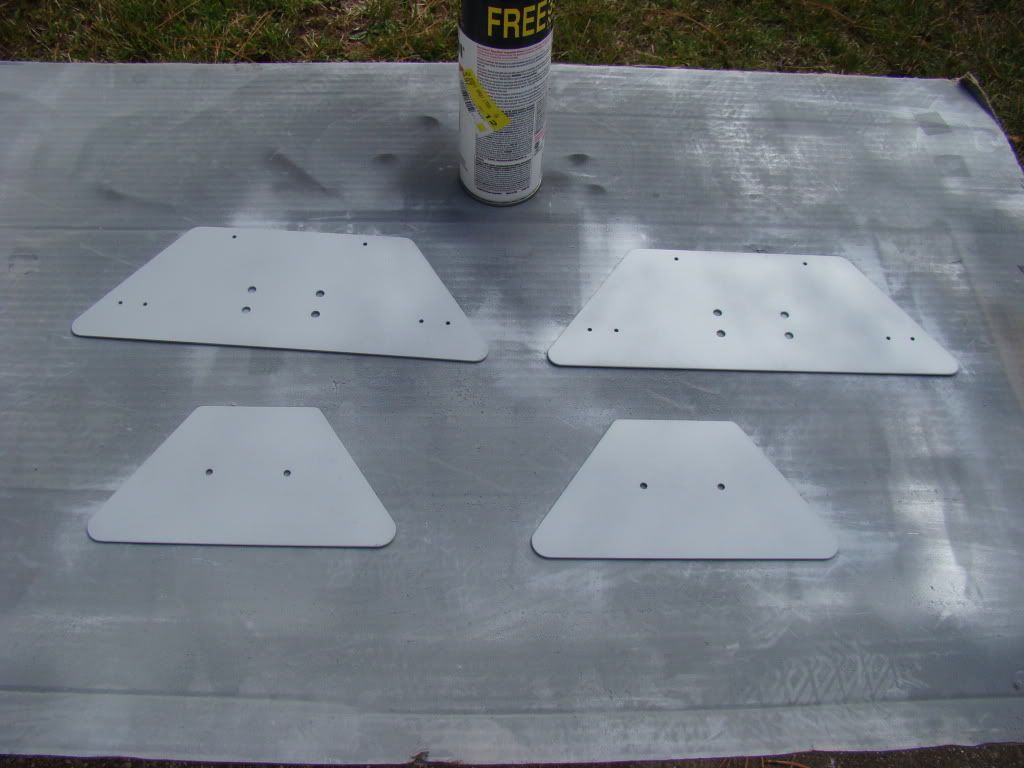
Before heading out, I remembered I needed to primer the steel detail pieces too, and wanted them done when I got back:

Photobucket

***Back from Lowe's. Bought 6 cans, 2 light grey, 1 dark grey, 2 white and 1 clear.
Don't worry, not using the clear on anything white.


Anyway, more paint pics.

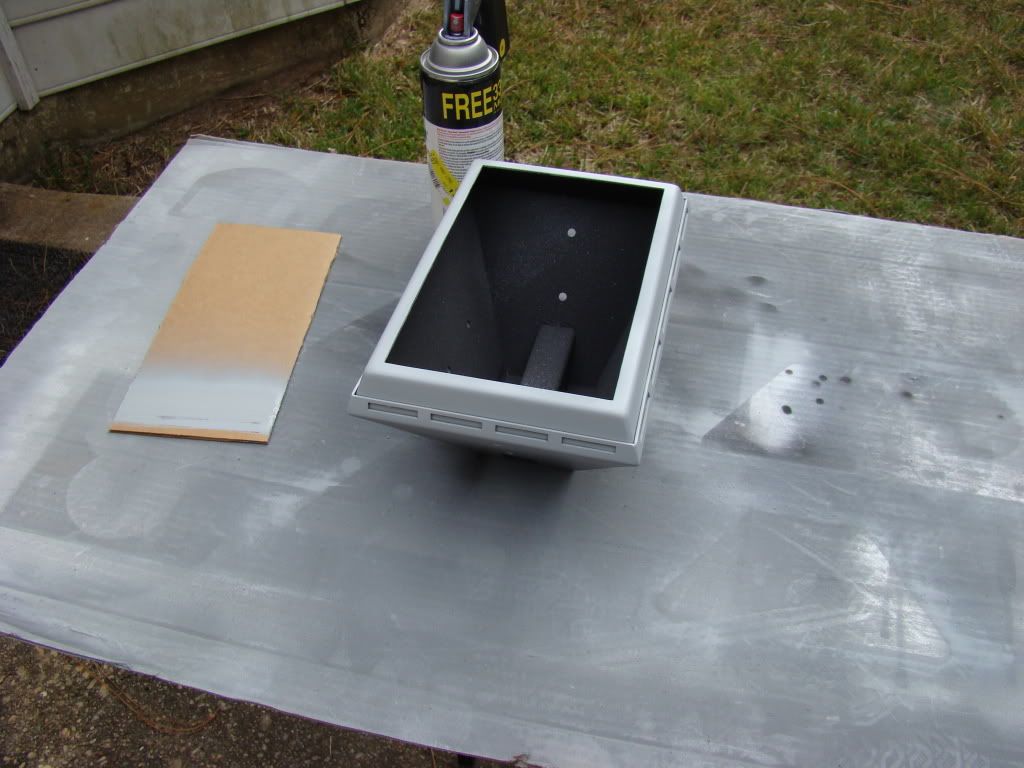
Now that the dark grey inside is dry enough to be handled, I started primering the bottom outside:

Photobucket

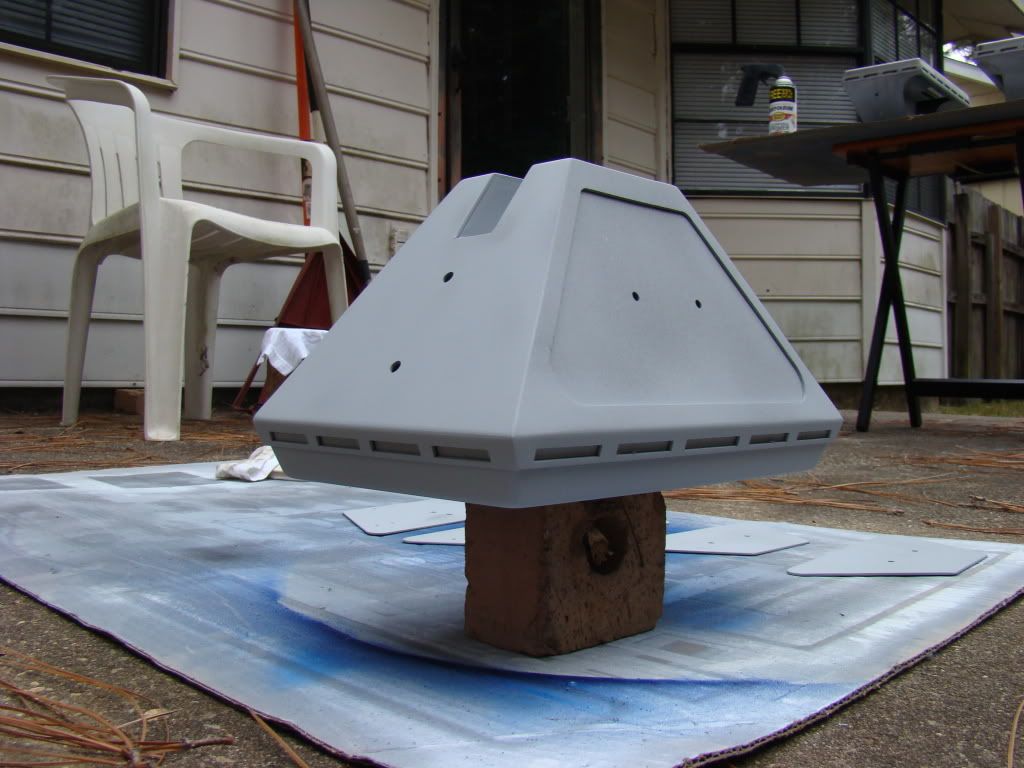
I used the cardboard trying to keep as much overspray out of the inside as possible. Let that dry some, then flipped it over, onto a brick with some more of that old T-shirt over it for a stand:

Photobucket

That pretty much did it for the old can of light grey.

After the center foot, I swapped to a new can, which is important, because as you can see in previous photos, I've been using that trigger handle. It doesn't fit the new tops, so I've been using old ones. Turns out, the new tops are pretty nice...

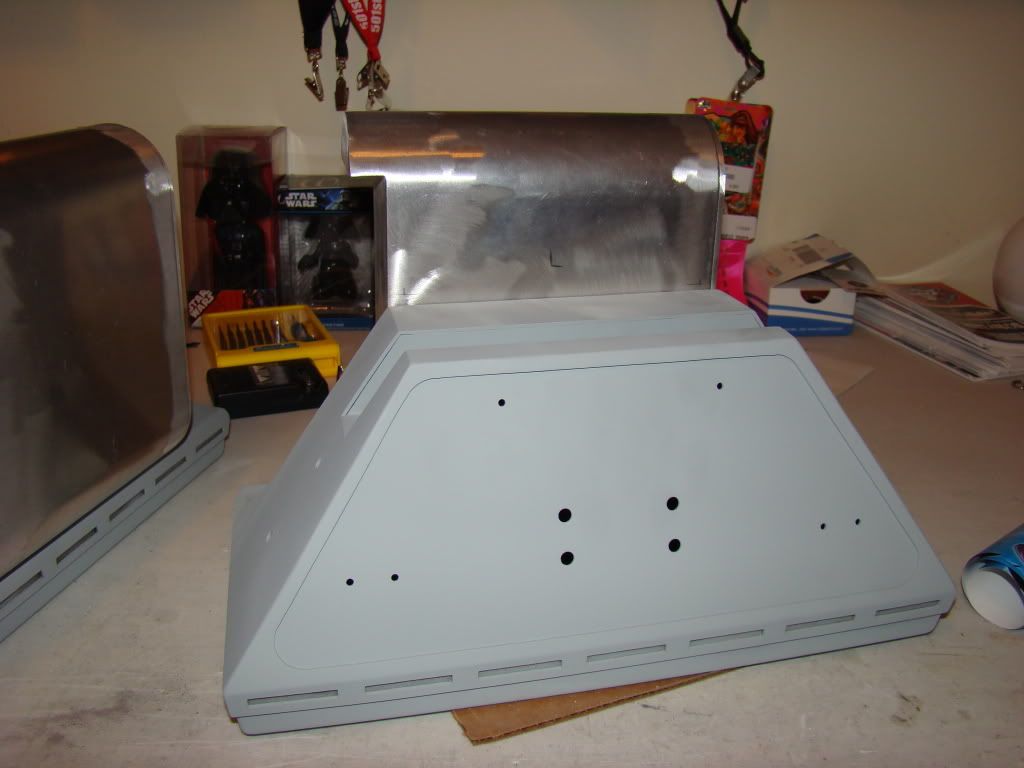
Here's before and after on the bottoms of the outer feet:

Photobucket

Photobucket

JAG FEET!!!

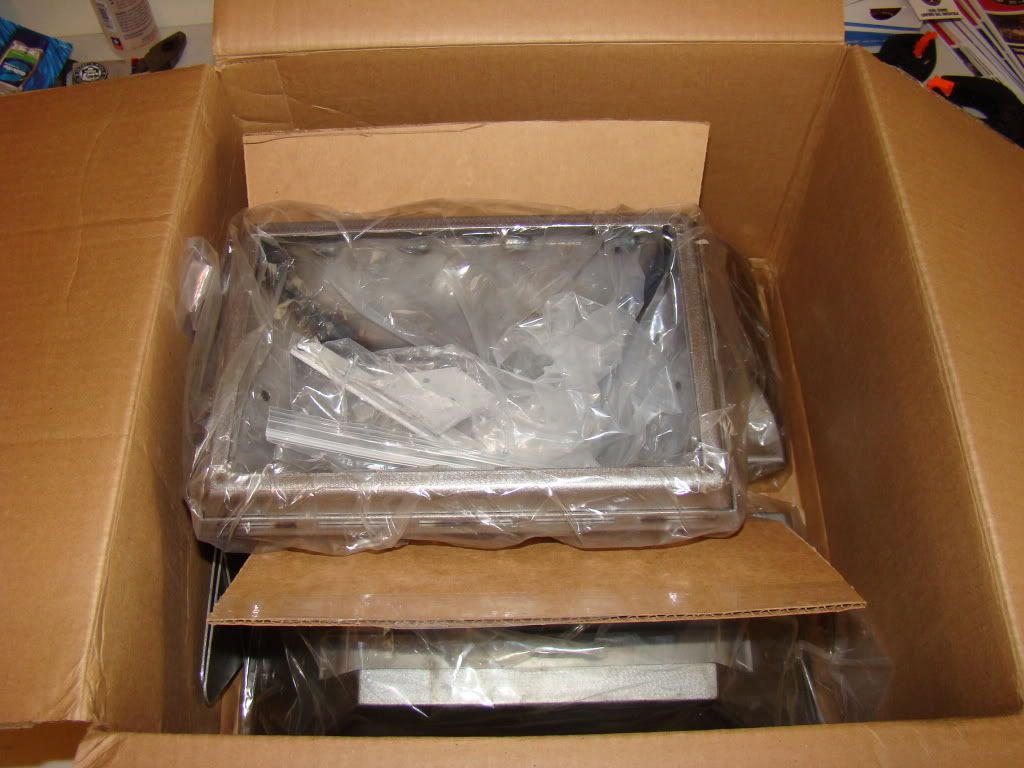
So, after 22 months of waiting, I finally have my JAG steel feet in hand!

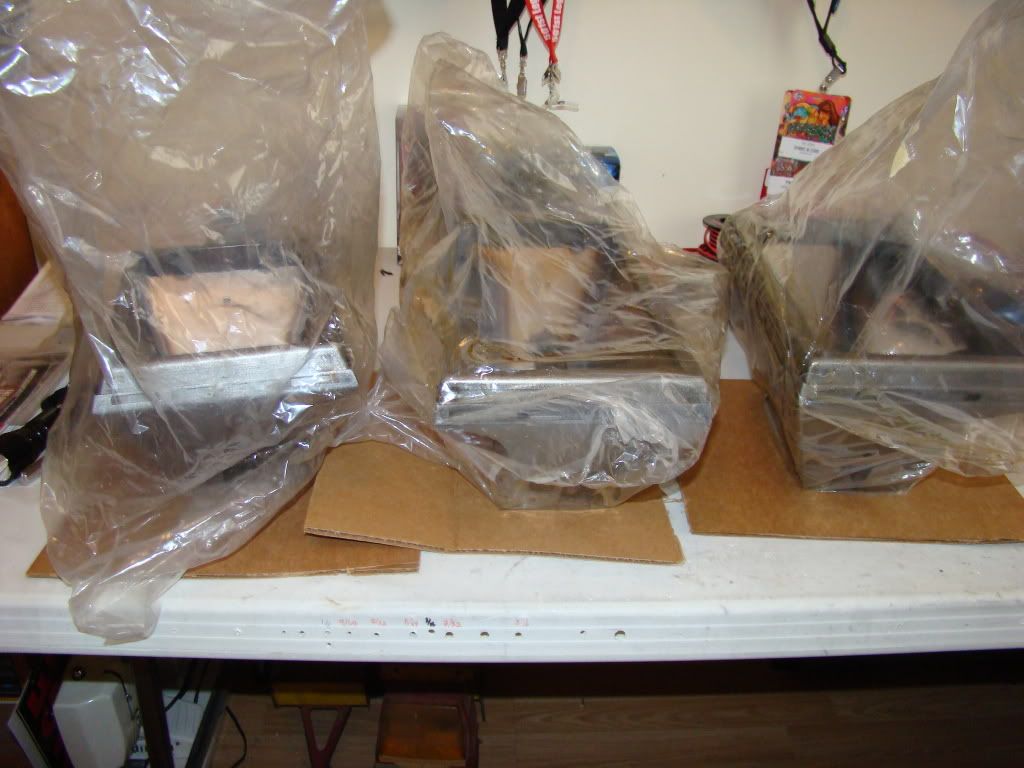
They came well packed, and are fairly heavy. They will most likely be able to handle the punishment that I dish out to my R2's feet :)

They were sprayed down with some sort of WD-40 type grease spray, they bagged in plastic, separated by cardboard and packing peanuts.

Photobucket

Photobucket

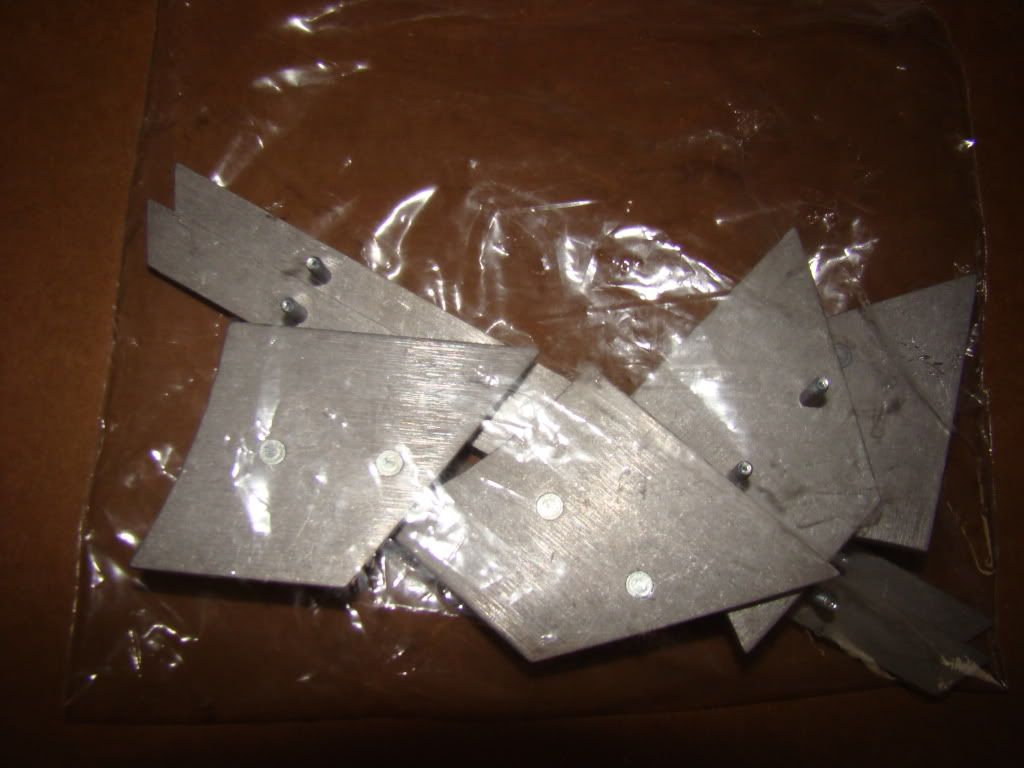
Included were detail panels for the sides of all the feet.

Photobucket

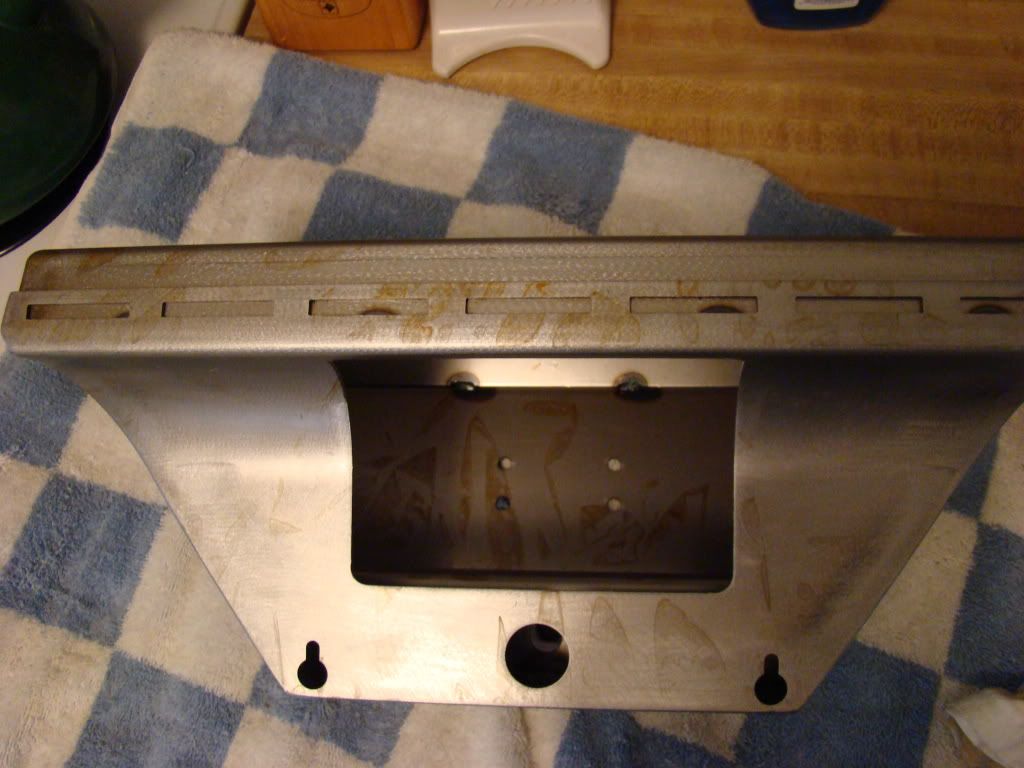
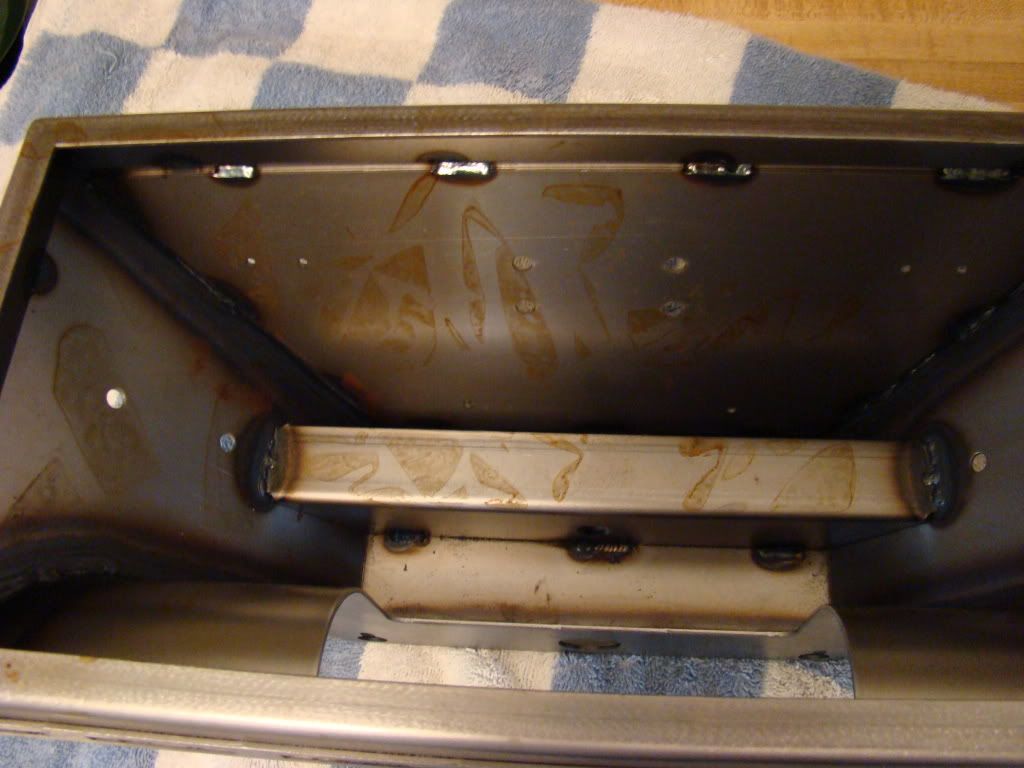
Started off with the JAG recommended warm water and dish soap bath. This removed the still liquid grease, but there were lots of places where the grease had umm, coagulated? Maybe dried is a better word for that. My first thought was to sand it off, that didn't work, the dried grease was sticky and loaded up from the metal dust almost immediately.

Photobucket

Photobucket

Next solution was much more effective. I got out the ol' gallon can of acetone and poured myself a small bowl. I cut the arm off of a t-shirt (in fact, the same t-shirt that's been chopped up to make the poor man's fiberglass that I used to reinforce the A&A feet) and with a fairly easy washing, all the sticky is now gone.


Up next: Primer.