Here's how I did it:
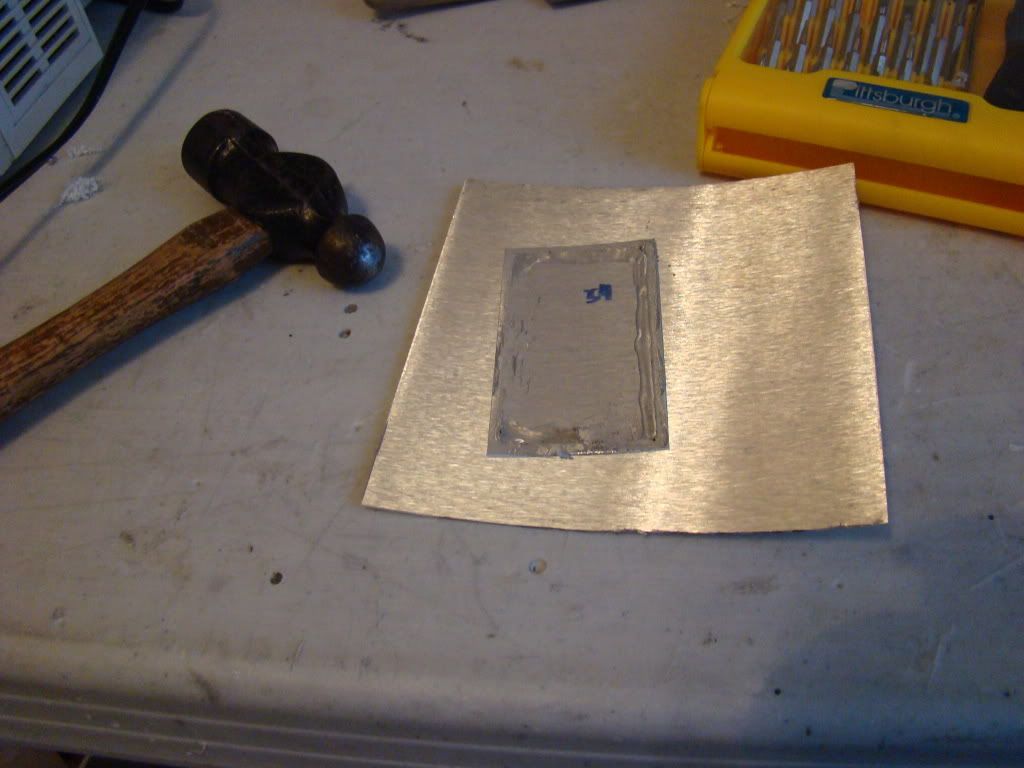
Used a piece of the leftover skin panels and a ball peen hammer to "tap" the bent pieces back into shape.
The inner skin after repair:
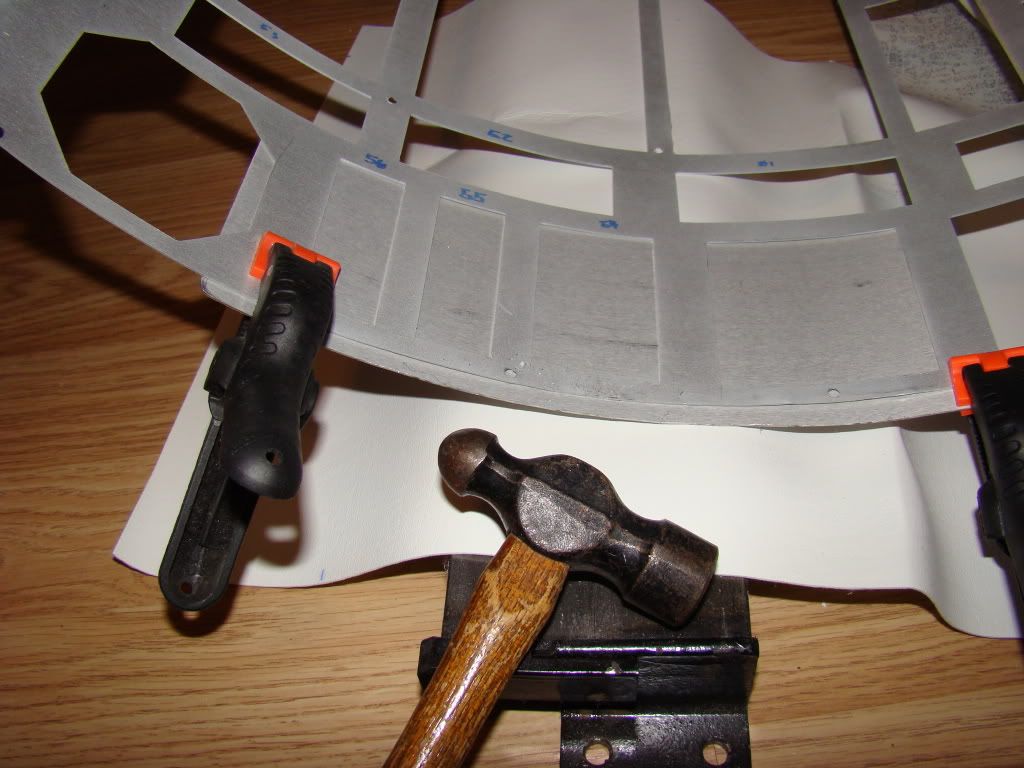
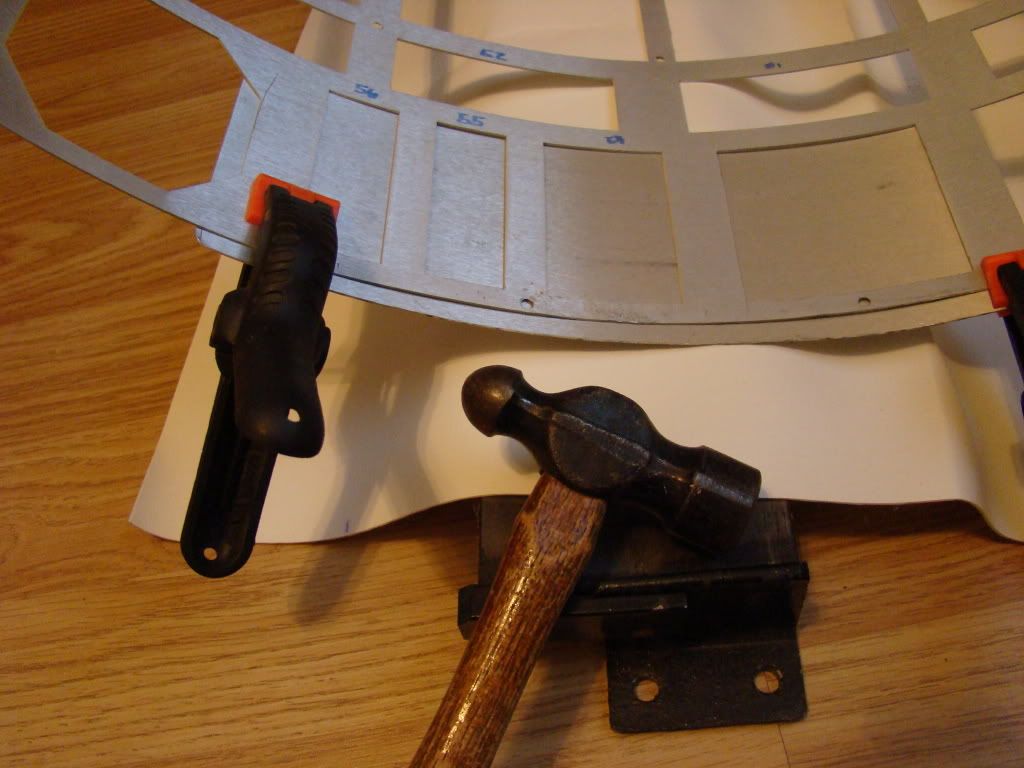
Note the good old metal brake, from the motor mount creation process. Made a fairly nice anvil. Also the vinyl, to "protect" the paint... and the unused panel from the skins to make sure the curve was right.
Those things are worth their weight as straight edges and forms, so don't throw them away. Ever. Put 'em in a box and hide it. You might need 'em.
As you can see from the "overhead" veiw in the next pic, it's not perfect:
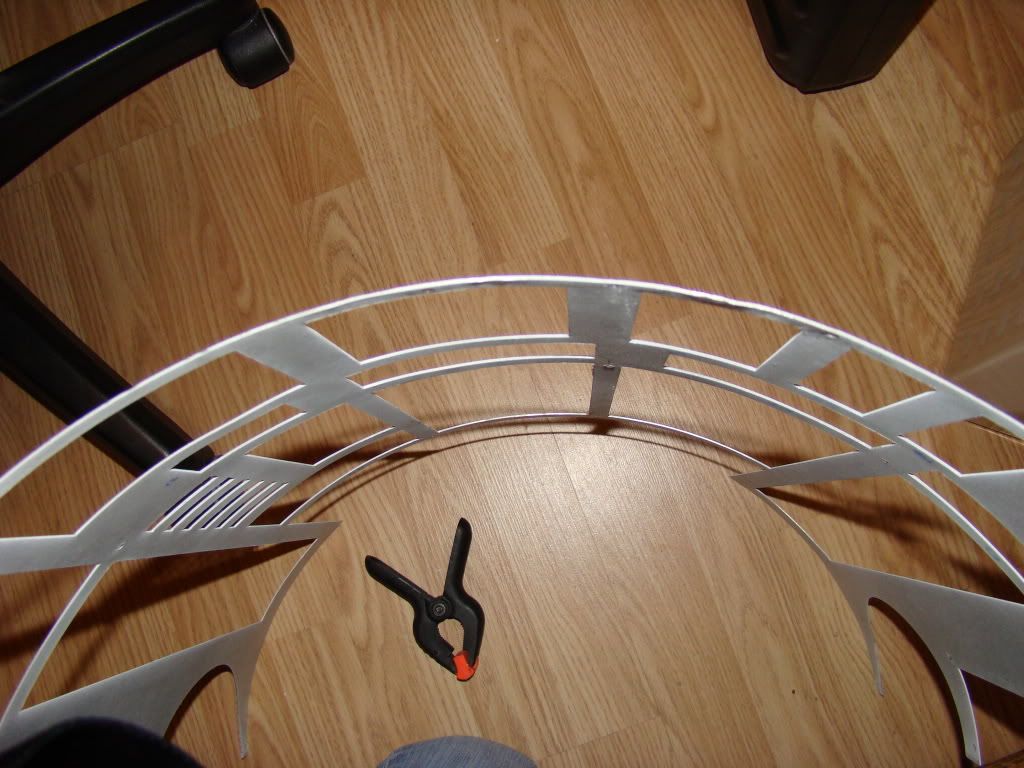
Some reason I started taking fewer pics during this process, so there's not really a pic of the inner skin by itself after repairs, although you can see it in some later pics that aren't about the bent part.
Here's pics of the skins layered together, the way they fit on the frame:
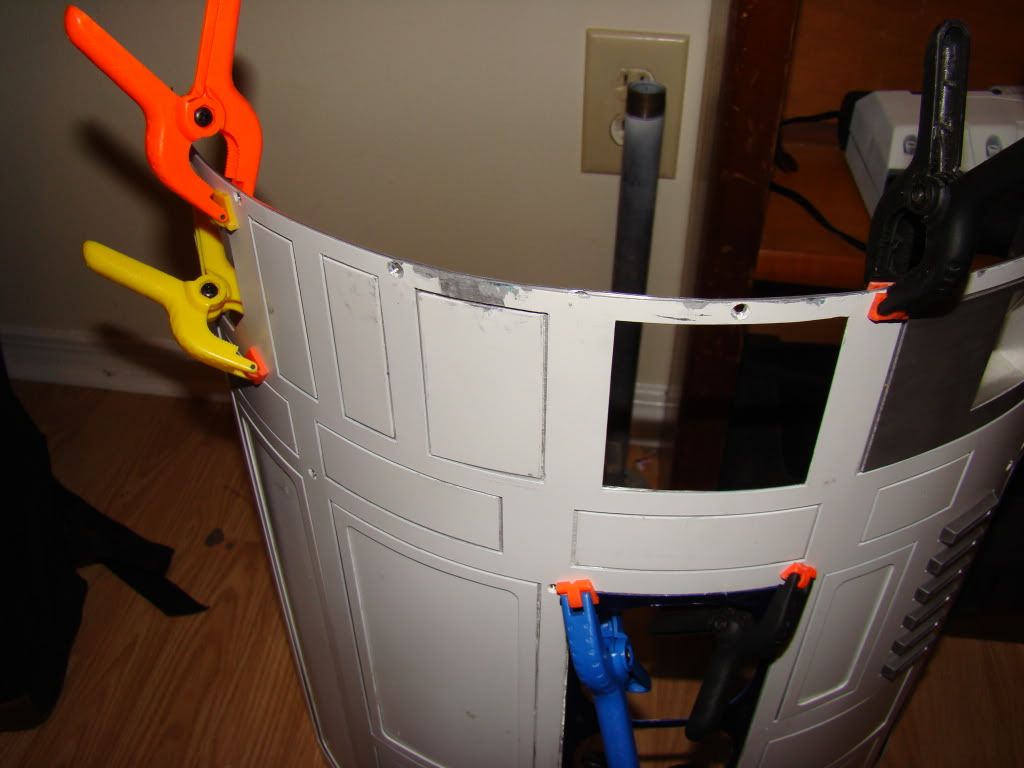
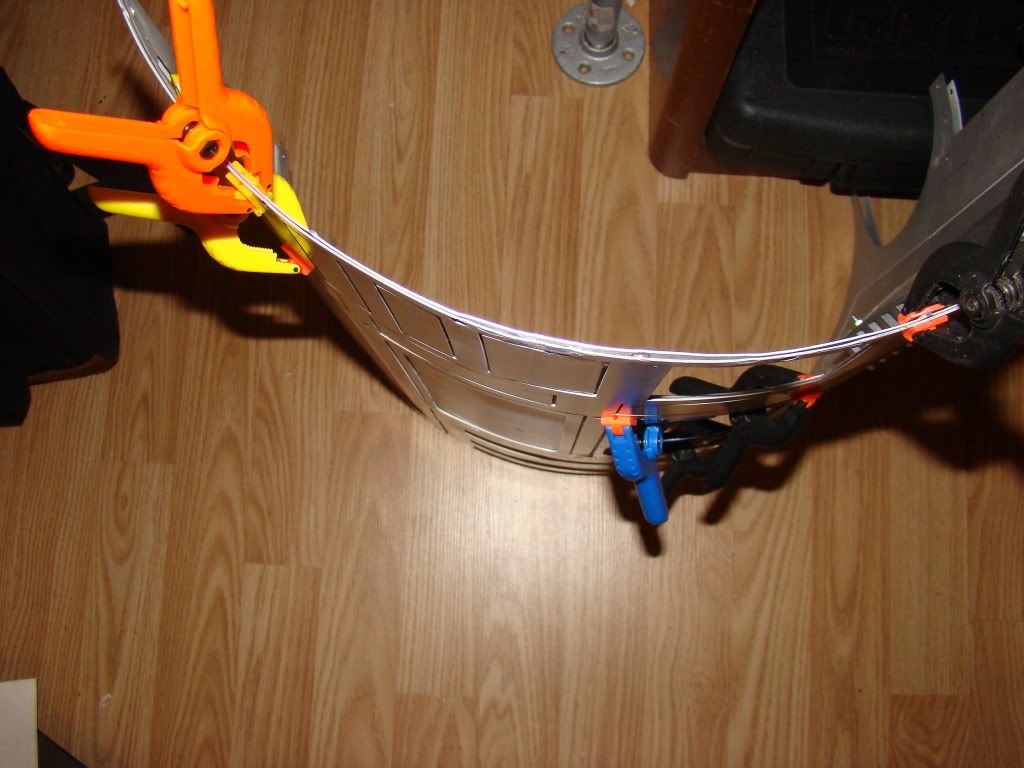
Again, not "factory spec", but pretty darn close. The panel that I pulled out to straighten just kinda stayed there for the pics, it's not glued in place yet. That'll happen once the skins are back in place.
And, I mentioned these buggers in the previous post:
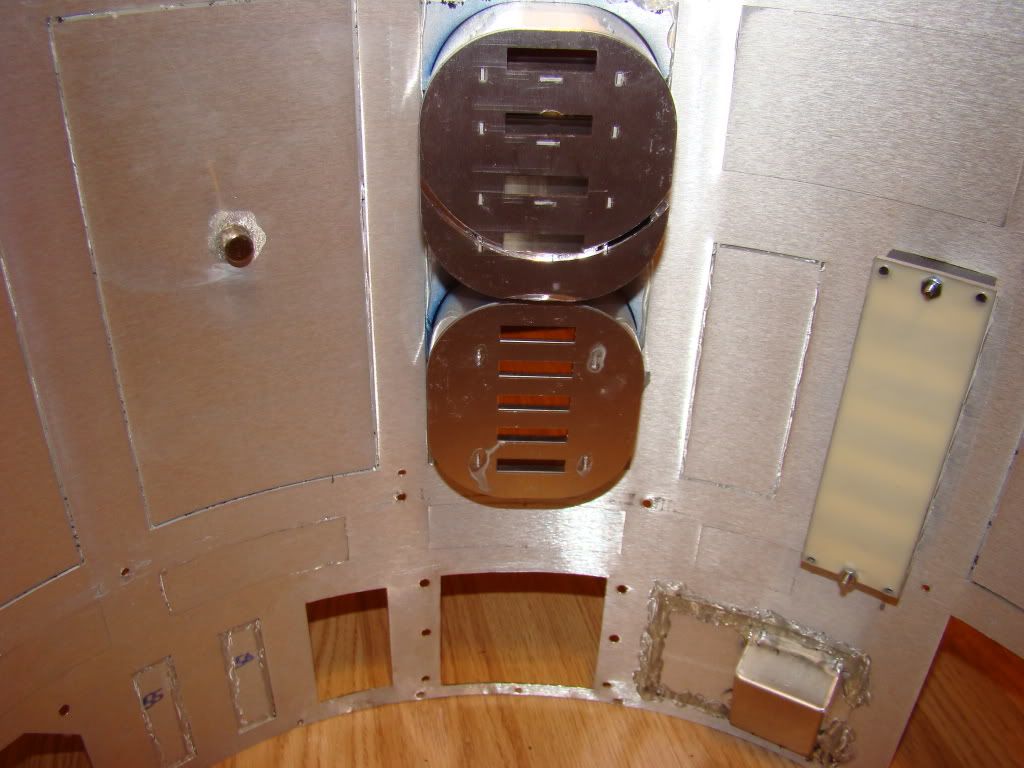
Note the pretty holesaw damage on the top vent...that's from the holes I drilled for the speakers last year. I probably mentioned that at some point or another, but there's proof.
You'll also notice the fun little addition there a panel over...that's right, I remember to glue the magnet in place for the restraining bolt. I probably won't use it much, since it could walk away so easliy, but I can if I want to now...
Back to the vents. Rather than build a frame to go around the vents, I decided to rely on old faithful PolySeamSeal yet again:
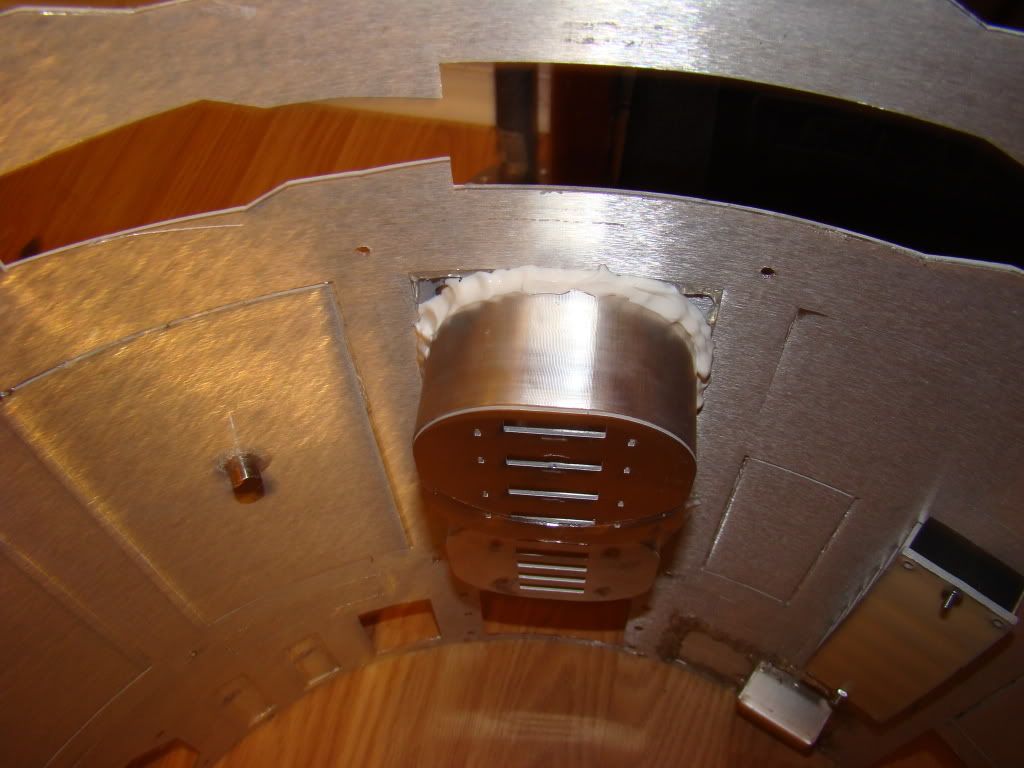
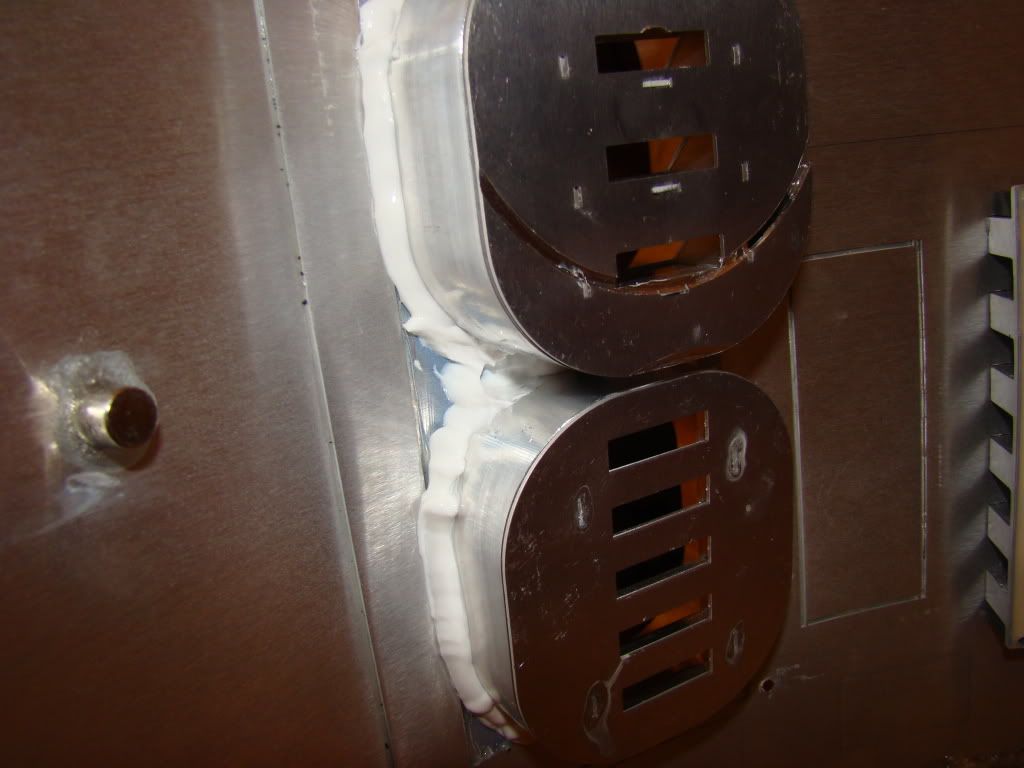
PolySeamSeal brand silicone has held the skin panels and the coins returns on admirably, so it's getting a chance to hold the vents in place now.
Lastly, I took the outer skin outside and gave it a little touchup:
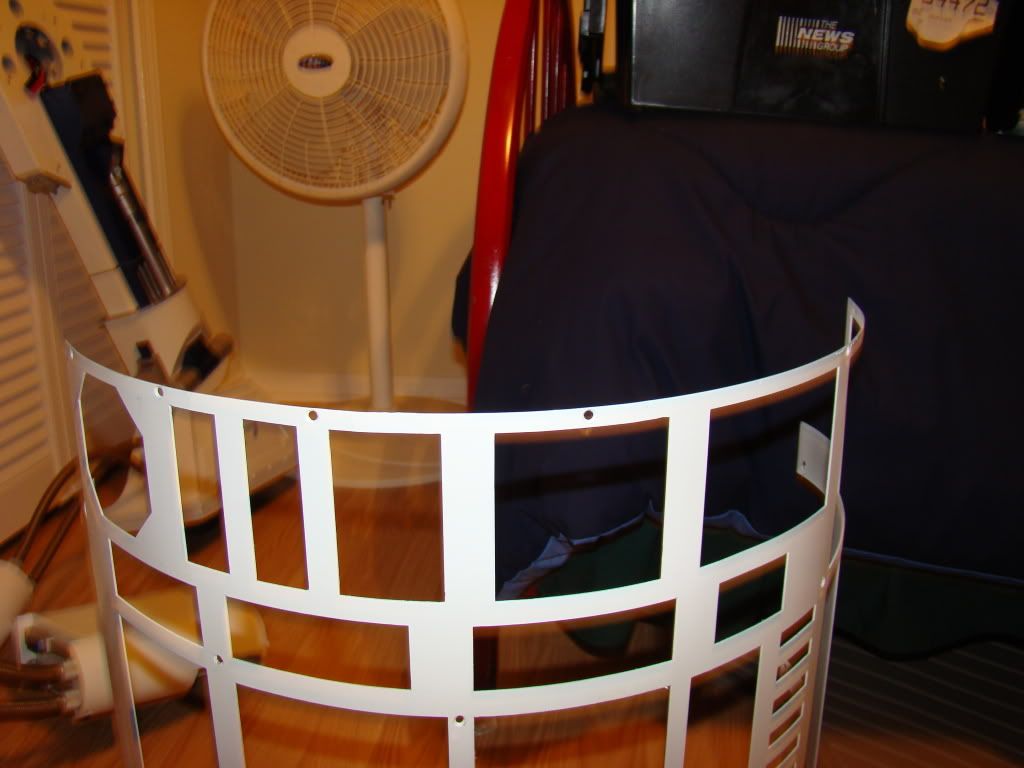
Looks brand new in that light doesn't it?
Ok, so that's all for now. Gotta wait at least until tomorrow to let all the silicone cure some before thinking about reassembling R2. And spending some time sitting and staring, making sure there's nothing else I wanna do before putting it all back.
And spending time wishing WoMo's most excellent side vents were easier to deal with when mounting them back again...
Next time :)
No comments:
Post a Comment