I kinda figure I ought to break the posts up sometimes, when there are lots of topics to be covered...makes finding something later a little easier.
I decided a while back to use hinges to mount the center ankle, since I'd seen someone else had "L" brackets, the hinges were just more readily available.
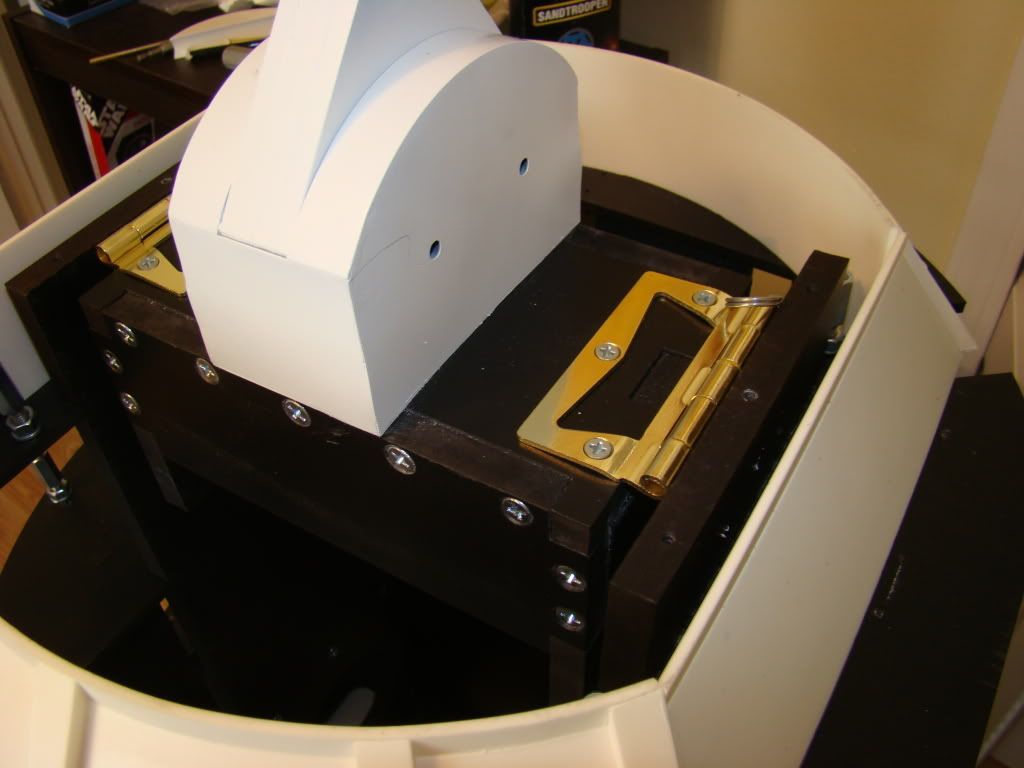
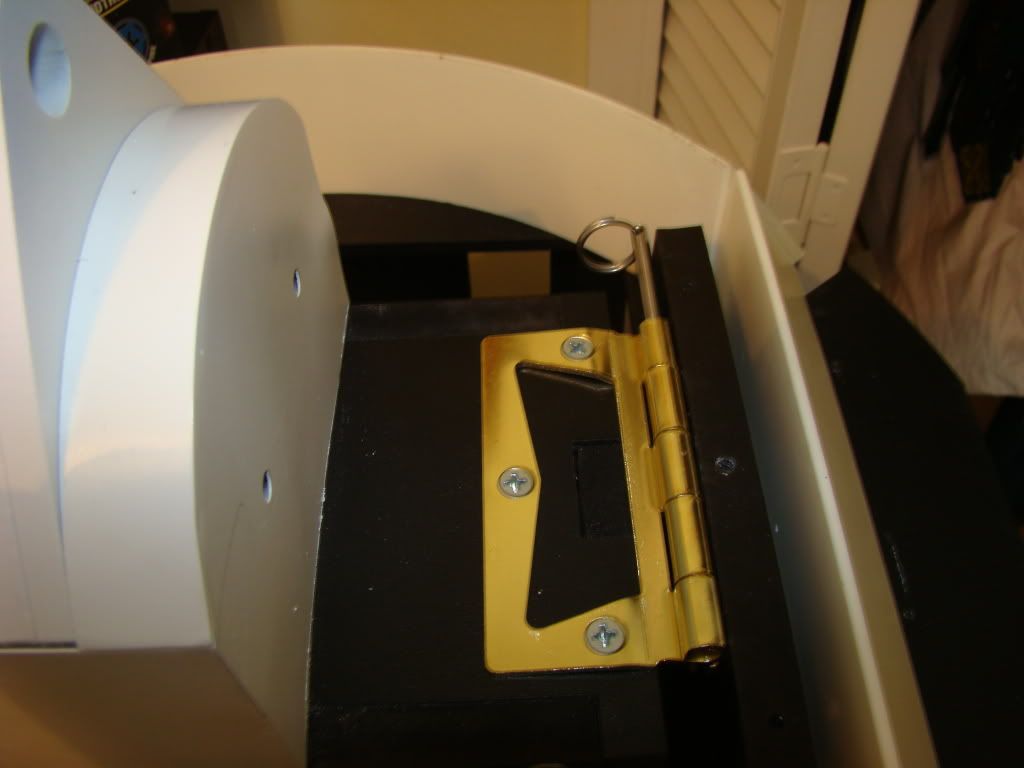
The pins are removable, so that the whole ankle comes out (if I wiggle it around right or remove the bottom plate.

Originally the plan was to have another set of hinge halves mounted higher inside the frame, so that I could raise the foot to be inside for 2-leg mode. That doesn't look like it's working out right now.
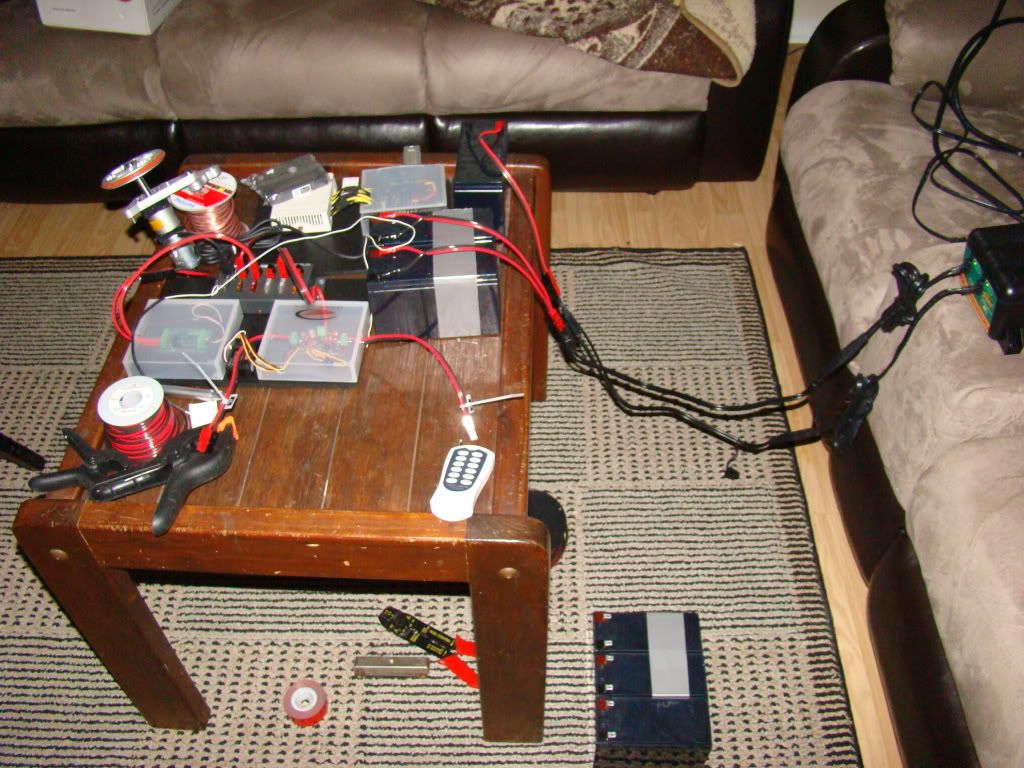
One of the guys at work asked me if I had all the electronics mounted to the frameyet, to which I had to answer "nope". Naturally this motivated me to get to work on that, here's some results:
Start with this stuff:
Here's how I mounted the $12 USB powered speakers from WalMArt:

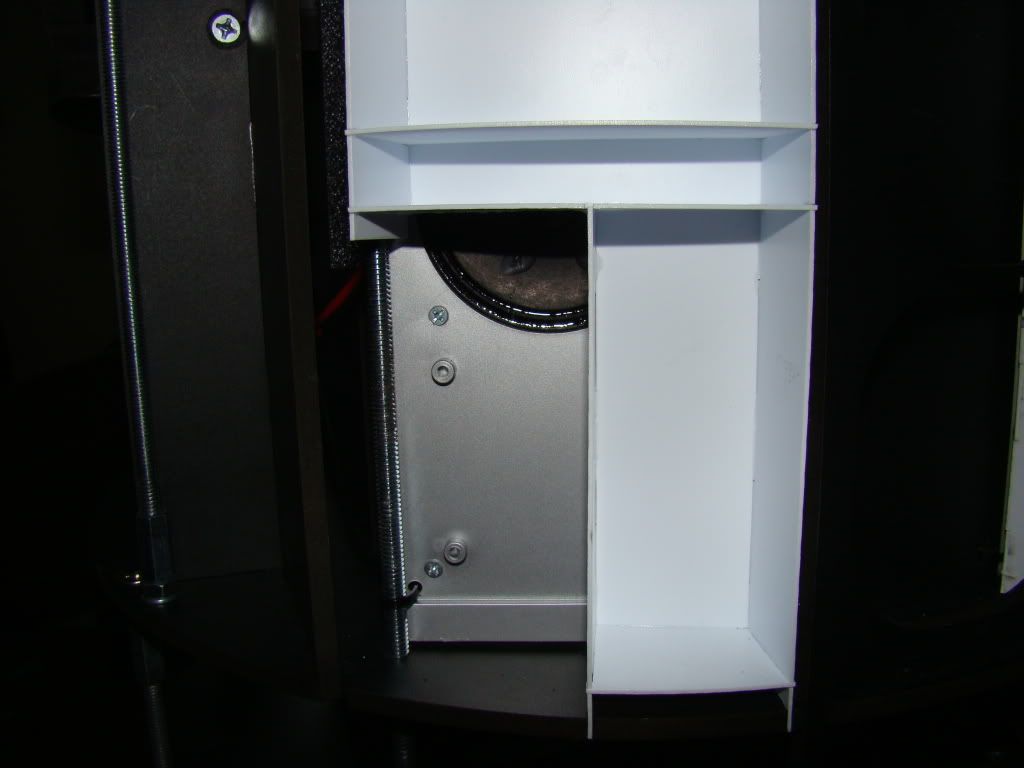
Just some zip ties and some small holes.
Here's the vox plate mounted:
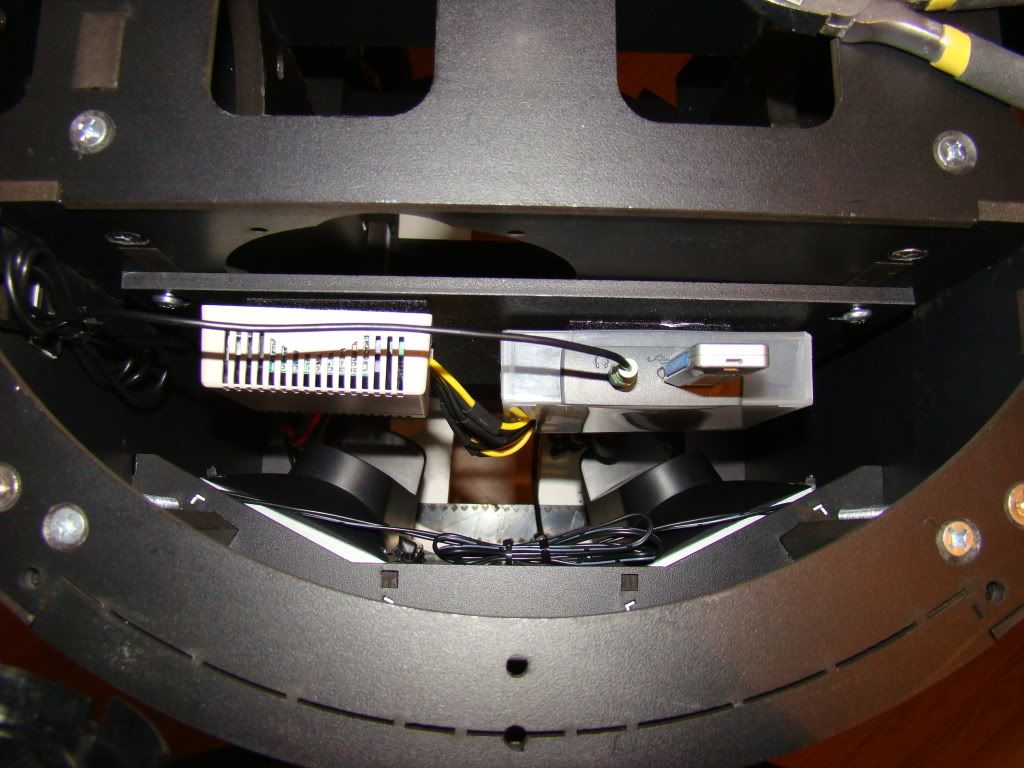
That sounds (no pun intended) better than calling it something more technical, I think. The rectangles that all this stuff is mounted on are the leftovers from the skid plate (the bottom plate).
Here's the Speed controllers and the fuse-block, all mounted pretty in the back open area:

And at the bottom, you can see the top half of the foot, which happens to be almost the perfect size for 2 batteries to sit in.
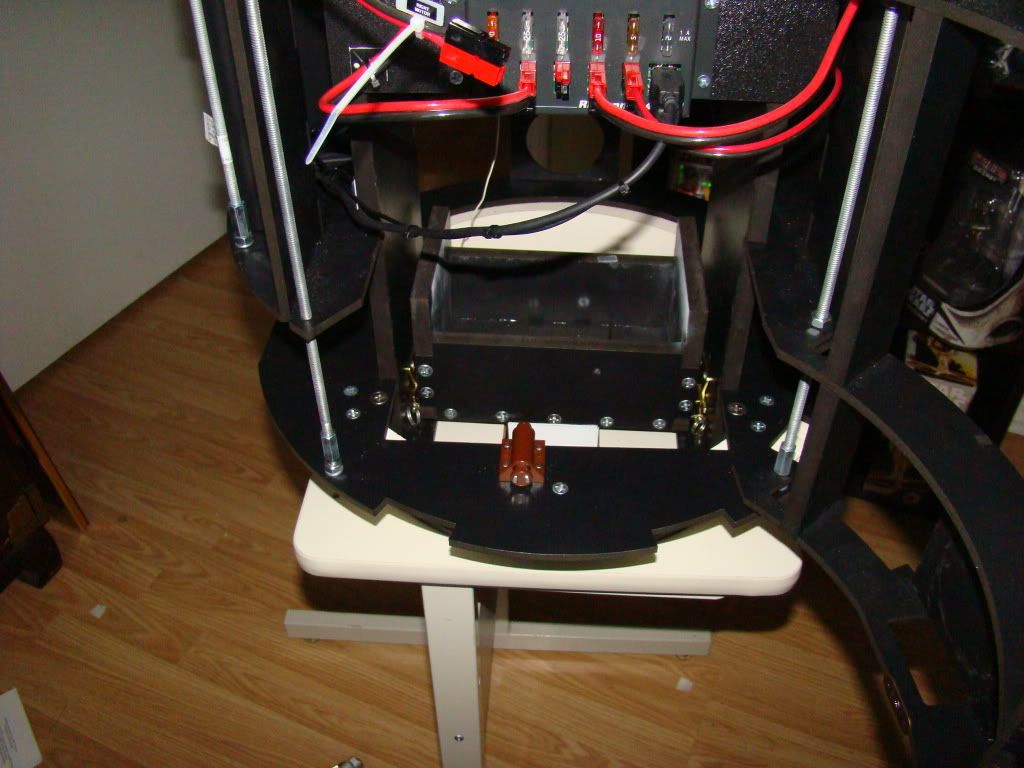
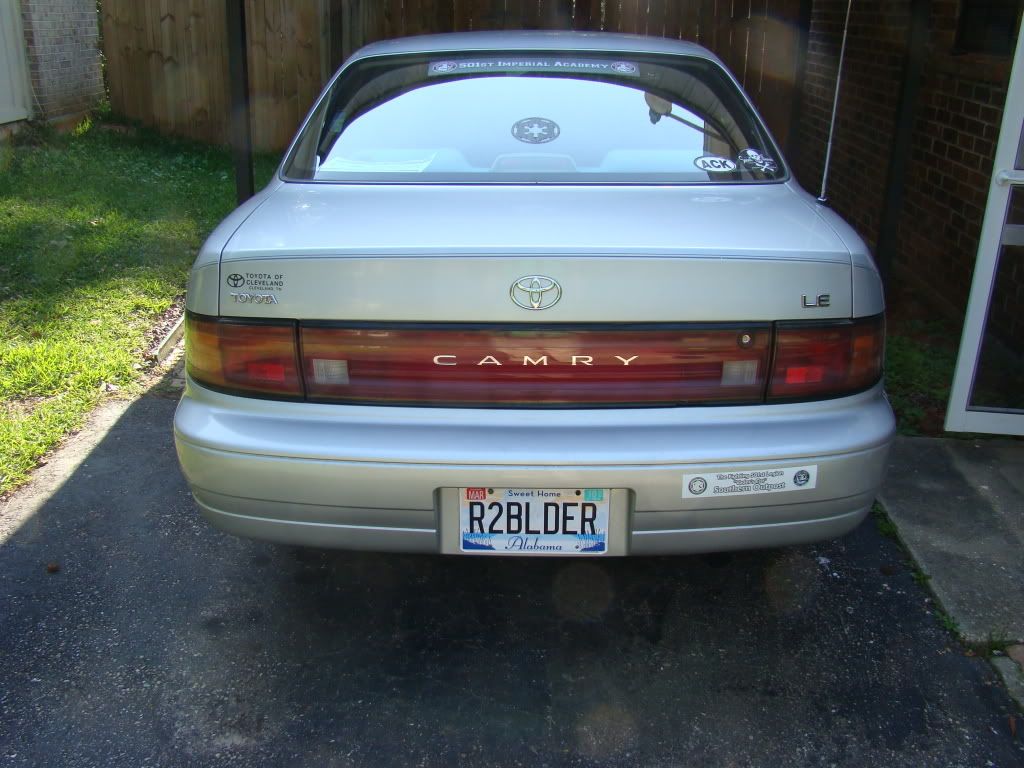
and of course, got this in the mail to make it all official:

that's all for now...
No comments:
Post a Comment