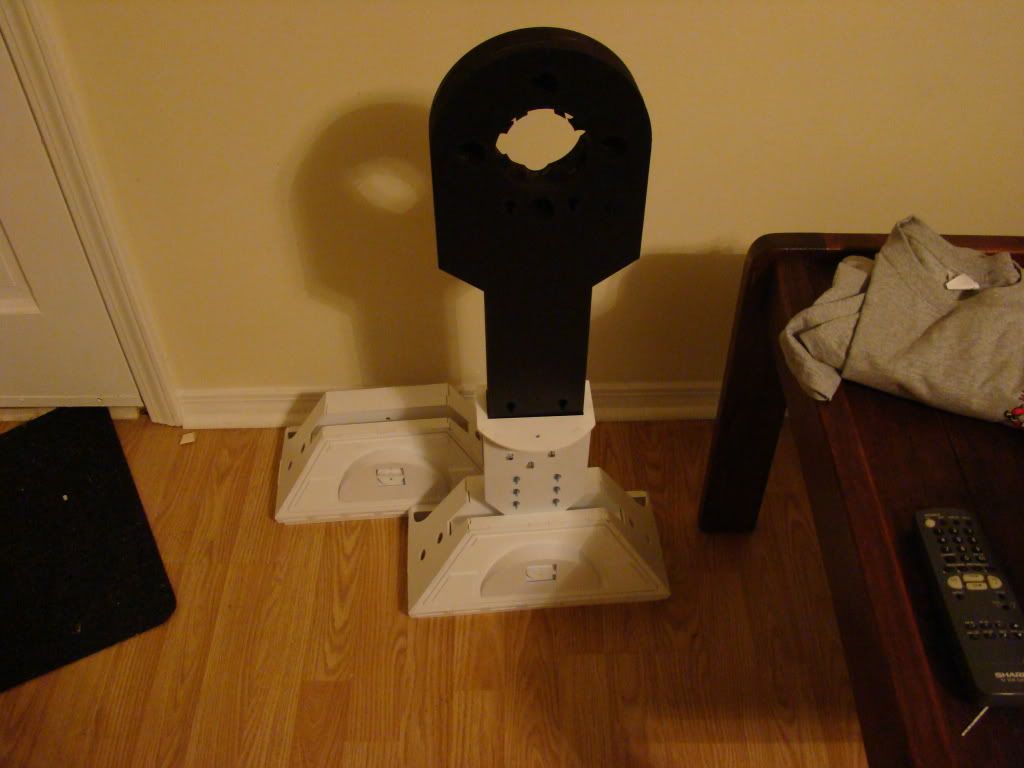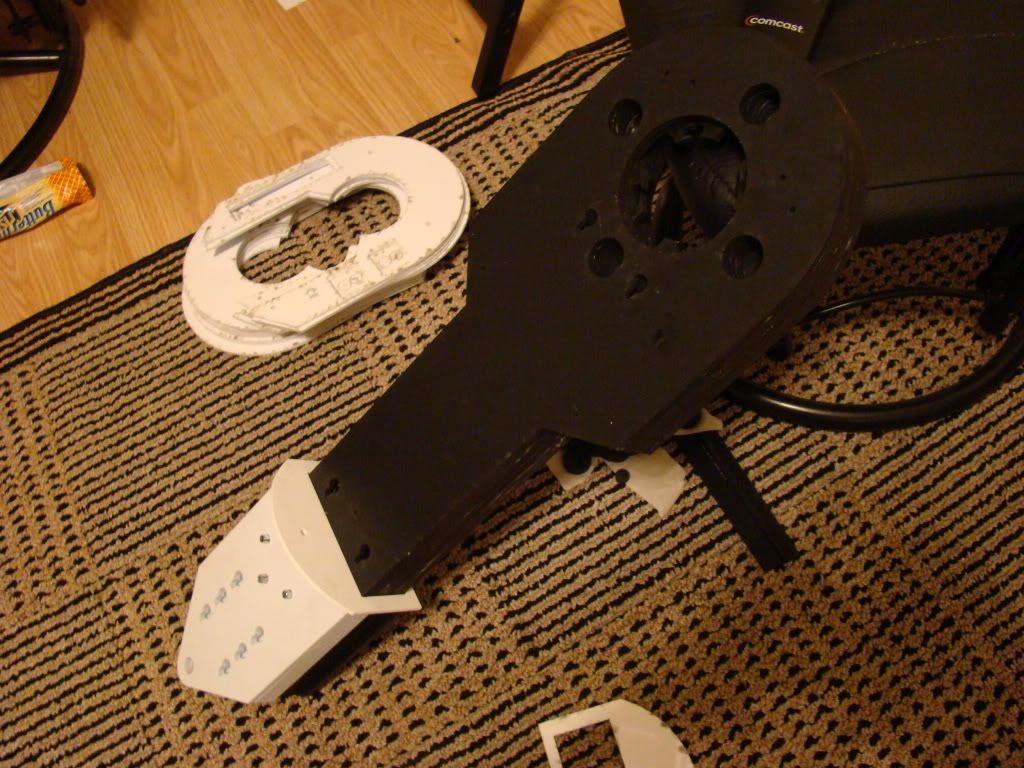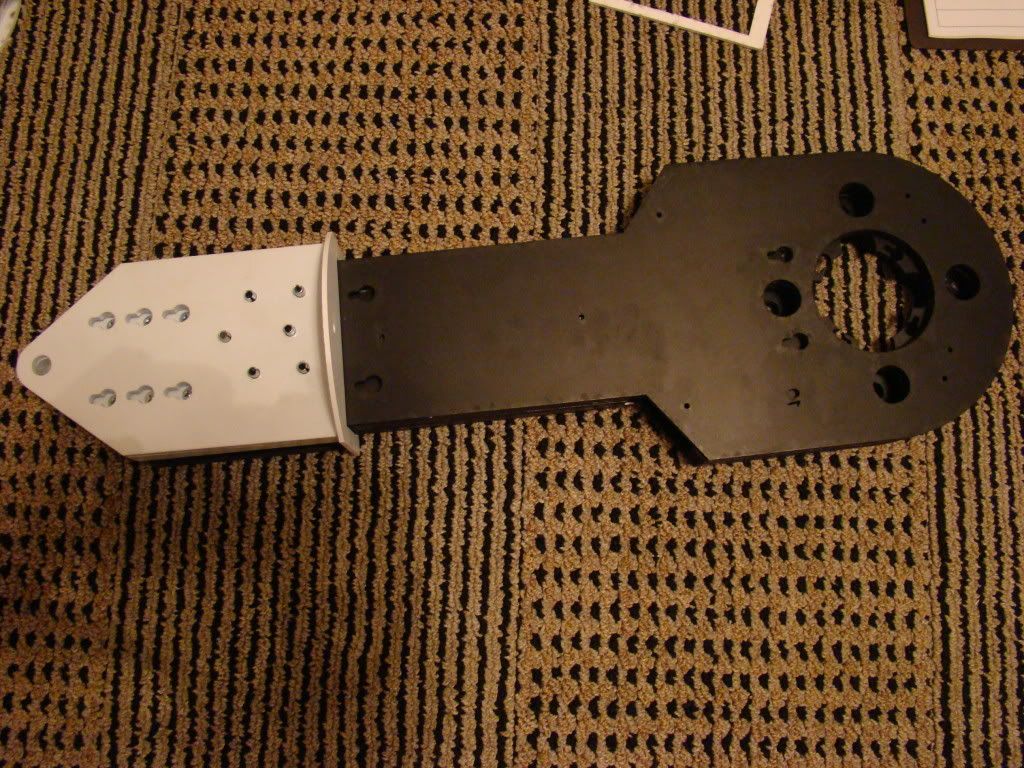
Since I mentioned it in a previous post, I'll tell what I did.
I used PVC Cement, Oatey's, to be specific. I glued the inside layer and the piece with the channel together first, then let the cement set for about 15 minutes. Then every 10-15 minutes I added another layer until the 5 main layers were done. Naturally clamps all over the place.
I let them set overnight (Yes, set, I'm talking about the glue, not the legs...I'd have said "I let them sit overnight"...).
That day I also built the ankles, using CA glue and clamps too.
On the 2nd day I added the 2 outside layers, which include the part that fits into the ankle. I also added the bracelet and the backside of the ankle.
A little more CA glue, and I screwed the ankle in place using the 6 little holes at the bottom of the legs.
Rinse and repeat...
They still need to be "skinned" with the Sintra and have that little line cut around them.
Next post: SHOULDERS! (they are done but I don't have time to post the pics right now...


No comments:
Post a Comment